
Table of Contents
Ever dreamed of crafting the perfect crusty French baguette at home? This article is your passport to that delicious goal! We'll walk you through a foolproof french baguette bread recipe, step-by-step, ensuring even novice bakers can achieve amazing results. Forget those disappointing store-bought loaves – prepare to be amazed by the incredible flavor and texture of a truly authentic baguette, made entirely from scratch. We'll cover everything from essential ingredients and equipment to expert tips and tricks for achieving that signature crispy crust and airy interior. Along the way, we'll address common baking pitfalls and provide simple solutions to help you troubleshoot any problems you might encounter. Get ready to embark on a culinary adventure that will transform your kitchen into a Parisian boulangerie! By the end of this guide, you'll not only have mastered a fantastic french baguette bread recipe but also gained the confidence to experiment and create your own delicious variations.
Mastering the French Baguette Bread Recipe: A StepbyStep Guide
Mastering the French Baguette Bread Recipe: A StepbyStep Guide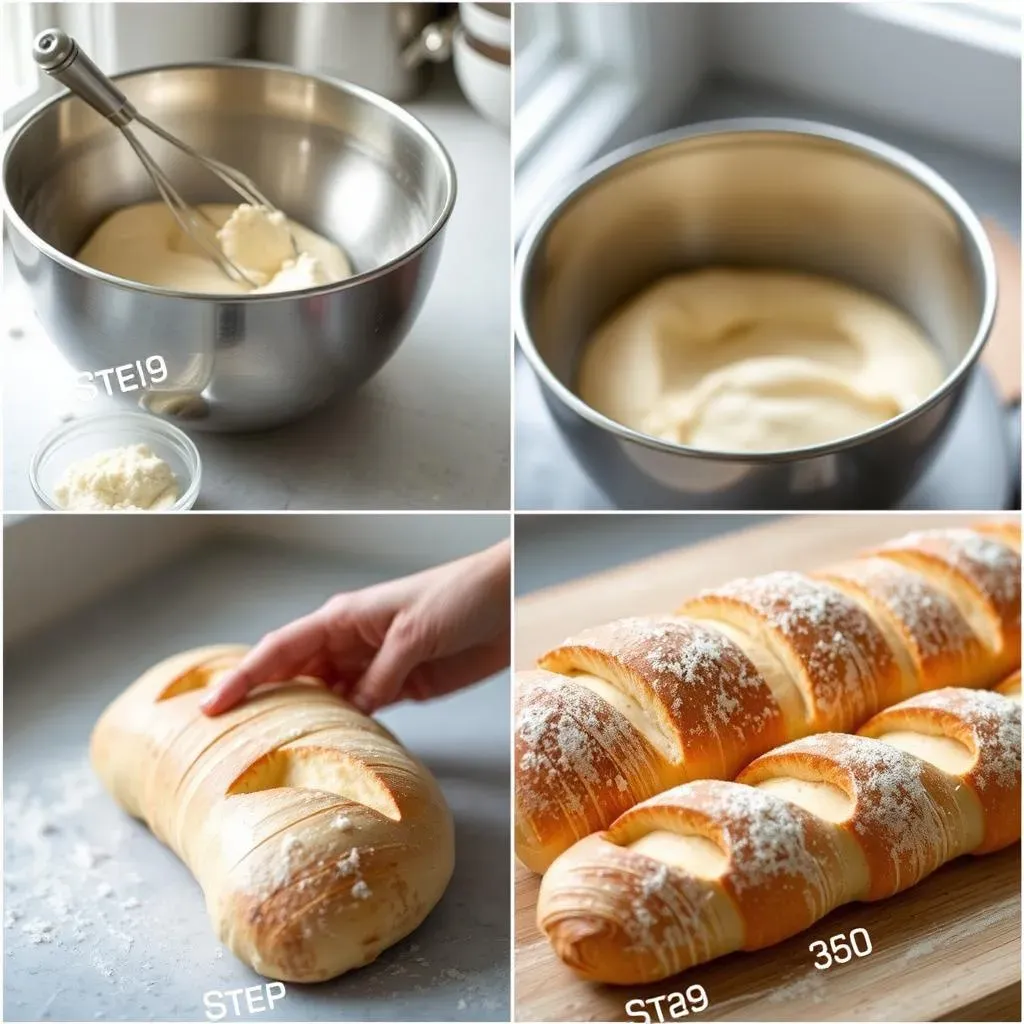
Mixing the Dough: The Foundation of Flavor
First, gather your ingredients: 500g strong bread flour (high protein is key!), 360g lukewarm water, 10g salt, and 3g instant yeast. A kitchen scale ensures accuracy – trust me, it makes a world of difference! Gently combine the flour, salt, and yeast in a large bowl. Gradually add the water, mixing with your hands until a shaggy dough forms. Don't overmix; just get everything incorporated. Think of it like a gentle first date – you want to be friendly, not aggressive!
Let the mixture rest for about 15 minutes. This allows the flour to fully hydrate, resulting in a smoother, more manageable dough. You'll notice the dough starts to come together, becoming less shaggy and more cohesive. This is a crucial step, setting the stage for the next phase.
Ingredient | Weight (g) | Approximate US Equivalent |
|---|---|---|
Strong Bread Flour | 500 | ~3 ½ cups |
Lukewarm Water | 360 | ~1 ½ cups + 1 tbsp |
Salt | 10 | ~2 tsp |
Instant Yeast | 3 | ~1 tsp |
Bulk Fermentation and Stretch & Folds: Building Strength and Flavor
Now comes the fun part: stretch and folds! Over the next 1.5 hours, perform three sets of stretch and folds, roughly every 30-45 minutes. For each set, gently grab one side of the dough, stretch it upwards, and fold it over onto the opposite side. Rotate the bowl 90 degrees and repeat. Do this for all four sides. This process gently develops the gluten network without overworking the dough, contributing to that characteristic chewy texture. Think of it as building muscle – slow and steady wins the race!
After the final stretch and fold, cover the bowl and let it rest in a warm place for another 30-60 minutes. You're aiming for a slight increase in volume and the appearance of tiny bubbles on the surface – signs of happy, active yeast! This final rest helps the dough relax and develop even more flavor. Check out our article on basic techniques for more visual guidance.
- Gentle handling is key during stretch and folds.
- Aim for a slight volume increase and surface bubbles.
- A warm place (70-75°F) encourages optimal yeast activity.
Cold Retardation: The Secret to Deep Flavor:
Once the dough shows signs of activity, cover the bowl tightly and refrigerate it for 12-14 hours. This cold retardation is a crucial step, slowing down fermentation and allowing complex flavors to develop. Imagine it as a slow-cooked stew – the longer it simmers, the richer the taste! The dough will almost double in size during this time. Don't worry if it doesn't quite double; it's the flavor development that matters most.
The next day, gently turn the dough out onto a lightly floured surface. This is where the magic happens! The cold retardation has given the dough a chance to rest and develop its personality. It will feel less sticky and more elastic. Dividing, shaping, and proofing are the final steps before baking.
Essential Tips and Tricks for Baking the Best French Baguette Bread Recipe
Essential Tips and Tricks for Baking the Best French Baguette Bread Recipe
Flour Power: Choosing the Right Flour
The type of flour you use is crucial for achieving that perfect baguette texture. A high-protein flour (12-14%) is essential for developing the strong gluten network needed for a chewy crumb and a crisp crust. Look for flours labeled "strong bread flour" or "baker's flour." King Arthur Flour and Bob's Red Mill are popular choices, but many other excellent brands are available. Don't be afraid to experiment and find your favorite!
Using the right flour is half the battle. Think of it as choosing the right paint for a masterpiece – you wouldn't use watercolor for an oil painting, right? Similarly, the flour's protein content directly impacts the final texture of your baguette. Check out this helpful guide on flour types for more detail.
Flour Type | Protein Content (%) | Baguette Suitability |
|---|---|---|
Strong Bread Flour | 12-14 | Excellent |
All-Purpose Flour | 10-12 | Good (may require adjustments) |
Pastry Flour | <10 | Not Recommended |
The Art of Scoring: Unleashing the Oven Spring
Scoring your baguette isn't just for show; it's a crucial step in controlling the oven spring – that beautiful rise your baguette gets in the oven. Make three to four slashes, about 1/4 inch deep, using a sharp lame (a specialized bread scoring tool), a razor blade, or a very sharp knife. The slashes allow the dough to expand evenly, preventing it from bursting unpredictably. Practice makes perfect here – aim for clean, confident cuts.
Proper scoring is key to achieving that beautiful, rustic look. It's like sculpting with dough; each cut contributes to the overall aesthetic and structural integrity of your baguette. For more detailed instruction on scoring techniques, see our advanced techniques article.
- Use a sharp tool for clean cuts.
- Score about 1/4 inch deep, avoiding the edges.
- Practice makes perfect! Aim for consistent, even cuts.
Troubleshooting Common French Baguette Bread Recipe Problems
Dough Too Sticky?
Ah, the sticky dough dilemma! This often happens with higher hydration doughs (like ours!), especially if your flour is particularly fresh or your kitchen is humid. Don't panic! The key is to gently incorporate more flour, a tablespoon at a time, until the dough becomes manageable but still slightly tacky. Avoid over-flouring, as this can lead to a dry, dense crumb. Remember, a slightly sticky dough is your friend; it's the secret to a wonderfully open crumb. If you're still struggling, consider reducing the water content in the recipe by a small amount (10-15g) next time.
Working with sticky dough can be challenging, but with a little practice, you'll master it! Think of it as a workout for your hands; the more you handle the dough, the stronger your baking skills will become. For more tips on handling high-hydration doughs, check out our guide on dough handling techniques.
- Add flour gradually, a tablespoon at a time.
- Aim for a slightly tacky, not overly sticky, dough.
- Practice makes perfect! Don't be discouraged if it's challenging at first.
Lackluster Oven Spring?
A disappointing lack of oven spring (that dramatic rise in the oven) can be frustrating, but it's often fixable. The most common culprits are insufficient fermentation, weak gluten development, or inadequate steaming. Make sure your dough has doubled or nearly doubled in size during bulk fermentation and proofing. Gentle stretch and folds are crucial for developing gluten strength. And don't skimp on the steam! A good amount of steam in the oven during the initial baking phase is essential for a strong oven spring. If you're using a home oven, ensure adequate steam. A water pan with a towel works well to generate a slow, even release of steam, but you can also try a spray bottle for more control.
Remember, a good oven spring is all about timing and technique. It’s a delicate dance between fermentation, gluten development, and steam. If you're still struggling, check out our tips on improving oven spring for a more detailed analysis of the factors that contribute to this important baking element.
Possible Cause | Solution |
|---|---|
Insufficient Fermentation | Ensure proper rise before refrigeration |
Weak Gluten Development | Perform stretch and folds correctly |
Inadequate Steaming | Increase steam in the oven |