Table of Contents
Ready to elevate your baking game? This comprehensive guide dives into the delicious world of the sourdough french loaf recipe. Forget bland, store-bought bread – we're about to unlock the secrets to crafting a crusty, airy, and utterly irresistible loaf from the comfort of your own kitchen. Whether you're a seasoned sourdough pro or a curious beginner, this article will walk you through every step, from preparing your starter to achieving that perfect oven spring. We'll explore the nuances of a sourdough french loaf recipe, offering practical tips and tricks to avoid common pitfalls and guarantee success every time. Get ready to learn about dough hydration, fermentation techniques, and baking secrets that will transform your baking experience. Prepare to be amazed as you master the art of creating a truly exceptional sourdough french loaf, a bread that's both beautiful and unbelievably delicious. Let's embark on this flavorful journey together!
The Ultimate Sourdough French Loaf Recipe: A StepbyStep Guide
The Ultimate Sourdough French Loaf Recipe: A StepbyStep Guide
Preparing Your Starter
Begin with a vibrant, active sourdough starter. It should be bubbly and at least doubled in size from its last feeding. A healthy starter is the foundation of a great loaf; think of it as the engine of your baking adventure! If your starter needs a boost, check out our tips on making a supercharged starter. Properly feeding your starter ensures a successful bake, leading to a flavorful and well-risen loaf.
The ideal starter consistency is like a thick pancake batter. Too thin, and it might not provide enough leavening power. Too thick, and it could result in a dense loaf. Aim for that happy medium! Remember, patience is key when working with sourdough. Taking the time to properly care for your starter will pay off in the quality of your final product.
Starter Stage | Description | Actions |
|---|---|---|
Inactive | Flat, no bubbles | Discard and feed |
Active | Bubbly, doubled in size | Ready to bake! |
Mixing and Kneading the Dough
In a large bowl, combine your active starter, water (room temperature is best), flour (bread flour is recommended for its strength), and salt. Mix until just combined – it’ll look shaggy at first, but that's perfectly fine. Now comes the kneading—this is where the magic happens! You can knead by hand (a good workout!) or use a stand mixer with a dough hook. Knead until the dough is smooth, elastic, and slightly sticky. This typically takes 8-10 minutes by hand, or 5-7 minutes with a mixer.
The kneading process develops the gluten in the flour, giving your loaf structure and that beautiful, airy crumb. Don't be afraid to get your hands dirty! A well-kneaded dough will be more forgiving during the shaping process. For more tips on perfect kneading, check out our guide on achieving ideal dough texture. Once kneaded, let the dough rest, covered, in a warm place for bulk fermentation.
- Use a kitchen scale for precise measurements.
- Bread flour creates a stronger gluten network.
- Don't over-knead; you'll create a tough loaf.
Bulk Fermentation and Shaping
After kneading, let the dough rest. The bulk fermentation is where the magic of sourdough truly unfolds. The wild yeasts in your starter will work their magic, transforming the dough into a light and airy masterpiece. This process usually takes 4-6 hours, depending on the temperature of your environment. You'll know it's ready when the dough has almost doubled in size and shows significant signs of fermentation (lots of bubbles!).
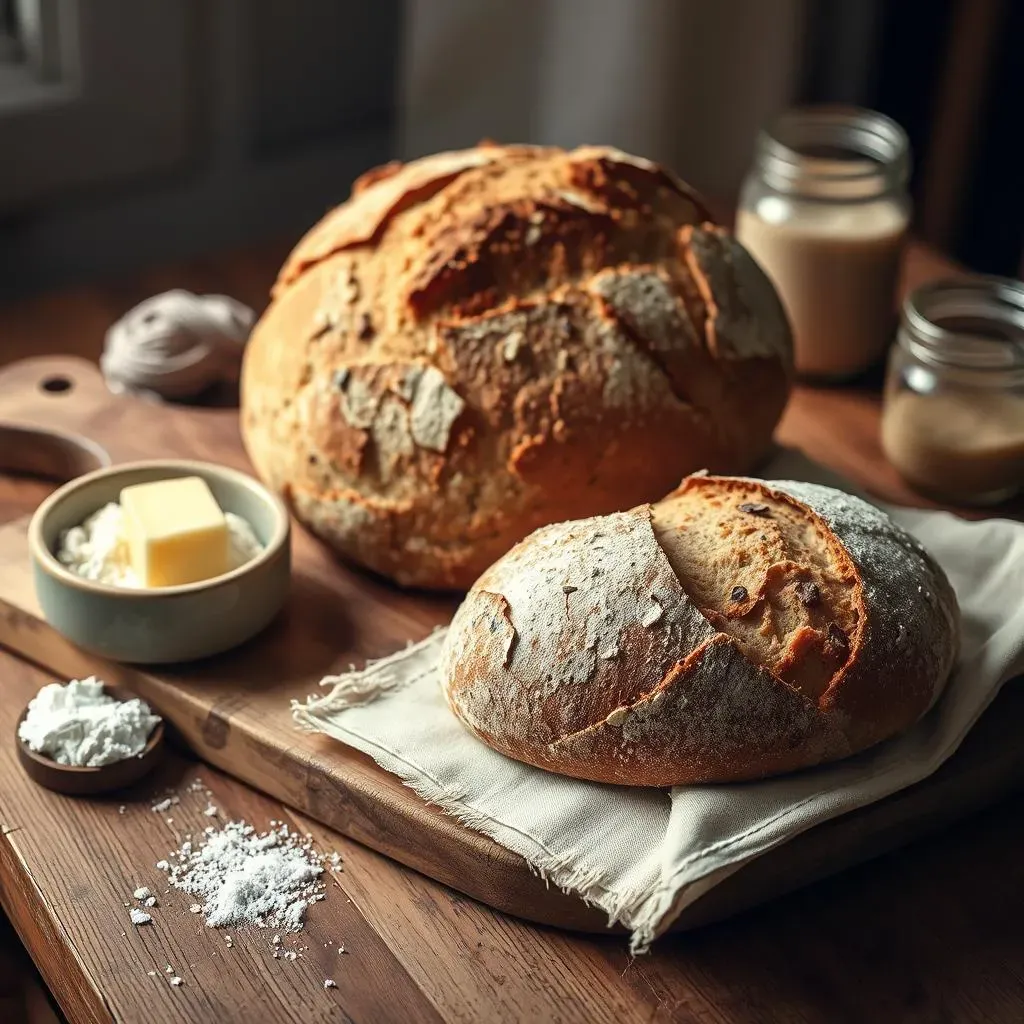
Once bulk fermentation is complete, gently shape the dough into a classic baguette shape or a rustic boule. Gently stretch and fold the dough, creating surface tension. This will help the bread rise beautifully in the oven. Avoid aggressive handling, which can damage the delicate gluten structure you carefully developed during kneading. After shaping, let the dough proof in a banneton (a proofing basket) or on a floured baking sheet, seam-side up, until almost doubled in size. For a visual guide on shaping techniques, check out our post on shaping sourdough baguettes.
Tips and Tricks for Perfect Sourdough French Loaf Recipe
Let's talk about getting that perfect sourdough French loaf! First, temperature is key. A warmer environment speeds up fermentation, while a cooler one slows it down. Aim for a consistent temperature around 75°F (24°C) for even rising. Too hot, and your dough might overproof; too cold, and it might underproof. Consider using a proofing box for more control. For more on proofing, check out our guide on 6-hour sourdough.
Next, hydration is crucial. The amount of water you use affects the dough's texture and rise. A higher hydration dough (more water) results in a more open crumb, while a lower hydration dough (less water) yields a denser crumb. Experiment to find your perfect balance! Don't be afraid to adjust the water amount slightly depending on your flour's absorbency. For more on hydration, check out our ultimate guide.
- Use a thermometer to monitor dough temperature.
- Adjust hydration based on your flour and environment.
- Properly score your loaf for even baking and beautiful crust.
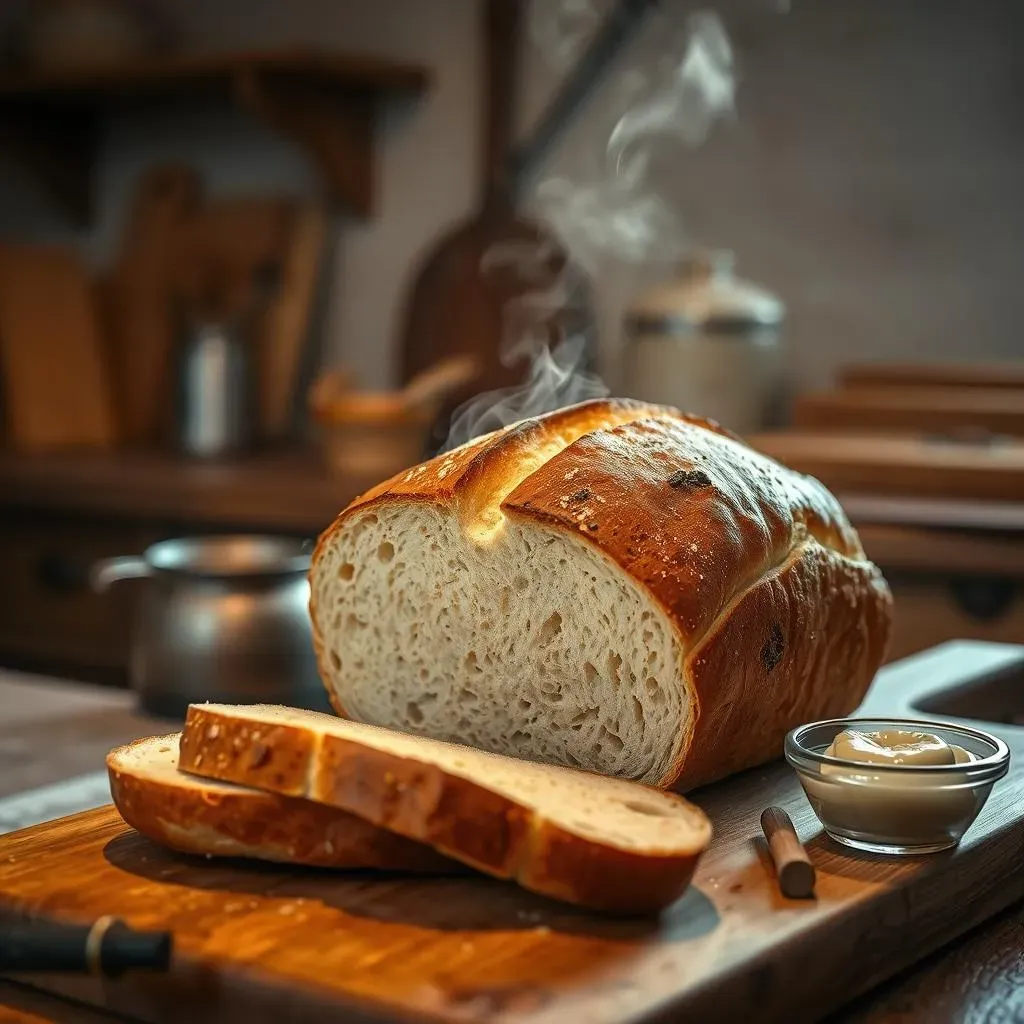
Scoring your loaf before baking is essential for controlled expansion and a beautiful crust. Use a lame (a razor blade is a good substitute) to create shallow, precise cuts. The cuts allow the dough to expand evenly during baking, preventing it from tearing unpredictably. Experiment with different scoring patterns – it's part of the fun! For inspiration, check out our sourdough baguette post for scoring ideas.
Finally, don't underestimate the power of steam! Baking your loaf in a steamy environment creates a crisp, crackly crust. You can achieve this by placing a pan of water in the bottom of your oven or using a Dutch oven. The steam helps the crust set properly, preventing it from drying out too quickly. For more steam-baking tips, check our best sourdough recipe This simple trick is the secret to achieving that perfect bakery-style crust.
Tip | Benefit |
|---|---|
Consistent Temperature | Even fermentation |
Proper Hydration | Desired crumb texture |
Precise Scoring | Controlled expansion |
Steam Baking | Crisp, crackly crust |
Troubleshooting Common Sourdough French Loaf Recipe Problems
Troubleshooting Common Sourdough French Loaf Recipe Problems
Underproofed or Overproofed Dough
One of the most common issues is getting the proofing just right. Underproofed dough won't rise much in the oven, resulting in a dense loaf. Overproofed dough, on the other hand, can collapse during baking, leading to a flat, uneven texture. The key is to carefully observe your dough. It should almost double in size during both bulk and final proofing. Look for a delicate balance between airy and slightly puffy. For more on proofing times, check out our guide on 6-hour sourdough.
To avoid this, use a thermometer to monitor the dough temperature during proofing. A consistently warm environment (around 75°F/24°C) is ideal. Adjust proofing times based on your environment's temperature. Remember, it's always better to slightly underproof than overproof. Underproofed dough can often be rescued with a bit more time, while overproofed dough is harder to recover. If you're unsure, err on the side of caution and give it a little more time.
- Underproofed: Dense, compact crumb
- Overproofed: Collapsed, uneven rise
- Ideal: Almost doubled, airy, slightly puffy
A Crust That's Too Hard or Too Soft
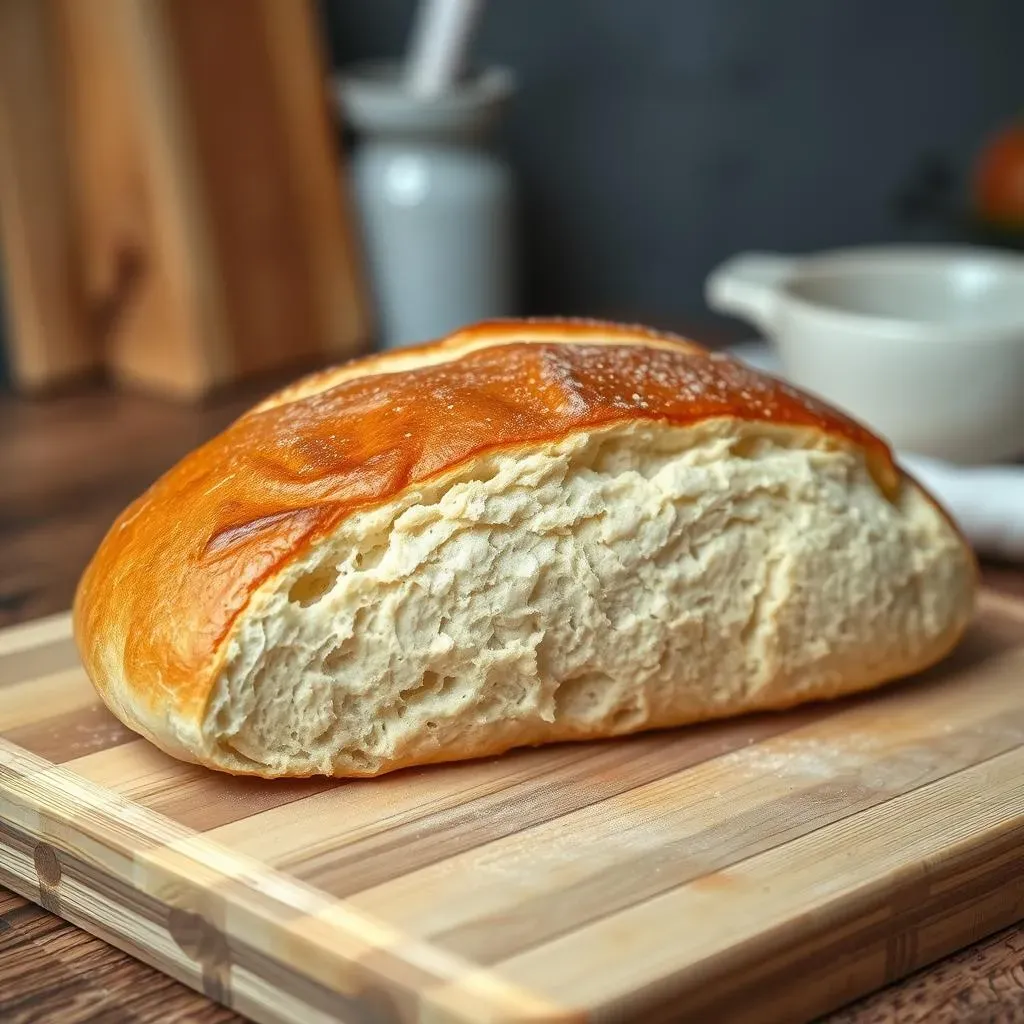
The crust is a crucial part of the sourdough experience! A crust that's too hard might indicate over-baking or insufficient steam during the baking process. A soft crust, on the other hand, can result from under-baking or insufficient oven temperature. The ideal crust should be crisp, crackly, and slightly chewy.
To remedy this, ensure you're baking at the correct temperature (usually around 450°F/232°C). Introduce steam into your oven during the first 15-20 minutes of baking (using a pan of water or a Dutch oven). This helps create a beautiful, evenly browned crust. If your crust is still too hard, try reducing baking time slightly next time. If it's too soft, increase the baking temperature or baking time. For more tips on achieving the perfect crust, check out our best sourdough recipe.
Crust Issue | Possible Cause | Solution |
|---|---|---|
Too Hard | Over-baking, insufficient steam | Reduce baking time, add steam |
Too Soft | Under-baking, low oven temp | Increase baking time/temp, add steam |