Table of Contents
Are you ready to elevate your baking game and create the crusty, chewy, and utterly irresistible sourdough french bread you've always dreamed of? This article is your comprehensive guide to mastering the art of sourdough french bread baking. We'll walk you through a foolproof sourdough french bread recipe, step-by-step, ensuring even beginners can achieve bakery-quality results. But this isn't just about a recipe; it's about understanding the nuances of sourdough, from feeding your starter to achieving that perfect oven spring. We'll explore essential tips and tricks to avoid common pitfalls, helping you troubleshoot any issues along the way. Finally, we'll unleash your culinary creativity with inspiring ideas on how to use your freshly baked sourdough french bread. Whether you're making classic French onion soup, gourmet sandwiches, or simply enjoying a slice with butter, this article will empower you to transform a simple loaf into a culinary masterpiece. So, gather your ingredients, and let's embark on this delicious journey together, unlocking the secrets to the perfect sourdough french bread recipe!
The Ultimate Sourdough French Bread Recipe
The Ultimate Sourdough French Bread Recipe
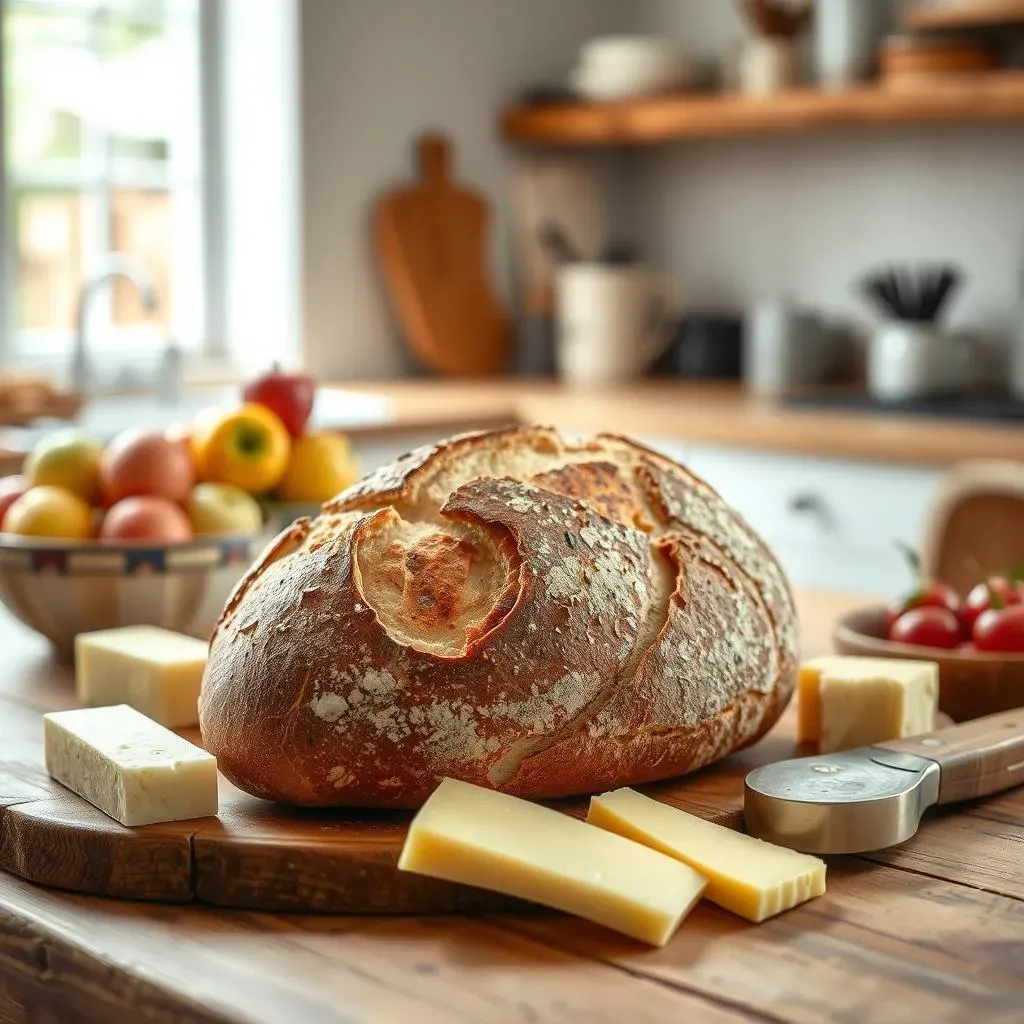
Getting Started: The Ingredients
Let's begin with the star of the show: your active sourdough starter! Make sure it's bubbly and full of life – this is key to a great rise. You'll also need bread flour (for that perfect gluten structure), water (room temperature is ideal), salt (to enhance flavor and control fermentation), and a touch of sugar (optional, but it adds a lovely golden crust). For a more detailed guide on sourdough starters, check out our 8-hour sourdough guide. It's a game changer!
Beyond the basics, you might want to experiment. Consider adding some olive oil for a richer flavor or even some whole wheat flour for a nuttier taste. Remember, baking is a journey of discovery! Don't be afraid to tweak the recipe to suit your preferences. For a simpler approach, try our 3-ingredient sourdough recipe for a quick and delicious alternative.
Ingredient | Quantity (approximate) | Notes |
|---|---|---|
Active Sourdough Starter | 1 cup | Bubbly and active |
Bread Flour | 4 cups | Can substitute with some whole wheat |
Water | 1 1/4 cups | Room temperature |
Salt | 2 tsp | Don't skip this! |
Sugar (optional) | 1 tbsp | Enhances crust color |
Mixing and Kneading: The Art of Gluten Development
Once you've gathered your ingredients, the fun begins! Gently combine everything in a large bowl, mixing until a shaggy dough forms. This is where the magic of gluten development starts. Now, it's time to knead. You can do this by hand (a bit of a workout, but rewarding!), or use a stand mixer with a dough hook. Knead until the dough is smooth and elastic, about 8-10 minutes. This develops the gluten, which gives your bread its structure and that wonderful chewy texture. Want to learn more about gluten development? Check out our French vs. sourdough bread comparison!
The kneading process is crucial; it's where the dough transforms from a sticky mess into a beautiful, cohesive mass. You'll know it's ready when you can stretch a small piece of dough and see light through it (the "windowpane test"). If your dough is still too sticky, add a little more flour, a tablespoon at a time. If it's too dry, add a tiny bit of water. It's all about finding that perfect balance.
- Gently combine ingredients
- Knead for 8-10 minutes (hand or mixer)
- Perform the windowpane test
- Adjust flour/water as needed
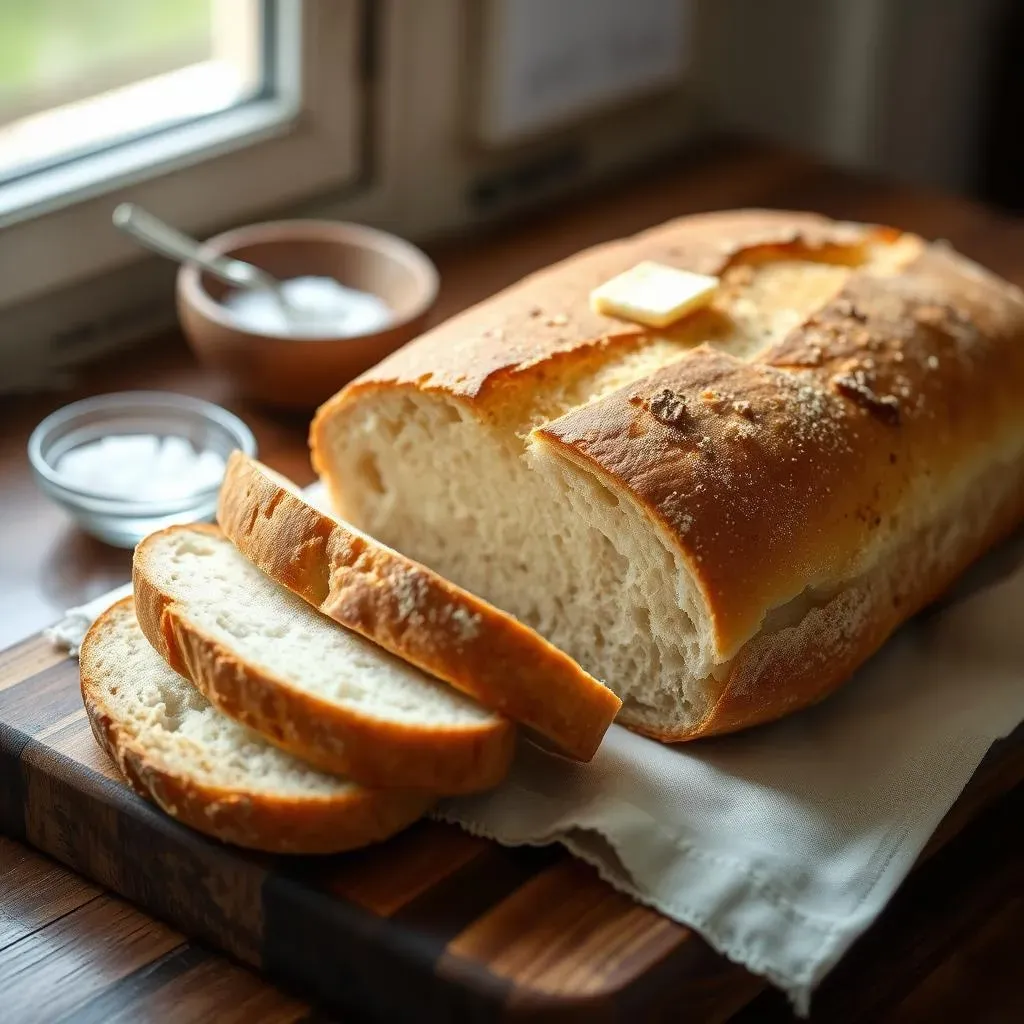
Bulk Fermentation and Shaping: The Patience Pays Off
After kneading, let your dough rest in a lightly oiled bowl, covered, for a few hours (bulk fermentation). This allows the yeast to work its magic, creating air pockets and giving your bread that airy interior. The exact time depends on your environment – a warmer kitchen will result in a faster rise. Watch for the dough to almost double in size. Once it's ready, gently punch down the dough and divide it into loaves or rolls. Shape them carefully – gently stretching and folding the dough – to create your desired form.
Shaping your dough is a meditative process; take your time and be gentle. This stage is essential for creating a beautiful, evenly baked loaf. After shaping, let the loaves rest for another hour or so (proof). They will puff up again, indicating they're ready for the oven. For more tips on shaping, consider checking out our sourdough baguette recipe which offers detailed instructions.
Tips and Tricks for Perfect Sourdough French Bread
Tips and Tricks for Perfect Sourdough French Bread
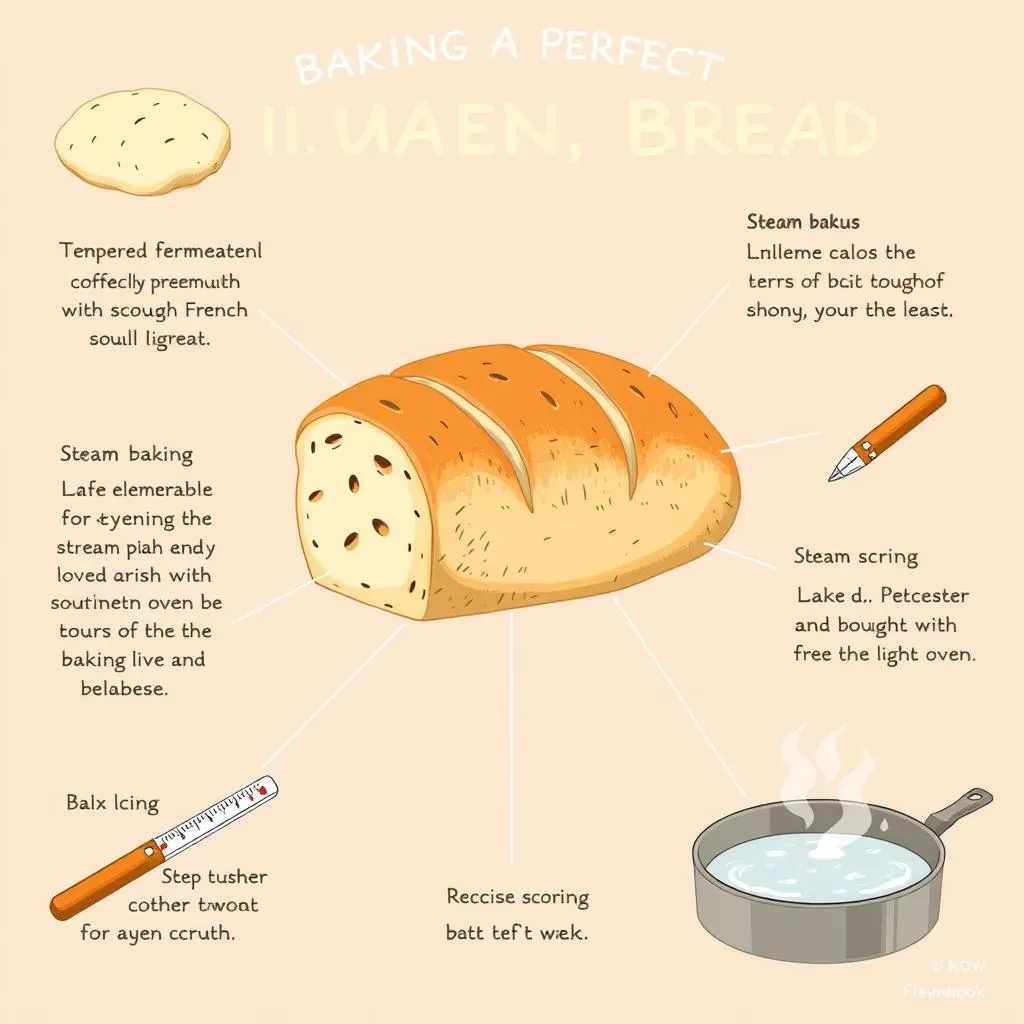
Mastering the Oven Spring
Achieving a beautiful oven spring—that dramatic rise your bread experiences in the oven—is the holy grail of sourdough baking. Several factors contribute to a successful spring. First, ensure your dough is properly fermented; under-fermented dough won't rise much, while over-fermented dough might collapse. Second, consider your oven's environment. Baking with steam in the first 10-15 minutes helps create a crisp crust and promotes a better rise. You can achieve this by placing a pan of hot water in the bottom of your oven, or by spritzing the oven walls with water. For more detailed information about managing your oven's environment and achieving that perfect crust, check out our guide on making sourdough french bread with a starter.
Finally, scoring your dough properly is crucial. Make shallow, precise cuts with a lame (a special bread-scoring tool) or a very sharp knife. These cuts allow the dough to expand without tearing unpredictably. Experiment with different scoring patterns to find what works best for you. Don't be afraid to try different scoring patterns! Each pattern creates a unique look and texture. For more information on scoring, check out our sourdough baguette recipe which covers scoring techniques in detail.
- Proper fermentation is key
- Bake with steam for a better rise
- Score your dough precisely
Temperature Control: The Goldilocks Zone
Temperature plays a significant role in sourdough baking, affecting everything from fermentation speed to crust development. A consistently warm environment (around 75°F or 24°C) is ideal for bulk fermentation. Too cold, and your dough will rise slowly; too hot, and it might over-proof and collapse. Monitor your dough's rise carefully, adjusting its location as needed (a slightly warmer spot, or a cooler one). You can use a thermometer to monitor the temperature of your dough, and this is especially important during the bulk fermentation phase. Remember, patience is key. A consistent temperature will result in a more even rise, and a more evenly baked loaf.
Oven temperature is equally important. A hot oven (around 450°F or 232°C) is essential for that beautiful crust. However, too high a temperature can burn the outside before the inside is cooked through. For a perfectly baked loaf, you might consider starting with a slightly higher temperature and then reducing it after the first 15 minutes. This helps to create the perfect crust and ensure the inside is fully cooked. For alternative baking methods, consider checking out our bread machine sourdough recipe.
Stage | Ideal Temperature (°F) | Ideal Temperature (°C) |
|---|---|---|
Bulk Fermentation | 75 | 24 |
Initial Oven Temp | 450 | 232 |
Troubleshooting Common Issues
Even experienced bakers encounter challenges. If your bread is dense, it might be under-fermented. Next time, allow for a longer bulk fermentation. If it's collapsed, it might be over-fermented or the oven temperature was too low. For next time, try a slightly shorter fermentation time or a hotter oven. A gummy crust often indicates insufficient oven spring, usually due to inadequate steam or scoring. Experiment with adding steam to your oven or adjusting your scoring technique. If you are having issues, you can check out our sourdough french bread guide for more troubleshooting tips.
Remember, baking is an iterative process. Don't be discouraged by imperfections. Each bake is a learning opportunity. Keep detailed notes, and you’ll gradually refine your technique. Pay attention to your dough's behavior and adjust your process accordingly. Over time, you'll develop an intuitive understanding of what your dough needs. This knowledge will help you to consistently produce beautiful, delicious loaves. For more advanced techniques, check out our guide on making a 6-hour sourdough bread.
Delicious Ways to Use Your Homemade Sourdough French Bread

Delicious Ways to Use Your Homemade Sourdough French Bread
Beyond the Basics: Unleashing Culinary Creativity
The possibilities are endless! Forget store-bought bread—your homemade sourdough is a culinary superstar. Slice it thick and slather it with butter and jam for a simple breakfast treat. Or, elevate it to a gourmet experience by creating elegant crostini topped with creamy cheeses and flavorful tapenades. For a heartier meal, consider using your sourdough as the base for a mouthwatering French dip sandwich, piled high with tender roast beef and melted Gruyère cheese. The slightly tangy flavor of the sourdough complements the rich beef perfectly.
Don't limit yourself to savory dishes. Your sourdough is equally versatile in sweet applications. Think French toast, where the sourdough's texture absorbs the custard beautifully, creating a decadent breakfast or brunch delight. Or, try our amazing French toast recipe which uses sourdough for a unique twist. For a fun twist, consider making bread pudding, where the sourdough adds a wonderful depth of flavor and a satisfyingly moist crumb. The possibilities are truly endless!
- Crostini with cheese and tapenade
- French dip sandwich
- French toast
- Bread pudding
From Simple Sandwiches to Gourmet Delights
For a quick and satisfying lunch, make sandwiches! The sturdy texture of sourdough holds up perfectly to various fillings, from simple ham and cheese to more elaborate combinations. Consider creating a delicious panini, grilling your sourdough until it's golden brown and crispy. The warmth and slight char enhance the flavors of your fillings. For a lighter option, use your sourdough to make bruschetta, toasting the bread until it's golden and crunchy, then topping it with fresh tomatoes, basil, and balsamic glaze.
If you're feeling adventurous, try making croutons from your leftover sourdough. Simply cube the bread, toss it with olive oil, herbs, and spices, and bake it until it's perfectly golden and crispy. These homemade croutons add a delightful crunch to salads and soups. Or, you could try our French toast bake recipe for a crowd-pleasing dessert. The sourdough adds a unique flavor and texture to this classic dish.
Dish | Description | Tip |
|---|---|---|
Sandwiches | Use various fillings | Grill for panini |
Bruschetta | Toasted bread with tomatoes and basil | Use balsamic glaze |
Croutons | Cubed and toasted bread | Toss with herbs and spices |
Freezing for Future Delights
Don't let your baking efforts go to waste! Sourdough freezes beautifully. To freeze, simply slice your bread, wrap it tightly in plastic wrap, and then place it in a freezer bag. This way, you can enjoy delicious sourdough whenever you want, without having to bake a fresh loaf every time. Freezing is a great way to preserve your bread for future use, ensuring that you always have delicious sourdough on hand. For more tips on freezing, check out our sourdough bread machine recipe which covers storage techniques.
When you're ready to enjoy your frozen sourdough, simply thaw it at room temperature or toast it gently. The texture might be slightly different than freshly baked bread, but it will still be delicious and perfect for sandwiches, French toast, or any other recipe that calls for sourdough. You can also use it to make breadcrumbs which are great for coating chicken or fish. It's a convenient way to ensure you always have delicious sourdough available, without the fuss of baking a fresh loaf every time. For more creative uses, check out our amazing 3-ingredient sourdough recipe which suggests different applications.