Table of Contents
Ever dreamt of crafting that perfect, crusty sourdough French bread, but felt intimidated by the yeast? Prepare to be amazed! This article unveils the secrets to baking delicious sourdough French bread *without* yeast, transforming a seemingly complex process into a manageable and rewarding experience. We'll guide you through the enchanting world of sourdough, demystifying the process step-by-step. Forget the commercial yeast; we'll harness the power of a naturally leavened sourdough starter to achieve that signature tangy flavor and airy texture. This comprehensive guide is designed for both beginners and experienced bakers seeking to elevate their sourdough French bread no yeast game. Get ready to explore the nuances of creating a truly authentic loaf, from understanding the importance of a healthy starter to mastering the art of shaping and scoring for that perfect crust. Prepare to be inspired, and let's embark on this delightful baking adventure together!
The Allure of Sourdough French Bread No Yeast: A Beginner's Guide
The Allure of Sourdough French Bread No Yeast: A Beginner's Guide
The Magic of Sourdough
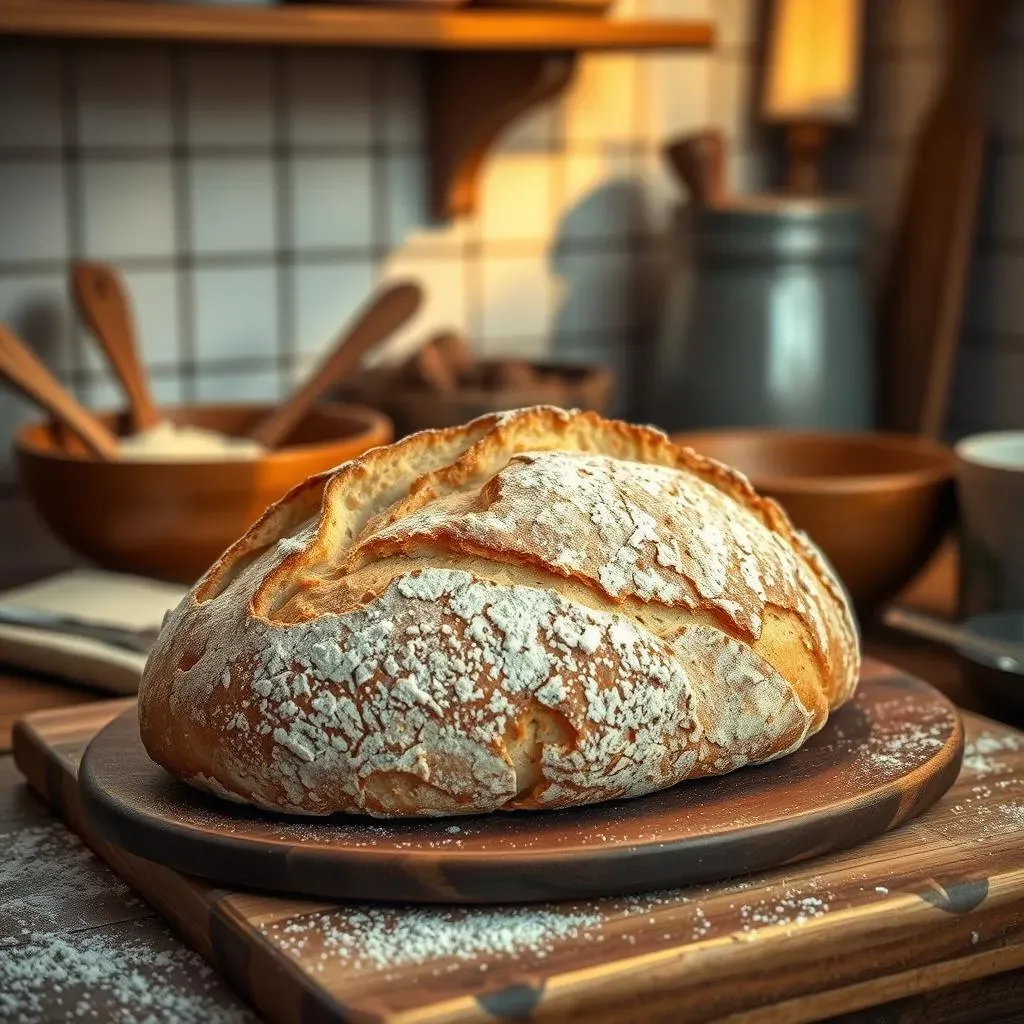
So, you're curious about sourdough French bread without yeast? That's fantastic! It might sound intimidating, but the reality is far more approachable than you think. The allure lies in the unique flavor profile – that delightful tang and complexity you just can't get from commercially-yeasted bread. It’s a journey of discovery, a dance between flour, water, and time, resulting in a bread that's both satisfying and incredibly rewarding to make. You'll be amazed at the depth of flavor and the satisfying chew you achieve. And let's be honest, there’s a certain bragging right that comes with making your own sourdough!
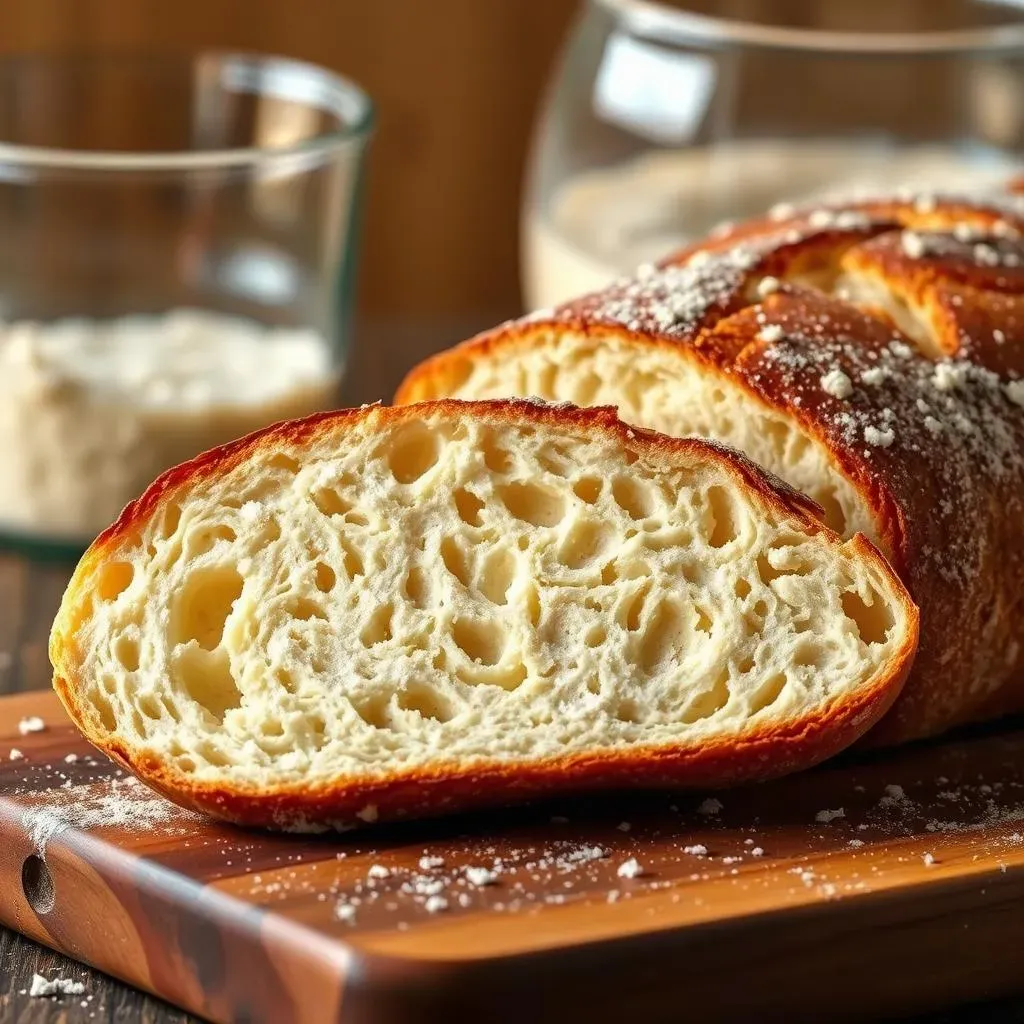
The beauty of sourdough French bread no yeast lies in its simplicity. It's a testament to the power of nature's own leavening agents – the wild yeasts and bacteria present in your starter. This process allows for a longer, slower fermentation, resulting in a more digestible and flavorful bread. Imagine the satisfaction of biting into a perfectly golden-brown crust, revealing a soft, airy crumb within. It’s an experience that elevates baking from a chore to an art form.
Why Choose Yeast-Free?
Many bakers opt for sourdough French bread no yeast for health reasons. Sourdough's longer fermentation process breaks down some of the gluten, potentially making it easier to digest for those with gluten sensitivities. Learn more about sourdough vs. regular bread Plus, the process itself is incredibly satisfying. It's a slow, mindful process that connects you to the age-old tradition of bread making. It's a chance to disconnect from the fast pace of modern life and reconnect with a more traditional, hands-on approach to cooking.
Beyond the health benefits, there's a certain charm to creating something from scratch, using only simple ingredients. The slow rise and fermentation of the dough allow for a complex development of flavor that you simply can't replicate with commercial yeast. It’s a journey, not a race. And the end result? A loaf of bread that's bursting with unique character and unparalleled taste. It's a bread that tells a story, a story of patience, skill, and the magic of natural fermentation. Imagine serving this to friends and family – the conversation starter alone makes it worth the effort!
- Improved digestibility
- Unique flavor profile
- Connection to traditional methods
Getting Started: What You'll Need
Before you embark on your sourdough French bread no yeast adventure, let's talk essentials. First, you'll need a healthy, active sourdough starter. This is the heart of the process, the living organism that will leaven your dough. Think of it as your secret ingredient – a tiny ecosystem of wild yeasts and bacteria that work their magic over time. Feeding your starter regularly is essential to keep it thriving and ready to bake. Check out our ultimate guide to sourdough starters. Beyond the starter, you'll need basic baking supplies: flour (bread flour is ideal, but all-purpose works too), water, salt, and a little patience – this is key!
Don’t worry if you're a complete beginner; this process is surprisingly straightforward. We'll provide clear, step-by-step instructions, guiding you through each stage of the process, from mixing the dough to shaping and baking your masterpiece. Remember, baking sourdough is a journey; the process itself is as rewarding as the final product. Each step is an opportunity to learn, to experiment, and to connect with the ancient art of bread making. The simple act of nurturing your starter and watching it come alive is part of the magic. And the end result? A loaf of bread that you'll be incredibly proud of.
Ingredient | Quantity | Notes |
|---|---|---|
Active Sourdough Starter | 1 cup | Fed 12-24 hours prior |
Bread Flour or All-Purpose Flour | 4 cups | Adjust as needed |
Water | 1 1/2 cups | Lukewarm |
Salt | 2 tsp | Sea salt preferred |
Mastering the Sourdough French Bread No Yeast Process: StepbyStep Instructions
Mastering the Sourdough French Bread No Yeast Process: StepbyStep Instructions
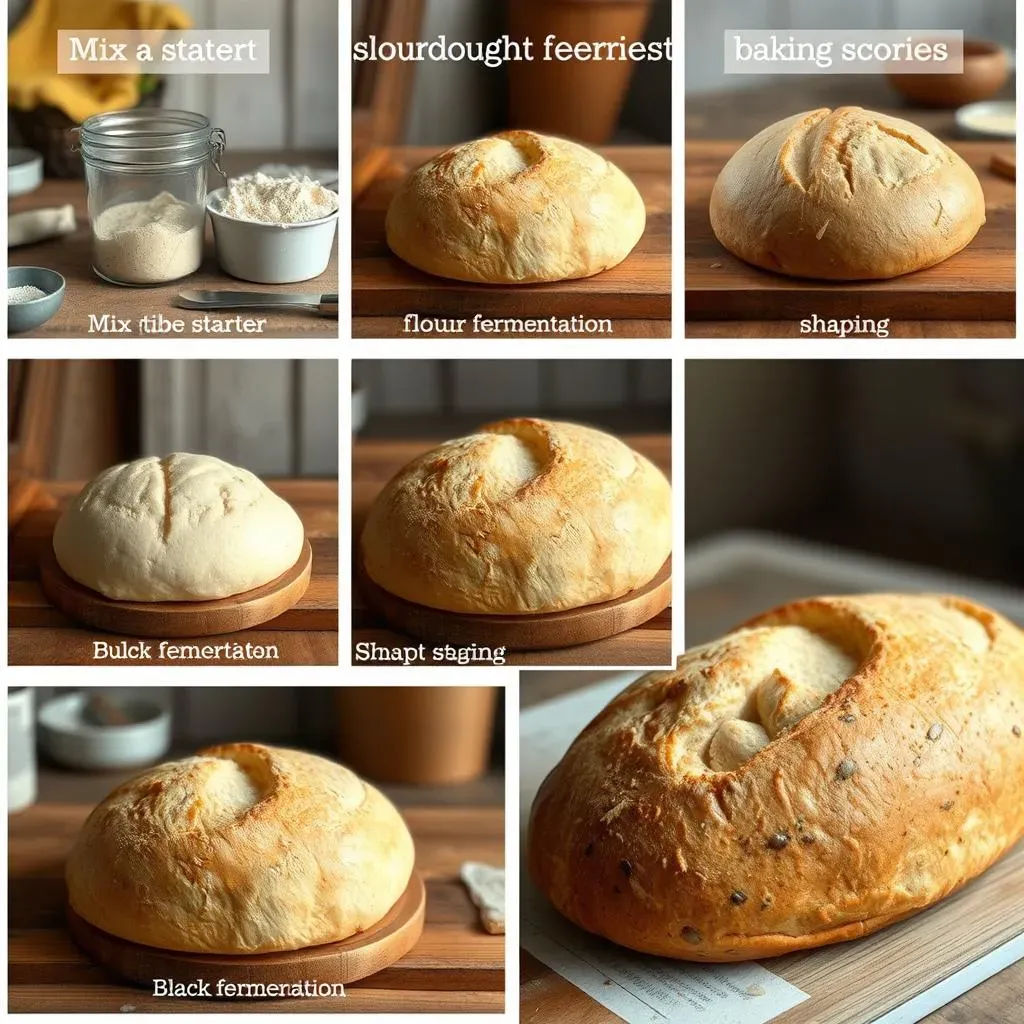
Mixing the Dough: The Foundation of Flavor
Let's get our hands dirty! The first step in making sourdough French bread no yeast is combining your ingredients. Start with your active sourdough starter – remember, it should be bubbly and full of life! Gently mix it with lukewarm water. This creates the perfect environment for the wild yeasts and bacteria to do their thing. Then, add your flour (bread flour is best, but all-purpose works in a pinch) and salt. Mix everything together until you have a shaggy, slightly sticky dough. This initial mix is crucial; it's where the magic begins!
Don't be afraid to get your hands in there! Kneading the dough is therapeutic and essential. It develops the gluten strands, giving your bread that lovely chewy texture. Knead for at least 10-15 minutes, or until the dough is smooth and elastic. If you're using a stand mixer, use the dough hook on low speed for about 8-10 minutes. The goal is a dough that's pliable yet firm. A well-kneaded dough is the key to a beautiful, evenly risen loaf. Remember, patience is key; the longer you knead, the better the bread will be!
- Combine starter and water.
- Add flour and salt.
- Knead until smooth and elastic.
Bulk Fermentation: Letting Nature Work Its Magic
After kneading, it's time for bulk fermentation. Place your dough in a lightly oiled bowl, cover it, and let it rest in a warm place for several hours. This allows the wild yeasts and bacteria in your starter to produce carbon dioxide, creating those lovely air pockets that give sourdough its characteristic texture. The exact time will depend on the temperature of your environment and the activity of your starter. Look for the dough to almost double in size – it should be puffy and bubbly, a sign that fermentation is progressing well. This is the most important step!
During bulk fermentation, you might notice some changes in your dough's appearance. The surface might become bubbly, and the dough itself may become lighter and airier. This is perfectly normal! It's a sign that the fermentation process is working its magic. However, don't let the dough over-ferment; this can lead to a less structured loaf. If you're unsure, check your dough regularly. The key is to strike a balance; the longer the fermentation, the more flavor, but too long can cause issues. A good rule of thumb is to let it ferment until it's nearly doubled in size.
Time | Temperature | Dough Appearance |
|---|---|---|
4-6 hours | 75-80°F | Slightly puffy, some bubbles |
6-8 hours | 70-75°F | Noticeably puffy, many bubbles |
8+ hours | 65-70°F | Almost doubled, very bubbly |
Shaping and Baking: The Final Flourishes
Once your dough has completed its bulk fermentation, it's time for the final steps – shaping and baking. Gently turn the dough out onto a lightly floured surface. Shape it into a long oval, like a traditional baguette. This process helps to further develop the gluten structure and creates a beautiful loaf. Gently place the shaped dough into a banneton (a proofing basket) or onto a parchment-lined baking sheet, seam-side up. Cover and let it rest for another hour or two – this is called the final proof.
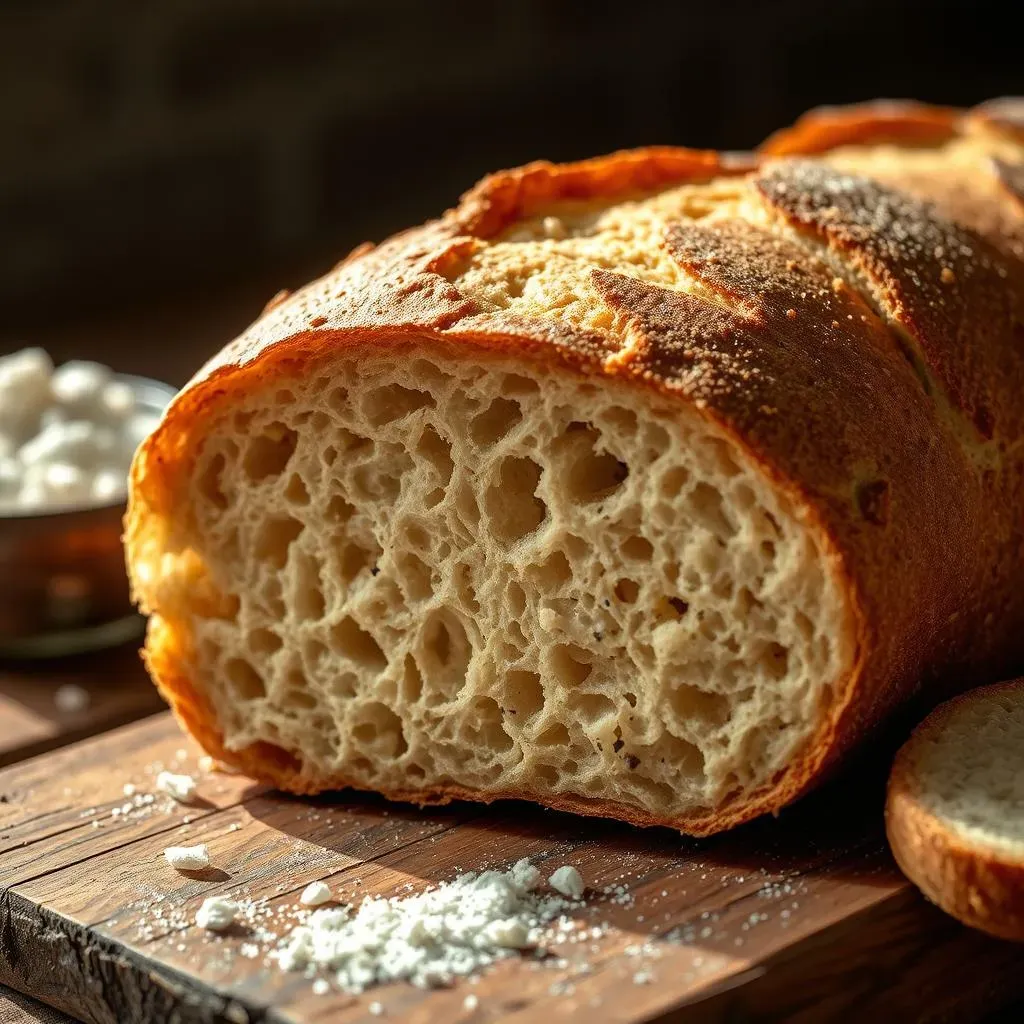
Preheat your oven to 450°F (232°C) with a baking stone or Dutch oven inside. This high heat creates that crispy, golden-brown crust we all crave. Before baking, score the dough with a sharp knife or lame. This creates those beautiful slashes on the surface, allowing for even expansion during baking. Carefully transfer the dough to the hot baking stone or Dutch oven. Bake for 25-35 minutes, or until the bread is deeply golden brown and sounds hollow when tapped on the bottom. Let it cool completely on a wire rack before slicing and enjoying! The aroma alone is worth the effort! And don't forget to share the bounty with friends and family – they'll thank you!
"The best bread is made with love and patience." - Anonymous Baker
Check out this crusty sourdough recipe!
Beyond the Basics: Tips and Tricks for Perfect Sourdough French Bread No Yeast
Beyond the Basics: Tips and Tricks for Perfect Sourdough French Bread No Yeast
Beyond the Basics: Fine-Tuning Your Sourdough French Bread No Yeast
So you've mastered the basics, huh? Fantastic! Now let's talk about elevating your sourdough French bread no yeast game. One crucial element is hydration. The perfect hydration level results in a beautifully textured loaf—too much, and it's gummy; too little, and it's dry. Experiment with slightly varying water amounts to find what works best for your flour and environment. Remember, even slight changes in humidity can impact the dough's behavior. Keep detailed notes on your experiments; you'll become a sourdough wizard in no time!
Another game-changer is understanding your starter's activity. A lively, bubbly starter indicates it's ready to work its magic. But a sluggish starter can result in a flat loaf. Ensure you feed your starter regularly and check its activity before each bake. A weak starter might need a bit more time to ferment, so adjust your proofing time accordingly. Don’t be afraid to experiment! This is where the real artistry of sourdough baking comes in. Remember, every loaf is a unique expression of your baking journey. And don't forget to check out our ultimate guide to sourdough starters for more tips.
- Monitor your starter's activity.
- Adjust hydration based on your flour and environment.
- Experiment with different flours for unique flavor profiles.
Beyond hydration and starter activity, consider experimenting with different types of flour. Bread flour is traditionally preferred for its high protein content, resulting in a chewier crumb. But all-purpose flour can work well too. Different flours will yield different flavors and textures, so have fun exploring! The world of flour is vast, and each variety offers unique characteristics that can significantly affect the final product. Don't be afraid to step outside your comfort zone and try something new!
Finally, remember that oven temperature and baking time are critical. A properly preheated oven (ideally with a baking stone) is key to achieving that signature crispy crust. Keep a close eye on your loaf; it might need a few extra minutes or a slightly lower temperature depending on your oven. Consider using an oven thermometer to ensure accuracy. And don't be afraid to adjust the baking time slightly—every oven is unique. Using a digital thermometer to check the internal temperature of the bread is a great way to ensure it's fully baked. And remember, even a slightly imperfect loaf is still delicious sourdough bread!
Flour Type | Expected Texture | Flavor Notes |
|---|---|---|
Bread Flour | Chewy, strong crumb | Nutty, slightly sweet |
All-Purpose Flour | Softer crumb | More subtle flavor |
Whole Wheat Flour | Denser crumb | Earthy, robust flavor |