Table of Contents
Tired of store-bought bread that lacks character? Yearning for the tangy delight of homemade sourdough but intimidated by the process? Fear not, fellow bread enthusiasts! This article is your ultimate guide to mastering the art of sourdough French bread, even with the convenience of a bread machine. We’ll walk you through a foolproof sourdough french bread machine recipe, ensuring you achieve a perfectly risen, crusty loaf every time. Forget complicated techniques and long fermentation times; we’re simplifying the process without sacrificing flavor. Inside, you'll discover the essential ingredients needed for this recipe, a step-by-step guide to using your bread machine effectively, and invaluable troubleshooting tips to handle any baking hiccups. Prepare to be amazed by the ease and delicious results of our sourdough french bread machine recipe. Get ready to elevate your baking game and impress your friends and family with this irresistible, homemade bread.
The Best Sourdough French Bread Machine Recipe
The Best Sourdough French Bread Machine Recipe
Why This Recipe Works
Let's be honest, sourdough can be intimidating. But this recipe uses your trusty bread machine to do the heavy lifting – the kneading, the first rise. It's all about harnessing the power of automation to create a truly delicious loaf. This recipe prioritizes simplicity. You'll get that amazing tangy sourdough flavor without the hours of hand-kneading and precise timing. Think of it as sourdough hacking – using technology to your advantage! Plus, it's adaptable. Want a crispier crust? We'll cover that. Prefer a softer crumb? We’ve got you covered. This recipe is the foundation for your sourdough bread machine journey. Check out our guide on making sourdough starter if you need a helping hand.
The beauty of this recipe lies in its versatility. You can easily adjust the hydration level to achieve your desired texture. More water means a softer, airier crumb, while less water results in a chewier, denser loaf. It’s all about experimentation! And don't worry if your starter is a little off. We'll cover how to adjust the recipe to compensate for variations in starter activity. This recipe is your passport to consistent, delicious sourdough, even if your starter is a bit of a rebel.
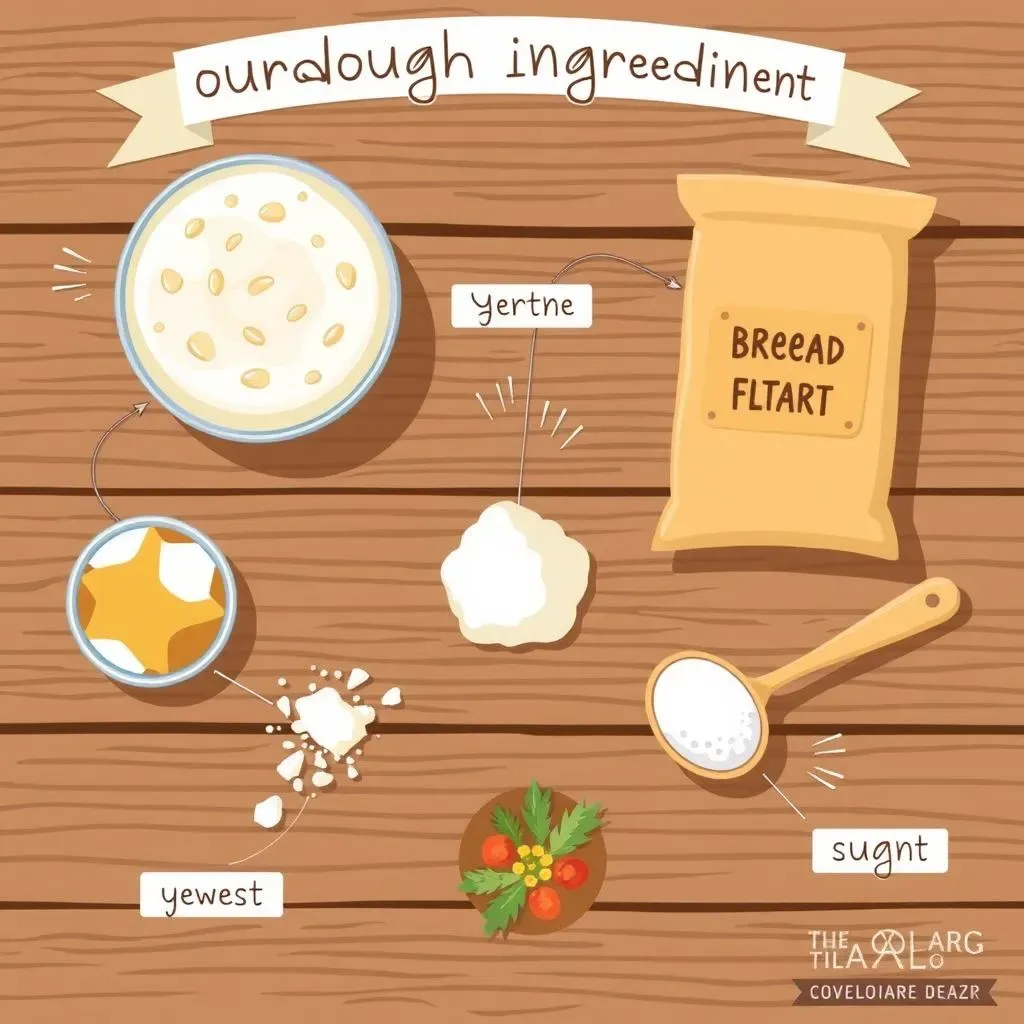
Ingredient | Amount | Notes |
|---|---|---|
Active Dry Yeast | 1 teaspoon | Or use instant yeast |
Salt | 1 teaspoon | Enhances flavor |
Sugar | 1 teaspoon | Feeds the yeast |
Bread Flour | 3 cups | Provides structure |
Sourdough Starter | 1 cup (fed) | Use a ripe starter |
Water | 1 1/2 cups (adjust as needed) | Lukewarm |
Understanding Your Bread Machine
Before you dive into the recipe, it's crucial to understand your bread machine. Different machines have different cycles and settings. Some bread machines have a dedicated "sourdough" setting, while others will require you to select a "French bread" or a similar cycle. Consult your bread machine's manual to find the best cycle for this recipe. Knowing your machine is half the battle. Remember, every machine is unique, so understanding its quirks is essential for success.
Pay close attention to the order in which your machine recommends adding ingredients. Most bread machines have a specific order to ensure proper mixing and kneading. Ignoring this order can lead to a sticky mess or an unevenly baked loaf. Take the time to understand your machine’s preferences. It's a small step that can significantly impact your baking success. For a deeper look at sourdough baking, check out our ultimate guide.
- Read your bread machine's manual carefully.
- Identify the appropriate cycle for sourdough or French bread.
- Pay attention to the recommended ingredient order.
Adapting the Recipe to Your Starter
Sourdough starters are temperamental creatures! Their activity level varies depending on several factors, including temperature, feeding schedule, and even the type of flour used. A highly active starter will produce a more tangy loaf and rise faster, while a less active starter might require a longer rise time or a slight adjustment to the yeast quantity. Understanding your starter's personality is key to baking success.
Don't be afraid to experiment! If your starter is less active, you might need to add a little extra yeast to help with the rise. Conversely, if your starter is extremely active, you may want to reduce the amount of yeast to prevent an overly aggressive rise. Trust your instincts and observe your starter's behavior. A little experimentation will go a long way. If you’re struggling with your starter, you might find our tips on making a great starter helpful.
Essential Ingredients for Your Sourdough French Bread Machine Recipe
Essential Ingredients for Your Sourdough French Bread Machine Recipe
The Power of the Starter
Let's start with the star of the show: your sourdough starter! This isn't just any yeast; it's a living, breathing culture of wild yeasts and bacteria that gives sourdough its unique tang and complexity. Make sure you're using a "ripe" starter – one that's bubbly and active, showing signs of fermentation. A fed starter is best, but even sourdough discard can work with a little adjustment (we'll cover that later!). The health of your starter directly impacts the final flavor and rise of your bread. For more information on maintaining a healthy starter, check out our tips on making a great starter.
The amount of starter you use will depend on its activity level. A more active starter will need less, while a less active one will require more to achieve the desired rise. Don't be afraid to experiment and adjust the recipe based on your starter's performance. Observing your starter will help you get better results each time. It's a bit like learning a new language, the more you practice, the better you’ll become. Want to learn more about different types of sourdough? Check out our ultimate guide.
Starter Type | Description | Recipe Adjustment |
|---|---|---|
Active | Bubbly, doubled in size | May need less starter |
Inactive | Minimal bubbles, slow rise | May need more starter or extra yeast |
Flour Power: The Backbone of Your Loaf
Next up is the flour. For a classic sourdough French bread, bread flour is your best bet. Its high protein content provides the structure and strength needed for a beautifully risen loaf with a chewy texture. All-purpose flour can work in a pinch, but it might result in a slightly less robust crumb. This is because bread flour has a higher protein content than all-purpose flour. Consider this your base ingredient, so make sure to use a high-quality bread flour for optimal results. For a more in-depth look at flour types, check out our ultimate guide.
The amount of flour you use will depend on the hydration of your dough. A wetter dough will require slightly more flour to achieve the correct consistency. Always add flour gradually, mixing until a smooth, slightly tacky dough forms. A properly hydrated dough will result in a more flavorful and textured loaf. Too much flour will result in a dry loaf. Too little flour will result in a sticky dough. Experiment to find the right balance for your preference.
- Bread flour: Provides structure and chewiness.
- All-purpose flour: Can be used as a substitute, but may result in a less chewy loaf.
- Adjust flour quantity based on dough hydration.
Yeast, Salt, and Sugar: The Supporting Cast
While your starter provides the primary leavening, a small amount of commercial yeast can be beneficial, particularly if your starter is less active. This ensures a consistent rise and helps prevent a flat loaf. It's all about providing backup support to your starter's efforts. Remember, your starter is the main character, but a little yeast can help the team succeed.
Salt is more than just a seasoning; it controls yeast activity, strengthens the gluten network, and enhances the flavors of your bread. Don't skimp on the salt; it's a crucial ingredient for both flavor and texture. Sugar, on the other hand, feeds the yeast, helping it thrive and produce those delightful air pockets. It's a small amount, but it makes a big difference. If you’re looking for a recipe that uses less sugar, you can check out our 2-ingredient sourdough bread recipe.
StepbyStep Guide: Baking Sourdough French Bread in a Machine
StepbyStep Guide: Baking Sourdough French Bread in a Machine
Preparing the Dough
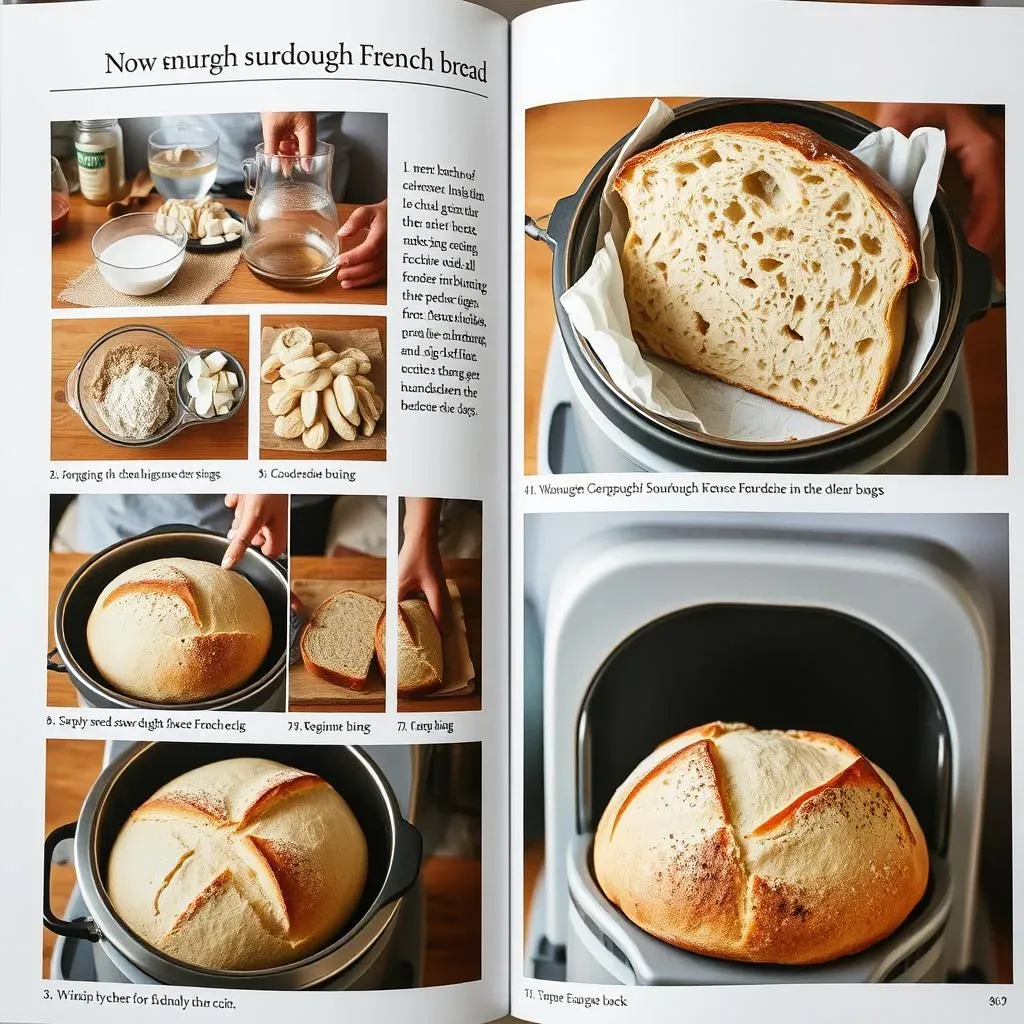
First, gather your ingredients: active dry yeast, salt, sugar, bread flour, your ripe sourdough starter, and lukewarm water. Make sure your starter is bubbly and active – this is key to a successful loaf! If you're using sourdough discard, you might need to adjust the amount of yeast slightly. We recommend checking out our tips on making a great starter for more information. Now, carefully follow your bread machine's instructions for adding ingredients – the order matters! Typically, liquids go in first, followed by dry ingredients, then the starter. Don't forget to consult your bread machine's manual for specific instructions; this will vary by model.
Once all ingredients are in the pan, select the appropriate baking cycle. Many machines have a dedicated "French bread" setting or a similar cycle with a longer rise time. This is crucial for developing the sourdough's characteristic flavor and texture. If your machine lacks a specific setting, choose a cycle that offers a long kneading and rising time. A longer rise is paramount for sourdough. Need some ideas on what to do with your leftover sourdough? Try our sourdough french toast recipe!
Step | Action |
|---|---|
1 | Gather ingredients |
2 | Add ingredients to bread machine (follow machine instructions) |
3 | Select appropriate baking cycle |
The Baking Process
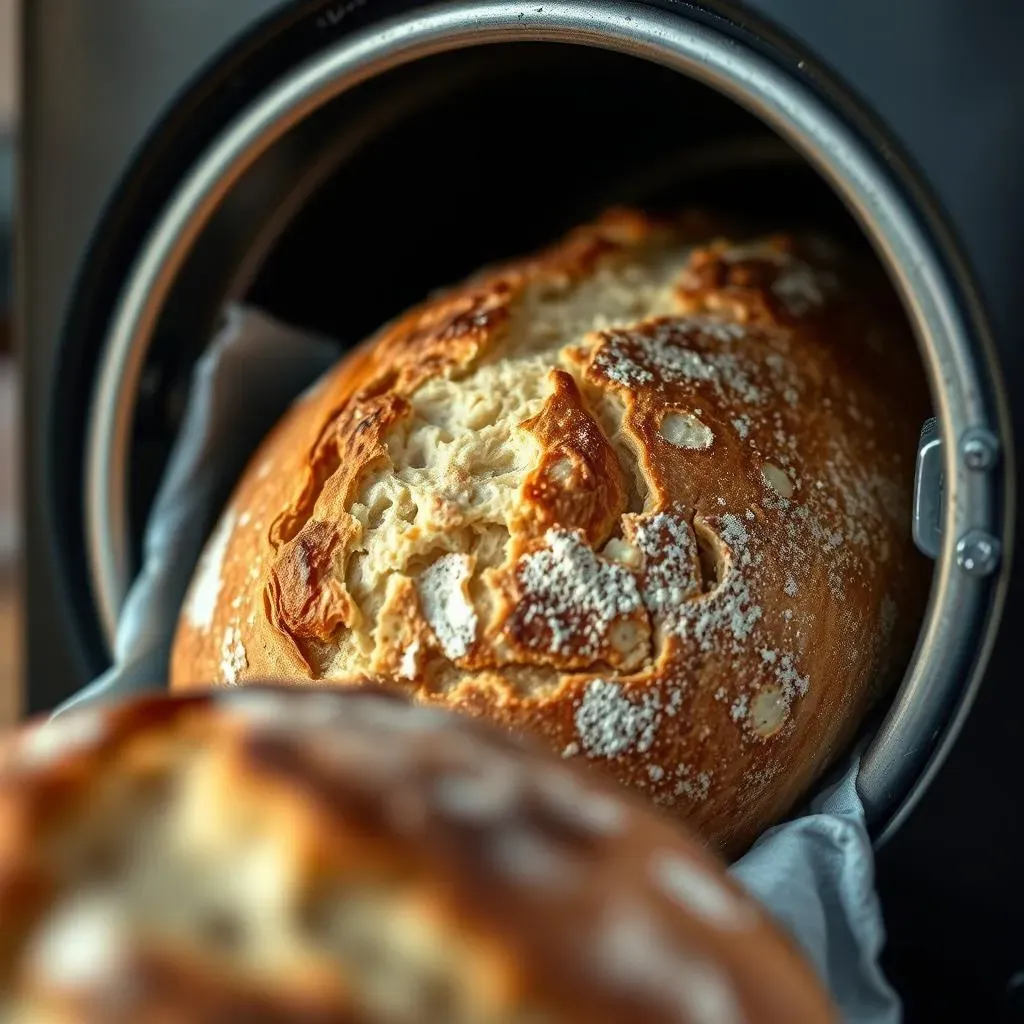
After selecting the baking cycle, press start and let the machine work its magic. Most bread machines will automatically knead the dough, allowing for a long fermentation period. Resist the urge to open the lid during this process – it can disrupt the temperature and humidity within the machine. Patience is key! The machine will do the heavy lifting, allowing you to relax and anticipate the delicious aroma that's about to fill your kitchen. If you’re short on time, you can explore our same-day sourdough bread recipe.
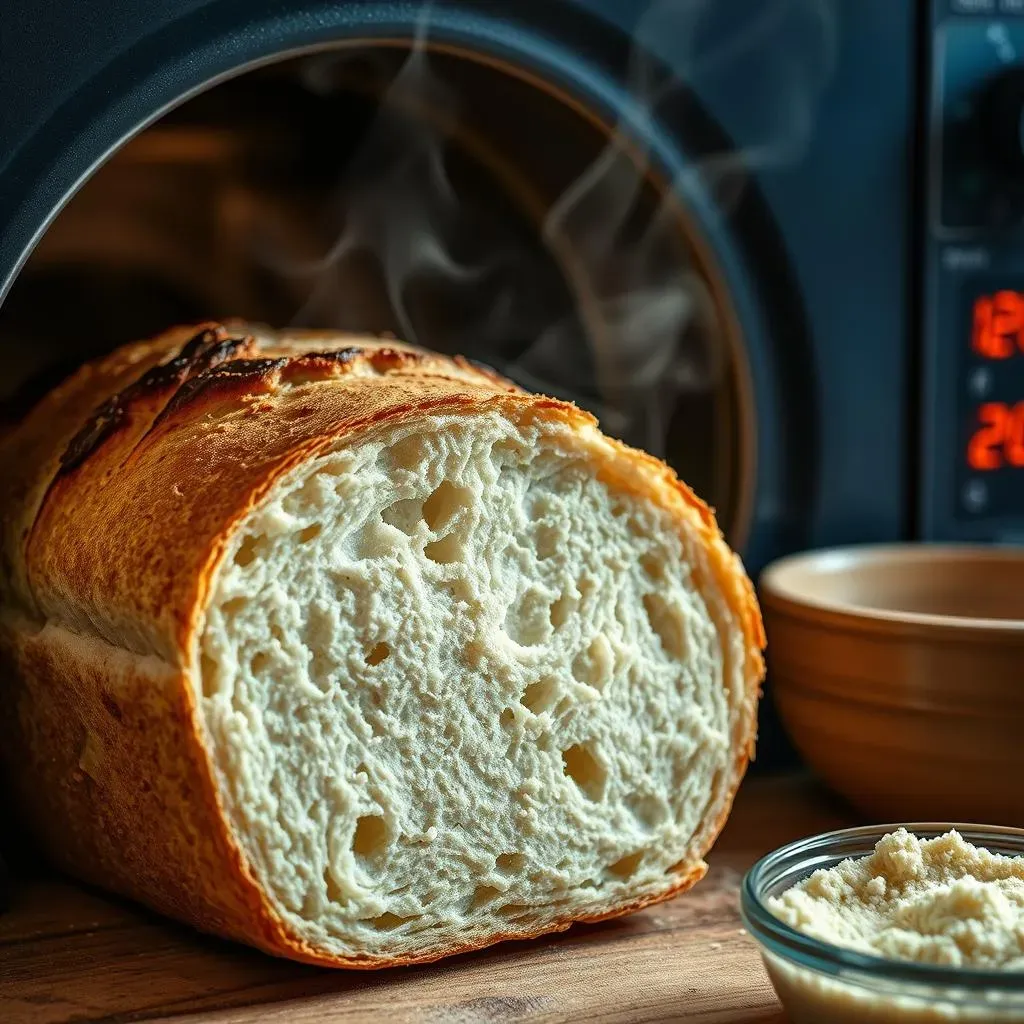
Once the baking cycle is complete, carefully remove the loaf from the bread machine. Allow it to cool completely on a wire rack before slicing and serving. This cooling process is essential for developing the bread's crust and preventing a soggy interior. Resist the temptation to cut into it while it's still warm; it's hard, we know, but the wait is worth it! For a more detailed guide on baking times and temperatures, consider checking out our amazing easy sourdough recipe.
- Do not open the lid during the baking cycle.
- Let the bread cool completely on a wire rack.
- Enjoy your delicious homemade sourdough!
Tips for Success
To achieve the perfect sourdough French bread, consider these additional tips. First, ensure your sourdough starter is at its peak activity – bubbly and doubled in size. A lively starter is the foundation of a great loaf. Second, pay close attention to the hydration level of your dough. Adjust the amount of water as needed to achieve a smooth, slightly tacky consistency. Third, preheat your oven if you want a crispier crust. This allows for a better oven spring and a more golden-brown exterior. Want to learn more about achieving the perfect crust? See our amazing 2-loaf sourdough recipe.
Finally, don't be afraid to experiment! Sourdough baking is a journey of discovery, and each batch will be slightly different. Adjust the hydration, the amount of starter, or even the type of flour to find the perfect recipe for your taste. Baking is all about finding what works best for you. Remember, even experienced bakers have off days. The key is to keep learning and refining your technique. For additional inspiration, check out our article comparing french bread and sourdough!
Troubleshooting Tips for a Perfect Sourdough French Bread Machine Recipe
Troubleshooting Tips for a Perfect Sourdough French Bread Machine Recipe
My Bread Didn't Rise!
A flat loaf is a baker's worst nightmare! Several things could be to blame. First, check your starter. Was it active and bubbly before you started? A weak starter won't give you the rise you need. If your starter was sluggish, next time, try feeding it more frequently or using a slightly larger amount. You can also double-check your yeast – is it still fresh? Old yeast won't activate properly and will lead to a flat loaf. Finally, make sure your ingredients were at the correct temperature. Cold ingredients can slow down fermentation.
Sometimes, the culprit is simpler than you think. Did you add all the ingredients in the correct order according to your bread machine's manual? The order is important for proper mixing and kneading. Also, did you use the correct bread machine cycle? A shorter cycle might not allow enough time for the dough to rise adequately. If your machine lacks a sourdough setting, try using a long fermentation cycle. For a more in-depth troubleshooting guide, check out our amazing easy sourdough recipe. It covers many common issues.
Problem | Possible Cause | Solution |
|---|---|---|
Flat loaf | Inactive starter | Use more starter, feed more frequently |
Flat loaf | Old yeast | Use fresh yeast |
Flat loaf | Incorrect ingredient order | Check your bread machine manual |
My Crust is Too Soft/Hard
The crust is a crucial part of the sourdough experience! A too-soft crust might indicate that your oven wasn't hot enough, or that you didn't let the bread cool completely before slicing. Make sure your oven is preheated to the correct temperature before baking, and allow the loaf to cool completely on a wire rack. A wire rack allows for better air circulation, which helps to crisp the crust. For more on achieving the perfect crust, check out our amazing 2-loaf sourdough recipe.
On the flip side, a rock-hard crust might be due to over-baking. Next time, keep a close eye on your bread during the final stages of baking. You can also try reducing the baking time slightly. Remember, every oven is different, so you might need to experiment to find the perfect baking time for your specific appliance. Another potential issue is the amount of water in your dough. A drier dough will generally result in a crispier crust, while a wetter dough will produce a softer one. Experiment with hydration levels to achieve your desired crust texture. If you’re looking for a recipe with a unique texture, try our gluten-free sourdough recipe!
- Check your oven temperature.
- Allow the bread to cool completely.
- Adjust baking time as needed.
- Experiment with dough hydration.