Table of Contents
Ever dreamt of crafting a perfect loaf of sourdough french bread, that irresistible combination of a crisp, golden crust and a soft, airy interior? This article is your passport to that baking dream! We'll journey together through the art of sourdough french bread, from understanding the nuances of this classic bread to mastering the techniques that guarantee a delicious result every time. Get ready to explore the world of sourdough starters, learn the secrets to a successful bake, and discover invaluable tips and tricks to elevate your sourdough french bread to the next level. Whether you're a seasoned baker or just starting your sourdough adventure, this comprehensive guide will equip you with the knowledge and confidence to create sourdough french bread that will impress even the most discerning palates. Prepare to be amazed as we unravel the magic behind this beloved bread, step by step.
Understanding Sourdough French Bread: A Deep Dive
Understanding Sourdough French Bread: A Deep Dive
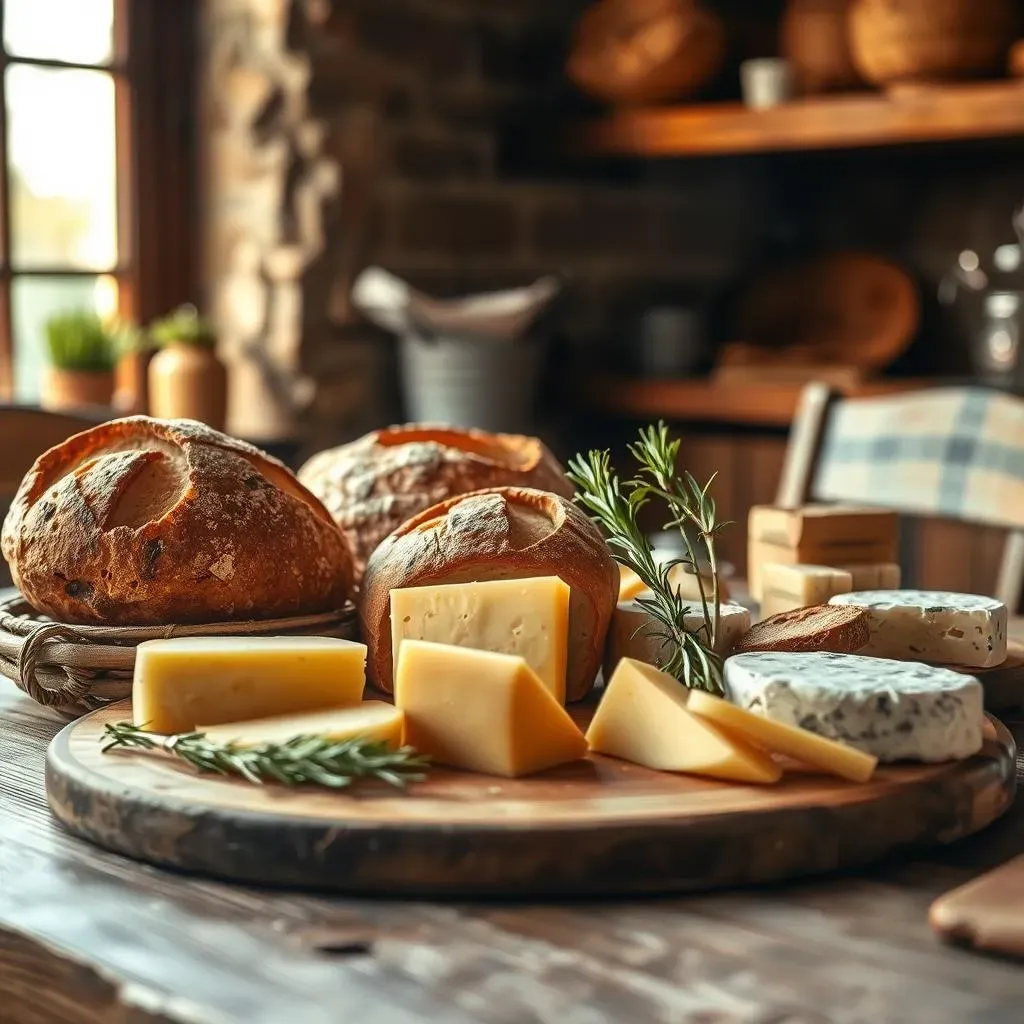
What Makes Sourdough French Bread Unique?
Sourdough french bread isn't just your average loaf; it's a testament to the magic of fermentation. Unlike bread made with commercial yeast, sourdough relies on a wild yeast starter, a living culture of bacteria and yeast. This gives sourdough french bread its characteristic tangy flavor and complex aroma. The long fermentation process also contributes to a lighter, airier crumb and a wonderfully chewy crust. It's a world of difference compared to using instant yeast!
The beauty of sourdough lies in its simplicity. With just flour, water, and salt (and of course, your active sourdough starter!), you can create a truly remarkable bread. But don't be fooled by its seemingly simple ingredients – mastering the art of sourdough requires understanding the science behind the process, from the nuances of hydration levels to the importance of fermentation times. Learning to make a sourdough starter is a journey in itself, and it's a rewarding one! Check out our guide on making a sourdough starter to get started.
Bread Type | Leavening Agent | Flavor Profile | Crumb Texture |
|---|---|---|---|
Sourdough French Bread | Sourdough Starter | Tangy, Complex | Light, Airy |
Regular French Bread | Commercial Yeast | Mild, Slightly Sweet | Slightly Dense |
The Science of Sourdough Fermentation
The magic of sourdough lies in the fermentation process. The wild yeasts and bacteria in the starter consume the sugars in the flour, producing carbon dioxide that creates the characteristic airy texture. This process also produces lactic acid, which contributes to the distinctive tangy flavor and also improves the digestibility of the bread for some people. It's a fascinating interplay of biology and chemistry, resulting in a truly unique culinary experience. This is why sourdough is often considered healthier than other breads – those good bacteria are hard at work!
Different starters will yield different flavors. A longer fermentation time will usually create a more complex, sour flavor, while a shorter fermentation will result in a milder taste. This means you can tailor the flavor of your sourdough french bread to your preferences. Explore the differences between sourdough and regular french bread with our helpful comparison: Sourdough vs. French Bread.
- Flavor development through fermentation
- Impact of fermentation time on taste
- The role of lactic acid in flavor and digestibility
Mastering the Sourdough Starter for Sourdough French Bread
Mastering the Sourdough Starter for Sourdough French Bread
Creating and Maintaining Your Starter
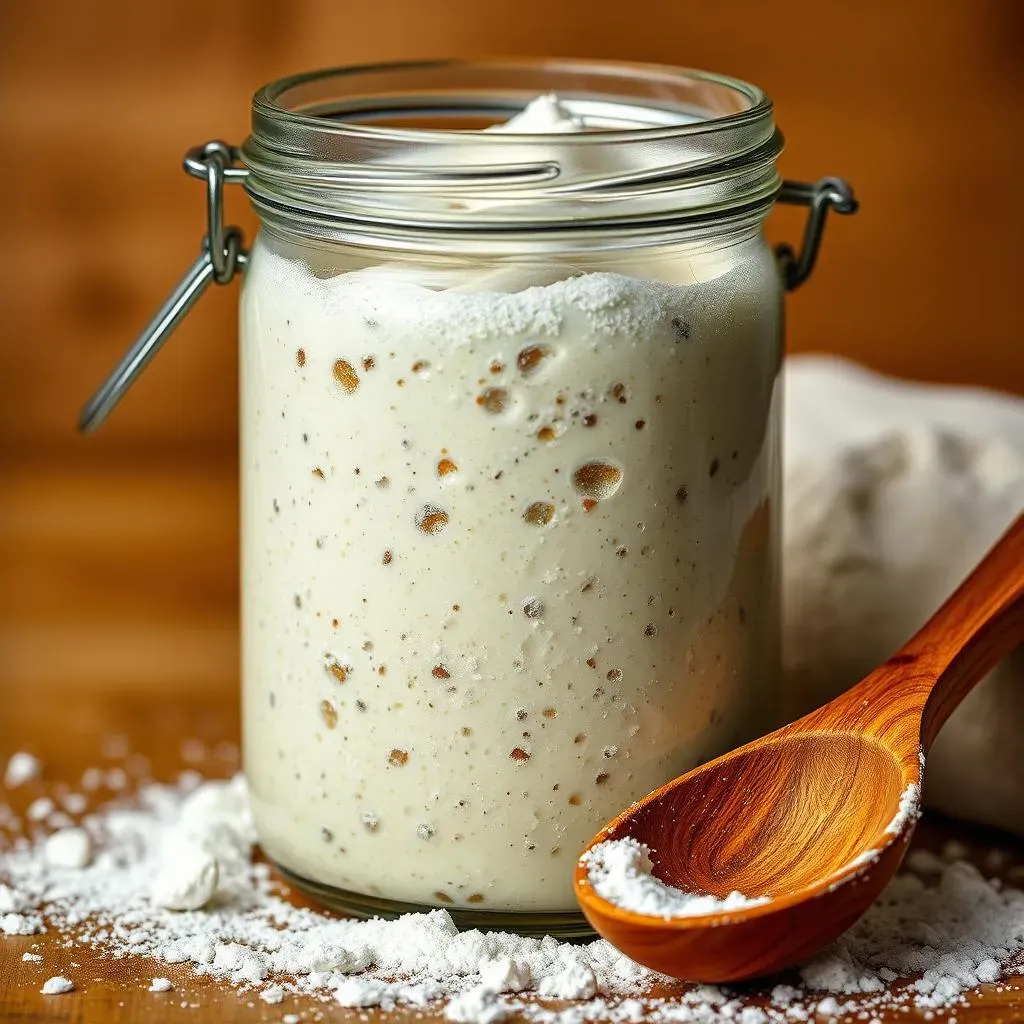
Your sourdough starter is the heart of your sourdough french bread. Think of it as a tiny, bubbly ecosystem of wild yeasts and bacteria, patiently waiting to transform simple flour and water into something magical. Getting a healthy, active starter is crucial for success. Begin by mixing equal parts flour and water; a simple 50/50 ratio works well. Keep it in a warm place, feeding it regularly (usually daily) with fresh flour and water. You'll know it's ready when it doubles in size and shows plenty of bubbly activity – a sign those little microbes are thriving! For detailed instructions, check out our comprehensive guide on making a sourdough starter.
Consistency is key. Regular feeding is essential to maintain a lively starter. If you neglect it, your starter might become dormant or even die. Imagine it as a pet that needs care and attention! The frequency of feeding depends on the environment; warmer temperatures will require more frequent feedings. Over time, you'll learn to recognize the signs of a healthy, active starter, a process that truly becomes second nature. Once you've mastered that, you'll be ready to create amazing sourdough bread. Try our easy recipe for 6-hour sourdough bread to put your starter to the test!
- Initial starter mix ratios
- Signs of a healthy, active starter
- Importance of regular feeding and environmental factors
Understanding Starter Hydration and Activity
The hydration level of your starter, the ratio of water to flour, significantly impacts its consistency and activity. A higher hydration starter will be runnier, while a lower hydration starter will be thicker. Experiment to find what works best for you and your climate. A more active starter, showing vigorous bubbling, indicates it's ready to leaven your dough. Remember, a sluggish starter may result in a less flavorful and less airy loaf.
Don't be afraid to experiment! The beauty of sourdough is that it’s a journey of discovery. Keep notes on your starter's behavior and adjust your feeding schedule accordingly. Each starter develops its own unique personality, influenced by the flour you use, the temperature of your environment, and even the type of water. Mastering your starter is a personal journey, and the rewards – delicious, flavorful sourdough french bread – are well worth the effort. Looking for more sourdough inspiration? Check out these amazing crusty sourdough recipes!
Hydration Level | Starter Consistency | Activity Level |
|---|---|---|
High (e.g., 80%) | Runny | Potentially More Vigorous |
Low (e.g., 60%) | Thick | Potentially Less Vigorous |
StepbyStep Sourdough French Bread Baking Guide
StepbyStep Sourdough French Bread Baking Guide
Mixing and Kneading the Dough
We start with the foundational step: combining your ingredients. This isn't just about throwing everything into a bowl; it's about creating a harmonious blend of flour, water, salt, and your bubbly sourdough starter. The ratio of water to flour (hydration) is crucial; it determines the dough's consistency and the final texture of your bread. Aim for a slightly sticky dough that's easy to work with. Too dry, and your bread will be dense; too wet, and it might be too difficult to handle. Once combined, the real fun begins: kneading! This develops the gluten, giving your bread its structure and that signature chewiness. A stand mixer with a dough hook can make this easier, but you can certainly achieve great results with good old-fashioned hand kneading. Remember, kneading is a workout for your dough – and maybe for you too! Check out our tips for creating soft sourdough bread for more info.
Proper kneading is key to a beautiful loaf. You'll know you've kneaded enough when the dough is smooth, elastic, and slightly pulls away from the sides of the bowl. This is often referred to as the "windowpane test," where you can stretch a small piece of dough thin enough to almost see through it. Don't skimp on this step; it's the secret to that perfect, airy crumb. For a detailed look at sourdough techniques, check out our ultimate guide: Ultimate Sourdough Guide. This will provide everything you need to know about mastering sourdough baking.
- Ingredient ratios and hydration levels
- Kneading techniques (hand and machine)
- The windowpane test: a sign of proper gluten development
Bulk Fermentation and Shaping
After kneading, your dough needs time to rest and rise – this is bulk fermentation. This is where the magic of your sourdough starter truly shines. The yeasts and bacteria happily munch on the sugars in the flour, producing carbon dioxide that creates those lovely air pockets in your bread. This process also develops flavor and texture. You'll notice the dough increasing in volume – it's a thrilling sight! The length of bulk fermentation depends on factors like temperature and starter activity, but a few hours is a good starting point. The warmer the environment, the faster the rise, so keep this in mind.
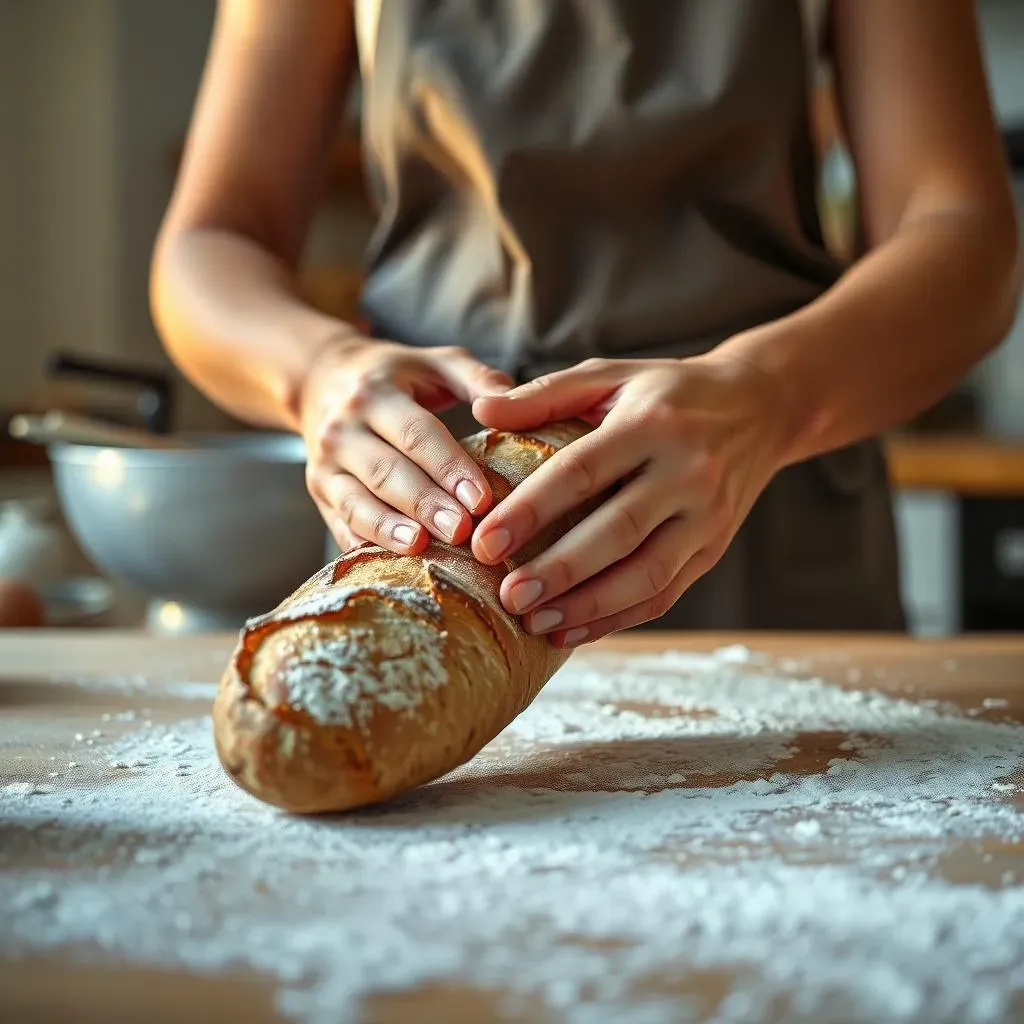
Once the dough has risen sufficiently, it's time to shape it. This is where you transform your bubbly mass into the elegant form of a French baguette. There are different shaping techniques, but the goal is to create a taut, smooth surface that will bake beautifully. Gently stretch and fold the dough, ensuring a consistent tension throughout. This process helps to control the rise during the final proof. Don't be discouraged if your first attempts aren't perfect; shaping is a skill that improves with practice. For more detailed instructions on shaping your dough, check out our recipe on French bread using sourdough starter.
Stage | Description | Timeframe |
|---|---|---|
Bulk Fermentation | Dough rises in a bowl | 2-4 hours (depending on temperature) |
Shaping | Dough is formed into baguettes | 15-20 minutes |
Proofing and Baking
After shaping, your baguettes need a final rest – this is called proofing. During proofing, the dough undergoes a final rise, giving it volume and structure. This stage is crucial for developing flavor and texture. Proofing typically takes a few hours, but again, temperature plays a significant role. A warmer environment will result in a faster rise. You'll know your baguettes are ready when they've almost doubled in size and gently spring back when poked gently.
Finally, the moment of truth: baking! Preheat your oven to a high temperature (around 450°F or 232°C) to create a beautiful crust. For extra crispiness, consider adding steam to your oven during the initial baking phase. This helps to create a lovely, golden-brown crust. Baking time will depend on the size of your baguettes, but typically it's around 25-30 minutes. Listen for that hollow sound when you tap the bottom of a baguette; it's a sign it's perfectly baked. Allow your sourdough french bread to cool completely on a wire rack before slicing and enjoying. For tips on baking without a Dutch oven, check out our post on amazing crusty sourdough bread.
- Importance of proofing time and temperature
- Baking temperature and steam techniques
- Signs of a perfectly baked baguette
Tips and Tricks for Perfect Sourdough French Bread Every Time

Tips and Tricks for Perfect Sourdough French Bread Every Time
Mastering the Oven Spring
Oven spring, that glorious rise your dough experiences in the oven, is crucial for a light and airy crumb. Several factors influence it. First, ensure your dough is properly proofed – not underproofed (leading to a dense loaf) or overproofed (resulting in a collapsed one). Second, a hot oven is your best friend! The intense heat helps the gases expand quickly, creating that beautiful rise. Third, consider adding steam to your oven during the first few minutes of baking. This creates a humid environment, preventing the crust from forming too quickly and trapping moisture inside for a better rise. Finally, don't open the oven door too soon! That sudden rush of cold air can deflate your hard-earned oven spring.
Think of oven spring like launching a rocket: you need the right fuel (properly proofed dough), a powerful engine (hot oven), and a clear trajectory (consistent baking environment). Experiment with different techniques to find what works best for your oven and your dough. For more detailed tips on achieving that perfect rise, have a look at our guide on creating amazing crusty sourdough.
- Proper proofing is essential
- High oven temperature promotes expansion
- Steam enhances oven spring
- Avoid opening the oven door prematurely
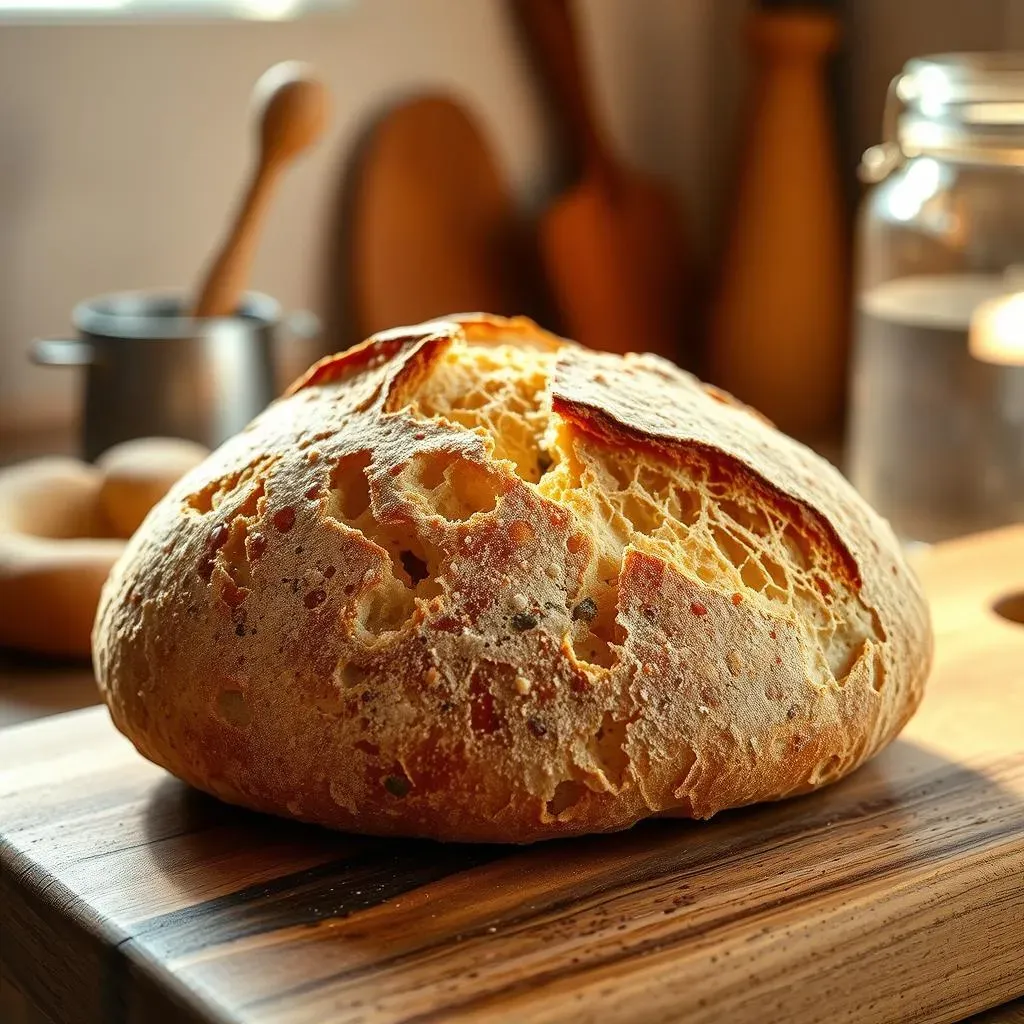
Achieving the Perfect Crust
That beautiful, crackly crust is what makes sourdough french bread so irresistible. Several factors contribute to its perfection. First, ensure your oven is incredibly hot. High heat promotes rapid crust formation, resulting in that signature golden-brown color and satisfying crunch. Second, consider using steam during baking. Steam creates a moist environment that helps to develop a deeper, more flavorful crust. Third, score your dough properly before baking. Scoring allows the loaf to expand evenly, preventing cracks and tears in the crust. Finally, don’t be afraid to experiment with different flours; different flours will yield different crust textures.
The crust is the crown of your sourdough french bread, and it deserves your attention! It's the result of a delicate balance between heat, moisture, and time. Experiment with different baking techniques, flour types, and scoring patterns to find what creates the perfect crust for your taste. For even more tips and tricks on baking amazing bread, check out our ultimate guide to sourdough french bread. It's packed with information to help you become a sourdough master!
Factor | Impact on Crust |
|---|---|
High Oven Temperature | Crispier, Browner Crust |
Steam | Deeper, More Flavorful Crust |
Scoring | Controlled Expansion, Prevents Cracking |
Flour Type | Different Textures (e.g., Rye for a Chewier Crust) |