
Table of Contents
Have you ever craved that perfect, crusty-on-the-outside, soft-on-the-inside roll? You know, the kind that makes your sandwich sing or your dinner feel complete? Well, you're in the right place! We're diving into the wonderful world of small french rolls, and I'm going to show you just how easy it is to bake them at home. Forget those store-bought imposters; we're making the real deal. This isn't about complicated techniques or fancy equipment. I'll walk you through the whole process, from mixing the dough to pulling out those golden-brown beauties from the oven. We’ll explore the simple steps to get that amazing texture, share some pro tips for baking success, and even talk about how to keep your rolls fresh (if they last that long!). So, grab your apron, and let's get baking these delightful small french rolls together!
Crafting the Perfect Small French Rolls: A StepbyStep Guide
Crafting the Perfect Small French Rolls: A StepbyStep Guide
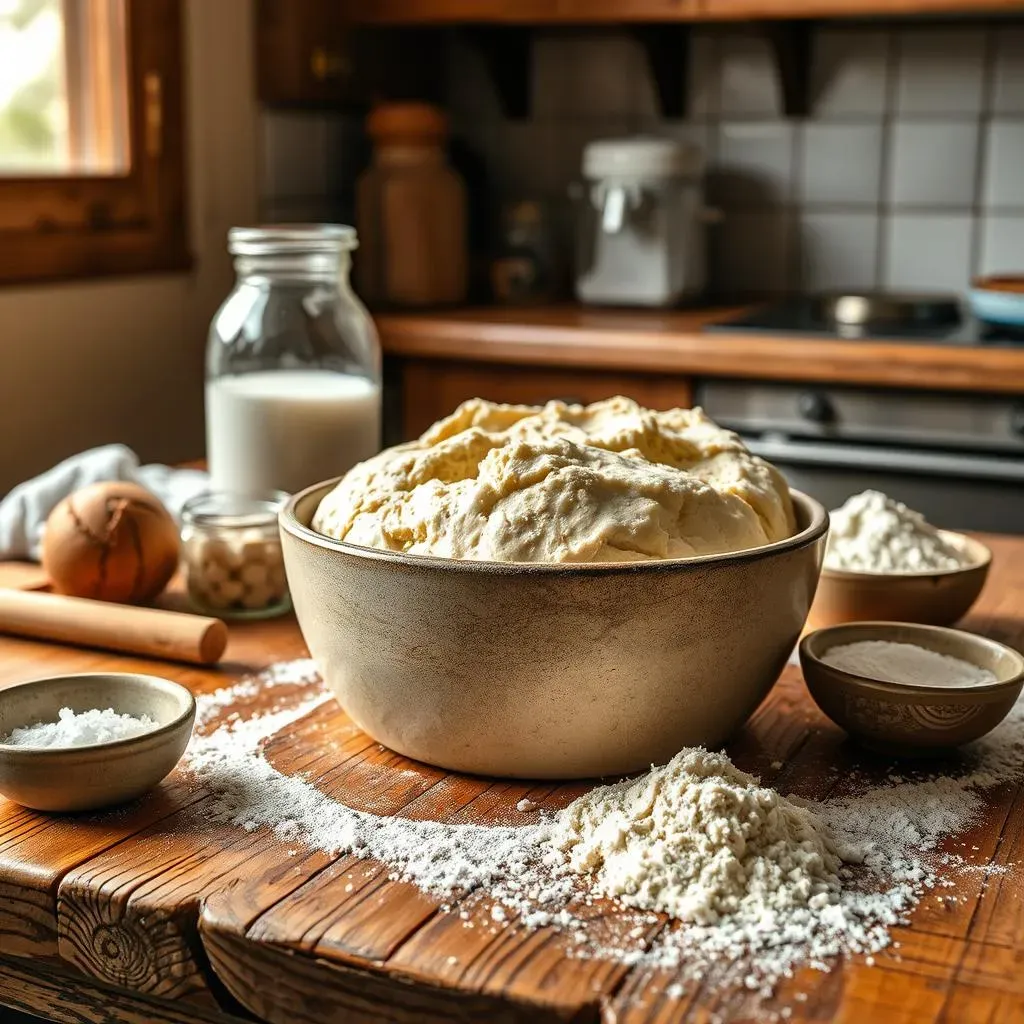
The Humble Beginnings: Mixing the Dough
Alright, let's get our hands floury! The journey to perfect small french rolls starts with the dough. It’s not some super complicated science experiment, I promise. We’re talking about simple ingredients: flour, water, yeast, and a touch of salt. That's it! You can use a stand mixer if you're feeling fancy, but honestly, a bowl and your hands work just as well. The key is to mix everything until it forms a shaggy dough. Don’t worry if it’s not perfectly smooth at first. We’re going for a good, solid start, not a beauty contest winner. Once it’s combined, let it rest for a bit. Think of it as a little nap before the real work begins.
The Kneading Adventure: Developing the Gluten
Now for the fun part – kneading! This is where the magic happens. It’s not just about pushing dough around; it’s about developing the gluten, which gives our small french rolls that beautiful, chewy texture. If you're using a mixer, let it knead for about 5-7 minutes. If you’re going old-school by hand, you'll probably need to knead for about 8-10 minutes. You’ll know it’s ready when the dough becomes smooth and elastic. It should feel alive, not sticky and sad. It's like you're giving the dough a little workout, and it's going to reward you later with amazing rolls!
Step | Description | Time |
|---|---|---|
1 | Combine ingredients into a shaggy dough. | 5 minutes |
2 | Knead the dough until smooth and elastic. | 5-10 minutes |
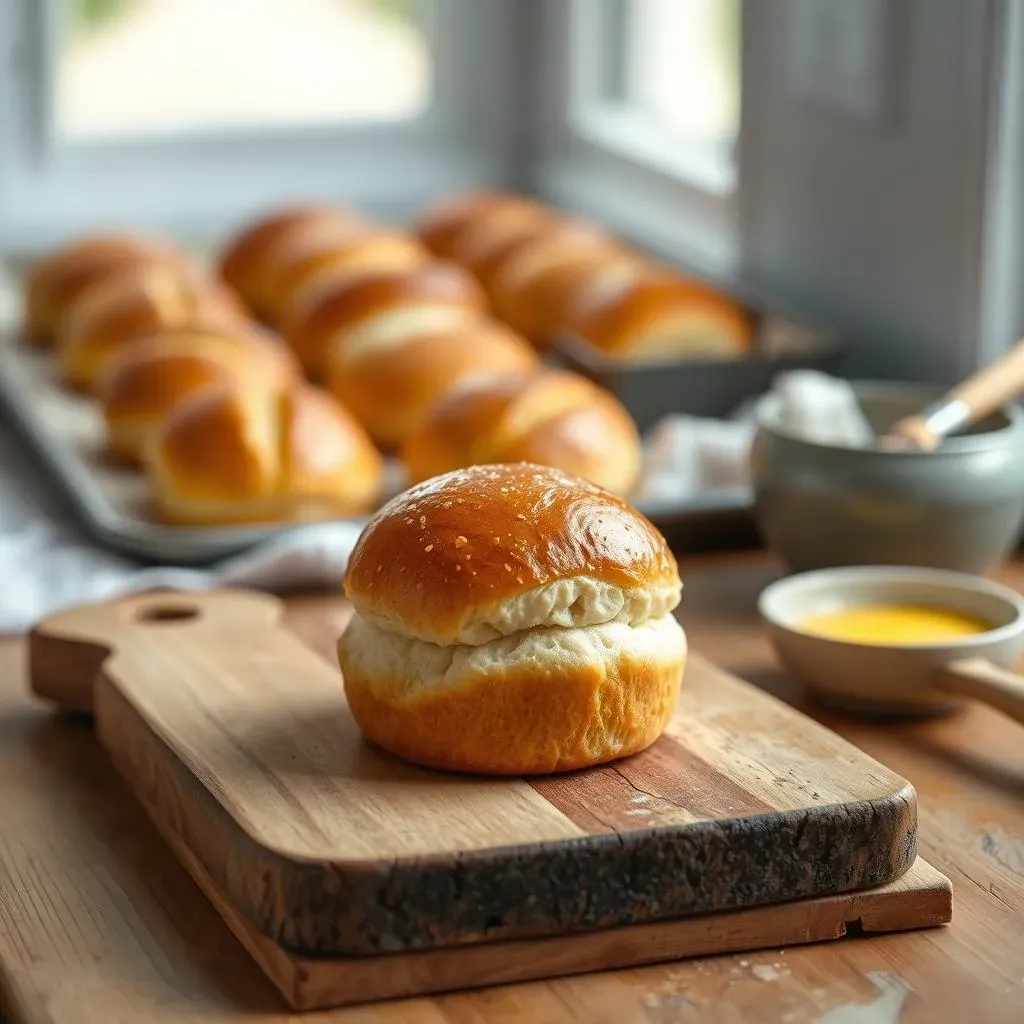
Shaping and Baking: From Dough to Deliciousness
Okay, the hard part is over! Now, we gently divide the dough into equal portions – about 6-8 pieces for small rolls. Roll each piece into a small log or a ball, whatever shape your heart desires. Place them on a baking sheet and let them rise for about an hour, or until they’ve puffed up nicely. Then, it’s time for the oven. A nice hot oven will give your rolls that wonderful crust. Bake until golden brown, and then try to resist eating them all at once. The smell alone is going to be torture, but trust me, they're worth the wait!
Tips and Tricks for Baking Small French Rolls
Tips and Tricks for Baking Small French Rolls
The Secret to a Crusty Exterior
Okay, so you've got your dough ready, but how do you get that amazing crusty exterior that makes a french roll so irresistible? It's all about the steam! Before you pop those rolls into the oven, try this little trick: place a pan of hot water on the bottom rack. The steam will create a humid environment, which helps the crust become nice and crispy. Another tip is to give your rolls a quick egg wash before baking. It adds a beautiful shine and a bit of extra color to the crust. Trust me, these small steps make a huge difference!
Getting the Perfect Texture
Texture is just as important as taste, right? For that light, airy interior, avoid over-kneading the dough. Overworked dough will result in dense, tough rolls, and nobody wants that. Also, make sure your yeast is fresh and active. I always test mine by adding a bit of warm water and sugar, if it gets foamy in a few minutes, I know it's good to go. Finally, don't skip the rising time! This is when the yeast does its magic, creating those beautiful air pockets that give your small french rolls their signature fluffiness. Be patient, it's worth it!
“The best bread comes from simple ingredients, a little patience, and a lot of love.” - Some old baker probably
Troubleshooting and Variations
Baking isn't always a perfect science, and sometimes things go wrong. If your rolls turn out too dense, it might be because of over-kneading or not enough rising time. If they're too flat, you might have used too much flour. Don't worry, we all make mistakes! The key is to learn from them and adjust your process next time. Also, don't be afraid to experiment! You can add herbs, garlic, or even cheese to your dough for different flavors. Baking is all about having fun and creating something you love. So, go ahead, try new things, and make these small french rolls your own!
- Too dense? Check your kneading time and rising time
- Too flat? Use less flour
- Want flavor? Add herbs, garlic, or cheese
Serving and Storing Your Homemade Small French Rolls
Serving and Storing Your Homemade Small French Rolls
Serving Suggestions: More Than Just a Side
Alright, your small french rolls are out of the oven, smelling amazing, and looking even better. Now what? Well, the possibilities are endless! These aren't just your average dinner rolls; they're versatile little wonders. Slice them open and make mini sandwiches or sliders for a party. Use them for dipping in soups or stews. They're amazing toasted with a bit of butter and jam for breakfast or a snack. Or, if you're feeling fancy, try making a garlic butter and herb mixture, brush it on your warm rolls, and you've got instant garlic bread that'll impress anyone. Don’t be shy, experiment and see what you can create! There is no wrong way to eat a delicious french roll.
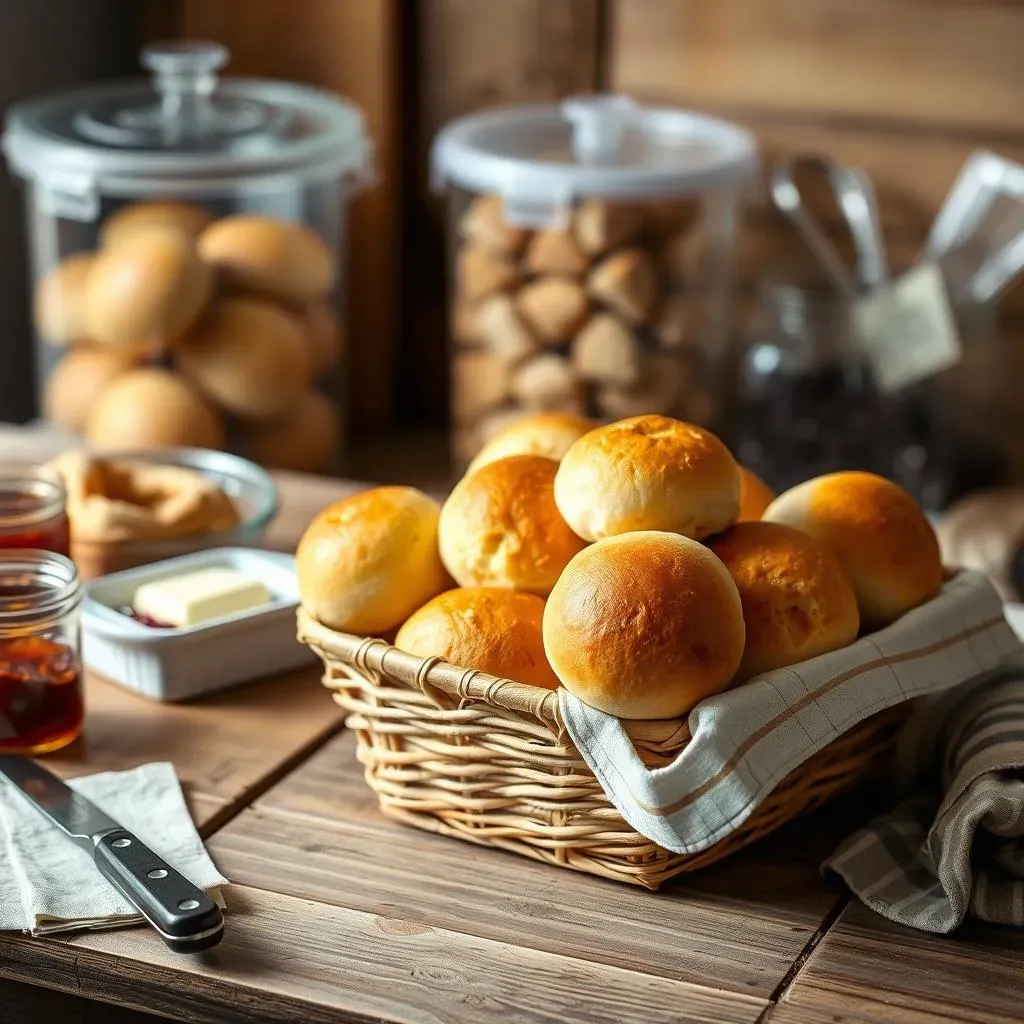
Storing Your Rolls: Keeping the Freshness Alive
Okay, so maybe you didn't eat all your small french rolls in one sitting (I commend your restraint!). Now, let's talk about keeping them fresh. The best way to store them is in an airtight container at room temperature. This will keep them soft for a day or two. If you need to store them longer, you can freeze them. Just let them cool completely, wrap them tightly in plastic wrap, and then place them in a freezer bag. They’ll keep for a few months. When you're ready to eat them, just thaw them out at room temperature or pop them in the oven for a few minutes to warm them through. They’ll be almost as good as the day you baked them. Almost!
- Airtight container: Best for short-term storage (1-2 days)
- Freezer: Best for long-term storage (up to 3 months)
Reheating and Reviving: Bringing Them Back to Life
So, you've pulled some of your frozen small french rolls from the deep freeze, and they're looking a bit sad. No worries! We can totally revive them. The easiest way is to pop them in the oven at 350°F (175°C) for about 5-10 minutes. This will make them warm and crusty again. You can also use a toaster oven or even a skillet on the stove top. Just add a little butter to the pan and heat them up gently. The key is to not overdo it, you don't want to dry them out. With a little TLC, those rolls will be back to their former glory, ready to be devoured once more.
“A day without fresh bread is a day without sunshine.” - Some wise person
The Sweet Smell of Success: Wrapping Up Your Small French Rolls Adventure
And there you have it! You've conquered the art of making delicious small french rolls right in your own kitchen. From the initial mixing to the final golden crust, you've learned the secrets to creating that perfect balance of crispness and chewiness. Whether you're using them for gourmet sandwiches, alongside a hearty soup, or just as a tasty snack, these homemade rolls are sure to impress. Remember, baking is a journey, and each time you try, you'll get a little bit better. So, keep practicing, keep experimenting, and most importantly, keep enjoying the amazing results of your hard work. Now, go forth and fill your home with the irresistible aroma of freshly baked bread!