Table of Contents
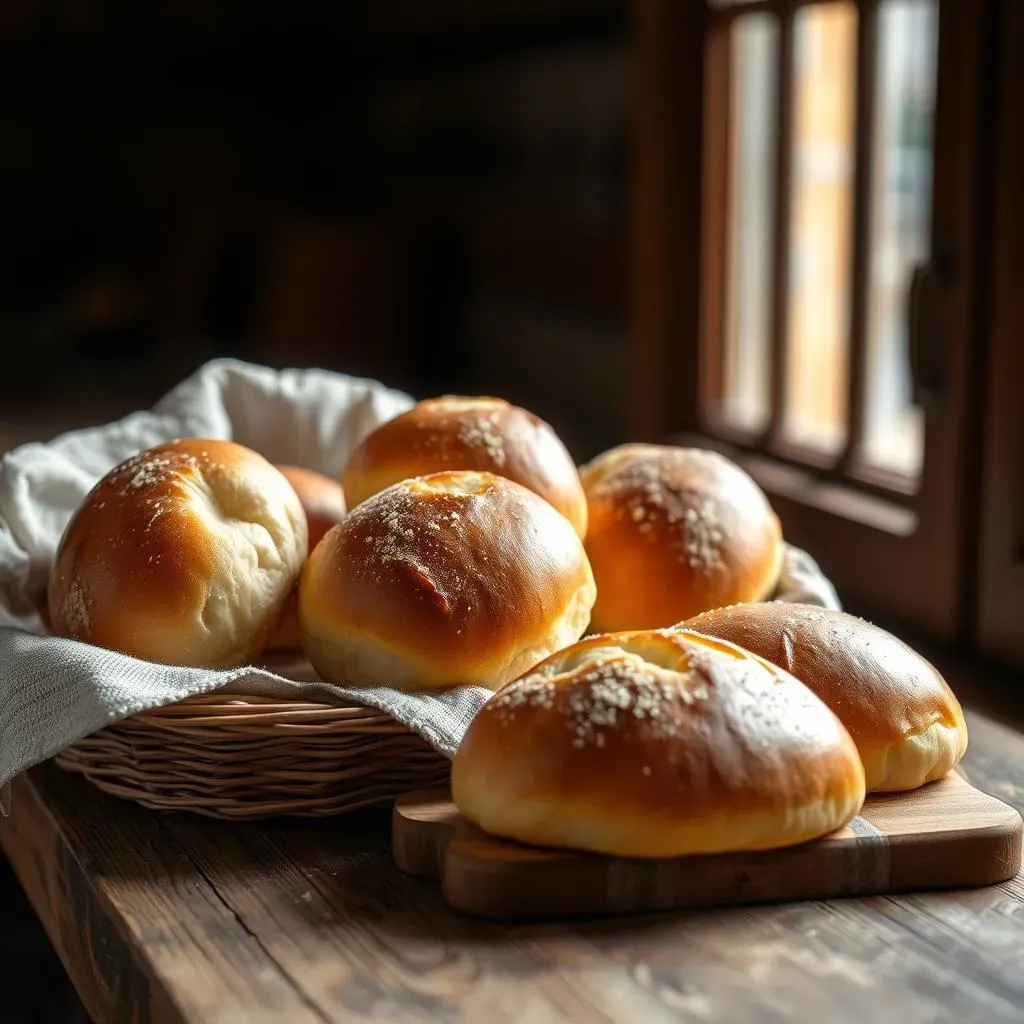
Ever dream of pulling warm, crusty small french bread rolls from your oven? The kind that smell like a bakery and taste like heaven? Well, you're in the right place! Forget those sad, store-bought rolls, because today, we're making our own. This isn't some complicated baking saga, it's a fun, straightforward guide to creating those perfect little loaves. We'll walk through the entire process, from mixing the dough to achieving that ideal golden-brown crust. I'll also share my best tips for tweaking the recipe to your liking and how to keep those rolls fresh for days. So, whether you're a baking newbie or a seasoned pro, get ready to impress yourself and everyone else with homemade small french bread rolls that are truly something special. Let's get baking!
Making Perfect Small French Bread Rolls
Making Perfect Small French Bread Rolls
The Foundation: Simple Ingredients, Big Flavor
Okay, so you wanna nail these small French bread rolls? It's all about starting with the basics. Forget fancy stuff, we're talking flour, water, yeast, salt, and just a touch of sugar. That's it! It's like magic how these five simple things transform into something so delicious. The key here is using good quality flour. I prefer bread flour for its higher protein content, which gives the rolls that nice chewiness. But all-purpose works too, if that's what you have on hand. Don't overthink it, just make sure your ingredients are fresh, especially the yeast. Nobody wants a flat roll, right?
I remember the first time I tried this, I was so nervous about the yeast. I thought it was gonna be some crazy science experiment. But really, it's just about making sure the water is warm enough – not too hot, not too cold – just like a baby's bath. And once you see that foamy action, you know you're in business!
Mixing and Kneading: The Heart of the Process
Alright, now for the fun part – mixing and kneading! You can totally do this by hand, like our grandmothers did, and honestly, it's a good workout. But if you have a stand mixer, why not let it do the heavy lifting? Either way, you're aiming for a smooth, elastic dough. It shouldn't be too sticky, but it also shouldn't be dry and crumbly. Think of it like playdough, but edible. Kneading develops the gluten, which is what gives the bread its structure. It's like building the muscles of your rolls.
I once kneaded dough for what felt like an eternity, only to realize I'd forgotten the salt! It was a good lesson in patience. So, don't skip that step, it's crucial for flavor. And don't be afraid to get your hands dirty, its part of the fun.
Ingredient | Quantity | Notes |
|---|---|---|
Bread Flour | 3 cups | All-purpose works too |
Warm Water | 1 1/4 cups | Not too hot, not too cold |
Active Dry Yeast | 2 1/4 teaspoons | Make sure it's fresh |
Salt | 1 1/2 teaspoons | Don't forget this one! |
Sugar | 1 tablespoon | Just a little bit helps |
First Rise: Patience is Key
Okay, the dough is mixed and kneaded, now we get to the hardest part. Waiting! This is where the magic really happens. You need to let that dough rest, covered, in a warm place until it's doubled in size. Think of it as the dough taking a nap. Don’t rush this step. It's crucial for that light and airy texture we're after. A warm kitchen, or even a slightly warmed oven (turned off!) works wonders. Once it's doubled, you'll see that the dough is nice and puffy, and its ready for the next stage.
I remember one time, I got impatient and tried to skip the first rise. The rolls were dense and sad. So, trust me, give your dough the time it needs. It's like the dough is saying, "Patience, young padawan, good things are coming".
Tips for Baking the Best Small French Bread Rolls
Tips for Baking the Best Small French Bread Rolls
Shaping the Rolls: Getting That Classic Look
Alright, the dough has risen, and now it's time to shape those small french bread rolls. Don't worry, you don't need to be a professional baker for this. Gently punch down the dough to release the air, then divide it into equal portions. I like to use a kitchen scale for this, it makes sure each roll is the same size. Then, you just roll each portion into a small log, like you're making little playdough snakes. The key is to be gentle and not overwork the dough.
I've seen some people get really fancy with their shaping, but I like to keep it simple. A basic log shape is totally fine, and it gives those rolls that classic look. Remember, they'll puff up in the oven, so don't worry if they look a little small at this stage.
The Second Rise: More Patience, More Flavor
Okay, so you've shaped your rolls, now they need a second rise. This time, let them sit on a baking sheet, covered loosely, for about 30-45 minutes. This second rise is important for the texture of the rolls. It helps them become light and airy. You'll notice they puff up a bit more during this time. It's like they're getting ready for their big debut in the oven.
I always feel like a proud parent watching them grow during this second rise. I like to give them a little extra time if my kitchen is cold, because temperature can affect the rising time. And don't forget to preheat your oven, you want it nice and hot when those rolls go in.
- Use a kitchen scale for equal portions.
- Be gentle when shaping, don't overwork the dough.
- Give the rolls a good 30-45 minutes for the second rise.
Baking to Perfection: The Final Touch
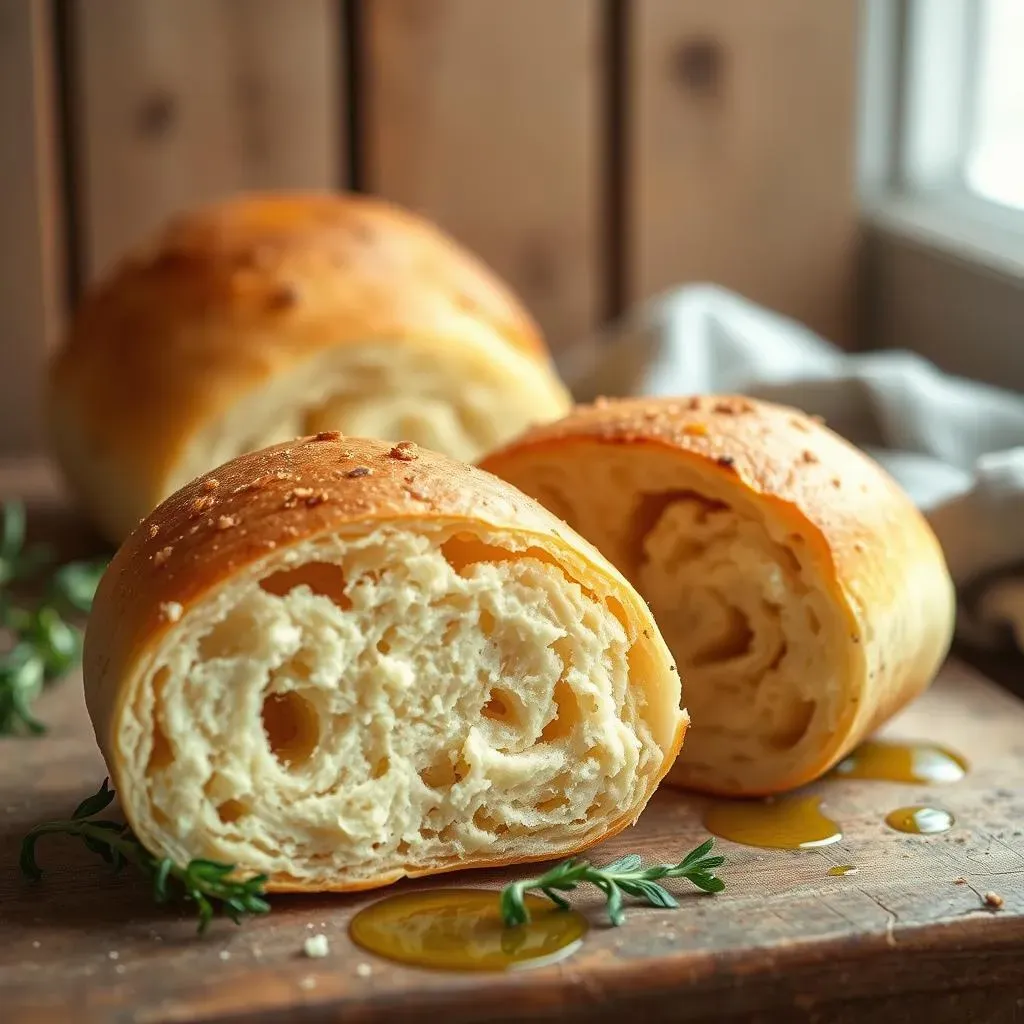
Alright, the moment we've all been waiting for – baking! Before you pop those beauties in the oven, I recommend giving them a little egg wash. This will help them get that nice, golden-brown crust. Just whisk an egg with a little water, and brush it gently over the rolls. Then, into the hot oven they go! Bake them until they're golden brown and sound hollow when you tap them on the bottom. This usually takes around 15-20 minutes, but keep an eye on them, because all ovens are a bit different.
The aroma when they're baking is just amazing. It fills the whole house with that fresh-baked bread smell. Once they're done, let them cool on a wire rack before you dig in. I know it's hard to wait, but trust me, it's worth it.
"The smell of good bread baking is the most wonderful smell in the world." - Anna Thomas
Serving and Storing Your Small French Bread Rolls
Serving and Storing Your Small French Bread Rolls
Serving Suggestions: Beyond the Basics
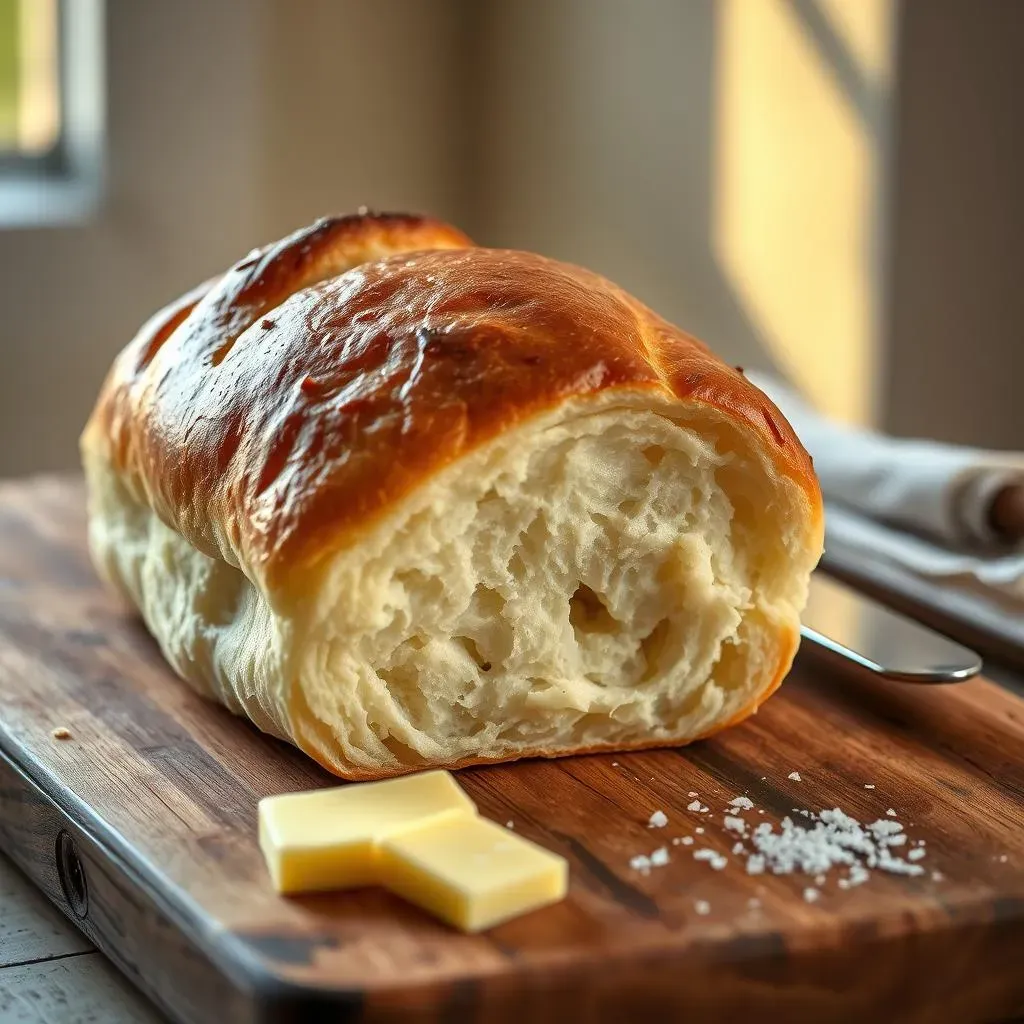
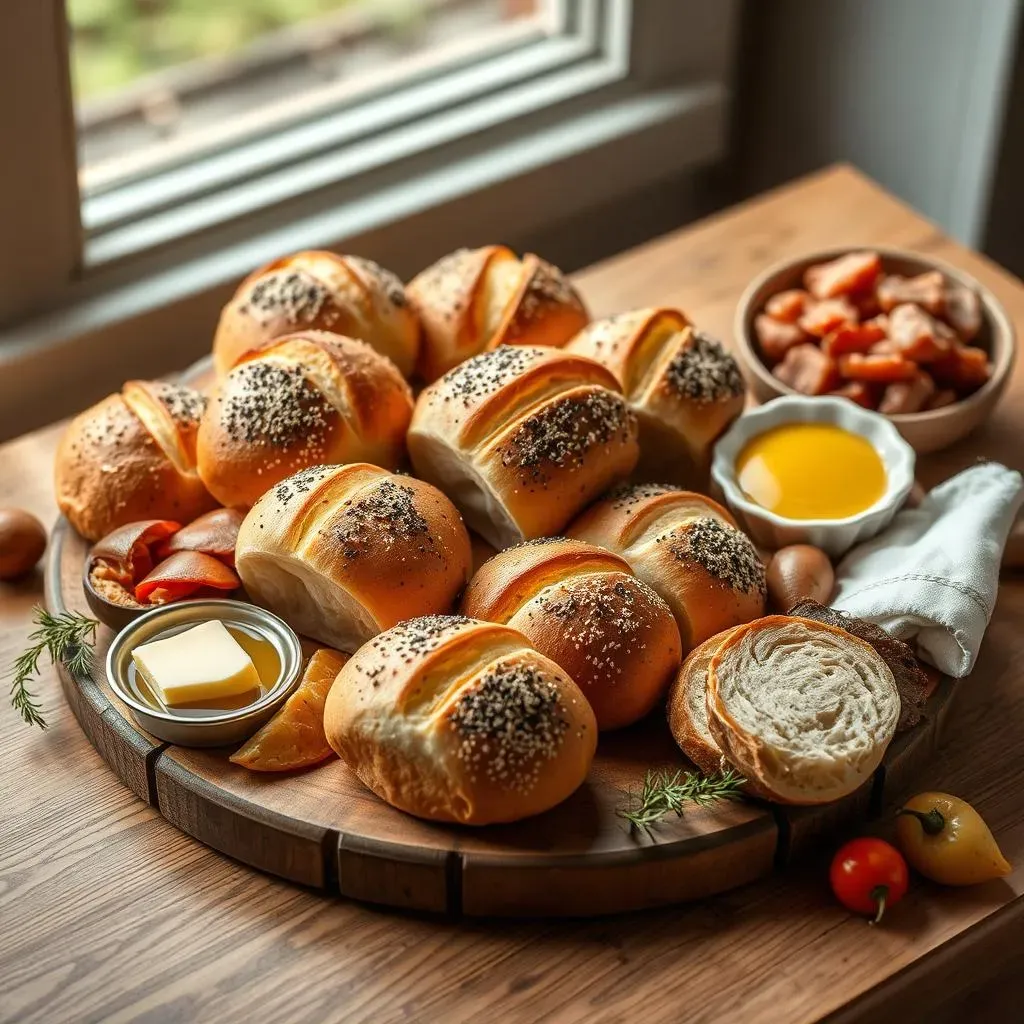
Okay, so you've baked these amazing small french bread rolls, now what? Well, the possibilities are endless! Of course, they're fantastic with just some butter or olive oil, but they're also perfect for sandwiches. Think about some tasty fillings, like deli meats, cheeses, or even some roasted veggies. And don't forget about dipping them in soups or stews. These rolls are like a blank canvas, ready for whatever deliciousness you throw at them.
I once made mini sliders with these rolls for a party, and they were a huge hit! Everyone loved the crusty texture and the soft inside. They're also great for making garlic bread or even bruschetta. Seriously, the limit is your imagination. Don't be afraid to experiment!
Storing Your Rolls: Keeping Them Fresh
Alright, so you've baked a big batch of these small french bread rolls, and you're not going to eat them all in one sitting (though, I wouldn't blame you if you tried!). To keep them fresh, let them cool completely on a wire rack. Once they're cool, you can store them in a bread bag or an airtight container at room temperature for a couple of days. If you want them to last longer, you can freeze them. Just wrap them individually in plastic wrap and then put them in a freezer bag. When you're ready to eat them, just thaw them out at room temperature or pop them in the oven for a few minutes to crisp them up.
I remember trying to store them in a plastic bag while they were still warm, and they got all soggy. Not a good look! So, make sure they're completely cool before storing them, this will help them stay fresh for longer.
Storage Method | Duration | Tips |
|---|---|---|
Room Temperature (Bread Bag) | 2-3 days | Make sure they are completely cool before storing |
Freezer (Plastic Wrap & Freezer Bag) | Up to 3 months | Thaw at room temp or reheat in oven |
Wrapping Up Your Small French Bread Roll Adventure
So, there you have it – your very own batch of delicious, homemade small french bread rolls! From the satisfying squish of the dough to the heavenly aroma filling your kitchen, we've covered it all. Remember, baking is a journey, not a destination. Don't be discouraged if your first attempt isn't perfect; every batch is a chance to learn and improve. Whether you're serving them with soup, making mini sandwiches, or simply enjoying them warm with butter, these rolls are a testament to the magic of simple ingredients and a little bit of effort. Now go forth, bake, and enjoy the fruits (or should I say, breads) of your labor! And hey, don't forget to share your creations – we'd love to see them!