Table of Contents
Ever dream of pulling a perfectly crusty, airy French baguette from your oven? The secret isn't some fancy chef school, it's in the technique of rolling french bread dough. It might seem simple, but this step makes a huge difference between a flat, dense loaf and a masterpiece. We've all been there, wrestling with sticky dough that refuses to cooperate, but fear not! This guide will show you how to tame that beast and achieve bakery-worthy results at home. We're going to break down the process, from understanding the dough itself to mastering the rolling technique. We'll also tackle common problems, so you're not left scratching your head. Get ready to transform your kitchen into a little French boulangerie, one perfectly rolled loaf at a time. Let's get rolling!
Understanding French Bread Dough
Understanding French Bread Dough
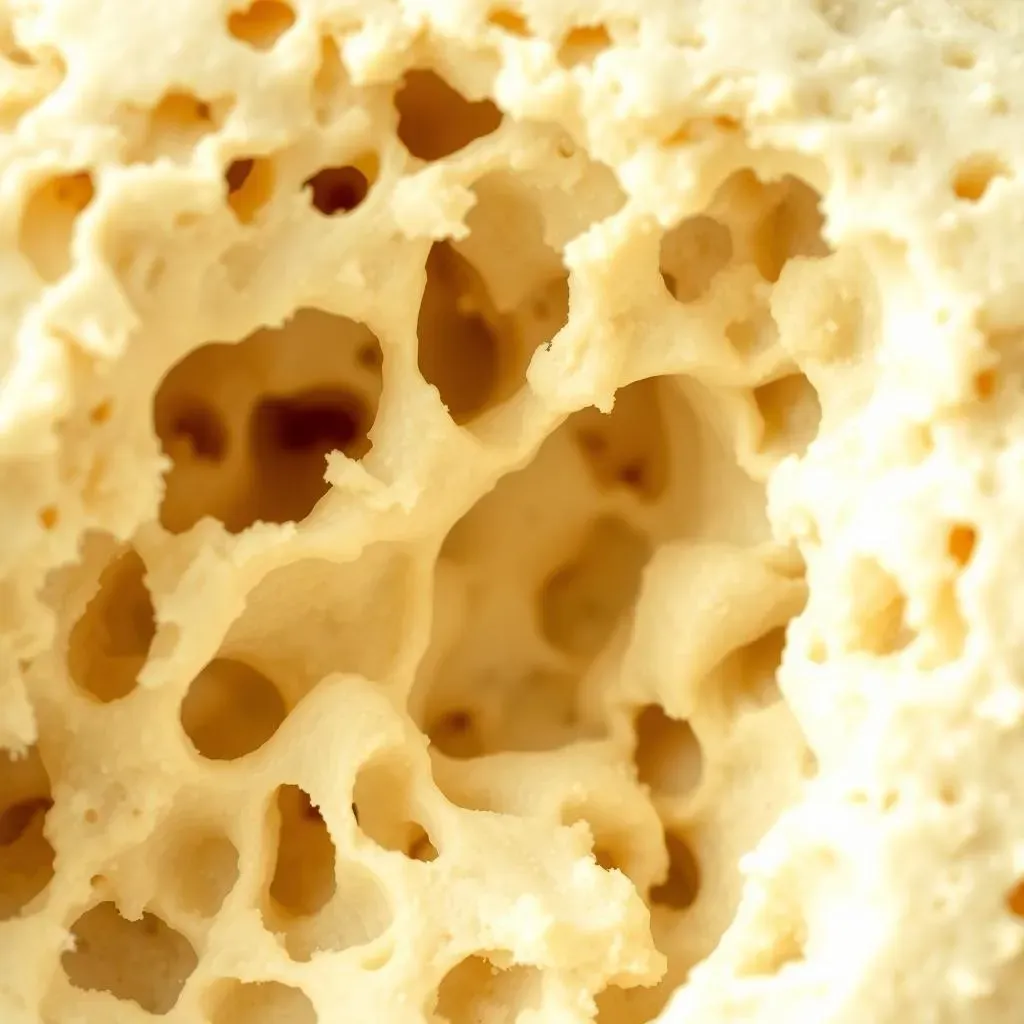
Okay, so before we even think about rolling, let's chat about what makes French bread dough, well, *French* bread dough. It's not just any old flour and water mix. This stuff is special. Think of it as the foundation for your delicious creation, like the concrete for a skyscraper. It’s typically a simple blend of flour, water, yeast, and salt—that's it! But the magic is in the ratios and the way those ingredients interact. This dough is usually lower in fat and sugar compared to other bread doughs, which contributes to its characteristic chewy interior and crisp crust. Also, the hydration level, which is the amount of water in the dough, is usually higher, making it a bit sticky, but that's part of the charm, and it's crucial for the airy texture we're after.
The Art of Rolling French Bread Dough
The Art of Rolling French Bread Dough
Getting Your Dough Ready
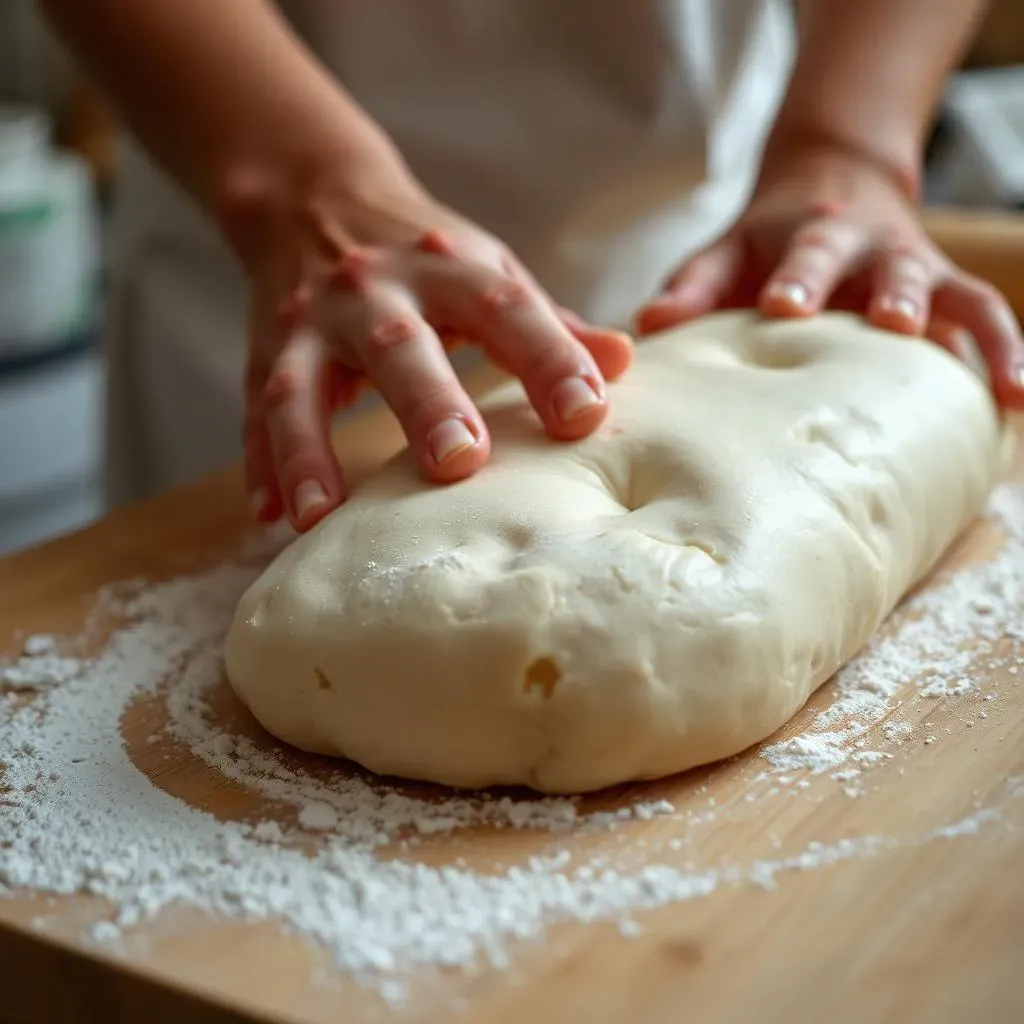
Alright, now for the fun part! Before we get our hands dirty, make sure your dough has had its first rise. It should be puffy and doubled in size. This is super important, trust me. Gently punch it down to release the air, almost like giving it a little hug. We don't want to be too rough, just a gentle deflate. Now, tip it out onto a lightly floured surface. I like to use a big cutting board, it gives me plenty of room to work. Remember, you don't need a ton of flour, just a light dusting. Too much flour can make your dough tough, and we're going for light and airy, remember?
At this stage, you'll want to divide the dough if you're making multiple loaves or rolls. A bench scraper is your best friend here – it makes clean cuts and keeps things tidy. If you're going for baguettes, divide the dough into long sections; for rolls, cut into smaller, equal pieces. Think of it like a baker's version of playing with play-doh, but way more delicious.
The Rolling Technique: Shaping Your Dough
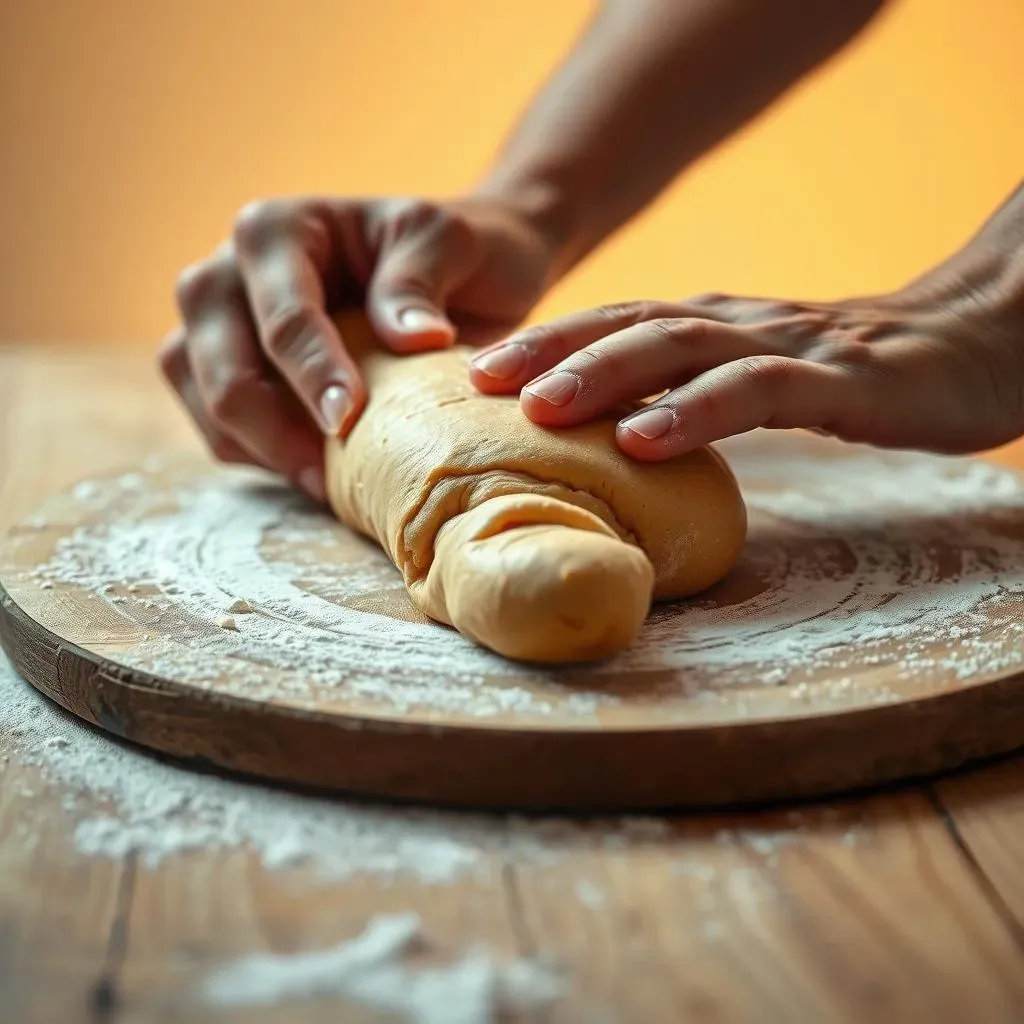
Okay, now for the main event: the rolling. Take one piece of dough and gently flatten it with your hands or a rolling pin. Don't go crazy here, just a gentle press to start. Next, think about your desired shape. For baguettes, you’ll want to stretch the dough into an oblong shape, almost like a rectangle. Then, start rolling from one side, gently tucking the dough over itself as you go. Imagine you're rolling up a sleeping bag, but with dough. Keep the tension even, and try not to press down too hard, you want to keep the air inside.
For rolls, you can roll the dough into a small ball, and then gently flatten it a bit. The goal is to create a smooth surface. If you’re going for a more rustic look, you can leave them a bit uneven. Don't worry too much about perfection at this stage, a little character is good.
Dough Shape | Rolling Method | End Result |
|---|---|---|
Baguette | Gently stretch into oblong, roll tightly from one side | Long, thin loaf with a crisp crust |
Roll | Roll into a ball, then gently flatten | Small, round roll with a soft interior |
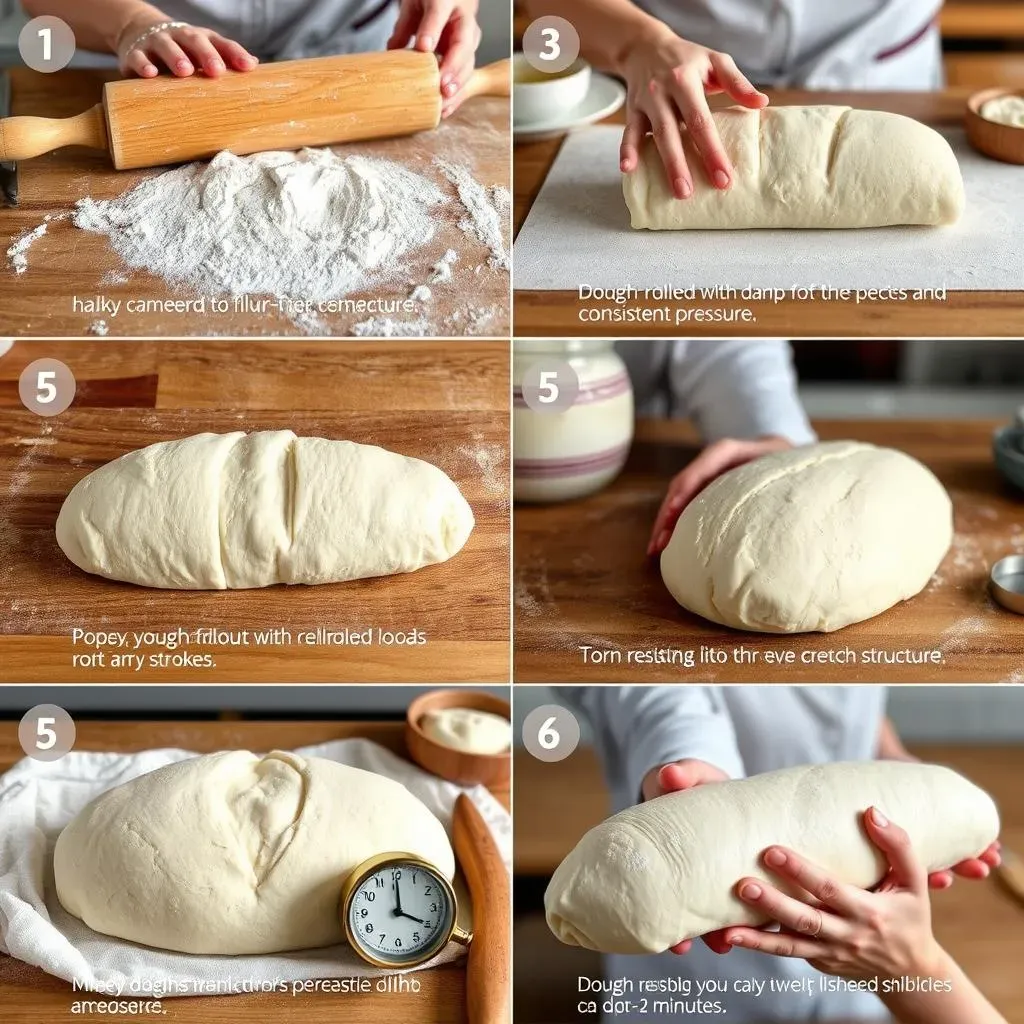
Final Touches and Proofing
Once you've rolled your dough into the desired shape, place it on a baking sheet lined with parchment paper. This is important, otherwise your bread will stick to the pan and become a nightmare. Now, it's time for the second rise, also known as proofing. Cover the dough with a clean cloth or plastic wrap and let it rest in a warm place for about 30-60 minutes, or until it has puffed up again. This is where the magic happens, and the dough develops its beautiful airy structure. If you skip this step, your bread will be dense, and nobody wants that.
While the dough is proofing, you can preheat your oven. A hot oven is crucial for that beautiful crust. And just before baking, you can score the surface of the dough with a sharp knife or a lame (a baker’s tool). This not only looks cool, but it also controls how the bread expands in the oven. Think of it like a release valve for the steam.
Troubleshooting Your French Bread Dough Rolling
Troubleshooting Your French Bread Dough Rolling
Okay, so you've got your dough, you're ready to roll, and suddenly things go sideways. Don't worry, it happens to the best of us! Rolling French bread dough can be tricky, but most problems are totally fixable. The most common issue? Sticky dough. If your dough is sticking to everything, it's probably too wet. This usually means the hydration is too high, or that it's just a humid day. Try adding a tablespoon or two of flour to your work surface and gently kneading it in. Remember, a little flour goes a long way, so don't overdo it. Another common problem is dough that's too tough. This can happen if you've added too much flour or if you’ve over-kneaded it. If you suspect over-kneading, let it rest for a few minutes before handling. It should relax a little.
Another thing to watch out for is the way you roll the dough. If you're rolling too aggressively, you'll end up with a dense loaf. Be gentle, think of it as coaxing the dough into shape, not forcing it. Uneven rolling can also lead to uneven baking. Try to keep the pressure consistent across the dough and ensure you're using even strokes. And if your dough is tearing while you're rolling, that could mean it's not rested enough or that it’s too cold. If the dough is too cold, let it warm up slightly at room temperature for about 15-20 minutes. It should be more pliable and easier to work with.
Problem | Possible Cause | Solution |
|---|---|---|
Sticky Dough | Too much hydration, humid day | Add flour to work surface, gently knead in |
Tough Dough | Too much flour, over-kneading | Let dough rest, use less flour |
Uneven Rolling | Inconsistent pressure | Use even strokes, keep pressure consistent |
Tearing Dough | Not rested enough, too cold | Let dough rest, warm up slightly |
Sometimes, you might find that your dough shrinks back after you've rolled it. This is a sign that the gluten hasn't relaxed enough. Let the dough rest for a few minutes after rolling, before you do any shaping. And don't forget, the environment you're working in can also make a difference. If it's too cold, the dough will be stiff and harder to handle. If it's too warm, it might rise too quickly and become sticky. A consistent room temperature is best for working with dough. Baking is a science and an art, but don't let these problems scare you! Just keep practicing, and you'll get the hang of it. And hey, even if your first few loaves aren't perfect, they'll still be delicious.
The Final Flourish
So, there you have it – the not-so-secret art of rolling French bread dough. It's about understanding the dough, being gentle yet firm, and knowing what to do when things go a little sideways. Like any skill, it takes practice, so don't get discouraged if your first few attempts aren't flawless. The important thing is to keep experimenting, keep learning, and most importantly, keep baking. Before you know it, you’ll be whipping up loaves that would make any Parisian baker proud, and your kitchen will smell absolutely divine. Now, go forth and bake some amazing bread!