Table of Contents
Ever dream of biting into a perfectly crusty, yet soft, French bread roll? The kind that makes your sandwich sing or your soup feel complete? Well, you're in luck! Forget fancy bakeries, because today, we're tackling the art of rolling french bread right in your own kitchen. This isn't some complicated pastry project; it's a straightforward adventure into the world of homemade bread. We'll start with the basics, making the dough from scratch. Then, I'll show you the simple techniques for shaping those doughy blobs into beautiful rolls. We'll cover baking them to golden-brown perfection, and I'll also share some tips to ensure your rolls are always amazing. We will go though the process step-by-step, making it easy for even beginner bakers, or experienced ones, to learn the secrets. Get ready to impress yourself (and anyone else who gets to taste your creations) with your new skill of rolling french bread. Let's get baking!
Making the Dough for French Bread Rolls
Making the Dough for French Bread Rolls
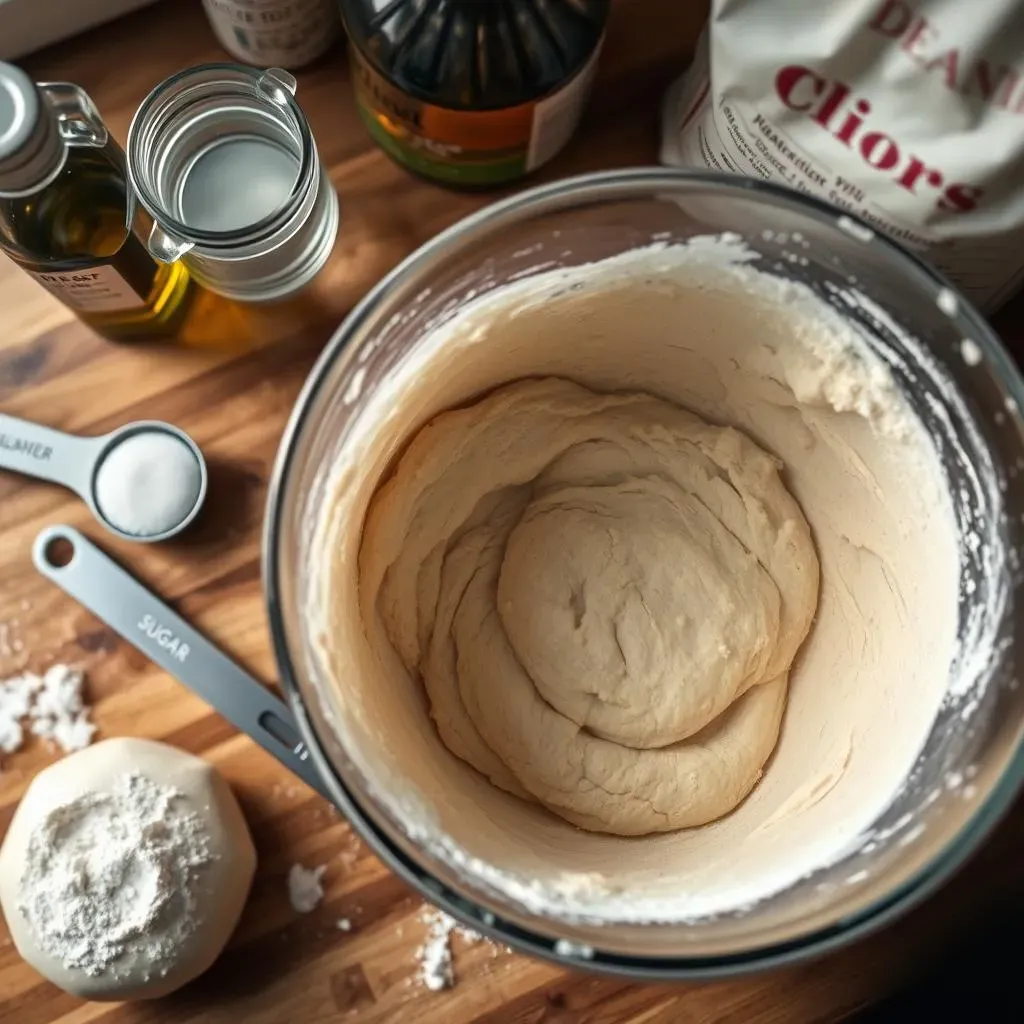
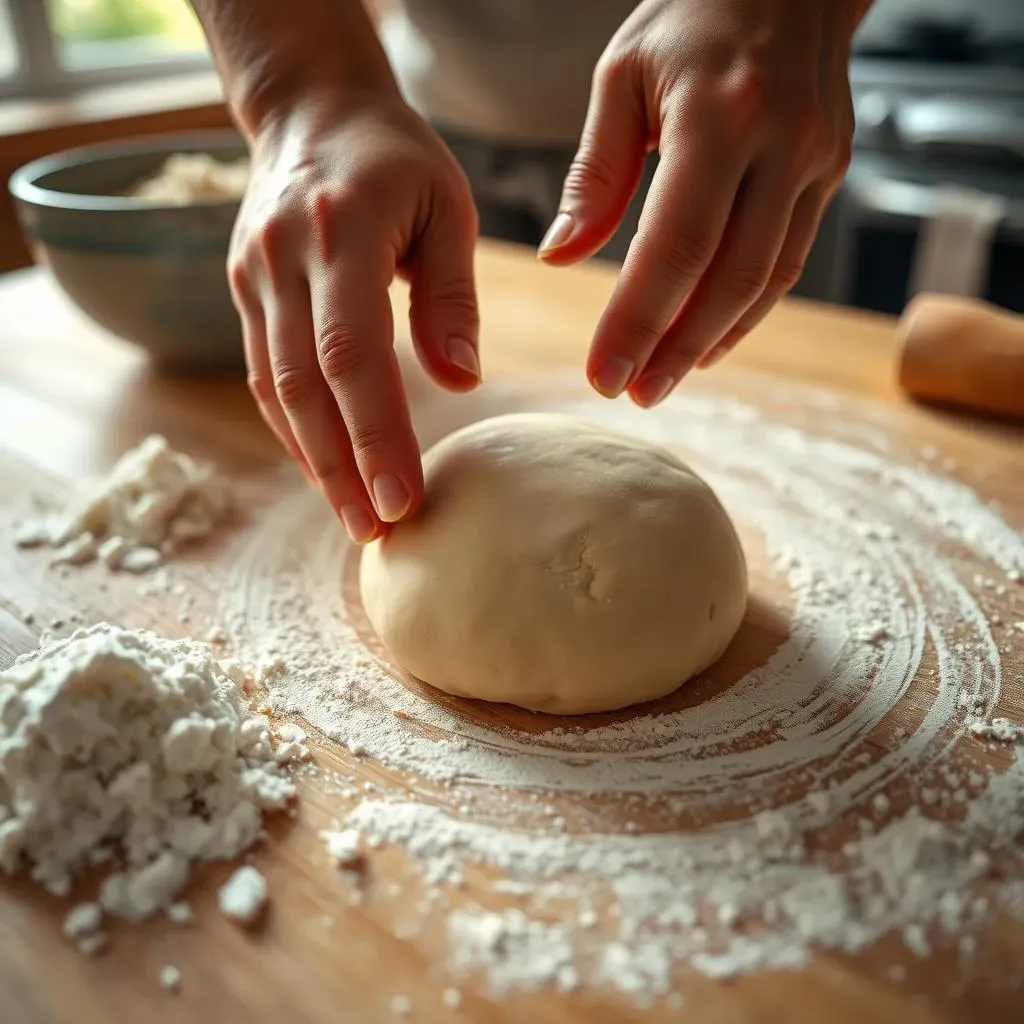
Okay, so you wanna get into making the dough for French bread rolls? It's way easier than it sounds, I promise. Think of it like building with LEGOs, but instead of plastic bricks, we're using flour, water, and a bit of magic (aka yeast). You'll need some warm water, not too hot, not too cold, like a nice bath for a baby bear. Then, you sprinkle in the yeast and a pinch of sugar – that's their snack to get them going. Give it a few minutes and it should get all bubbly and frothy, looking like a tiny science experiment. After that, you mix in some oil, salt, and flour. It’s like a big hug for all the ingredients, bringing them together. The goal is to get a soft, slightly sticky dough, it should be like a baby's bottom, not too dry. This is the start of our journey to delicious rolls.
Once you have your dough, you'll need to knead it. Now, don't get intimidated by the word "knead," it's not some ancient bread-making ritual. It's just pushing and folding the dough for a few minutes. I like to imagine I'm giving the dough a massage. It's a good way to get out some stress too. You'll know it's ready when it's smooth and elastic, it will feel alive in your hands. Then, you let it rest in a bowl, covered, in a warm place. It's like letting a sleepy bear take a nap, and when it wakes up, it'll be bigger and fluffier. It’s all about patience, this stage is important. Trust me, the waiting is worth it.
Shaping Your French Bread Rolls
Shaping Your French Bread Rolls
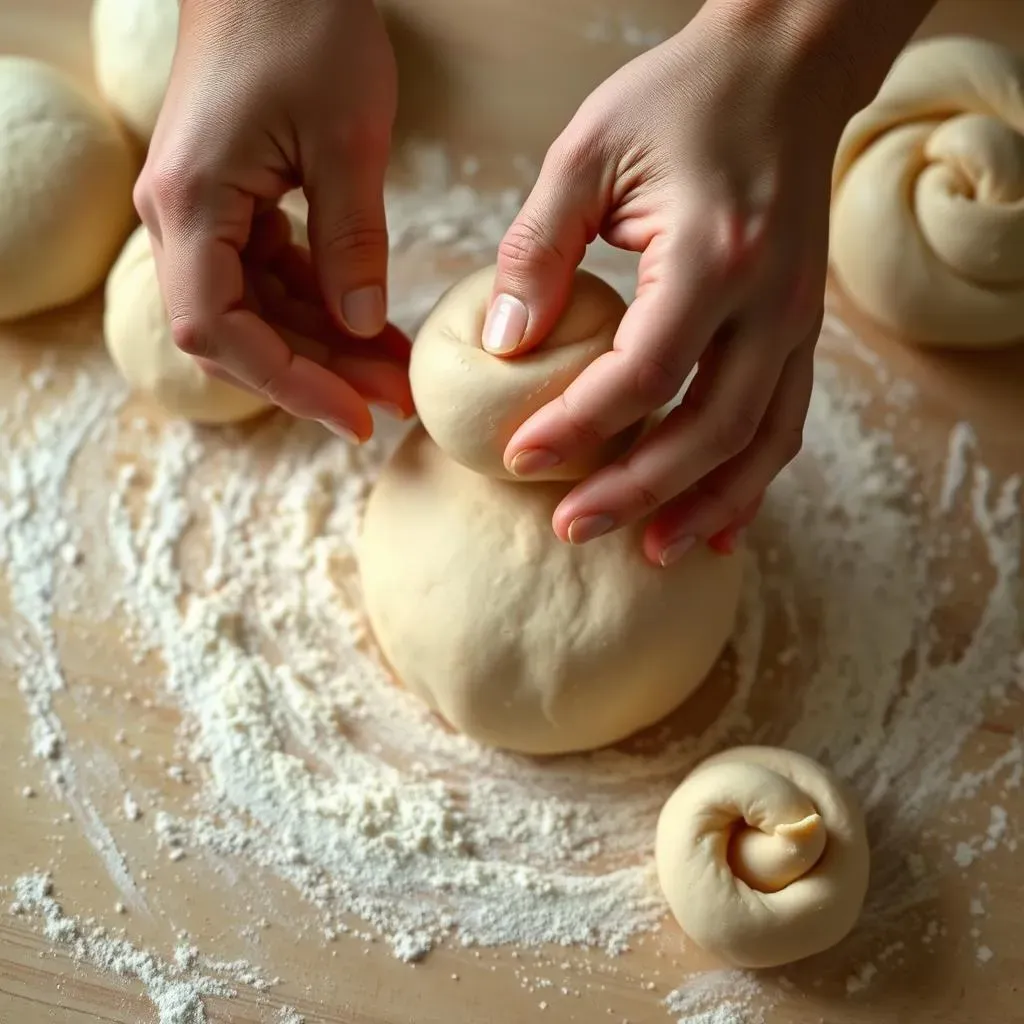
Alright, so your dough is now a big, fluffy cloud, ready for the next step. It's time to get into the fun part: shaping your French bread rolls. First, you'll gently punch down the dough, like you're saying, "Okay, nap time is over, let's get to work!" Then, turn it out onto a lightly floured surface. This prevents sticking, which is important because we don't want to ruin that dough. Divide the dough into 12 equal pieces – you can use a knife or just eyeball it; it doesn't need to be perfect. Now, here's where the magic happens. Take each piece and start forming it into a ball. Imagine you're rolling playdough in your hands, but much more gentle. The goal is a smooth, round shape. It’s like a mini planet of dough, ready to be baked.
Once you have your 12 dough balls, place them in a greased 9x13 inch pan. Make sure they're not too close together, because they're going to get bigger as they rise again. Think of it like giving each roll some personal space. Cover the pan with a cloth or plastic wrap, and let them rise until they're puffy and doubled in size. This is the second nap for the dough, and it's just as important as the first one. It's all about patience and letting the yeast do its thing. When they're ready, they'll look like little fluffy clouds, just waiting to become delicious French bread rolls.
Now, there are a few ways to make your rolls special. Some people like to make them longer, more like mini baguettes. Others like to keep them round, like little boules. The choice is yours! You can even try adding a little bit of a twist in the dough to make them look fancier. But remember, even if they're not perfectly shaped, they're going to taste amazing. It's like making art but with dough, and the best part is, you get to eat your art when you're done!
- Round Rolls: Gently roll each piece into a smooth ball.
- Mini Baguettes: Roll each piece into a short log shape.
- Twisted Rolls: Roll each piece into a rope, then twist it before coiling it into a circle.
Baking Perfect French Bread Rolls
Baking Perfect French Bread Rolls
Prepping for the Oven
Okay, so your rolls are all puffed up and ready to go, it's time for the heat. This is where the magic really happens. First, preheat your oven to 400°F (200°C). Make sure it's nice and hot before you put the rolls in. Think of it like a sauna for your bread, it needs to be the right temperature for the best results. While the oven is heating, you can do a few optional things. Some people like to brush the tops of the rolls with a little bit of melted butter or an egg wash – this helps them get that beautiful golden-brown color. But it's not a must, they will still taste great without it. Now, carefully place the pan of rolls into the hot oven. Be careful, it’s hot in there!
The Baking Process
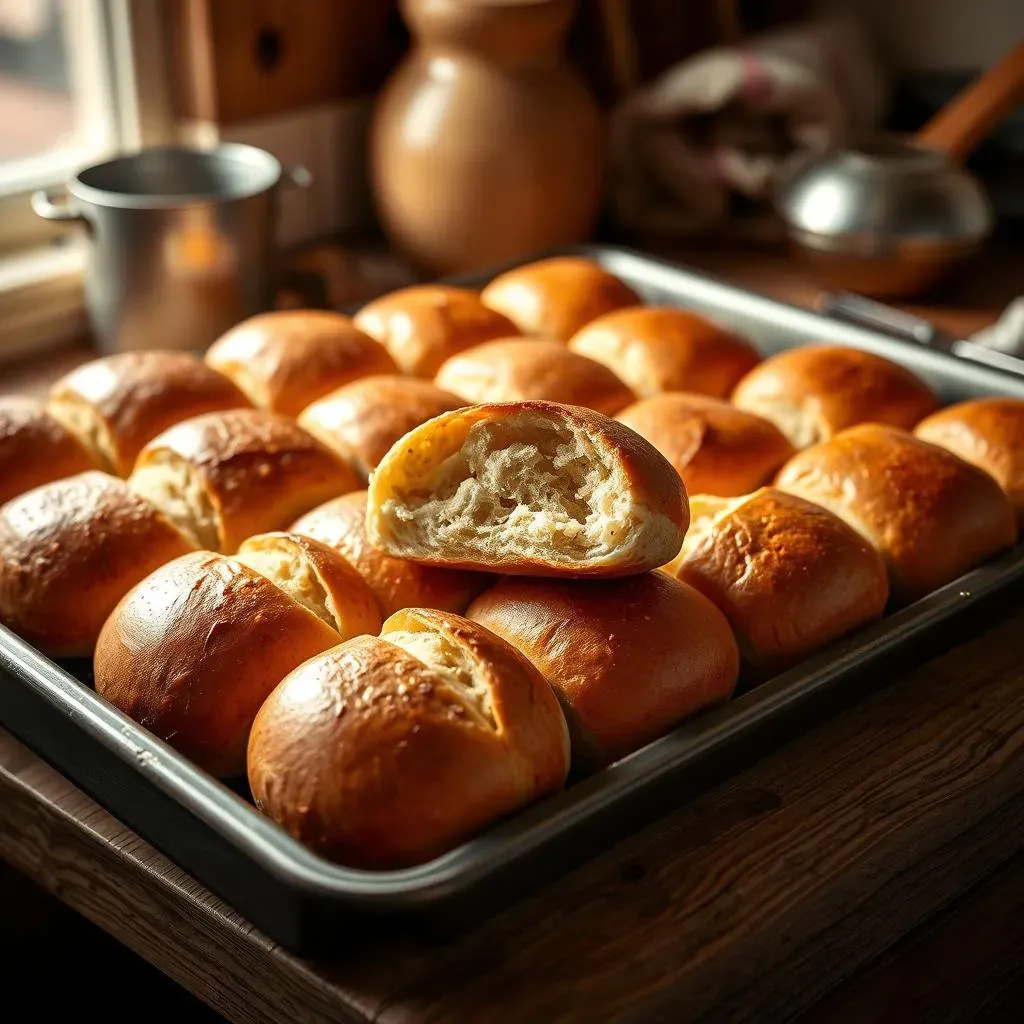
Now, we wait. Set a timer for 15 minutes, but don't just walk away. Keep an eye on those rolls. You'll start to see them puff up even more and turn a light golden brown. If they're browning too quickly, you can lower the oven temperature a bit or loosely cover them with foil. We want them cooked through but not burnt. The time might vary depending on your oven, so it's important to keep watching. It's like watching a butterfly emerge from its cocoon, but instead of a butterfly, we get delicious bread. You will know they're ready when they sound hollow when you tap them on the bottom. It's a satisfying sound, like music to a baker’s ears.
Finishing Touches
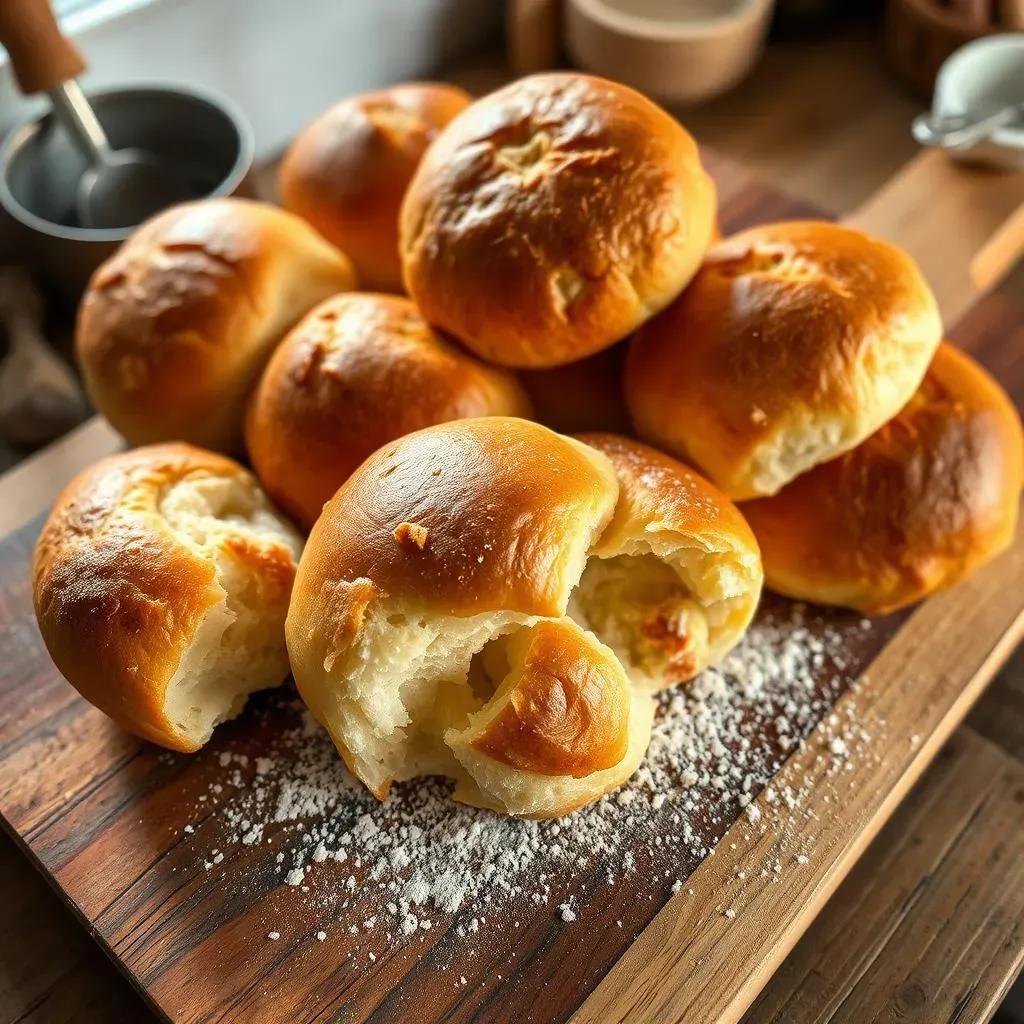
Once they're done, take them out of the oven and immediately brush them with melted butter. This gives them a lovely shine and extra flavor. Let them cool in the pan for a few minutes before transferring them to a wire rack to cool completely, or if you're like me, you'll be eating one while it’s still warm. The cooling is important though, it lets the inside of the rolls finish cooking. But honestly, who can resist a warm roll fresh from the oven? Not me! Enjoy your perfectly baked French bread rolls. You made these, be proud of yourself. It's a great feeling to make something from scratch, especially when it tastes so good.
Baking Step | Details |
|---|---|
Oven Temp | 400°F (200°C) |
Baking Time | 15-17 minutes |
Optional | Brush with melted butter or egg wash |
Cooling | Let cool slightly in pan then on wire rack |
Tips for Amazing French Bread Rolling Results
Tips for Amazing French Bread Rolling Results
Alright, let's talk about taking your French bread rolling game to the next level. It's not just about following a recipe; it's about understanding the nuances that make a good roll great. One of the biggest things is the water temperature. If it's too hot, it can kill the yeast, and if it's too cold, they won't wake up. Think of it like Goldilocks and the three bears: you want it just right. Also, don't skimp on the kneading. It's what develops the gluten, which gives your rolls that nice, chewy texture. Imagine you're giving the dough a workout, it needs to be strong and flexible. And when it comes to rising, patience is key. Don't try to rush it, let the dough do its thing. It's like watching a plant grow, you need to give it time and the right conditions to flourish.
Another important thing is the flour. Using the right kind of flour can make a big difference. All-purpose flour works great, but if you want a more authentic French bread texture, try using bread flour. It has a higher protein content, which creates a chewier crumb. Also, when shaping your rolls, be gentle. Don't manhandle the dough, treat it like you would a fragile bird. The goal is to create a smooth surface without deflating the dough. And finally, don't be afraid to experiment. Try different toppings, like sesame seeds or herbs, or even a bit of garlic butter. It's your bread, so make it your own. Remember, baking is a journey, not a destination. There will be some flops, but that's how you learn. The key is to keep practicing and having fun with it.
Tip | Details |
|---|---|
Water Temperature | Use warm water (105-115°F) |
Kneading | Knead well to develop gluten |
Rising Time | Allow ample time for dough to rise |
Flour | Use bread flour for chewier texture |
Shaping | Be gentle when shaping the rolls |