
Table of Contents
Tired of the same old breakfast routine? Let's shake things up with a fun twist on a classic: rolled french toast! This isn't your grandma's soggy slice; we're talking about a handheld, flavor-packed delight that's as fun to make as it is to eat. Imagine taking a slice of bread, flattening it out, slathering it with something delicious, and then rolling it up into a tasty little package. That’s precisely what we're going to do. This article will guide you through the simple steps to create perfect rolled french toast every time. We'll explore different filling ideas to tantalize your taste buds, from sweet to savory, and we'll also cover the best ways to store and reheat these beauties, ensuring you can enjoy them even on busy mornings. So, if you're ready to ditch the boring and embrace the awesome, let's get rolling with this rolled french toast adventure!
Rolling into Deliciousness: Making Rolled French Toast

Rolling into Deliciousness: Making Rolled French Toast
The Prep Work: Getting Started
Alright, let's get down to business. Before you even think about rolling, you'll need a few things. First, grab your favorite sliced bread. I like using a soft white bread, it rolls easily, but challah or brioche works great too if you're feeling fancy. Next, you will need a rolling pin - yes, we're flattening the bread. It's not as weird as it sounds, I promise. Get your eggs, milk (or a milk alternative), a dash of sugar, and some cinnamon ready in a shallow dish. This is where the magic happens – the egg mixture will give our roll-ups that classic french toast flavor and golden crust.
Don’t forget the filling! Nutella is a classic choice, but we can get creative with peanut butter, jam, or even cookie butter. Basically, anything that spreads easily and tastes amazing will do the trick. Have all your ingredients laid out like you're about to perform a cooking show. It just makes things easier and more fun.
The Rolling Technique: It's All in the Wrist (Sort Of)
Okay, now for the fun part. Take one slice of bread and gently flatten it with your rolling pin. You don't need to go crazy; just make it a little thinner. Spread your chosen filling evenly over the bread, leaving a tiny border so it doesn't squish out when you roll it up. Now, starting from one end, tightly roll the bread into a little log, like you're making a tiny sleeping bag for a bread slice. Make sure the seam is on the bottom to keep it from unravelling. Dip each roll-up into the egg mixture, making sure it's coated all over, but don't let it sit too long or it'll get soggy.
Ingredient | Why It's Important |
|---|---|
Sliced Bread | Forms the base of the roll-up, choose a soft variety for easy rolling. |
Rolling Pin | Flattens the bread to make it easier to roll and create a more even surface. |
Eggs, Milk, Sugar, Cinnamon | Creates the classic French toast coating and adds flavor. |
Fillings (Nutella, Jam, etc.) | Adds delicious flavor and texture to the inside of the roll-up. |
Cooking to Perfection: Golden Brown Goodness
Heat a lightly buttered skillet or griddle over medium heat. Place your dipped roll-ups on the hot surface and cook them for about 2-3 minutes on each side, until they are golden brown and crispy. Don't overcrowd the pan; cook them in batches if necessary. Once they're cooked, you can remove them from the pan and let them cool slightly before serving. If you want to get extra fancy, dust them with a little powdered sugar or drizzle some maple syrup. You can also add fresh fruits. Seriously, the options are endless.
This is where the magic happens, that’s what I like to call it, you can see the magic, the transformation, from a simple bread to a crunchy, sweet, and delicious rolled french toast.
Creative Fillings and Flavor Combinations for Rolled French Toast

Creative Fillings and Flavor Combinations for Rolled French Toast
Okay, so you’ve mastered the basic rolled french toast, that’s awesome. Now, let's get into the fun part: the fillings! This is where you can really let your imagination run wild. We're not just sticking with Nutella here; we’re going on a flavor adventure. Think of your rolled french toast as a blank canvas, ready for your masterpiece. From sweet to savory, the possibilities are endless, and honestly, that's what makes this so exciting. I mean who doesn’t like to experiment with new flavors? It’s like a little breakfast party in your mouth.
For a sweet start, how about a combo of cream cheese and strawberry jam? Or maybe some peanut butter with sliced bananas? If you're feeling a bit more adventurous, try a mix of apple pie filling with a sprinkle of cinnamon. You could even get fancy with a chocolate hazelnut spread and some chopped nuts. Don't be afraid to experiment with different jams, jellies, or fruit compotes. The key is to choose fillings that are spreadable and won’t make your bread too soggy. Remember, we want a delicious filling, not a soggy mess. And the best part? You can mix and match to create your own signature rolled french toast.
Filling Idea | Why It's Awesome |
|---|---|
Cream Cheese & Strawberry Jam | Classic sweet and tangy combo, always a crowd-pleaser. |
Peanut Butter & Banana | Hearty and satisfying, adds a bit of protein. |
Apple Pie Filling & Cinnamon | Warm and comforting, perfect for a cozy morning. |
Chocolate Hazelnut Spread & Nuts | Rich and indulgent, a great treat. |
Biscoff Spread | Warm and comforting, perfect for a cozy morning. |
Storing, Reheating, and Serving Your Rolled French Toast
Storing, Reheating, and Serving Your Rolled French Toast
The Art of Storing: Keeping Them Fresh
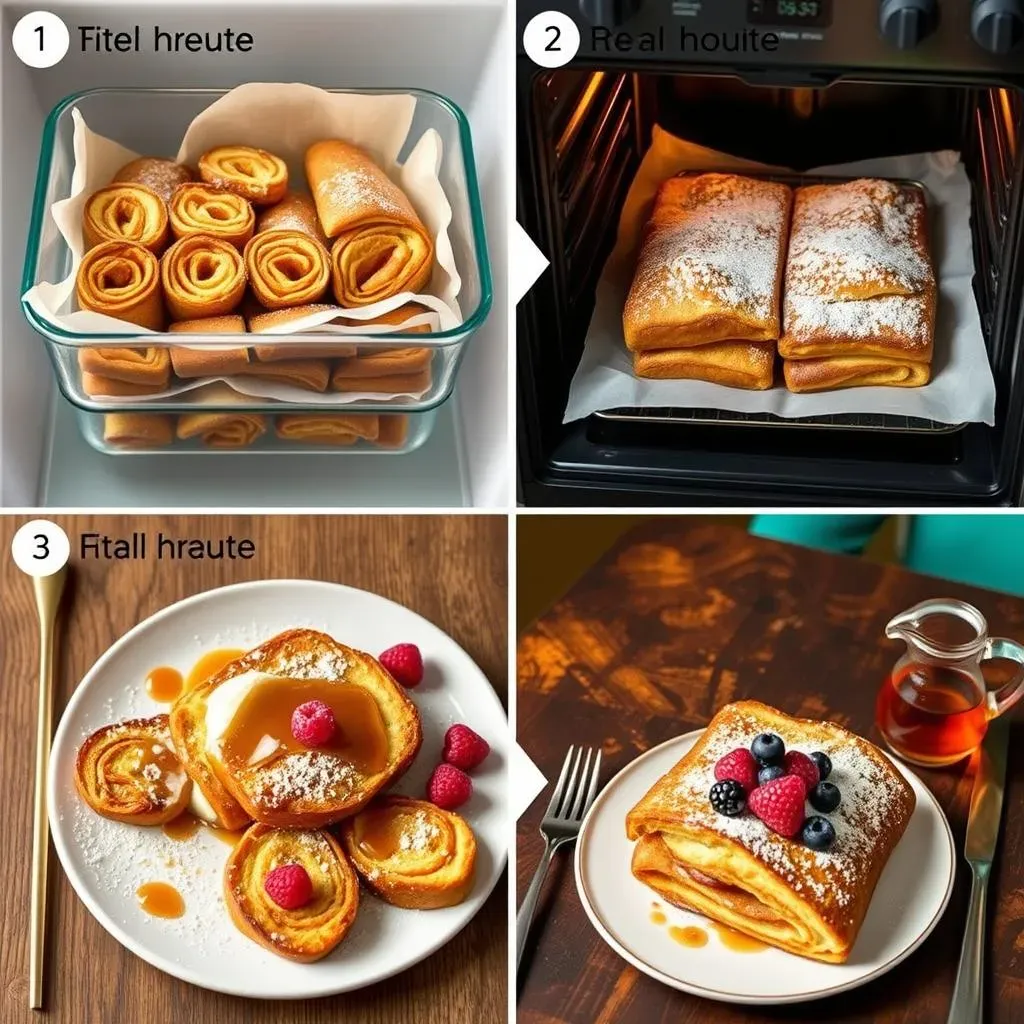
Okay, so you've made a batch of these delicious rolled french toast creations, and maybe you didn't eat them all (I know, it's hard to believe). The good news is, they store pretty well! Just let them cool completely, and then pop them into an airtight container. I find that layering them between pieces of parchment paper helps keep them from sticking together. You can keep them in the fridge for up to 3 days, which is great if you're prepping for a busy week or have some unexpected guests.
One thing I've learned is that storing them properly makes a huge difference. If you just toss them in a container without any care, they might get a little soggy. So, take that extra minute to layer them with parchment paper; it's a small effort that pays off big time. Think of it as giving your rolled french toast a little spa treatment before they go into hibernation.
Reheating Like a Pro: Bringing Back the Crunch
Now for the reheating part – it’s crucial to get this right. You don't want to end up with a sad, mushy mess. My go-to method is the oven. Preheat it to 350°F (175°C), and place the roll-ups on a baking sheet for about 10 minutes, or until they are heated through and a bit crispy again. If you're in a hurry, the microwave works too, but keep an eye on them. Heat them in 30-second intervals until warm. The stovetop is another great option, just a little butter in a skillet over medium heat, and you can crisp them up again in a few minutes. It's a great way to revive them. No matter which method you choose, always remember to monitor them to prevent them from burning.
And finally, serving. These rolled french toast are awesome on their own, but why stop there? Dust them with powdered sugar, drizzle them with maple syrup, or add fresh fruits. A dollop of whipped cream never hurts either. Get creative, and make them your own. Remember, it's not just about the taste, but also the presentation. So, have fun with it. I mean, who doesn't love a little bit of extra flavor and beauty on their plate?
Reheating Method | Time | Tips |
|---|---|---|
Oven | 10 minutes at 350°F (175°C) | Ensures even heating and crispiness. |
Microwave | 30-second intervals | Heat in short bursts to avoid sogginess. |
Stovetop | A few minutes on each side | Use a little butter to crisp them up. |