Table of Contents
Ever craved that perfect, crusty-on-the-outside, fluffy-on-the-inside French bread roll? You know, the kind that makes your sandwich sing or elevates a simple soup into a feast? Well, you're in the right place. This isn't just another bread recipe; it's a step-by-step journey to baking your own amazing French bread rolls. We'll kick things off by walking through the easy-to-follow recipe, ensuring even kitchen newbies feel like seasoned bakers. Then, we'll get into the nitty-gritty with tips and tricks to nail that perfect texture and rise every time. Think of it as your personal bread-making cheat sheet. But wait, there's more! We'll also explore fun variations and serving ideas, because who wants boring bread? And finally, we'll wrap up with real-world feedback, answering common questions and concerns, because your success is our priority. Get ready to ditch the store-bought stuff and discover how simple it can be to create your own delightful recipe french bread rolls at home.
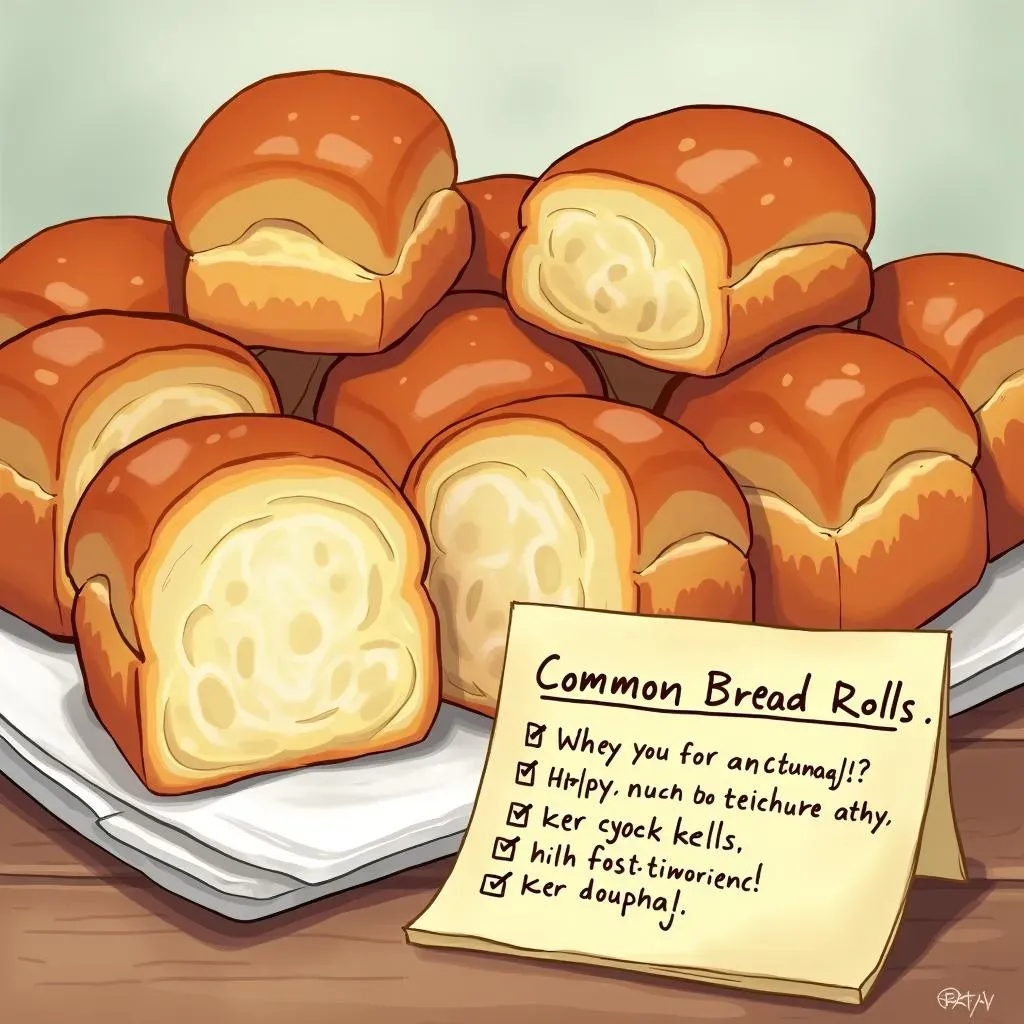
Making Your Own French Bread Rolls: The Recipe
Making Your Own French Bread Rolls: The Recipe
The Simple Start
Okay, so you're ready to ditch the store-bought stuff and make your own magic? I get it! Making these French bread rolls is surprisingly easy. You're gonna start by waking up the yeast. It's like giving it a tiny warm bath with some sugar – they love that. Just mix warm water, yeast, and a pinch of sugar in a bowl, and let it sit for about 10 minutes until it gets all foamy. That's how you know your yeast is alive and ready to work its magic. It's like a little science experiment that smells delicious.
Next, in a larger bowl, you'll mix that foamy yeast with some oil, salt, and flour. Now, you can use a stand mixer if you've got one, but honestly, your hands work just fine. Get in there and mix it all up until a dough forms. It's a little sticky, but don't panic! It's supposed to be. You'll knead it for about 5-7 minutes until it becomes smooth and elastic. Think of it as a mini arm workout before you get to taste the reward. It's a simple recipe but it gives the best results.
Ingredient | Amount |
|---|---|
Warm Water | 1 cup |
Active Dry Yeast | 2 1/4 teaspoons |
Sugar | 1 teaspoon |
Vegetable Oil | 2 tablespoons |
Salt | 1 teaspoon |
All-Purpose Flour | 3 cups |
Shaping and Baking
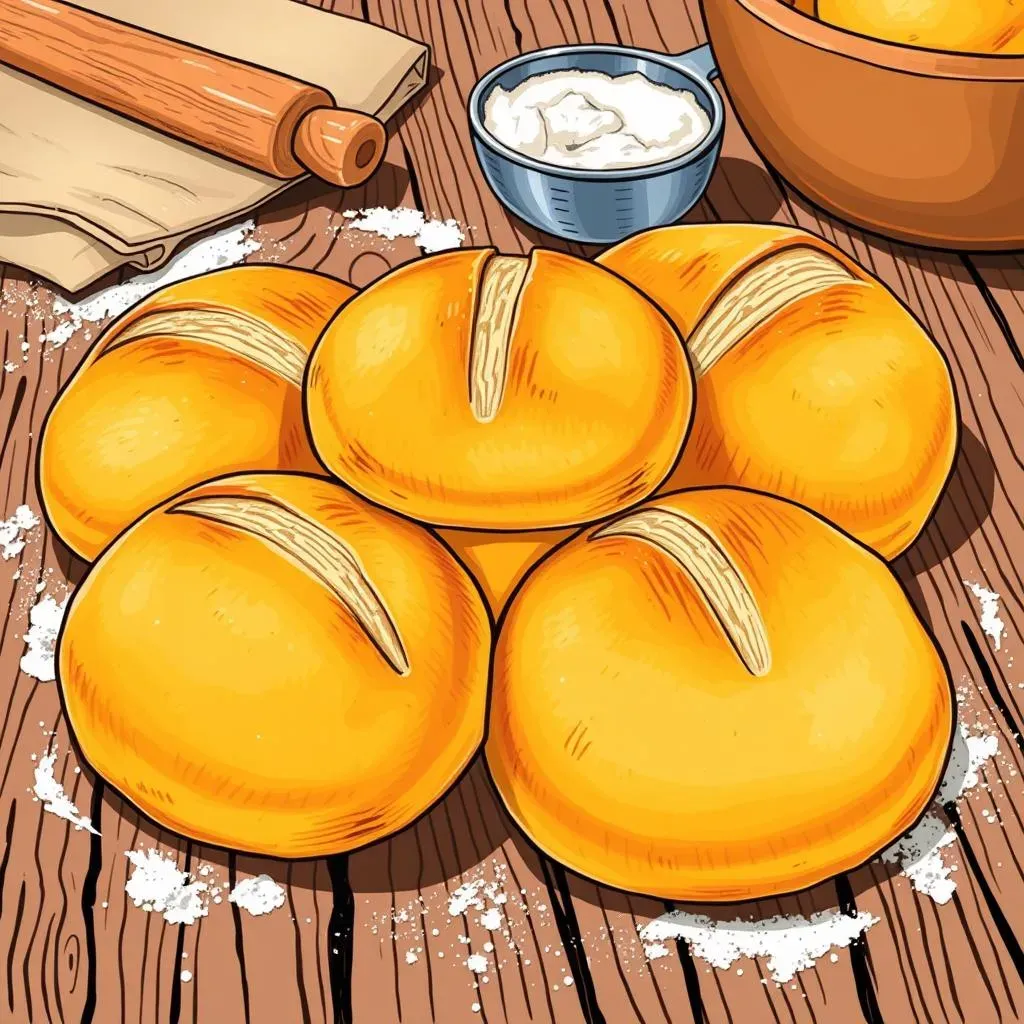
Once your dough is smooth, it's time to let it rise. This is the chill-out part for both you and the dough. Put it in a greased bowl, cover it, and let it sit in a warm place for about an hour, or until it doubles in size. It's like watching a magic trick, seeing the dough puff up! After that, punch the dough down gently (it's kinda satisfying, ngl) and divide it into about 8-10 equal portions. Roll each piece into a small log, like you're making playdough snakes, but for eating.
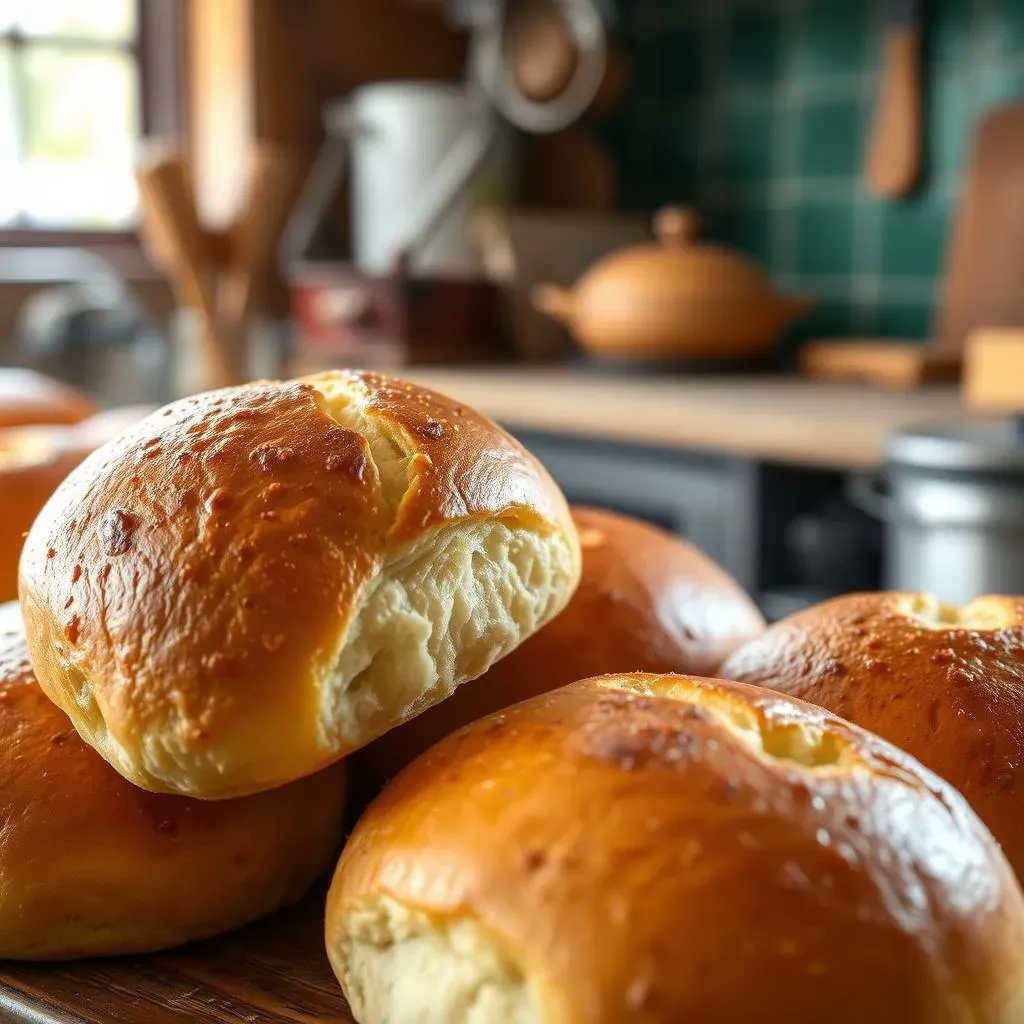
Now, place those little logs on a baking sheet and let them rise again for about 30 minutes. While they’re doing their thing, preheat your oven. Once they're puffy, it’s baking time! Pop them into the oven until they turn a beautiful golden brown. And here's a little secret: brush them with melted butter as soon as they come out of the oven. It makes them extra delicious and shiny. Trust me on this one!
Tips and Tricks for Perfect French Bread Rolls
Tips and Tricks for Perfect French Bread Rolls
The Yeast Whisperer
Okay, let's talk yeast, because it's the unsung hero of bread making. First off, make sure your water is warm, not hot. Think of it like a baby's bath – too hot and you'll kill the yeast, too cold and it'll just be lazy. The ideal temperature is around 105-115°F (40-46°C). Also, don’t skip the sugar. It's not just for sweetness; it’s food for the yeast, helping it get nice and bubbly. If your yeast doesn't foam up in that 10-minute window, it's probably dead, and you'll need to start over with fresh yeast. Trust me, it's better to know early!
Another key thing is not to add too much flour. You want a soft, slightly sticky dough. If it's too dry, your rolls will be dense and tough. If you're using your hands, lightly flour them to keep the dough from sticking too much. And remember that kneading isn't about brute force; it’s about developing the gluten, which gives your bread its structure. You’ll know it’s ready when it’s smooth and elastic, like a baby's cheek. It might take 5-7 minutes, but it's worth every second.
Rise and Shine
Now, let's talk about the rise. This is where the magic happens! Find a warm spot for your dough to do its thing. If your kitchen is cold, try turning on your oven to the lowest setting for a few minutes, then turn it off and put the dough in there. Just make sure it's not too hot! You want a nice, steady, warm environment. Covering the bowl with a damp towel can also help keep the dough from drying out.
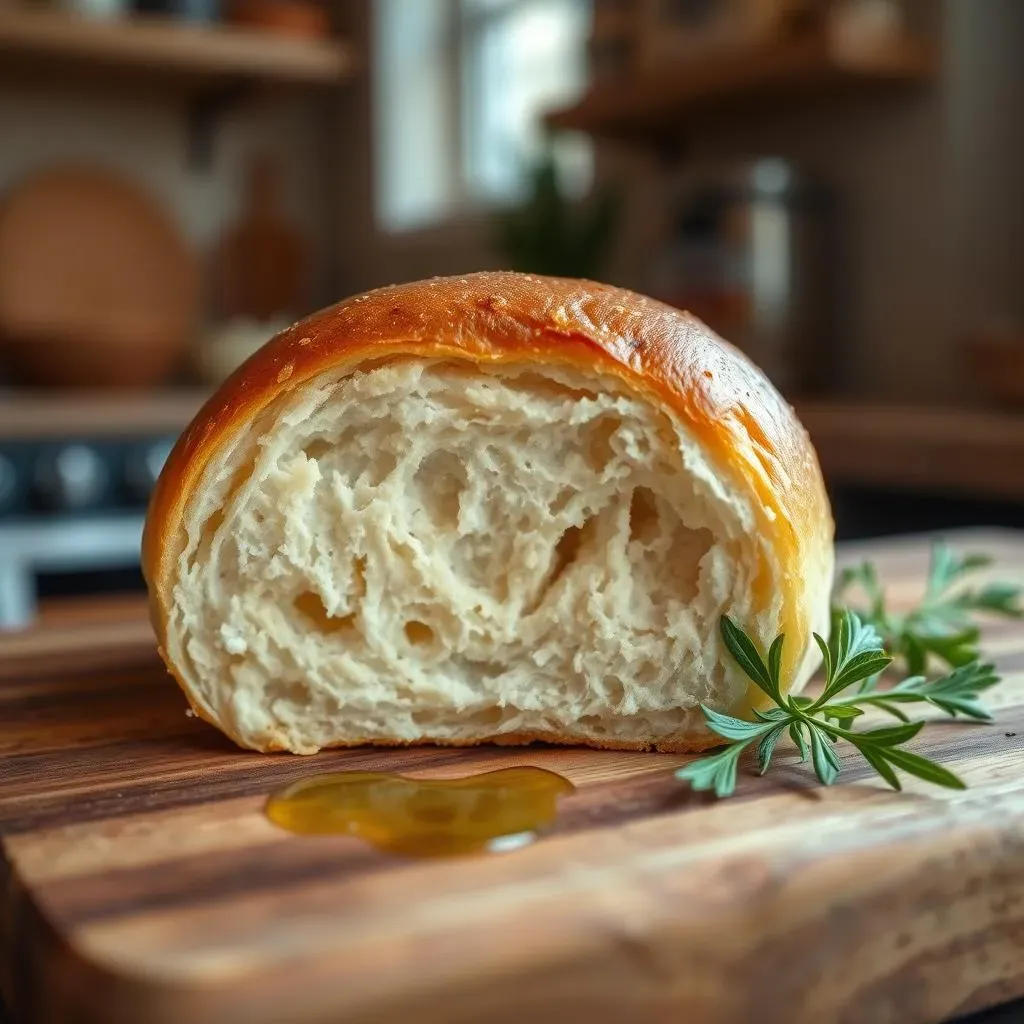
Also, don't rush the second rise. It's tempting to pop those little logs into the oven as soon as possible, but giving them that extra 30 minutes to puff up will make a huge difference in the final texture of your rolls. They’ll be lighter and fluffier, not dense and chewy. And a final pro-tip: before baking, you can lightly slash the tops of the rolls with a sharp knife or kitchen scissors. This helps them expand in the oven and gives them that classic French bread look. It’s like giving them a tiny little runway to fly.
Tip | Details |
|---|---|
Yeast Activation | Use warm water (105-115°F) and a pinch of sugar. |
Dough Consistency | Aim for a soft, slightly sticky dough. Don't add too much flour. |
Kneading | Knead for 5-7 minutes until smooth and elastic. |
First Rise | Let the dough rise in a warm place until doubled in size. |
Second Rise | Let the shaped rolls rise for 30 minutes before baking. |
Scoring | Lightly slash the tops of the rolls before baking. |
Variations and Serving Suggestions for Your French Bread Rolls
Variations and Serving Suggestions for Your French Bread Rolls
Spice it Up!
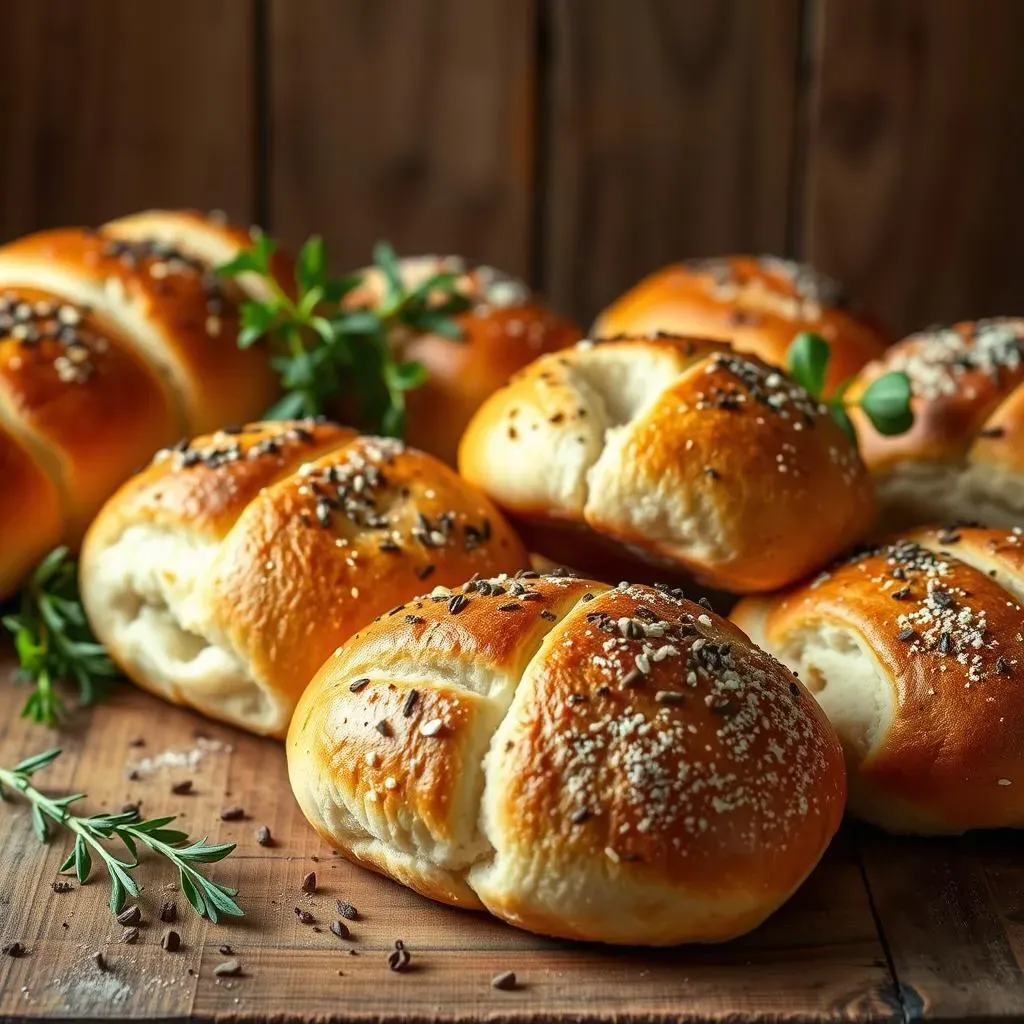
Okay, so you've mastered the basic French bread roll, that's awesome! But what if you want to shake things up a bit? Well, my friend, the possibilities are endless! For a savory twist, try adding some herbs to the dough. Think rosemary, thyme, or even a little garlic powder. It's like giving your rolls a little flavor boost. Or if you're feeling adventurous, sprinkle some cheese on top before baking. Parmesan or cheddar works great, creating a melty, cheesy crust that's just irresistible.
And for those with a sweet tooth, you can absolutely make these rolls a bit sweeter. A touch of cinnamon and a sprinkle of sugar on top before baking can transform them into a delightful treat. You can also add a bit of honey or maple syrup to the dough for a hint of sweetness that's not overpowering. It's all about experimenting and finding your favorite flavor combinations. Don't be afraid to get creative and have some fun with it!
Variation | Description |
|---|---|
Herbed Rolls | Add rosemary, thyme, or garlic powder to the dough. |
Cheesy Rolls | Sprinkle parmesan or cheddar cheese on top before baking. |
Sweet Cinnamon Rolls | Add cinnamon and sugar on top before baking. |
Honey Sweet Rolls | Add honey or maple syrup to the dough. |
Beyond the Bread Basket
Now, let's talk about how to use these beautiful rolls. Of course, they're amazing fresh out of the oven, slathered with butter, but they can be so much more! They're the perfect base for sandwiches and subs. Imagine a crispy roll filled with your favorite deli meats and cheeses, or a juicy meatball sub. The possibilities are endless. And if you're having a soup or stew, these rolls are perfect for dipping and soaking up all the delicious flavors.
They're also fantastic for mini pizzas. Just slice them in half, add your favorite sauce, cheese, and toppings, and bake them until the cheese is melty and bubbly. They're great for appetizers or a quick and easy meal. And if you end up with a few extras, don't worry! These rolls freeze really well. Just pop them in a freezer bag, and they'll be ready for your next bread craving. It's like having a secret stash of deliciousness at your fingertips!
- Sandwiches and subs
- Soup and stew dipping
- Mini pizzas
- Garlic bread
- Freezing for later
Reader Reviews and Common Questions About the Recipe French Bread Rolls
Reader Reviews and Common Questions About the Recipe French Bread Rolls
What People Are Saying
Alright, so you've got the recipe and the tips, but what are real people saying about these French bread rolls? Well, I've been snooping around the comments section, and let me tell you, the reviews are pretty awesome! Many folks are raving about how easy the recipe is to follow, even if they're not seasoned bakers. They love that the dough is forgiving, and they get that perfect balance of crispy crust and soft, fluffy interior. It's like a little pat on the back for all of us who've ever been intimidated by bread making. People are also loving how versatile they are – from sandwiches to dipping into soup, these rolls seem to fit right in. It’s always a good sign when a recipe becomes a kitchen staple!
But, not every single attempt is picture-perfect, of course. Some people have had a few hiccups with the yeast not activating, or the dough not rising quite right. It's all part of the learning process, right? The good news is, most of these issues can be solved with a little extra attention to detail and by referring back to the "Tips and Tricks" section. And that's what makes this so fun, you can learn, experiment, and adjust until you get it just right. It’s the journey, not just the destination, that makes baking so enjoyable!
Review Type | Common Feedback |
|---|---|
Positive | Easy to follow, forgiving dough, great texture, versatile use. |
Constructive | Issues with yeast activation, dough rising problems, need for precise measurements. |
Common Questions Answered
Now, let's tackle some of the burning questions that keep popping up. One big one is, "Can I use different types of flour?" The short answer is yes, you can! While all-purpose flour works great, you can substitute some of it with bread flour for a chewier texture, or even whole wheat flour for a bit of added fiber. Just keep in mind that the dough might behave a bit differently, so you might need to adjust the amount of water or kneading time. Another common question is about storage. These rolls are best when they're fresh, but if you have leftovers, you can store them in an airtight container at room temperature for a day or two, or freeze them for longer storage. Just wrap them tightly in plastic wrap or put them in a freezer bag, and they'll be good to go when the craving hits.
And finally, a few folks have asked about making smaller rolls or larger loaves. Absolutely! You can adjust the size of the portions to create mini-rolls for sliders or a larger loaf for slicing. The baking time will need to be adjusted accordingly, so keep an eye on them while they're in the oven. The beauty of this recipe is that it's flexible and adaptable to your needs. Don't be afraid to experiment and make it your own. It's all about having fun in the kitchen and creating something delicious that you can be proud of. Happy baking!
- Flour Types: All-purpose, bread flour, or whole wheat can be used.
- Storage: Store at room temp for a day or two, or freeze for longer storage.
- Size Adjustments: Make mini-rolls or larger loaves as needed, adjust baking time.