Table of Contents
Are you dreaming of that perfect, crusty sourdough French bread, the kind that makes your taste buds sing? Forget the grocery store – you can achieve bakery-quality results at home! This ultimate guide to a recipe for sourdough french bread will take you from sourdough novice to bread-baking hero. We'll walk you through every step, from preparing your sourdough starter to achieving that signature golden-brown crust. Get ready to learn the secrets to a fluffy interior and a satisfying crunch. This isn't just a recipe; it's a journey into the art of sourdough baking. We'll cover essential techniques, provide helpful tips and tricks to avoid common pitfalls, and equip you with the knowledge to troubleshoot any problems along the way. Whether you're a seasoned baker or a complete beginner, this comprehensive guide will empower you to create delicious, homemade sourdough French bread that will impress your friends and family. Let's embark on this delicious adventure together!
Mastering the Sourdough French Bread Recipe: A StepbyStep Guide
Mastering the Sourdough French Bread Recipe: A StepbyStep Guide
Getting Started: The Sourdough Starter
Before we even think about flour, let's talk about the heart of sourdough: your starter. A healthy, active starter is key to a successful loaf. Make sure it's bubbly and has that characteristic tangy aroma. If it's looking a bit sluggish, don't worry! A quick feeding should perk it right up. Remember, a happy starter means a happy loaf. For more information on creating a vibrant starter, check out our guide on making a sourdough starter. Properly caring for your starter is the foundation of your baking journey.
Once your starter is ready, it's time to gather your other ingredients. Accurate measurements are crucial in baking, so I strongly recommend using a kitchen scale. This ensures consistency and helps you avoid those frustrating moments when your bread doesn't quite turn out as expected. We'll be using bread flour – its higher protein content gives you that beautiful, chewy texture you crave in a French loaf. Don't substitute all-purpose flour unless you're prepared for a slightly different outcome. You can also read more about the difference between bread flour and all-purpose flour in our article on French bread vs sourdough.
Ingredient | Measurement (grams) |
|---|---|
Active Sourdough Starter | 200 |
Bread Flour | 500 |
Water | 350 |
Salt | 10 |
Mixing and Kneading: Developing Gluten
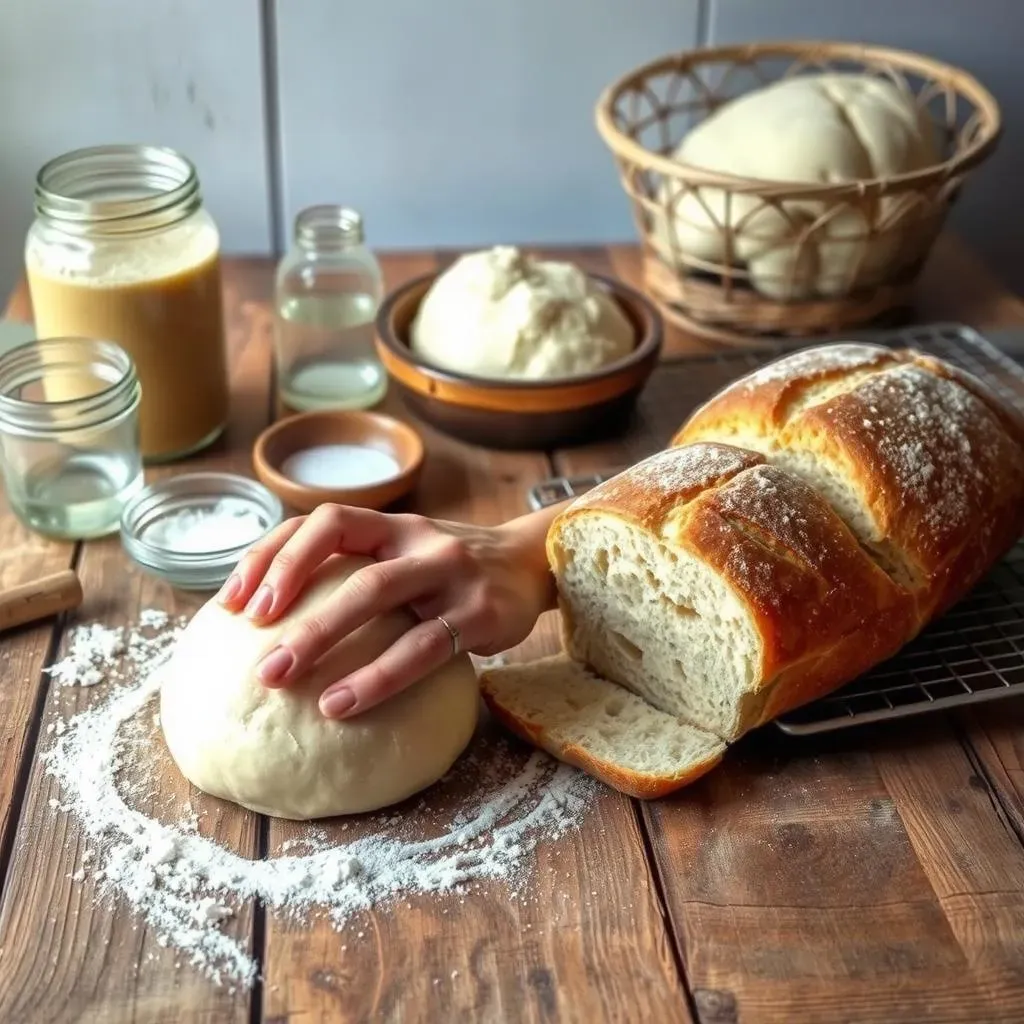
Now for the fun part: mixing! Gently combine your ingredients in a large bowl. Don't be too vigorous at this stage; just bring everything together. Then, it's time to knead. This is where the magic happens – kneading develops the gluten in your dough, giving it strength and structure. You can knead by hand (a good workout!) or use a stand mixer with a dough hook. Knead until the dough is smooth and elastic, about 8-10 minutes. If you're using a stand mixer, remember to check the dough regularly to make sure it's not getting too sticky or too dry. For more tips on kneading, check out our amazing 2-loaf sourdough recipe.
After kneading, let the dough rest. This is called bulk fermentation. Cover the bowl with plastic wrap and let it sit in a warm place for several hours. The dough will rise significantly during this time. The exact time depends on the temperature of your environment, but you should see a noticeable increase in size. Patience is key here. Don't rush the process! The longer you let your dough rise, the more flavor it will develop. A longer bulk fermentation will result in a more complex flavor profile. You can explore additional ways to improve your sourdough flavor by checking out our ultimate guide to sourdough.
- Gently mix ingredients.
- Knead for 8-10 minutes.
- Bulk ferment for several hours.
Tips and Tricks for the Best Sourdough French Bread Recipe

Tips and Tricks for the Best Sourdough French Bread Recipe
Shaping Your Loaf: Achieving that Perfect Form
Once your dough has finished its bulk fermentation, it's time to shape it into a beautiful loaf. This might seem daunting at first, but with a little practice, you'll become a pro. Gently deflate the dough, then shape it into a long rectangle. Tightly roll it up from one end to the other, pinching the seam to seal it. This creates a nice, even loaf that bakes evenly. Place the shaped loaf seam-side down on a well-floured baking sheet, or into a banneton for a more rustic look. For more detailed instructions and visuals, check out our amazing 2-loaf sourdough recipe. It's all about gentle handling to avoid degassing the dough.
Before baking, score your loaf. This crucial step allows the dough to expand during baking, preventing it from tearing. Use a sharp knife or lame to make several shallow cuts along the top of the loaf. Experiment with different scoring patterns – it’s a fun way to personalize your bread. For inspiration, have a look at our crusty sourdough French bread recipe which shows various scoring techniques. The right score creates a beautiful, rustic look and helps to control the expansion of your bread.
- Gently deflate the dough.
- Shape into a rectangle and roll tightly.
- Pinch the seam to seal.
- Score the loaf before baking.
Baking for Perfection: Achieving that Golden Crust
Preheat your oven to a high temperature (around 450°F or 232°C). A hot oven is essential for creating that crispy crust. Consider using a Dutch oven or a baking stone for even better results – they retain heat and produce a fantastic oven spring. If you don't have either, don't worry; a regular baking sheet will work just fine. For a truly authentic crust, try adding steam to your oven during the first part of the baking process. This creates a moist environment that promotes a beautiful, chewy crust. You can achieve this by placing a pan of water on the bottom rack of your oven. Check out our amazing crusty sourdough recipe for more details on steam baking.
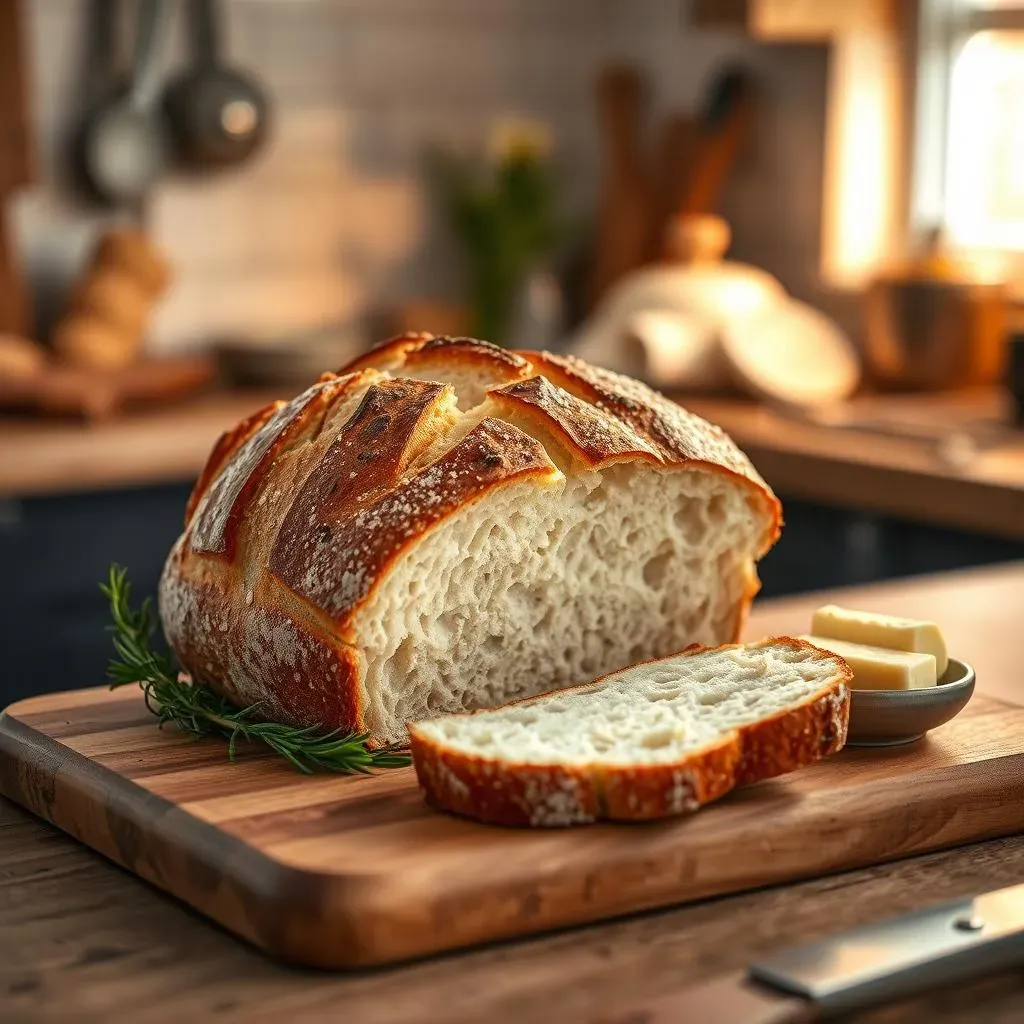
Baking time will vary depending on your oven and the size of your loaf, but generally, it takes around 25-35 minutes. Keep a close eye on your bread during the last 10 minutes, as it can brown quickly. When it's done, the crust should be golden brown and sound hollow when tapped. Let the bread cool completely on a wire rack before slicing. Resist the urge to cut into it while it's still warm – you'll get a much better texture and slice if you wait! This cooling process allows the crumb to fully set, resulting in a superior texture. For a complete guide on sourdough baking, check out our ultimate guide to sourdough baking.
Baking Tip | Description |
|---|---|
High Oven Temperature | 450°F (232°C) for a crisp crust. |
Steam | Add a pan of water to the oven for extra crispiness. |
Cooling | Cool completely on a wire rack before slicing. |
Storage and Enjoyment: Keeping Your Bread Fresh
Once cooled, store your sourdough French bread in an airtight container at room temperature for up to 3 days. To prolong its freshness, you can freeze it. Wrap the loaf tightly in plastic wrap and then foil, before placing it in a freezer bag. Frozen bread will keep for up to 3 months. To thaw, simply remove it from the freezer and allow it to come to room temperature. You can refresh a slightly stale loaf by lightly spritzing it with water and briefly warming it in a low oven. A simple trick to revive your bread! For more tips on extending the life of your sourdough bread, check out our guide on French-style sourdough bread.
And finally, the best part – enjoying your freshly baked (or refreshed!) sourdough French bread! It's delicious on its own, with butter or olive oil, or as part of a larger meal. Use it for sandwiches, bruschetta, or even French toast (yes, really!). The possibilities are endless! Your homemade sourdough bread will elevate any meal. Experiment with different toppings and fillings – let your creativity shine! Discover more delicious ways to use your sourdough with our guide on using sourdough for french toast.
“The smell of freshly baked bread is the most comforting aroma in the world.” - Unknown
Troubleshooting Common Sourdough French Bread Recipe Problems
A Flat Loaf: The Case of the Missing Oven Spring
One of the most common sourdough woes is a flat loaf. This usually points to issues during fermentation or baking. Insufficient fermentation means your dough hasn't developed enough gas to create a good rise. Make sure your starter is active and bubbly, and that your bulk fermentation time is sufficient for your environment. A cold kitchen will slow down the process significantly. Conversely, over-fermentation can also lead to a flat loaf, as the yeast may have exhausted its energy before baking. The key is finding that sweet spot. For more in-depth troubleshooting on fermentation, check out our ultimate guide to sourdough.
Baking techniques also play a vital role. A cold oven won't give your bread the boost it needs, resulting in a lackluster rise. Ensure your oven is preheated to the correct temperature and consider using a Dutch oven or baking stone to retain heat and promote oven spring. Improper scoring can also restrict expansion, so practice your scoring techniques before tackling your loaf. For tips on scoring, check out our crusty sourdough recipe.
- Check starter activity.
- Ensure sufficient (but not excessive) fermentation.
- Preheat oven thoroughly.
- Use a Dutch oven or baking stone.
- Practice proper scoring techniques.
A Dense Crumb: The Gluten Puzzle
A dense, gummy crumb often indicates problems with gluten development during kneading. Insufficient kneading doesn't allow the gluten strands to form properly, resulting in a heavy texture. Make sure you knead your dough long enough – aim for that smooth, elastic consistency. If you're kneading by hand, it's a good workout! If using a stand mixer, keep an eye on the dough to ensure it's not too wet or dry. Adjust water content as needed to achieve the right consistency. For more information on kneading techniques, check out our amazing 2-loaf sourdough recipe.
Over-kneading can also be a problem. While kneading develops gluten, overdoing it can break down the gluten strands, leading to a dense crumb. Find that balance! The correct kneading time depends on the flour you use and your environment. Experiment to find the right amount of kneading for your specific situation. If you're still struggling, consider investing in a kitchen scale for more precise measurements. Check out our article on French bread vs sourdough for additional tips.
Problem | Possible Cause | Solution |
|---|---|---|
Dense Crumb | Insufficient kneading | Knead longer, until dough is smooth and elastic. |
Dense Crumb | Over-kneading | Reduce kneading time; aim for smooth, elastic consistency. |