Table of Contents
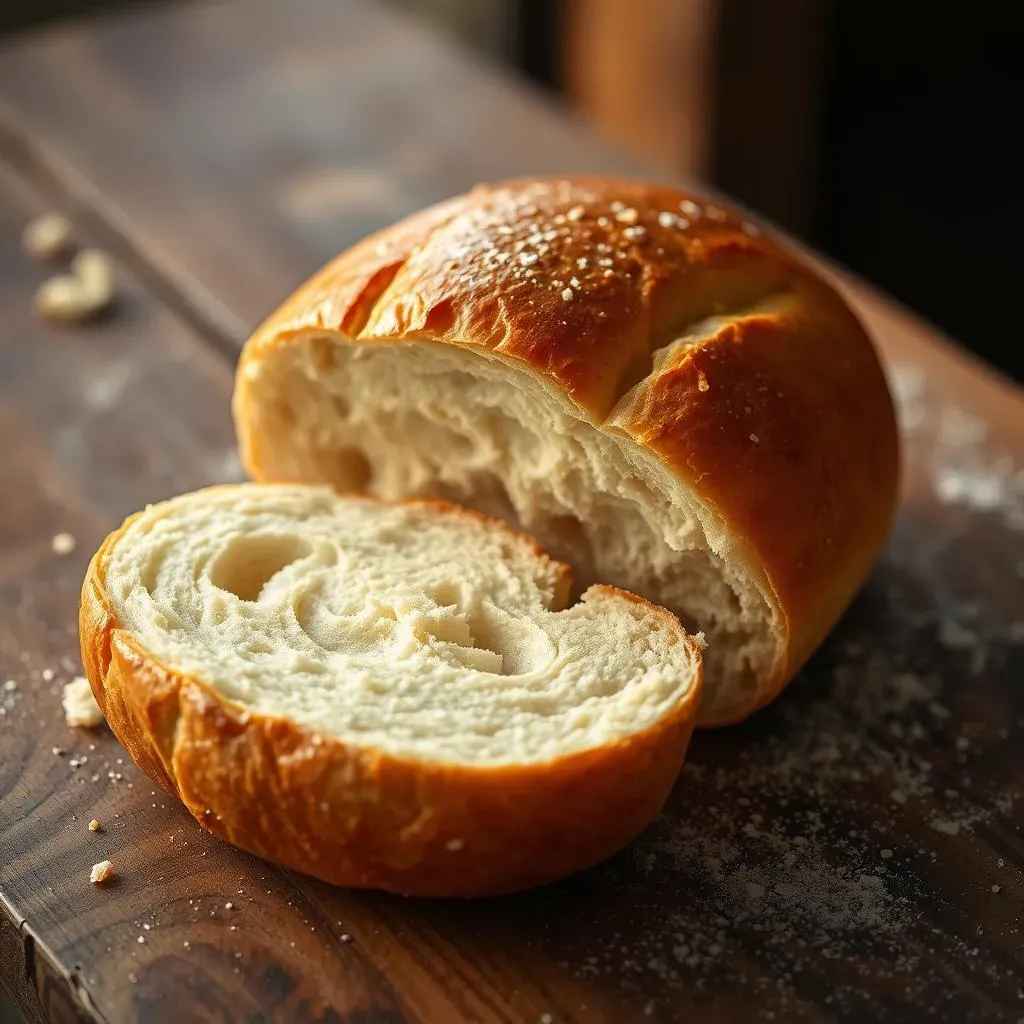
Ever dream of pulling warm, crusty rolls from your oven? Forget those store-bought imitations. This isn't just another bread recipe; it's your ticket to homemade heaven. We're diving into a straightforward, step-by-step guide for making the most amazing French bread rolls. This recipe for french bread rolls is so good it's been my go-to for years, and trust me, I've tried a lot. The dough is surprisingly simple to work with, and I promise, even if you're a baking newbie, you'll nail this. We'll cover everything from mixing the dough to shaping those perfect rolls, and I'll share some tips to make sure they come out perfect every single time. Plus, we'll explore some fun variations to keep things interesting. Get ready to impress your family and friends (and maybe yourself) with your new baking skills. Let's get baking!
Making the Dough for French Bread Rolls
Making the Dough for French Bread Rolls
Getting Started: The Basics
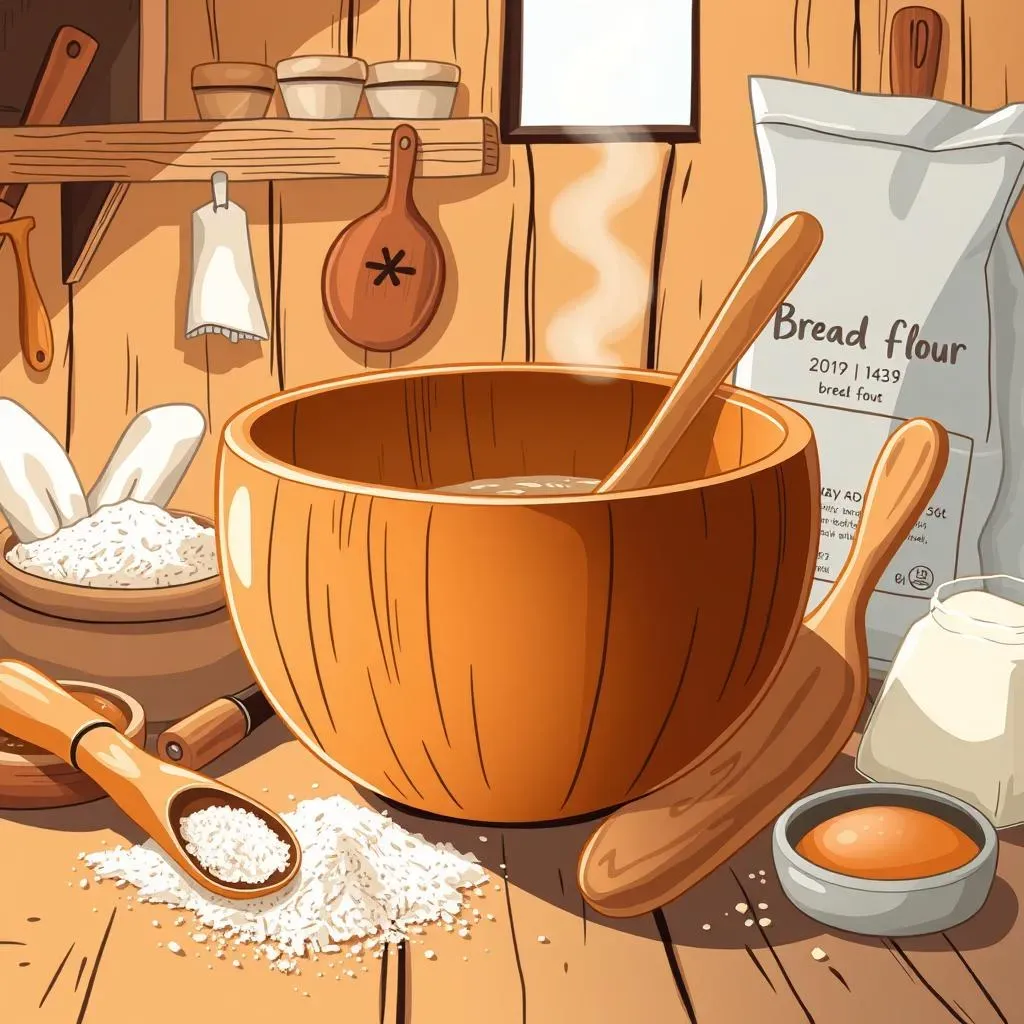
Okay, so you want to make amazing French bread rolls? The secret, my friend, is in the dough. Don't let the word "yeast" scare you; it's really not that complicated. First, we're gonna need some warm water, not hot, just warm like a baby's bath. Then, we'll add a pinch of sugar and the yeast. Think of it as giving the yeast a little snack to wake it up. Let that mixture sit for about 10 minutes, it should get all bubbly and foamy, that means it's alive and ready to go!
Next, in a large bowl – or the bowl of your stand mixer if you're fancy – combine that bubbly yeast mixture with some oil, salt, and a couple cups of flour. We are starting with the basics, so you can use all-purpose flour for this recipe, but if you want to get that authentic French bread texture, bread flour is the way to go. Mix it all together until it starts to form a shaggy dough. It’s gonna look a little messy at this point, but don't worry, we're not done yet.
Kneading and First Rise
Now comes the fun part, kneading! If you're using a stand mixer, let the dough hook do its thing for about 8 minutes. If you're kneading by hand, find a clean surface, sprinkle some flour, and get to work! Push, fold, turn, repeat for about 10-12 minutes. The dough should become smooth and elastic, like a baby's bottom, or maybe a bouncy ball. If it's too sticky, add a little more flour, a tablespoon at a time. After kneading, place the dough in a lightly oiled bowl, turn it to coat, and cover it with a towel or plastic wrap. Now, we wait.
Ingredient | Amount |
|---|---|
Warm Water | 1 1/4 cups |
Sugar | 1 teaspoon |
Active Dry Yeast | 2 1/4 teaspoons |
Vegetable Oil | 2 tablespoons |
Salt | 1 1/2 teaspoons |
All-Purpose Flour or Bread Flour | 3 1/2 cups, plus more for dusting |
The Importance of the First Rise
The first rise is crucial, it allows the yeast to do its magic and create those air bubbles that give the bread its light and fluffy texture. Let the dough rise in a warm place for about 1 to 1 1/2 hours, or until it has doubled in size. I like to put mine in the oven with the light on, it's a warm and cozy place for the dough to hang out. Once it's doubled, gently punch it down to release the air. This step is always a little satisfying. You’ll notice the dough is now soft and puffy, it is almost ready for the next stage.
This first rise is not just about making the dough bigger; it's about developing flavor. The longer it rises (within reason), the better your rolls will taste. It's like letting a good stew simmer, the flavors get richer over time. So, be patient, let the dough do its thing, and you'll be rewarded with incredibly delicious French bread rolls. After that, you are ready to move to the next step, shaping the dough.
Shaping and Baking Your French Bread Rolls
Shaping and Baking Your French Bread Rolls
Dividing and Shaping the Dough
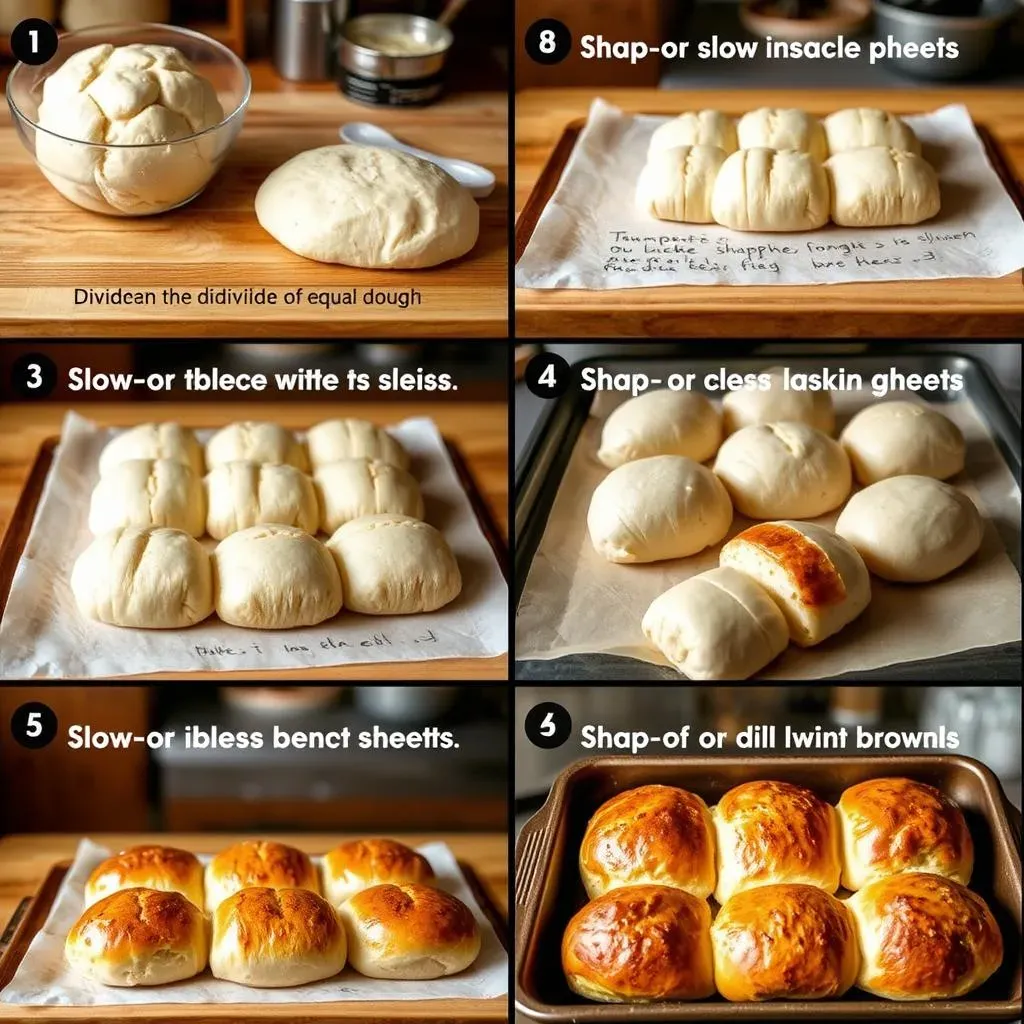
Alright, so your dough has doubled, and you've punched it down. Feels good, right? Now, let's get these rolls shaped! Turn the dough out onto a lightly floured surface. Gently press it into a rectangle, about an inch thick. Using a knife or a bench scraper, divide the dough into 8-12 equal pieces. The size depends on how big you want your rolls. For standard-sized rolls, about 10 is a good number.
Now for the fun part, shaping! Take each piece of dough and gently roll it into a ball. Then, using your hands, roll the ball back and forth on the counter, creating an oblong shape, like a mini football. It doesn't need to be perfect, just try to make them somewhat uniform. Place the shaped rolls on a baking sheet lined with parchment paper, leaving a little space between each one. They'll puff up a bit in the oven, so don't crowd them.
The Second Rise and Baking
Before baking, we need to let the rolls rise again, this is the second rise. Cover the baking sheet with a clean towel or plastic wrap and let the rolls rise in a warm place for about 30-45 minutes, or until they look puffy. While they are rising, preheat your oven to 400°F (200°C). Once the rolls have risen, it's time to bake them! Before they go in, you can brush the tops with a little bit of melted butter or an egg wash for a nice golden color. This is optional, but it makes them look extra fancy.
Bake the rolls for 15-20 minutes, or until they are golden brown and sound hollow when you tap the bottom. Keep an eye on them, ovens can vary, and you don't want them to burn. Once they are baked, remove them from the oven and let them cool on a wire rack. If you brush them with melted butter right after they come out of the oven, it will give them a nice shine and extra flavor. The aroma in your kitchen right now is probably amazing, that's the smell of freshly baked bread!
Step | Action |
|---|---|
1 | Divide the dough into 8-12 equal pieces. |
2 | Shape each piece into an oblong roll. |
3 | Place the rolls on a baking sheet lined with parchment paper. |
4 | Let the rolls rise for 30-45 minutes. |
5 | Preheat oven to 400°F (200°C). |
6 | Bake for 15-20 minutes, or until golden brown. |
7 | Cool on a wire rack. |
Cooling and Enjoying Your French Bread Rolls
Now, as tempting as it is to tear into those warm rolls, it's best to let them cool a bit on a wire rack. This allows the steam to escape and prevents them from getting soggy. I know, the waiting is the hardest part, but trust me, it's worth it. Once they are slightly cooled, it is time to enjoy them! These French bread rolls are perfect for just about anything. You can use them for sandwiches, subs, or serve them alongside dinner.
They are also great with a little bit of butter and jam, or even just plain with a bit of olive oil and salt. You can also freeze the baked rolls for later use. Just let them cool completely, then wrap them tightly in plastic wrap and place them in a freezer bag. They'll last for a couple of months and are perfect to pull out whenever you need a fresh bread fix. Now go, enjoy your homemade bread rolls, you did it!
Tips, Variations, and Serving Ideas for French Bread Rolls
Tips, Variations, and Serving Ideas for French Bread Rolls
Baking Tips for Perfect Rolls
Alright, let's talk tips and tricks because even the best recipes can use a little help. First, always make sure your yeast is fresh. If it's been sitting in your pantry for a while, it might not work as well, and your dough won't rise properly. Also, the water temperature is super important. It should be warm, not hot, think baby bathwater. Too hot and it will kill the yeast, too cold and the yeast won’t activate. If the dough is too sticky while kneading, add a bit of flour, a tablespoon at a time, until it becomes manageable. Don’t add too much flour, or the rolls will be dense and dry. When letting the dough rise, find a warm spot in your house, like near a sunny window or in your oven with the light on. And finally, don’t overbake the rolls, they should be golden brown, not burnt. Remember, practice makes perfect, so don't worry if your first batch isn't flawless. Baking is a learning process, and you'll get better with each try.
Another key tip is to use a kitchen scale for measuring the flour. This is a game changer! Measuring cups can be inconsistent, leading to too much or too little flour in the dough. Using a scale ensures accuracy and better results. If you don't have a scale, just be sure to lightly spoon the flour into the measuring cup, instead of scooping it, which can pack it down. And don't be afraid to experiment with different flours. Using bread flour gives the rolls a chewier texture, while all-purpose flour makes them softer. You can even try a mix of both. Baking is all about experimenting and finding what works best for you, and what you like best. Now that we covered tips, lets move on to variations.
Tip | Description |
|---|---|
Fresh Yeast | Use fresh yeast for best results. |
Warm Water | Use warm water, not hot, to activate the yeast. |
Kneading | Add flour gradually while kneading if the dough is too sticky. |
Warm Rise | Let the dough rise in a warm place. |
Oven Temp | Don't overbake, bake until golden brown. |
Scale | Using scale can make a huge different. |
Fun Variations to Try
Okay, let's spice things up with some variations! If you are feeling adventurous, you can add some herbs to the dough, like rosemary, thyme, or garlic powder, for a more savory flavor. A little bit of grated cheese, like Parmesan or cheddar, can also add a nice twist. For a sweeter version, add a bit of cinnamon and sugar to the dough. You can even stuff the rolls with things like cheese, ham, or pepperoni before baking. Think of them like little individual pizzas. And don’t forget about toppings! Before baking, sprinkle the rolls with sesame seeds, poppy seeds, or coarse salt for an extra layer of flavor and texture. The possibilities are endless, so let your imagination run wild!
Another variation is to make a whole wheat version of these French bread rolls. Simply replace half or all of the all-purpose flour with whole wheat flour. This will give the rolls a nuttier flavor and a slightly denser texture. You can also experiment with different types of oil, like olive oil or avocado oil, for a different flavor profile. If you want a softer crust, you can brush the rolls with milk instead of butter before baking. Don’t be afraid to get creative and make this recipe your own. The beauty of baking is that you can always tweak things to your liking. There are so many ways to make these rolls unique, so start experimenting.
Serving Ideas and Pairings
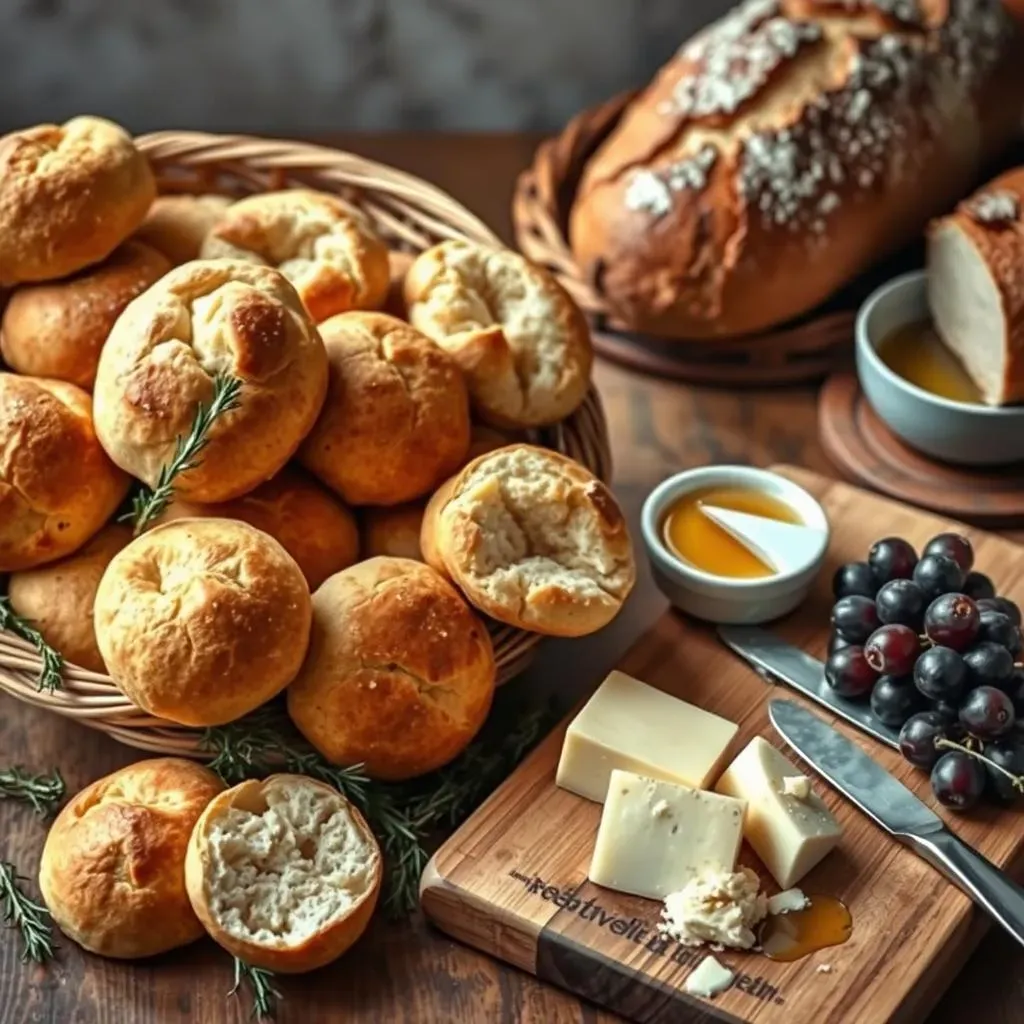
Now that you have these amazing French bread rolls, let's talk about how to serve them. They are a perfect side to just about any meal. Use them for sandwiches, subs, or sliders. They are great with soups, stews, or salads. You can also use them to make garlic bread, bruschetta, or crostini. Serve them with some olive oil and balsamic vinegar for dipping, or with a nice cheese and charcuterie board. They are also great just on their own with a bit of butter and jam, or with your favorite spread. The options are endless. And don’t forget, these rolls freeze beautifully, so you can always make a big batch and have them on hand for whenever you need them. It is the perfect bread for any occasion.
Another great way to serve these rolls is to use them as a base for mini pizzas. Just slice them in half, top them with your favorite sauce, cheese, and toppings, and bake them until the cheese is melted and bubbly. These are perfect for parties or a quick weeknight meal. You can also use them to make French toast. Just slice them, soak them in an egg mixture, and cook them on a griddle. Serve them with some syrup, fruit, and whipped cream for a delicious breakfast or brunch. The great thing about these rolls is how versatile they are. You can use them in so many different ways, and they are always a crowd-pleaser. They are the perfect addition to any meal, or even a meal on their own!
- Use for sandwiches, subs, or sliders.
- Serve with soups, stews, or salads.
- Make garlic bread, bruschetta, or crostini.
- Serve with olive oil and balsamic vinegar.
- Use for mini pizzas or French toast.