Table of Contents
Ever dream of biting into a perfect, crusty roll with a soft, airy inside? That's the magic of petit french rolls, and guess what? You can make them at home! These aren't your average store-bought bread; these are tiny, flavorful clouds of deliciousness. We're going to take you through the journey, from understanding the simple science behind these rolls to mastering the baking process itself. First, we'll uncover the secrets to achieving that signature texture. Then, we'll walk through the recipe, step-by-step, with tips to make sure your rolls turn out amazing. Finally, we'll share some ideas on how to serve and keep them fresh, whether it’s for a casual dinner or a special occasion. Ready to fill your kitchen with the irresistible aroma of freshly baked petit french rolls? Let's get started!
The Magic Behind Petit French Rolls
The Magic Behind Petit French Rolls
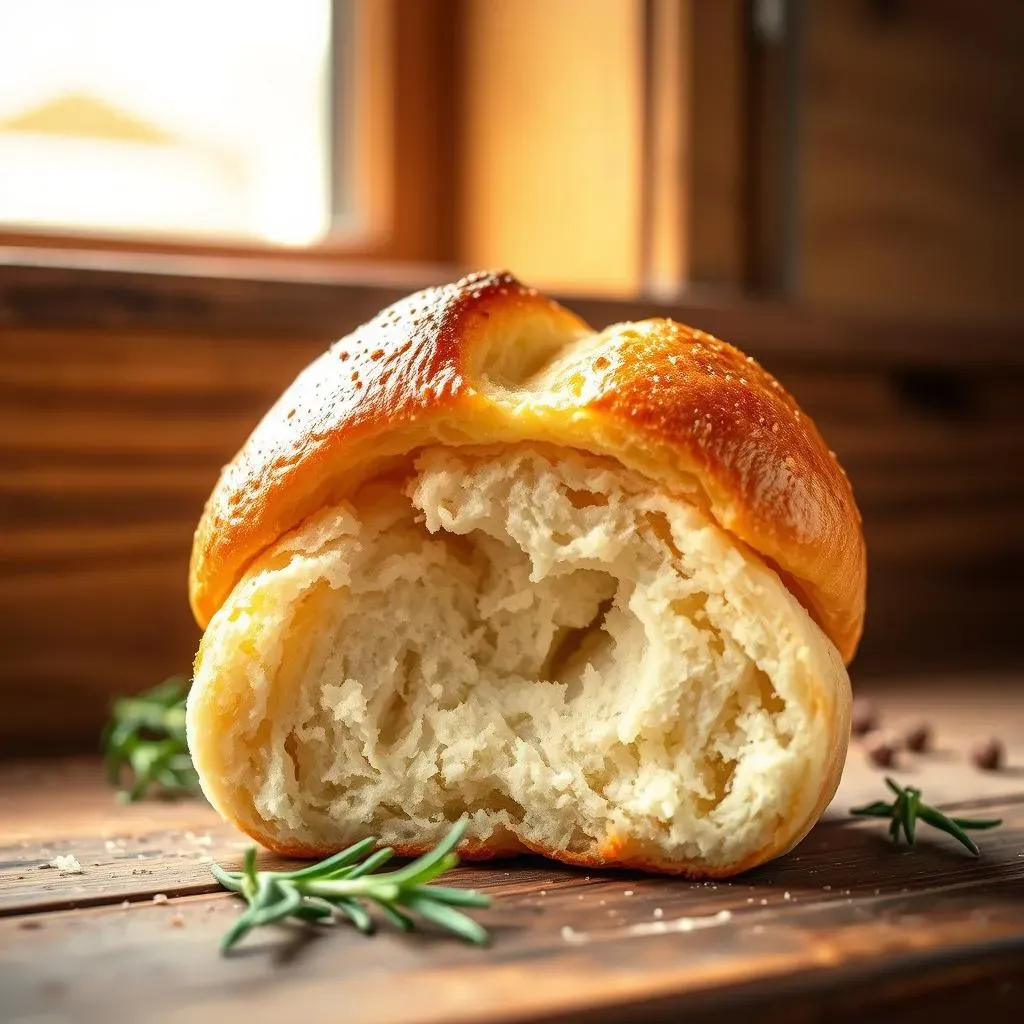
So, what's the real deal with petit french rolls? It's not just about having a fancy name. It’s about the simple science of baking that transforms basic ingredients into something truly special. We're talking about that perfect balance of a crispy, golden crust with an inside so light and airy, it's practically a cloud. The secret? It's all in the dough: a little bit of yeast, flour, water, and salt is all you need. The yeast is the key player here, creating those air pockets that give the bread its airy texture. And the high baking temperature? That's what gives it that delightful crunch. Think of it like a tiny, edible science experiment, but way more delicious.
The magic isn't just in the ingredients, though. It's also in the process. The kneading develops the gluten, which is essential for that chewy texture. Then there's the rising, where the dough gets all puffy and happy. It's kind of like watching a plant grow, but instead of leaves, you get bread. And finally, the baking - that's when all the work pays off, and your kitchen fills with the most amazing smell. It's a simple process, but each step is crucial for creating those perfect little rolls.
It’s like a mini-adventure in baking, and the reward is totally worth it.
Key Element | Role in Petit French Rolls |
|---|---|
Yeast | Creates air pockets for a light texture |
Gluten | Provides the chewy texture |
High Baking Temperature | Ensures a crispy crust |
Baking Your Own Petit French Rolls: A StepbyStep Guide
Baking Your Own Petit French Rolls: A StepbyStep Guide
Okay, so you're ready to get your hands floury? Awesome! Making petit french rolls might seem a bit intimidating at first, but trust me, it's totally doable, and super fun. We're going to break it down into simple steps, so you can feel like a pro baker in no time. First up, you'll need to gather your ingredients: warm water, yeast, salt, flour, and a touch of olive oil. Think of it like preparing for a mini-adventure in your kitchen. And don't worry if it seems a bit messy, that's part of the fun!
Next, we're going to mix everything together. You'll start by combining the warm water and yeast, letting it sit for a few minutes until it gets all foamy. This is how we know the yeast is alive and ready to make the bread rise. Then, you'll add the salt, flour, and olive oil, mixing until it forms a sticky dough. Now comes the fun part – kneading! This is where you get to work the dough, pushing and folding it until it becomes smooth and elastic. It's like giving the dough a little workout, and it's so satisfying to feel it change under your hands.
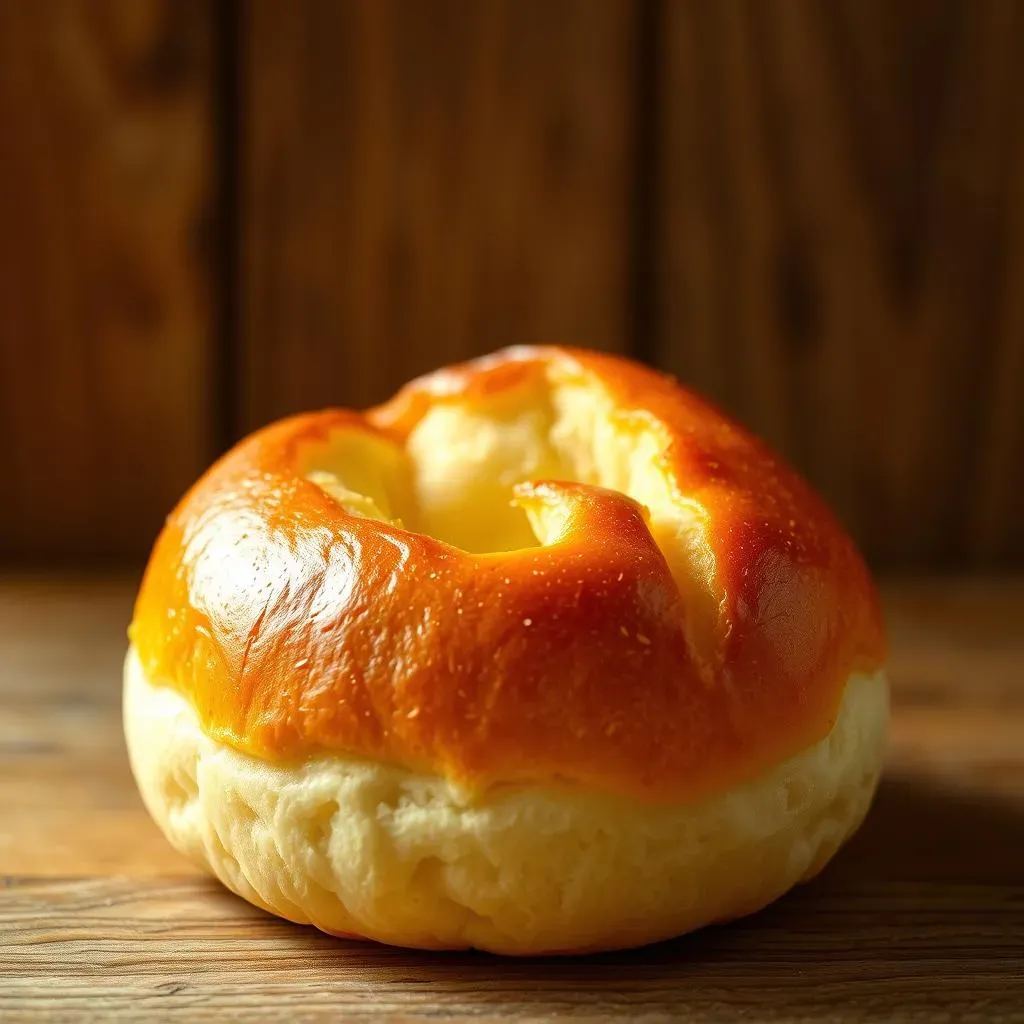
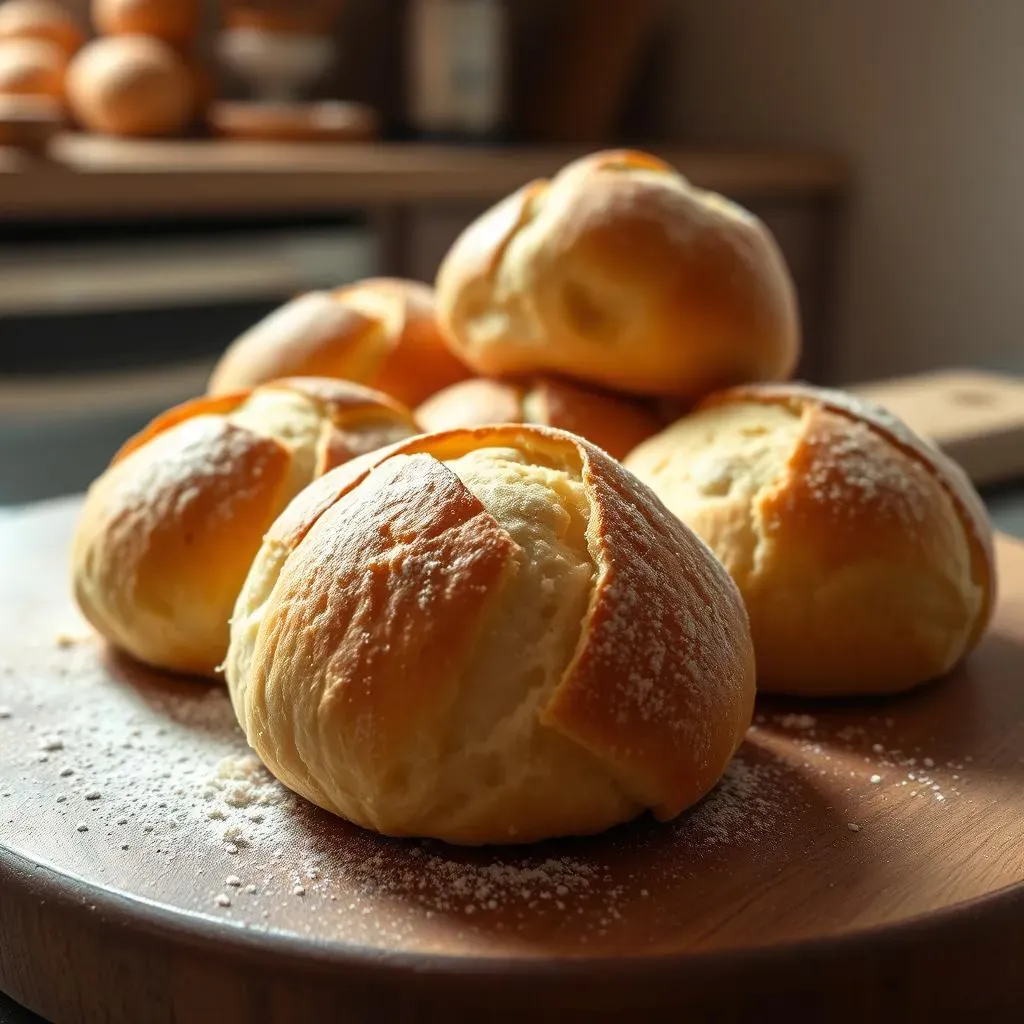
After kneading, it's time for the first rise. Place the dough in a lightly oiled bowl, cover it, and let it sit in a warm place for about an hour, or until it doubles in size. This is when the yeast works its magic, creating those air pockets that make the bread light and fluffy. Then, punch the dough down, shape it into small rolls, and let them rise again on a baking sheet. Finally, bake them in a hot oven until they're golden brown and sound hollow when tapped on the bottom. And that's it! Your very own petit french rolls, fresh from your oven.
Step | Action |
|---|---|
1 | Combine warm water and yeast, let sit until foamy. |
2 | Add salt, flour, and olive oil, mix to form dough. |
3 | Knead the dough until smooth and elastic. |
4 | Let the dough rise in a warm place. |
5 | Shape the dough into small rolls, let rise again. |
6 | Bake until golden brown. |
Serving and Storing Your Petit French Rolls
Serving and Storing Your Petit French Rolls
Serving Suggestions
Alright, you’ve baked these amazing petit french rolls, now what? Well, the possibilities are pretty endless! They're fantastic served warm, right out of the oven, with a smear of butter or a drizzle of olive oil. Seriously, sometimes the simplest things are the best. But if you’re feeling a bit more adventurous, these rolls are perfect for mini sandwiches. Think turkey and swiss, or maybe some roasted veggies with hummus. They're also an excellent addition to any meal. Imagine them alongside a hearty bowl of soup or a plate of pasta. They’re like the versatile sidekick that makes everything better.
My favorite? I love using them for make-your-own sandwich parties. It's a blast to set out a bunch of different fillings and let everyone create their own masterpieces. It’s a surefire way to get everyone involved and having fun. And let’s not forget about breakfast – these rolls are amazing toasted with jam or avocado. Whether it's a casual family dinner or a fancy get-together, these little rolls are a guaranteed crowd-pleaser.
Storing for Freshness
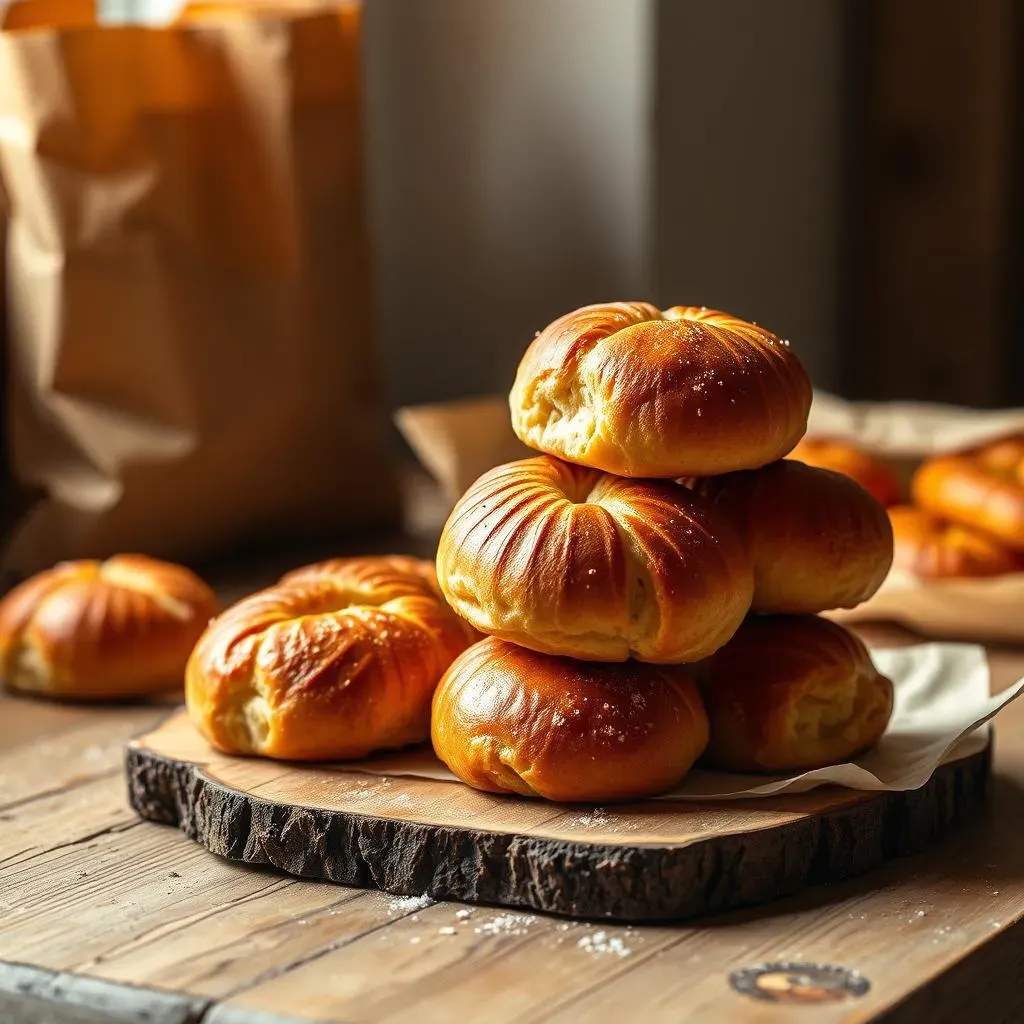
So, you've got some rolls left over? No problem! The key to keeping your petit french rolls fresh is all about how you store them. The best way to maintain that crispy crust is to keep them in a paper bag. Plastic bags are a no-go because they trap moisture, which will make the rolls sweat and get soft. If you don't have a paper bag, a sheet of parchment paper wrapped tightly around the rolls will do the trick. This will help keep them from going stale so quickly. They'll be good for a day or two at room temperature.
Now, if you're planning on storing them longer, freezing is your best bet. Just make sure they're completely cooled before you pop them into a freezer-safe bag. When you're ready to use them, you can thaw them at room temperature or, my favorite trick, bake them directly from frozen at 250°F until they’re warmed through. It's like magic, they taste fresh out of the oven again! And hey, if you find your rolls have gotten a bit hard, don’t toss them! There's a simple trick to revive them.
Storage Method | Best For |
|---|---|
Paper Bag or Parchment | Short-term storage (1-2 days) |
Freezer-safe bag | Long-term storage (weeks) |
Reviving Stale Rolls
Okay, so your rolls have become a bit hard. It happens, no biggie! The trick to bringing them back to life is super easy. Just run each roll under cold water and then pop them in the oven at 350°F until they crisp up again. It’s like a mini spa day for your bread. The water helps rehydrate the rolls, and the heat gives them back that wonderful crust. Trust me, it works like a charm. It's also a great way to reduce food waste. Instead of throwing away those hard rolls, you can give them a second chance to shine.
So, whether you’re serving them up fresh or reviving them from a slight slump, these petit french rolls are always a winner. They're the perfect combination of simplicity and deliciousness, and I hope you have as much fun making and enjoying them as I do! Happy baking!
The Final Bite: Mastering Your Petit French Rolls
So, there you have it! From understanding the importance of a good rise to achieving that perfect golden-brown crust, you're now equipped to bake your own amazing petit french rolls. It might take a couple of tries to get it just right, but don't worry, even the "imperfect" rolls are delicious! These little loaves are not just about baking; they're about creating something special for yourself, your family, or your friends. Whether you enjoy them warm with butter, use them to make mini sandwiches, or dunk them in your favorite soup, these petit french rolls are sure to bring a smile to anyone's face. Now go on, get baking and enjoy the delicious results!