Table of Contents
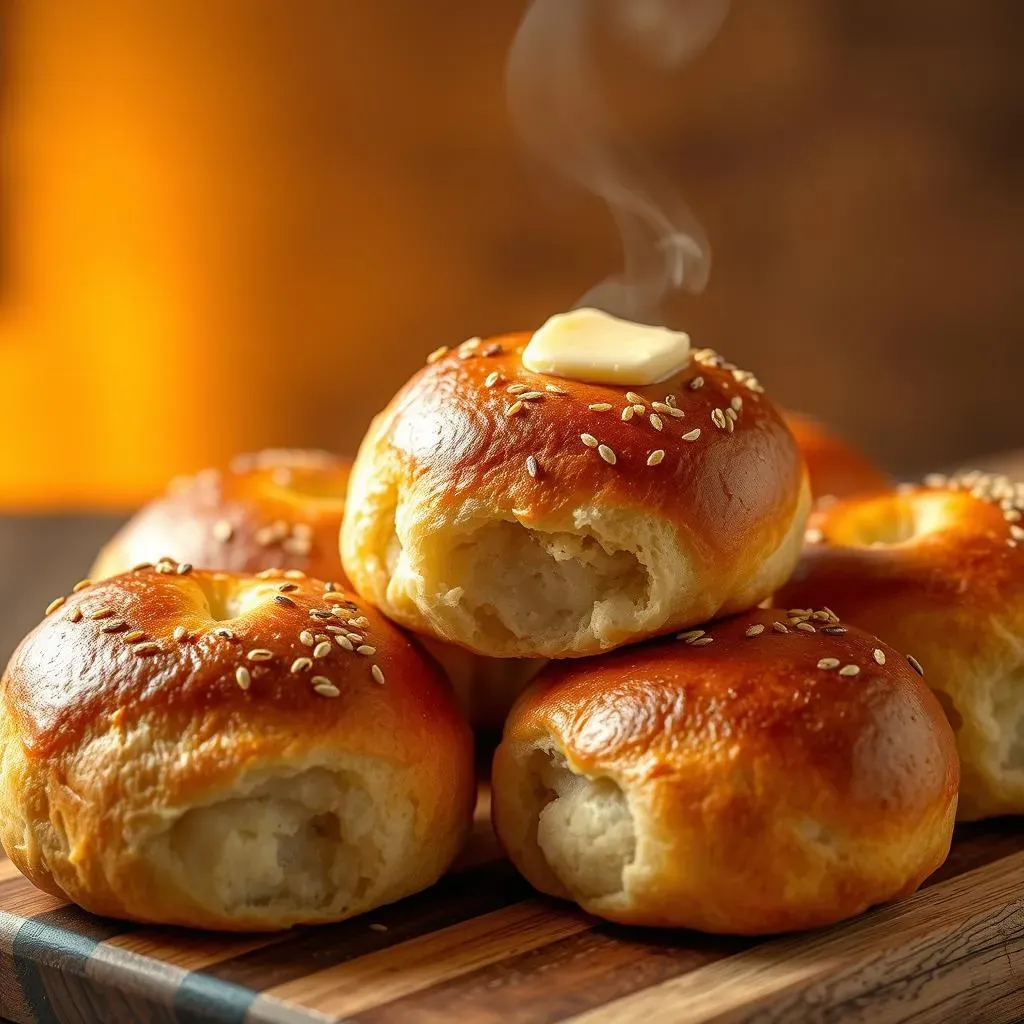
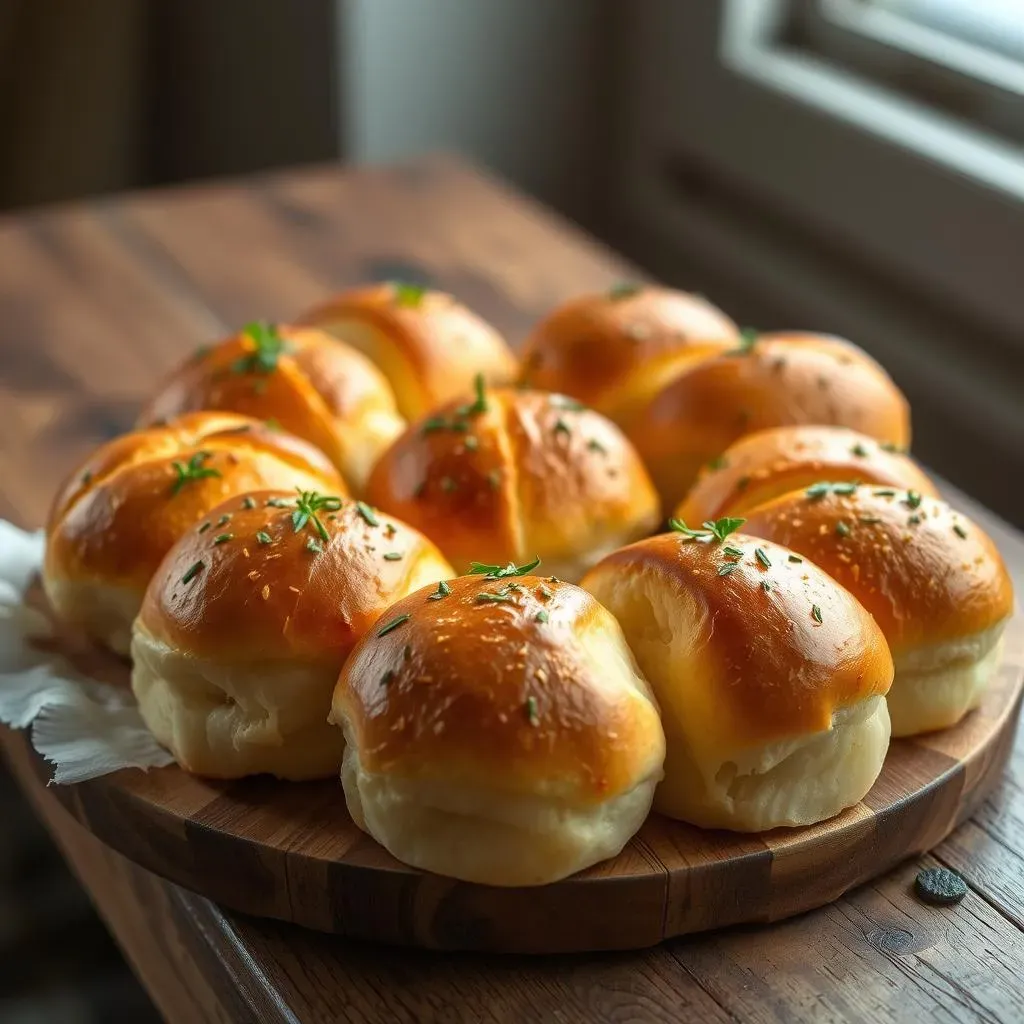
Ever get that craving for a perfectly crusty, chewy piece of bread? I know I do. Forget those fluffy, boring dinner rolls. We're talking about something with a bit more character, something that begs to be dipped in a hearty soup or piled high with your favorite toppings. That's where the magic of mini french bread rolls comes in. These aren't just smaller versions of their larger cousins; they're little flavor bombs, ready to elevate any meal. I stumbled upon this recipe while trying to recreate those awesome bread bowls for potato soup, and let me tell you, the results were fantastic. This recipe is super simple, using only five ingredients, but the flavor that develops over the long rise is just incredible. We will explore the best ways to serve these little loaves, go through the easy recipe, and get you baking your own amazing mini french bread rolls in no time. Get ready to impress your friends and family (and maybe yourself!) with your new baking skills.
Serving Suggestions for Your Mini French Bread Rolls
Serving Suggestions for Your Mini French Bread Rolls
The Classic Companions
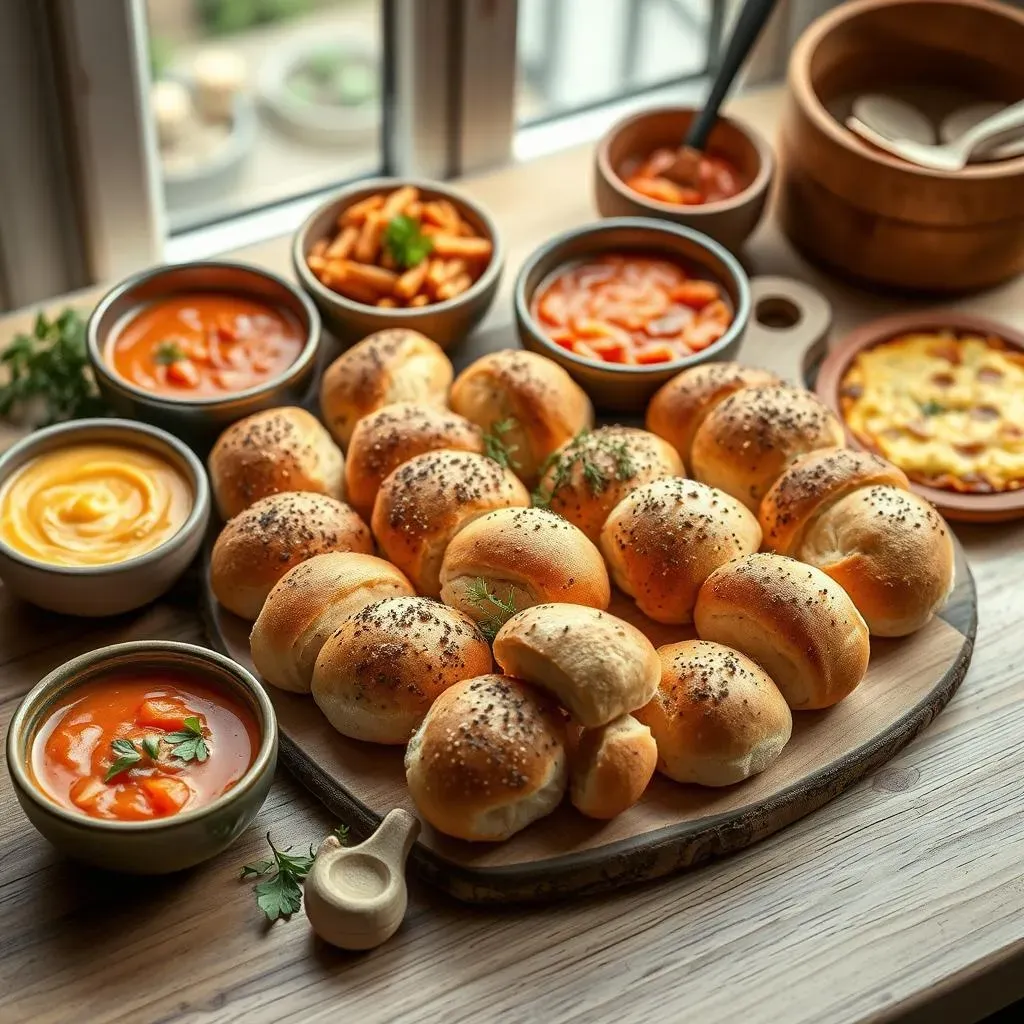
Okay, so you've got these beautiful mini french bread rolls, all crusty and warm. Now what? First, let's talk classics. These rolls are total rock stars when paired with a hearty soup. Think about it – that chewy texture is perfect for soaking up every last drop of broth. I remember one chilly evening, I served these alongside a creamy tomato soup, and it was a match made in heaven. The bread was sturdy enough to handle the dip, but also light enough to not feel heavy. They're also fantastic with pasta dishes, especially anything with a rich, flavorful sauce. Imagine twirling spaghetti around your fork and then using a piece of that roll to mop up the extra goodness. So good!
But they are not just for soups and pasta, these rolls have more to offer. They are incredible with a simple quiche. The subtle flavor of the bread compliments the richness of the eggs and cheese. Also, for a quick lunch, sliced them open and spread some butter and jam. You'll be surprised by how the simple flavors come together. Seriously, don't underestimate the power of a simple buttered roll. It's comfort food at its finest. These mini rolls are like a blank canvas, ready for whatever flavors you are craving.
Meal | Serving Suggestion |
|---|---|
Soup | Perfect for dipping |
Pasta | Use to soak up extra sauce |
Quiche | Enjoy as a side |
Snack | Butter and jam |
Thinking Outside the Box
Now, let's get a little adventurous. These mini rolls are the ideal size for creating mini appetizers. I once used them as a base for tiny soup shooters. I scooped out some of the inside, filled them with a chilled cucumber soup, and garnished with some fresh dill. They were a huge hit at a party! You can also use them as a base for bruschetta. Toast them up, rub them with garlic, and top with some chopped tomatoes and basil. They make a great appetizer or a light meal. Don't be afraid to get creative, they are surprisingly versatile.
And of course, let's not forget about cheese. A bit of brie on a warm mini french bread roll is pure bliss. The creamy, nutty flavor of the brie is incredible against the crusty bread. You could even add a bit of honey and walnuts for an extra touch of elegance. Or just cut them in half and make tiny sandwiches. The size makes them perfect for kids, or for a quick snack. The possibilities are truly endless. Don't be afraid to experiment and discover your own favorite way to enjoy these little guys.
The Perfect Mini French Bread Rolls Recipe
The Perfect Mini French Bread Rolls Recipe
The Magic of Simple Ingredients
Okay, let's get down to the nitty-gritty: the recipe. You might be surprised at how few ingredients you need to make these amazing mini french bread rolls. We're talking about five things: water, yeast, salt, sugar, and flour. That's it! I know, it sounds almost too simple, right? But trust me, the magic is in the process. The long rise time is what really develops the flavor and gives these rolls that incredible chewy texture. I've tried so many fancy recipes with tons of ingredients, but this simple one always delivers the best results. It's like the old saying, "less is more," but in bread form.
The key to success here is using the right kind of flour. I always go for bread flour. It has a higher protein content, which helps develop the gluten, giving the bread that lovely chew. If you don't have bread flour, you can use all-purpose, but the texture might be slightly different. Also, don't skip the sugar, it feeds the yeast and also gives the crust a beautiful golden color. The salt is important too, it not only seasons the bread but it also helps to control the yeast activity. Everything works together to create the perfect mini french bread rolls.
Ingredient | Purpose |
|---|---|
Water | Hydrates the flour and activates the yeast |
Yeast | Leavens the bread |
Salt | Seasons and controls yeast |
Sugar | Feeds yeast and adds color |
Bread Flour | Develops gluten for chew |
The Long, Slow Rise
Now, let's talk about the rise time. This is not a recipe you can rush, but I promise it's worth the wait. The long, slow rise is what gives these rolls their incredible flavor and texture. It's like giving the dough time to relax and develop its full potential. I usually let mine rise in a warm place for at least a couple of hours, or even longer if I have the time. You'll see the dough double in size, which is a pretty cool thing to witness. Don't be tempted to skip this step, it's crucial for that perfect chew and flavor that you're after. It's like watching a tiny miracle happen right in your kitchen.
I usually make the dough in the morning and bake the rolls in the evening, that works great for me. Sometimes, I even let the dough rise in the fridge overnight, this will slow down the process and give you an even more complex flavour. Also, don't worry if the dough seems a little sticky, that's normal. Just lightly flour your hands when you're handling it. It's all part of the fun of making bread. The dough should be soft and stretchy, like a little cloud.
Shaping and Baking
Once the dough has risen, it's time to shape it into rolls. I usually divide the dough into 12 equal pieces and then roll each piece into a small ball. Don't worry too much about making them perfect, a little rustic charm is always nice. Then, I place them on a baking sheet lined with parchment paper. I like to give them a little egg wash before baking. It gives them a beautiful shine and also helps them to brown nicely. But if you want a firmer crust, you can skip the egg wash. It's your call.
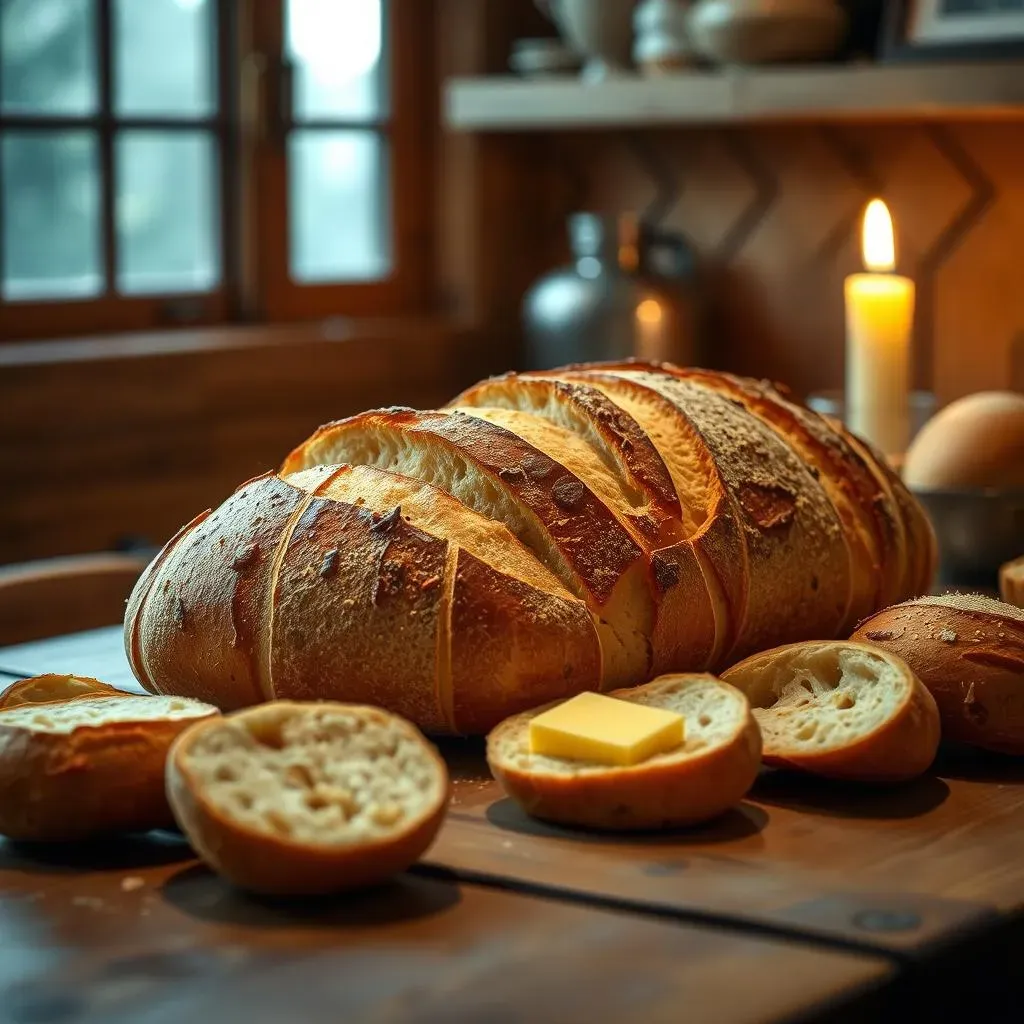
Finally, it's baking time! I usually bake them in a preheated oven until they are golden brown and sound hollow when tapped on the bottom. The smell that fills your kitchen while they're baking is absolutely amazing. It's like a warm hug. When they are out of the oven, let them cool down before you devour them. They are best served warm and fresh from the oven, but if you have leftovers, you can store them in an airtight container and reheat them later. But let's be honest, they are never around for long in my house.
StepbyStep Instructions for Baking Mini French Bread Rolls
StepbyStep Instructions for Baking Mini French Bread Rolls
Getting Started
Alright, let's get our hands dirty! First things first, grab a large bowl. You're going to mix 2 cups of lukewarm water, 2 tablespoons of sugar, and 2 tablespoons of yeast. Make sure the water isn't too hot, or it'll kill the yeast. Think of it like a warm bath for your little yeast buddies. Give it a gentle stir and let it sit for about 5 to 10 minutes. You'll see it start to get foamy, which means the yeast is alive and ready to rock. While you're waiting for that, you can measure out 5 cups of bread flour and 2 teaspoons of salt in a separate bowl. I like to use a whisk to make sure the salt is evenly distributed.
Once the yeast mixture is foamy, pour it into the bowl with the flour and salt. Now, it's time to mix everything together. You can use a wooden spoon or a stand mixer with a dough hook. Mix it until it forms a shaggy dough. It'll be a bit sticky at this point, and that's totally normal. Don't worry about it being perfect just yet. We'll get there. Now, dump the dough onto a lightly floured surface and get ready to knead.
Step | Action |
|---|---|
1 | Combine warm water, sugar, and yeast. Let sit until foamy. |
2 | Mix flour and salt in a separate bowl. |
3 | Add yeast mixture to flour and mix into a shaggy dough. |
Kneading and Rising
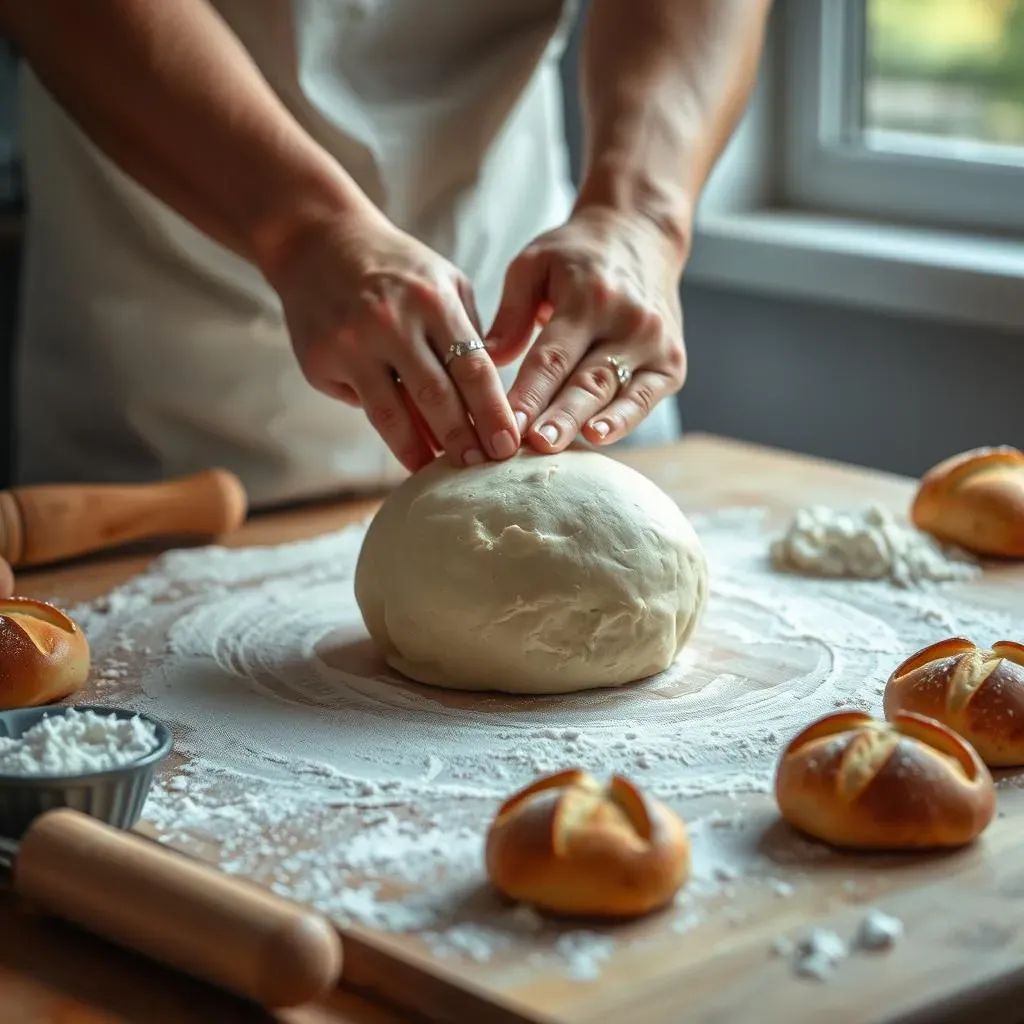
Kneading is where the magic really happens. Start by pushing the dough away from you with the heel of your hand, then fold it back over itself. Rotate the dough a quarter turn and repeat. Keep kneading for about 8 to 10 minutes. The dough will start to become smooth and elastic. It's a good workout for your arms, too! If the dough is too sticky, add a little bit of flour, one tablespoon at a time. You'll know you're done when the dough feels smooth and springy and passes the windowpane test. That's when you can stretch a small piece of dough thin enough to see light through it without tearing.
Now, it’s time for the first rise. Lightly grease a large bowl with some oil and place the dough inside, turning it to coat. Cover the bowl with plastic wrap or a clean kitchen towel. Now, find a warm place and let it rise for about 2 hours, or until it has doubled in size. I usually put mine in the oven with the light on. It's like a spa day for the dough, it needs to relax and puff up. It's important not to rush this step. It’s where the flavor really develops, and the dough becomes light and airy.
Shaping and Baking
Once the dough has doubled, gently punch it down to release the air. Don't be shy, give it a good poke! Turn the dough out onto a lightly floured surface and divide it into 12 equal pieces. Roll each piece into a small ball. Don't worry too much about making them perfect. A little rustic charm is always good. Place the dough balls on a baking sheet lined with parchment paper, leaving some space between them. If you want, you can whisk one egg with a tablespoon of water and brush it over the top of the rolls. This will give them a nice golden color, but it's optional.
Now it's time to bake! Preheat your oven to 400°F (200°C). Place the baking sheet in the oven and bake for about 20 to 25 minutes, or until the rolls are golden brown and sound hollow when you tap the bottom. Keep an eye on them, as oven temperatures can vary. When they are done, take them out of the oven and let them cool on a wire rack. Try to resist the urge to eat them all at once. They smell absolutely amazing, I know, but they are even better when they've cooled down a bit.
- Punch down the dough after first rise.
- Divide the dough into 12 pieces.
- Shape each piece into a ball.
- Brush with egg wash (optional).
- Bake for 20-25 minutes at 400°F (200°C).
Tips and Variations for Your Mini French Bread Rolls
Tips and Variations for Your Mini French Bread Rolls
Baking Tips for Perfect Results
Okay, so you've got the basic recipe down, but let's talk about some tips that can take your mini french bread rolls from good to absolutely amazing. First off, temperature is key. Make sure your water is lukewarm, not too hot or too cold, to activate the yeast properly. It should feel like bathwater. Also, don't be afraid to experiment with different flours. If you want a slightly different flavor, try adding a bit of whole wheat flour. Just don't replace all the bread flour with whole wheat, or the texture will be too dense. I also like to use a pizza stone for baking, it helps to create a crispier crust. If you don't have one, a baking sheet will work just fine, but a pizza stone adds a little extra crunch.
Another tip is to use a spray bottle to spritz a little water into the oven during the first few minutes of baking. This creates steam, which helps to create a beautiful crust. Also, don't overcrowd your baking sheet. Give the rolls some space to expand. And always make sure your oven is preheated properly before you put the rolls in. I always find that a little extra patience pays off in the end. It's all about finding what works best for you, so don't be afraid to experiment and have fun with it. Baking should be enjoyable, not stressful.
Tip | Description |
|---|---|
Water Temperature | Lukewarm for proper yeast activation. |
Flour Variety | Experiment with whole wheat (but not too much!). |
Baking Surface | Use a pizza stone for a crispier crust. |
Steam | Spritz water in the oven for a better crust. |
Oven Space | Don't overcrowd the baking sheet. |
Flavor Variations to Try
Now, let's get to the fun part: flavor variations! These mini french bread rolls are a blank canvas, ready for your creativity. One of my favorite things to do is to add some herbs to the dough. Rosemary and thyme are great choices, just add them to the flour mixture before you add the wet ingredients. You can also add some garlic powder or onion powder for a savory twist. I love the smell of garlic baking in the oven. For a cheesy variation, you can add some grated parmesan cheese to the dough. It adds a nice nutty flavor and a bit of extra saltiness. It's like adding a little surprise to each bite.
If you're feeling a little more adventurous, you can try adding some sun-dried tomatoes or olives to the dough. Just chop them up finely and add them in when you mix the dough. The possibilities are endless. You can also experiment with different toppings. Before baking, sprinkle some sesame seeds, poppy seeds, or coarse sea salt on top for added flavor and texture. Or, if you're feeling sweet, you can brush them with melted butter and cinnamon sugar after they come out of the oven. It's a great way to turn them into a quick dessert. Don't be afraid to think outside the box and come up with your own unique variations. Baking is all about expressing yourself and having fun with it.
- Add herbs like rosemary or thyme to the dough.
- Incorporate garlic or onion powder for savory flavor.
- Mix in grated parmesan cheese for a cheesy twist.
- Include sun-dried tomatoes or olives for added flavor.
- Top with sesame seeds, poppy seeds, or coarse sea salt.
- Brush with melted butter and cinnamon sugar for a sweet version.