Table of Contents
Ever dream of pulling warm, fluffy bread rolls from your oven? I know I have. Forget those sad, store-bought imitations, because today we are making mels french bread rolls. Yes, *those* rolls. The ones that everyone raves about. This isn't just another bread recipe; it's a journey to fluffy perfection, and I am going to guide you every step of the way. We'll start with the basic recipe, ensuring that even beginners can nail it. Then, we will share some insider tips to make your rolls even better. Feeling adventurous? We'll explore some fun variations, so you can customize these rolls to your heart's content. Lastly, because no good recipe is complete without real-life feedback, we will look at what other bakers are saying about this recipe. So, tie on your apron, get your hands floury, and let's make some magic with mels french bread rolls!
Making Mel's Famous French Bread Rolls

Making Mel's Famous French Bread Rolls
The Dough: Your Foundation
Okay, so first things first: the dough. It’s not as scary as it sounds, I promise. Think of it like building with LEGOs, but instead of plastic bricks, we’re using flour, water, yeast, and a little salt. We're aiming for a soft, slightly sticky dough that's easy to work with. Don't worry if it doesn't look perfect at this stage; it's all part of the process. The magic happens as it rises. It’s like watching a tiny science experiment right in your kitchen. You'll need a mixer if you're feeling fancy, but honestly, a good old-fashioned bowl and some elbow grease work just as well. I've done it both ways, and both have given me amazing results.
Shaping the Rolls: Getting Hands-On
Now for the fun part: shaping the rolls. Once your dough has risen and doubled in size, it's time to get those hands floury. Gently deflate the dough - it's so satisfying, like popping a giant bubble! Then, divide it into equal pieces. I like to weigh them, just to be super precise, but you can eyeball it too. Each piece becomes a little ball of future bread-y goodness. Tuck the edges underneath to get a nice, smooth top. Imagine you are making a small, round balloon, but with dough. Place them on a baking sheet, ready for their next adventure in the oven.
Ingredient | Amount |
|---|---|
Warm Water | 1 1/2 cups |
Active Dry Yeast | 2 1/4 teaspoons |
Sugar | 1 tablespoon |
Salt | 1 1/2 teaspoons |
All-Purpose Flour | 4 cups |
Vegetable Oil | 2 tablespoons |
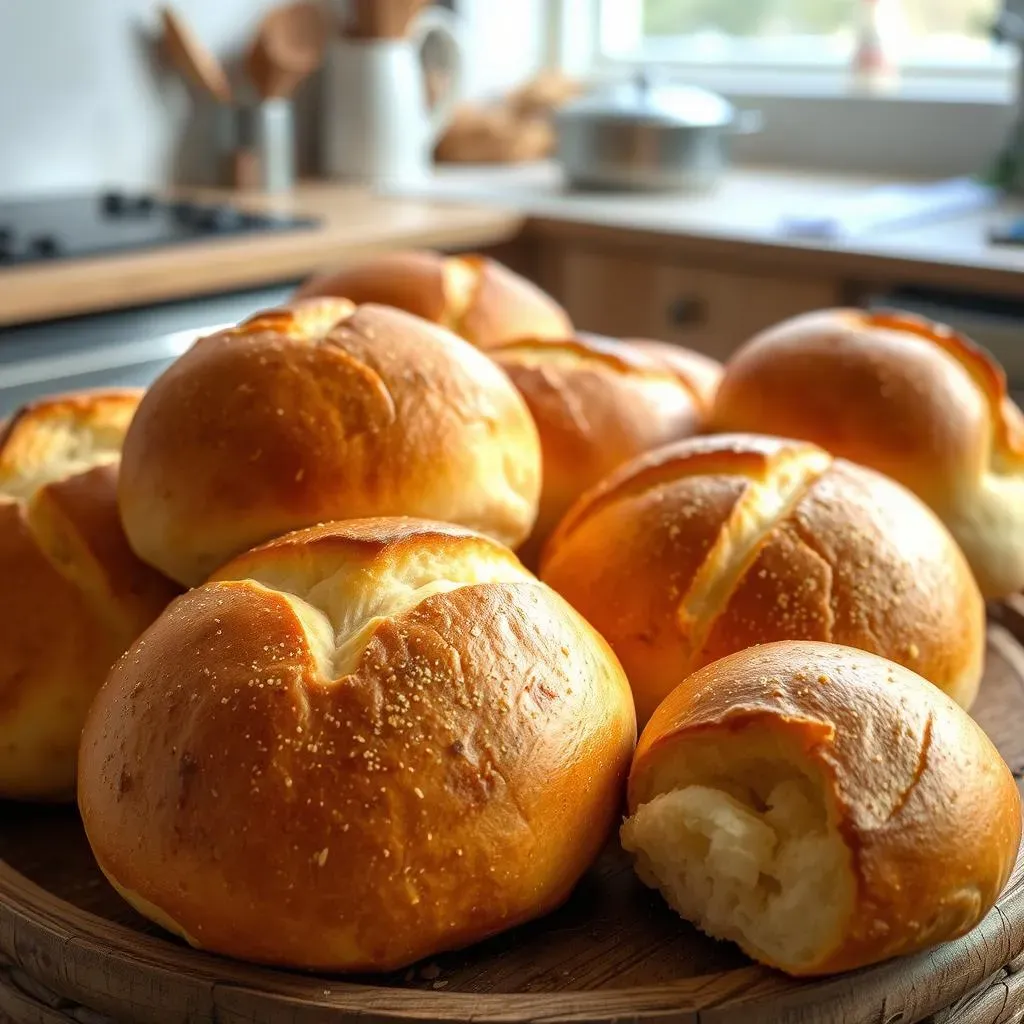
Baking to Golden Perfection
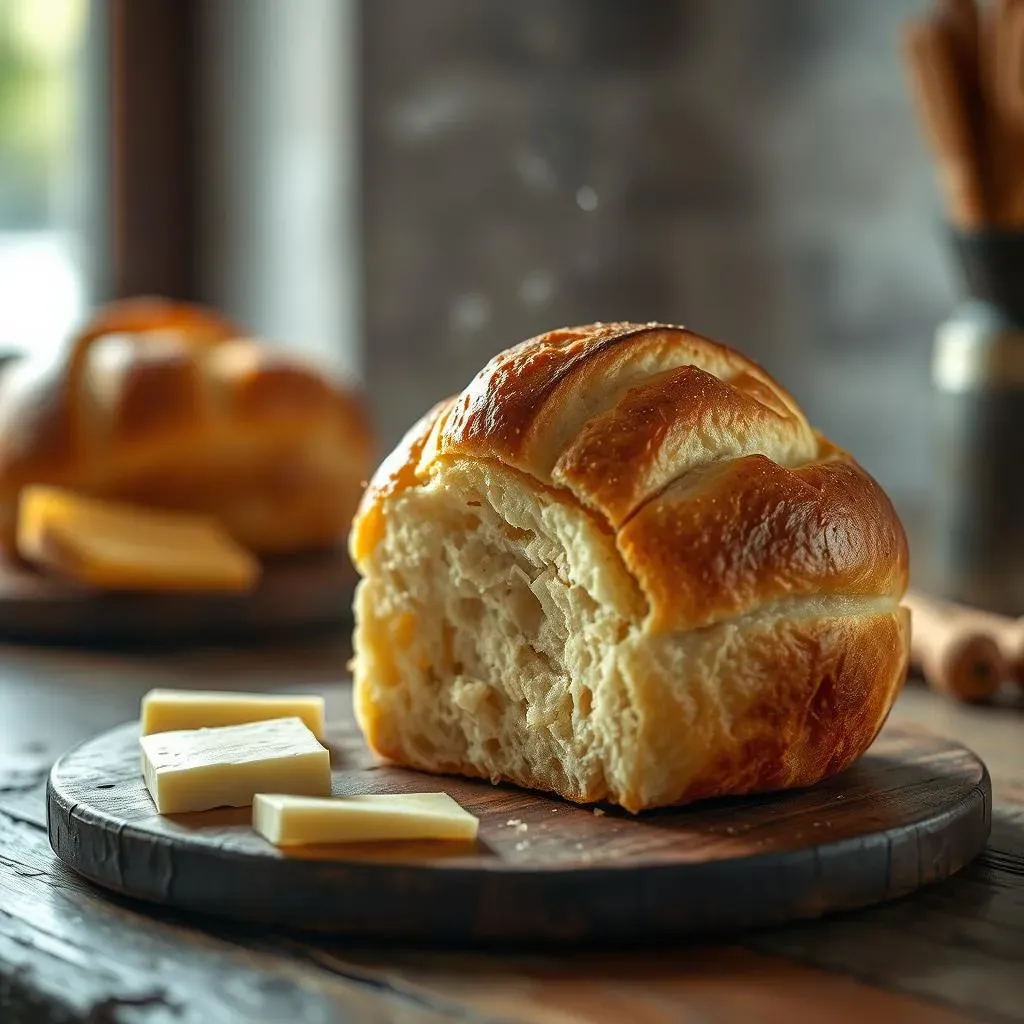
The final act: baking! Pop those little dough balls into a preheated oven and watch them transform into golden-brown, fluffy rolls. The aroma that fills your kitchen is pure magic, trust me on that. It's the smell of home, comfort, and deliciousness. Keep a close watch; every oven is different, so you will need to adjust the time. When they are golden on top and sound hollow when you tap them, they're ready. Let them cool slightly before you tear into them, or if you're like me, just grab one straight from the pan and don't worry about burning your fingers. I mean, who can wait, right?
Tips for Perfect Mel's French Bread Rolls
Tips for Perfect Mel's French Bread Rolls
Alright, so you’ve got the basic recipe down, but what if you want to take your mels french bread rolls to the next level? It's all about those little tweaks and secrets that can make a big difference. First off, let's talk about the water temperature. Too hot, and you might kill your yeast; too cold, and it won't activate properly. Think of it like Goldilocks and the Three Bears—you need it just right, which is lukewarm. Using a thermometer can help, but if you don't have one, aim for water that feels like bathwater. Another key thing is not to overwork your dough. Once the ingredients are combined, and the dough comes together, let the mixer do its job. Over-mixing can result in tough rolls, and nobody wants a jaw workout when they're eating bread. Also, when you're letting the dough rise, find a warm spot, like near the oven or a sunny window. It helps the yeast do it's thing and creates a light and airy texture.
Now, let's talk about the oven. Every oven is different, and sometimes they have hot spots. I’ve learned this the hard way. To get an even bake, rotate the baking sheet halfway through. This ensures that all of your rolls are golden and gorgeous. Also, don't be shy about using an egg wash before baking. A simple egg wash makes the rolls have that shiny, bakery-style crust. I like to whisk an egg with a splash of water or milk. This gives them a lovely color and a bit of extra crisp. Finally, patience is key. Don't rush the cooling process. Let your mels french bread rolls cool on a wire rack before you slice into them. I know it's tempting to tear into them immediately, but letting them rest ensures that the inside is cooked through and will hold its shape. Trust me, the wait is worth it.
Tip | Why it helps |
|---|---|
Use Lukewarm Water | Activates yeast effectively |
Don't Overmix Dough | Prevents tough rolls |
Warm Rising Spot | Aids in proper rising |
Rotate Baking Sheet | Ensures even baking |
Egg Wash | Gives shiny, golden crust |
Cooling Rack | Allows proper cooling |
Variations on Mel's French Bread Rolls Recipe
Variations on Mel's French Bread Rolls Recipe
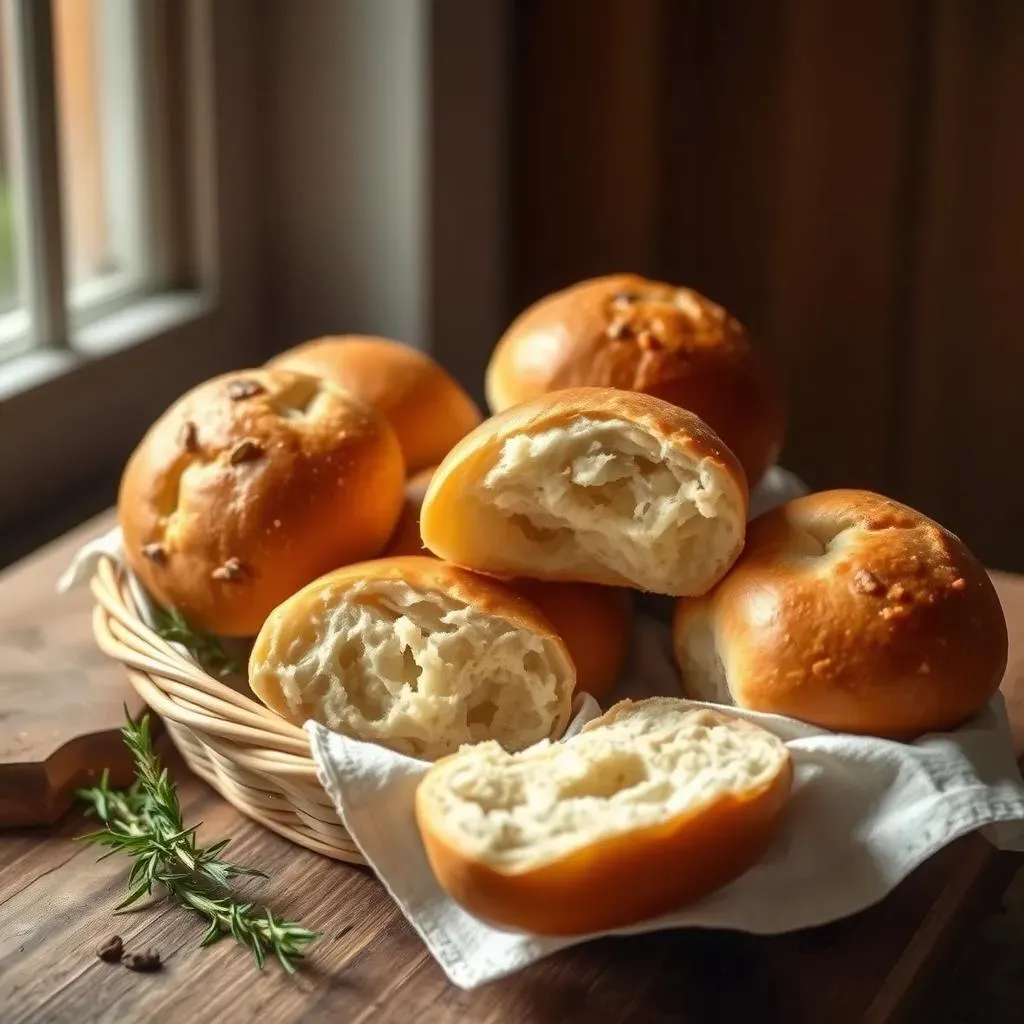
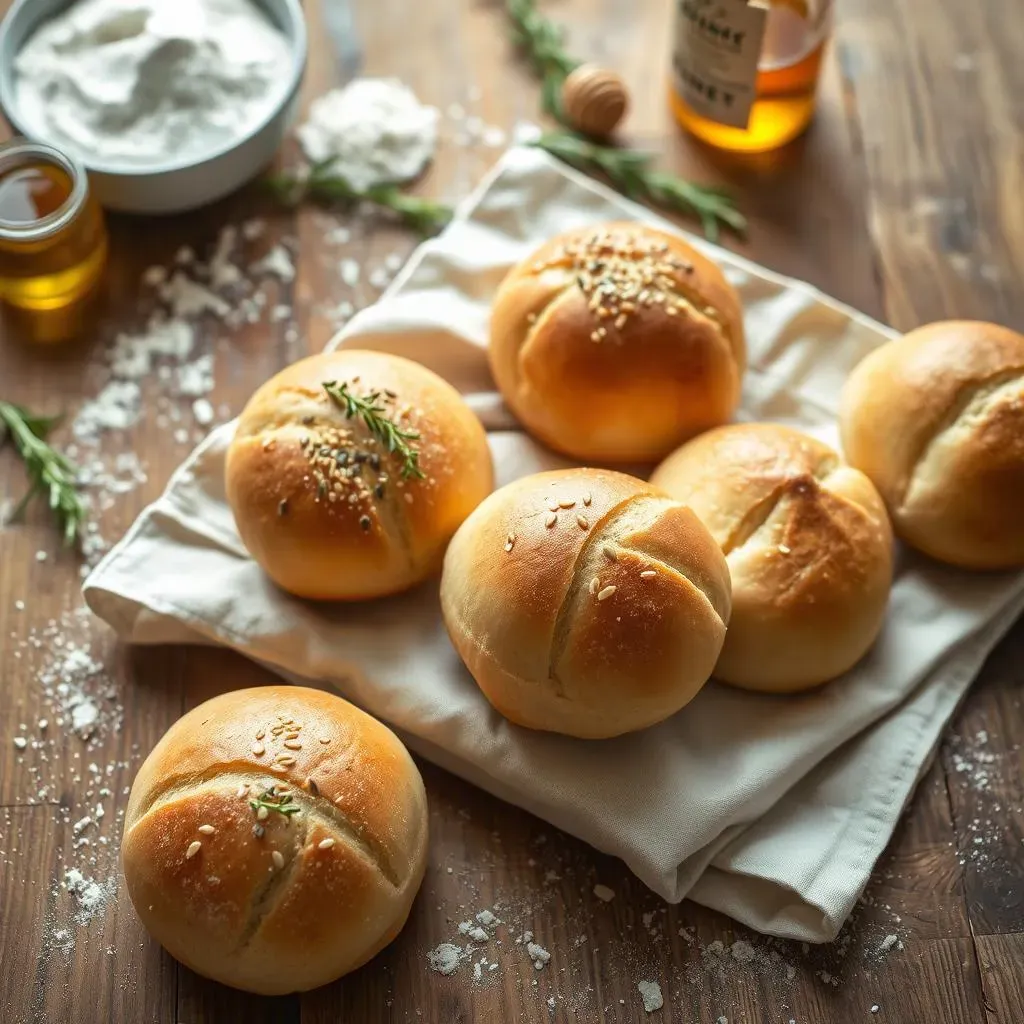
Okay, so you've mastered the classic mels french bread rolls, but what if you're craving a little something different? Well, that's where the fun begins! This recipe is like a blank canvas, ready for your creative touches. Let's start with the flour. While all-purpose is the standard, why not swap some of it out for whole wheat? It adds a lovely nutty flavor and a bit more fiber. Just replace about a cup of all-purpose with whole wheat, and you will get a slightly denser, more rustic roll. It's a small change, but it makes a big difference. I love how it makes the rolls feel a little more wholesome. You could also experiment with other types of flour, like bread flour for a chewier texture, or even a mix of different grains for a more complex flavor profile. Don't be afraid to play around with it and see what you like best.
Now, let's move on to flavorings. A little bit of garlic powder or herbs can totally transform these rolls. Imagine rosemary and a sprinkle of sea salt on top, that's what I call fancy! Or how about adding some shredded cheese into the dough for a cheesy, savory twist? You could also add some dried herbs like oregano, thyme, or even Italian seasoning. Sweet variations are also fantastic, too. A dash of cinnamon and a bit of sugar can take these rolls to a whole new dimension. I like to make a cinnamon sugar version sometimes for a sweet breakfast treat. And don’t forget about toppings! Sesame seeds, poppy seeds, or even everything bagel seasoning can give your rolls a nice visual appeal and add some extra flavor and crunch. The possibilities are endless, and it's all about experimenting and finding your favorite combo.
Variation | How to do it |
|---|---|
Whole Wheat | Replace 1 cup of all-purpose flour with whole wheat flour |
Garlic Herb | Add 1 tsp garlic powder and 1 tbsp dried herbs to dough |
Cheesy | Mix 1/2 cup shredded cheese into dough |
Cinnamon Sugar | Add 1 tsp cinnamon and 2 tbsp sugar to dough |
Sesame Topped | Sprinkle sesame seeds on top before baking |
Reader Reviews of Mel's French Bread Rolls
Reader Reviews of Mel's French Bread Rolls
Okay, so we've baked, we've tweaked, and we've even added some cheese. But what do other people think about this mels french bread rolls recipe? Well, let me tell you, the reviews are in, and they are overwhelmingly positive. People are raving about how easy these rolls are to make, which is great news for beginners. Many have said that even if they've never baked before, they can still make these rolls with no problem. I know some recipes can be intimidating, but this one is the real deal. It's beginner-friendly and yields fantastic results every single time. And it isn't just beginners who are loving it; experienced bakers are also singing its praises, which is always a good sign. It's a win-win for everyone, no matter your baking experience.
But it's not just about ease; it's about taste, too. People are using words like "fluffy," "delicious," and "perfect" to describe the final product. I mean, who doesn't love a fluffy, delicious roll, right? One person even said they're "addictively good," which I can totally relate to. They're also super versatile, according to the reviews. People are using them for everything from sandwiches and subs to dinner rolls with a side of butter. One reviewer mentioned using them for mini sliders for a party, which sounds amazing. Another person said they freeze well and are just as good when thawed. So, if you're like me and you love to bake in bulk, that's a great tip. It's always good to know that you can have fresh, homemade rolls on hand, whenever you want them. Overall, the general consensus is that this is a go-to recipe that you will make again and again, and I couldn't agree more!
Review Aspect | Common Feedback |
|---|---|
Ease of Making | Beginner-friendly and simple |
Taste | Fluffy, delicious, and perfect |
Versatility | Great for sandwiches, subs, and dinner rolls |
Freezing | Freezes well and tastes good after thawing |
Overall | Go-to recipe, highly recommended |