
Table of Contents
Ever crave that warm, garlicky goodness that makes your taste buds sing? I'm talking about the kind of garlic bread that's crispy on the outside, soft on the inside, and bursting with flavor. Today, I'm going to show you exactly how to achieve that perfection at home by making garlic bread with French bread. Forget those sad, store-bought loaves; we're creating something truly special. We'll start by gathering the key ingredients, like fresh garlic and quality butter, and then I'll walk you through a simple step-by-step process. Don't worry, it's easier than you think! I'll also share some of my favorite tips and tricks to ensure your garlic bread is amazing every time. Finally, we'll cover how to serve, store, and even reheat it, so you can enjoy your homemade masterpiece whenever you like. Get ready to transform a simple loaf of French bread into a culinary delight that will have everyone begging for more. Let's get baking!
Gathering Your Ingredients for Making Garlic Bread with French Bread

Gathering Your Ingredients for Making Garlic Bread with French Bread
Okay, let's talk ingredients! First off, you'll need a good loaf of French bread. I mean, it's kinda crucial for making garlic bread with French bread, right? Don't grab the super skinny baguette, you want something with a bit of width so you get nice, generous slices. Next, butter – and don't even think about using margarine here. We're going for the real deal, the creamy, dreamy stuff. Get yourself a stick or two, depending on how garlicky you want this bread to be. Then, of course, there's garlic. Fresh garlic is the way to go, those pre-minced jars just don't cut it. I usually use about 4-5 cloves, but hey, if you're a garlic fiend, go wild! And finally, a little bit of fresh parsley for that pop of green and fresh flavor. Oh, and don't forget a pinch of sea salt to really make those flavors sing. That's it – simple ingredients, but when combined, they make magic happen.
StepbyStep Guide to Making Garlic Bread with French Bread
StepbyStep Guide to Making Garlic Bread with French Bread
Prepping the Garlic Butter
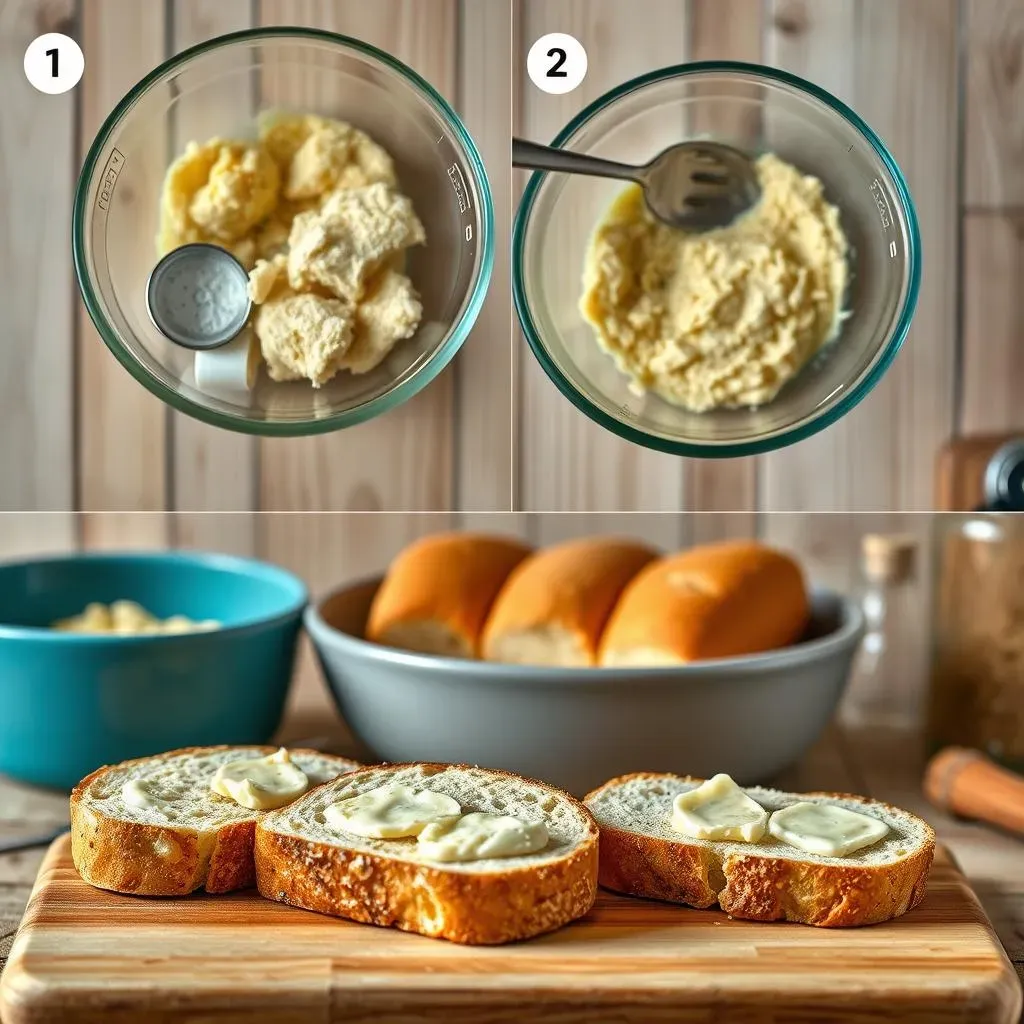
Alright, let's get started! First, we need to make our garlic butter. Take your softened butter and put it in a small bowl. Now, mince those garlic cloves – the finer, the better. You don't want big chunks of garlic, unless you’re into that kind of thing. Add the minced garlic to the butter. Toss in a pinch of that sea salt and about a tablespoon of chopped fresh parsley. Now, mash it all together with a fork until everything is well combined. The butter should be creamy, garlicky, and smell absolutely amazing. This is the flavor bomb that's going to transform our bread into something epic.
Preparing the French Bread
Okay, time to prep the bread. Grab your French bread loaf and slice it lengthwise, creating two long halves. If you want smaller pieces, you can cut each half into smaller sections, but I like to keep it long for easy spreading. Now, take your amazing garlic butter and spread it evenly over the cut sides of the French bread. Make sure to get into all the nooks and crannies; we want every bite to be infused with that delicious garlicky flavor. Don’t be shy with the butter, this isn't the time to hold back. This step is crucial for that perfect, buttery taste and texture.
Step | Action |
|---|---|
1 | Combine softened butter, minced garlic, salt, and parsley. |
2 | Slice French bread lengthwise. |
3 | Spread garlic butter evenly on the bread. |
Baking to Golden Perfection
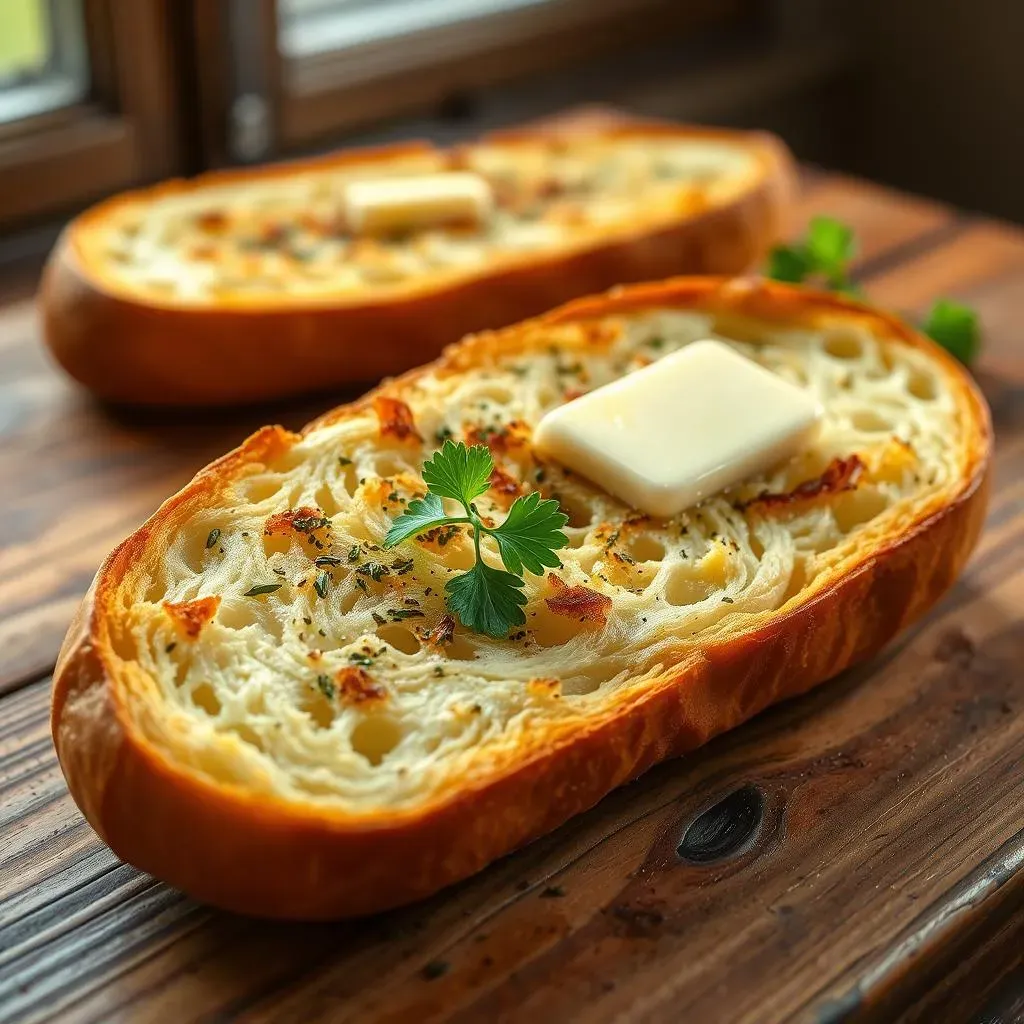
Finally, the moment we've all been waiting for—baking! Preheat your oven to 375°F (190°C). Place the buttered bread directly on a baking sheet. Now, pop that tray into the oven and bake for about 10-12 minutes, or until the bread is golden brown and the edges are crispy. Keep a close eye on it, as ovens can vary, and we don't want any burnt edges. Once it's done, carefully take it out of the oven. The smell alone will drive you crazy, but trust me, it's worth the wait. Let it cool for a few minutes before slicing and serving. You did it!
Tips and Tricks for Perfect Garlic Bread Every Time
Tips and Tricks for Perfect Garlic Bread Every Time
Okay, so you've got the basics down, but let's talk about taking your garlic bread to the next level. First off, the garlic. While fresh is best, sometimes you're in a pinch. If you use garlic powder, don't go overboard – a little goes a long way and too much can make it bitter. Also, consider roasting your garlic before mincing it. It mellows the flavor and adds a touch of sweetness that's just divine. Another trick? Don't skimp on the butter. It's what makes the bread so rich and flavorful. And finally, for that perfect crispy-on-the-outside, soft-on-the-inside texture, try broiling it for the last minute or two. Just watch it carefully, you don't want to burn it. It's all about those little details that make a big difference.
Now, let's talk about variations because why not? If you're a cheese lover, sprinkle some grated Parmesan or mozzarella over the garlic butter before baking. It adds a delicious salty, cheesy element. For a bit of spice, try adding a pinch of red pepper flakes to the garlic butter. Want to add some extra herb flavor? Try using a mix of fresh herbs like oregano, thyme, or rosemary. You can also experiment with different types of bread – sourdough or Italian bread works great too, each giving a slightly different texture and taste. It's all about finding what you love and making it your own. So go ahead, get creative and make some garlic bread that's uniquely yours!
Tip | Description |
|---|---|
Roast Garlic | Mellows flavor, adds sweetness. |
Broil Briefly | Crisps the edges for perfect texture. |
Cheese it up | Sprinkle Parmesan or mozzarella for a cheesy twist. |
Spice it up | Add red pepper flakes for a kick. |
Herb it up | Try oregano, thyme, or rosemary for extra flavor. |
Serving, Storing, and Reheating Your Homemade Garlic Bread
Serving, Storing, and Reheating Your Homemade Garlic Bread
Serving Suggestions
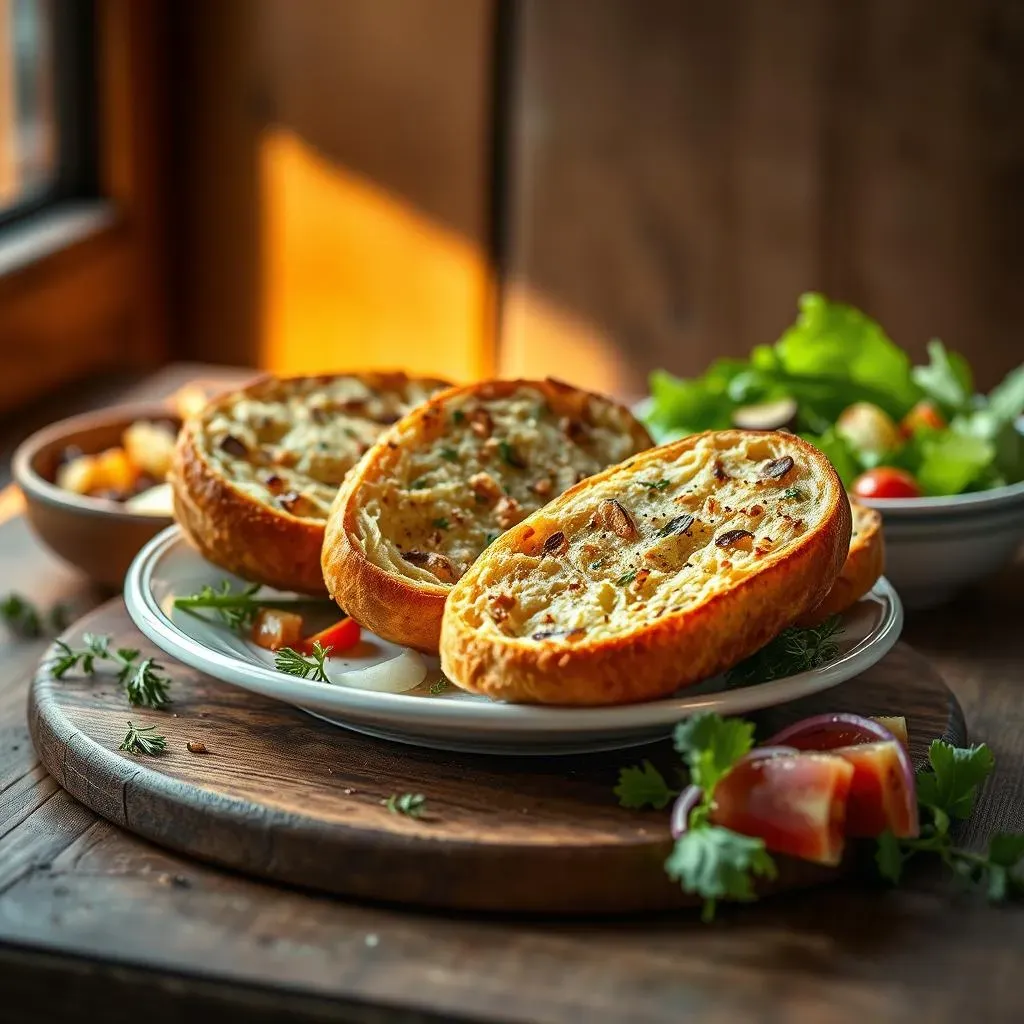
Alright, so you've baked this beautiful, golden-brown garlic bread. Now, how do you serve it? Well, the possibilities are endless! It's fantastic as a side dish with almost any meal. Think about pairing it with a big bowl of pasta, a hearty soup, or a fresh salad. It's also amazing as an appetizer; just slice it up and let everyone grab a piece. I've even had it as a snack on its own because, let's be real, it's that good. Don't be afraid to get creative. The garlic bread is your oyster, or in this case, your bread! You can also cut them into smaller pieces to make croutons for salads and soups.
Storing Your Leftovers
Okay, so you might have some leftover garlic bread – though I doubt it! If you do, the key is to store it properly to maintain its quality. The best way to keep it fresh is to let it cool completely and then wrap it tightly in aluminum foil or plastic wrap. You can also use a resealable plastic bag. Make sure to get all the air out to prevent it from going stale. You can keep it at room temperature for a day or two, but for longer storage, the fridge is your friend. It will last for about 3-4 days in the refrigerator. Just remember, the longer it sits, the softer it will become, so it might lose a bit of its crispiness. But don't worry, we've got a solution for that.
Storage Method | Duration | Notes |
|---|---|---|
Room Temperature | 1-2 days | Wrap tightly to prevent staleness. |
Refrigerator | 3-4 days | May soften slightly over time. |
Freezer | Up to 3 months | Wrap well in foil and freezer bag. |
Reheating for That Freshly Baked Taste
So, you've got your stored garlic bread, but it's not quite as crispy as it was fresh out of the oven. No problem! Reheating is easy. The best way to bring back that crispy texture is to pop it back into the oven. Preheat your oven to 350°F (175°C), place the garlic bread on a baking sheet, and bake for about 5-10 minutes, or until it’s heated through and the edges are nice and crisp again. If you're short on time, you can also use a toaster oven or even a skillet on the stovetop. Just keep an eye on it, as they can heat up quickly. Avoid the microwave, as it will make the bread soggy. With these simple reheating tips, your garlic bread will taste like it just came out of the oven every time.