Table of Contents
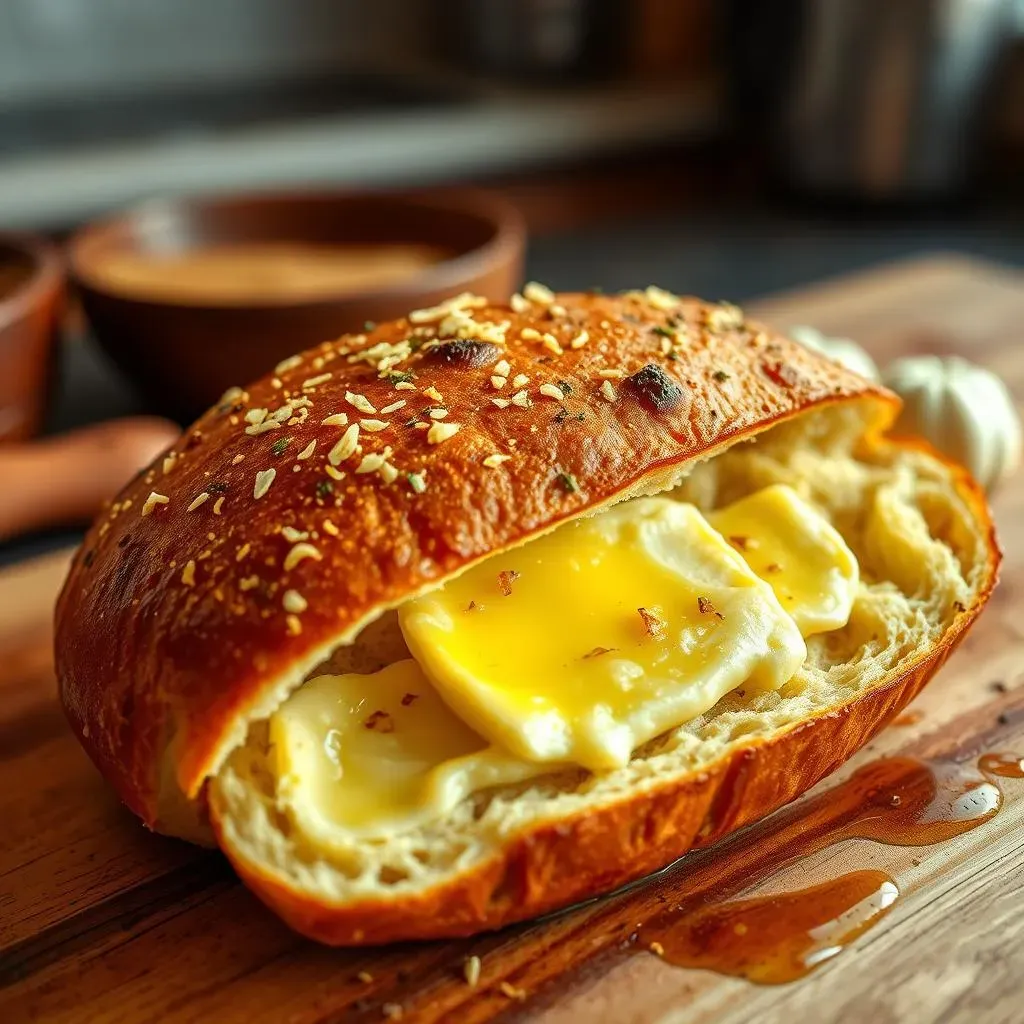
Ever get that craving for warm, garlicky goodness? I know I do! There's something magical about the simple combination of bread, butter, and garlic, especially when it’s perfectly toasted. Today, I'm going to show you how to make garlic bread from french bread that will blow your mind. Forget those store-bought loaves; we're making it fresh, and trust me, it’s way easier than you think. This isn't just any old recipe; it's the key to unlocking the best garlic bread you’ve ever tasted, right in your own kitchen. We'll start with gathering the right ingredients, then dive into a step-by-step guide, followed by some pro tips to really elevate your garlic bread game. Lastly, I'll tell you how to serve it up and keep any leftovers tasting great. So, ready to transform a simple loaf of french bread into a masterpiece? Let's get started, and you'll be saying "I can't believe I made this!" in no time.
Gathering Your Ingredients to Make Garlic Bread from French Bread
Gathering Your Ingredients to Make Garlic Bread from French Bread
The Star of the Show: French Bread
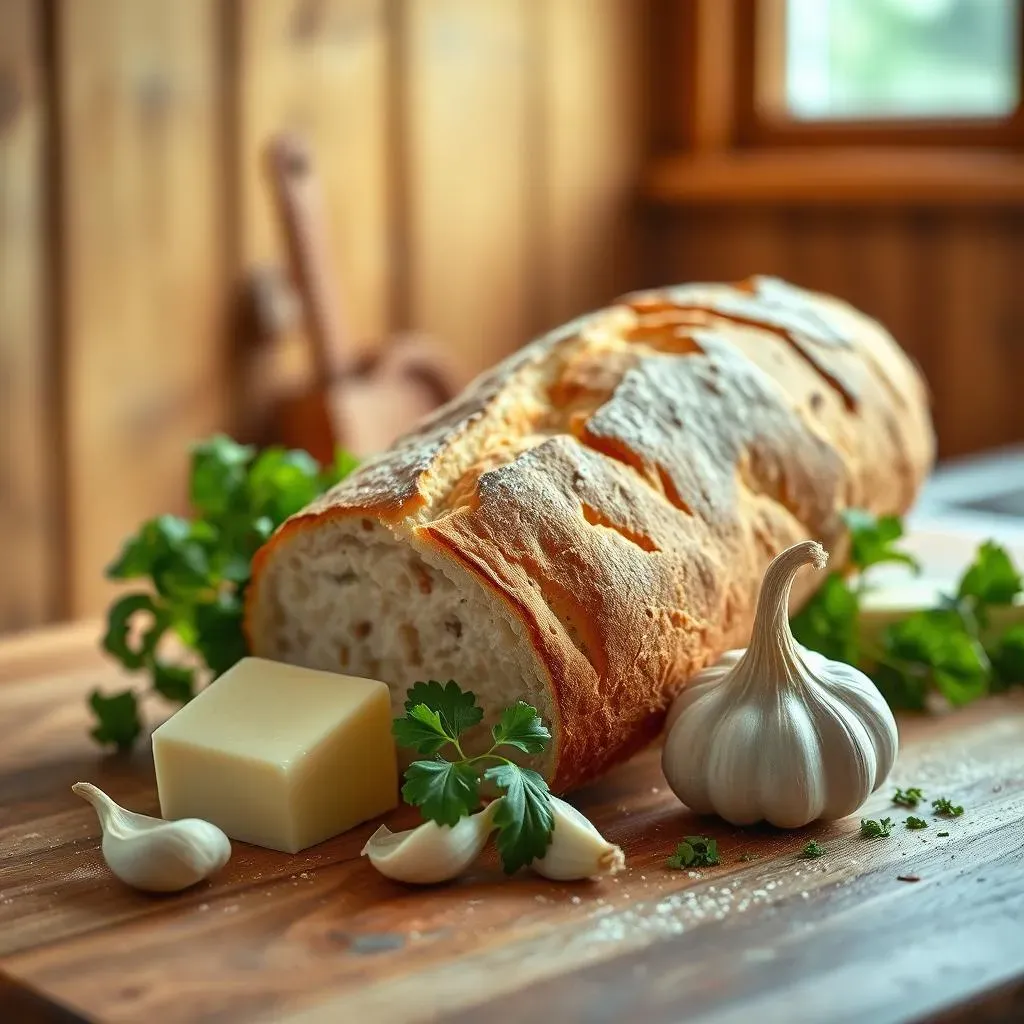
Okay, let's talk bread. You can't make awesome garlic bread without, well, bread! For this recipe, we are going with a loaf of French bread. Now, I'm not talking about those skinny little baguettes. You want a nice, sturdy loaf, the kind that's maybe a foot or two long, with a good crust and a soft inside. This is key because it needs to be able to handle all that delicious garlic butter we're about to slather on it. Think of it like a sponge, ready to soak up all the flavor. If you are feeling adventurous you can make your own, but buying it from the store works great too.
The Flavor Makers: Butter, Garlic, and Herbs
Next up, we need the flavor squad. You’ll need butter, and I mean real butter, not margarine. It should be softened, so it's easy to spread. Then comes the garlic – and here’s a pro tip: fresh garlic is the way to go. I know, garlic powder is easier, but fresh cloves, minced fine, give you that pungent, real garlic flavor that’ll make your tastebuds sing. And finally, a little bit of herbs. Parsley is a classic, but you can use Italian seasoning, or even some fresh oregano or thyme if you're feeling fancy.
Ingredient | Why It Matters |
|---|---|
French Bread Loaf | Provides the base for all the flavors, needs to be sturdy and able to absorb butter |
Unsalted Butter | The creamy, rich base for the garlic spread, softened for easy application |
Fresh Garlic | Adds a pungent, robust garlic flavor, crucial for authentic taste |
Fresh Parsley or Herbs | Adds a touch of freshness and herbaceousness to balance the richness |
Optional Extras: Salt and Cheese
Now, for the optional, but highly recommended extras. A pinch of sea salt brings everything together, enhancing all the flavors. And if you want to take things to the next level, some grated Parmesan cheese, or even mozzarella, can add that cheesy, melty goodness that makes garlic bread so irresistible. These are the things that can really make your garlic bread your own. It’s like adding a personal touch to a masterpiece, so don't be afraid to experiment a little.
StepbyStep Instructions to Make Garlic Bread from French Bread
StepbyStep Instructions to Make Garlic Bread from French Bread
Prepping the Bread and Garlic Butter
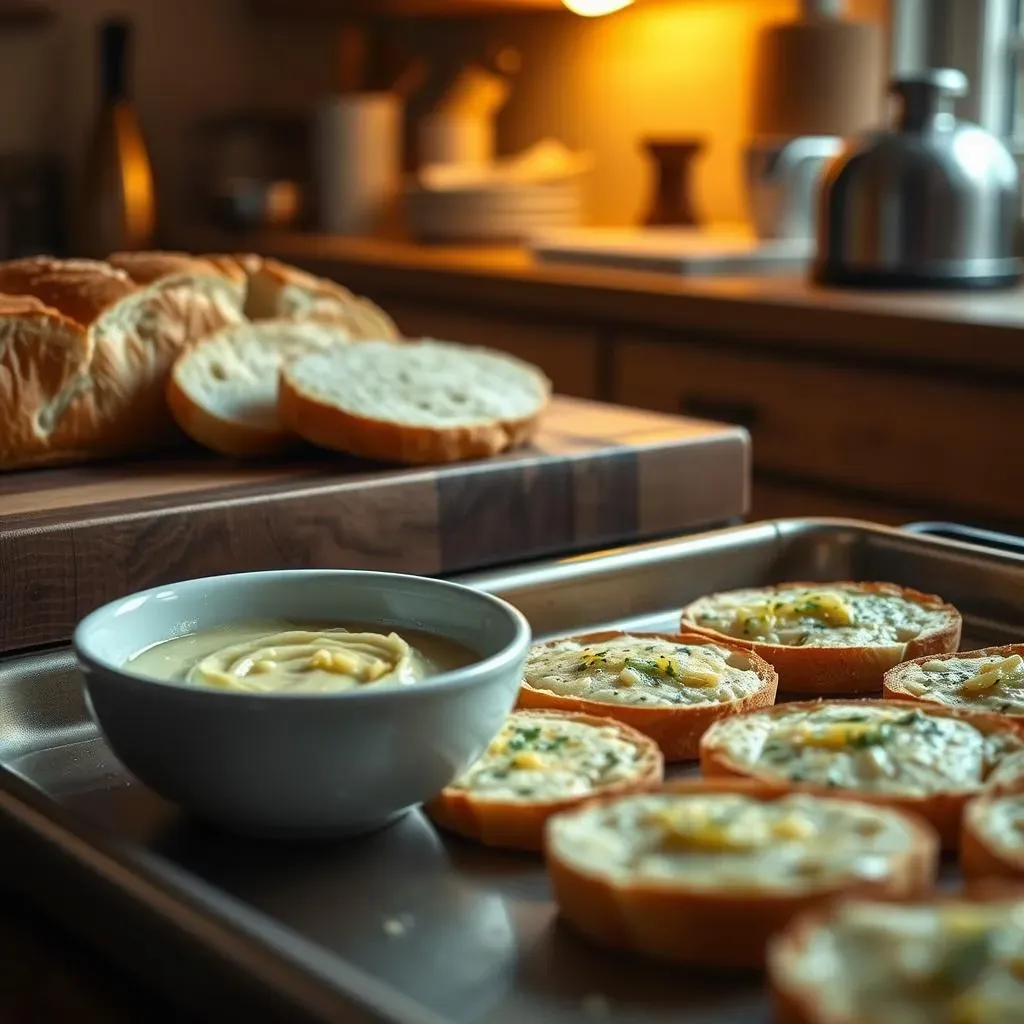
Alright, let's get this bread ready for its garlicky transformation! First, take your loaf of French bread and slice it lengthwise. You want to create two long halves, like an open book. Now, for the magic potion: in a small bowl, mix your softened butter with the minced fresh garlic and your herbs. If you're adding salt, toss that in now too. Mix it all together until it's a beautiful, fragrant paste. This is the stuff dreams are made of, and the base to make garlic bread from french bread. Don't worry if it looks a little messy; it’s going to taste amazing.
Next, grab a spoon or a butter knife and start spreading that glorious garlic butter all over the cut sides of the bread. Make sure you get every nook and cranny, because every bite should be bursting with flavor. Don't be shy; pile it on there. This is not the time to be stingy with the garlic butter. If you are adding cheese, now is the time to sprinkle it over the top of the buttered bread. Get ready, because this is where the magic really starts to happen.
Step | Action |
|---|---|
1 | Slice French bread lengthwise into two halves. |
2 | Combine softened butter, minced garlic, and herbs in a bowl. |
3 | Spread garlic butter mixture evenly over the cut sides of the bread. |
4 | Sprinkle cheese on top of the buttered bread. |
Baking to Golden Perfection
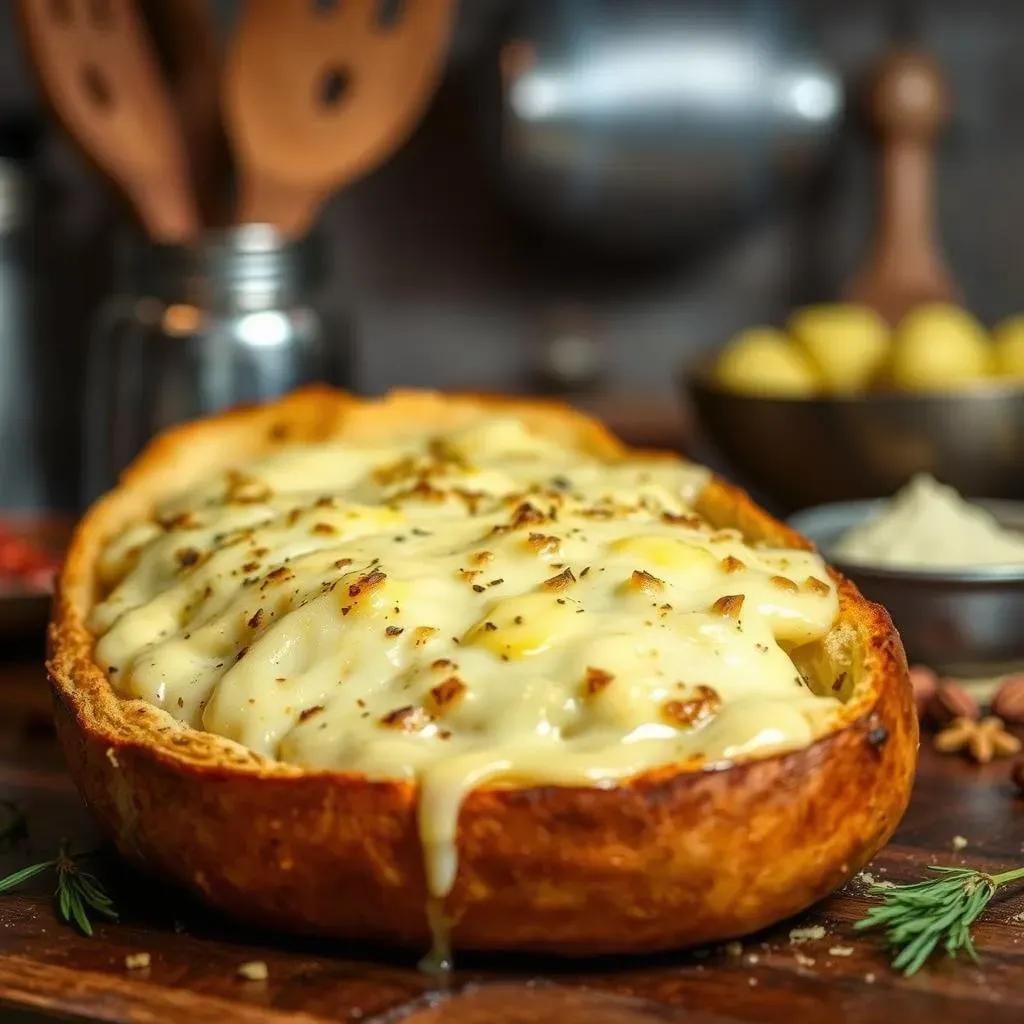
Now, it's time to get baking! Preheat your oven to 400°F (200°C). Place the buttered bread halves on a baking sheet, cut-side up. Pop that baking sheet into the preheated oven, and let it bake for about 10-15 minutes. Keep an eye on it, because we are aiming for golden brown edges and a bubbly, melted cheese topping. The smell wafting from your oven will be absolutely irresistible, and the kitchen will be filled with the scent of garlic heaven. If you want it extra crispy, broil it for the last minute or two, but watch it closely so it doesn't burn.
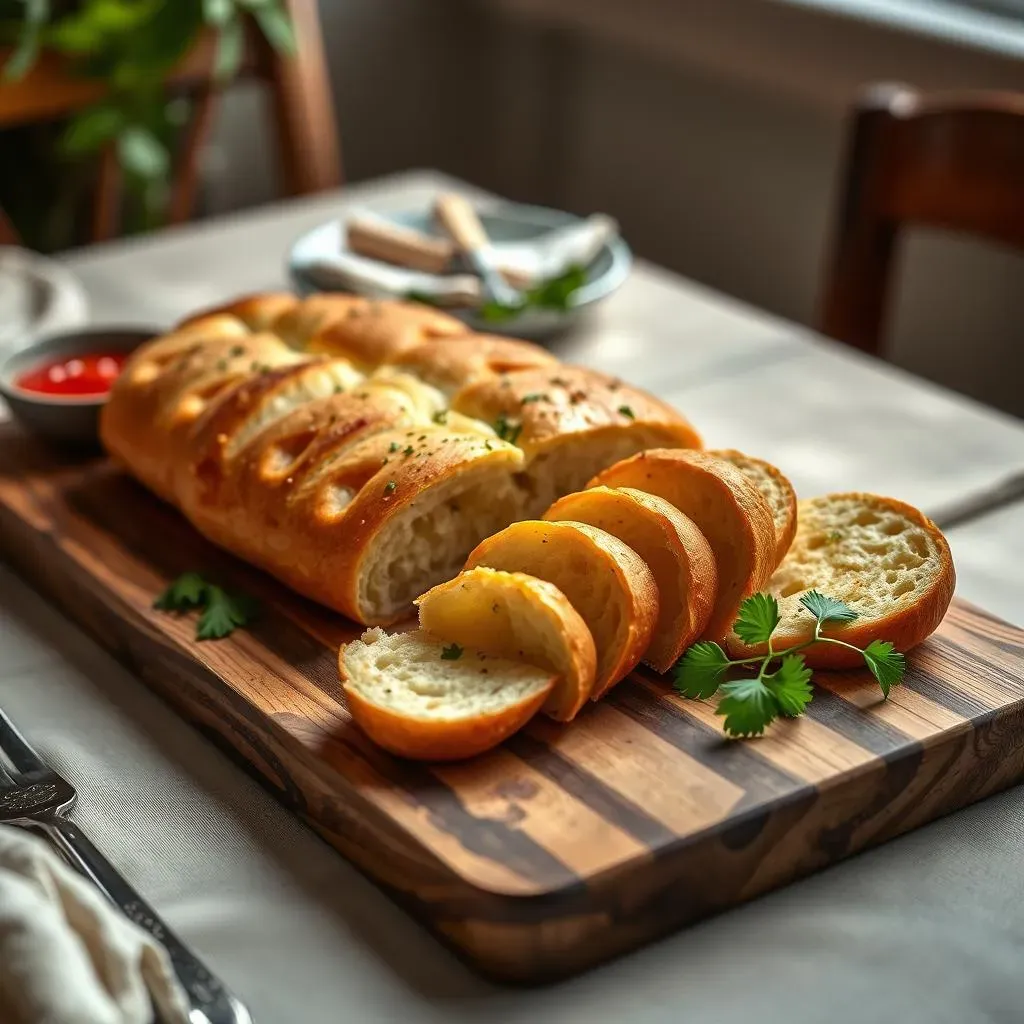
Once it's done, carefully take the baking sheet out of the oven. Let your garlic bread cool for a minute or two before slicing it into smaller portions. Now, you are ready to enjoy your homemade garlic bread. It’s crispy on the outside, soft on the inside, and packed with flavor. It's a great side dish for pasta, soups, or even just to enjoy on its own. You did it! You made your own garlic bread from french bread, and you should be proud of yourself!
Tips and Tricks for the Best Garlic Bread
Tips and Tricks for the Best Garlic Bread
Fresh is Best
Okay, let's get real for a second. While garlic powder is convenient, using fresh garlic cloves is a game-changer. I'm not kidding, it makes a HUGE difference. Mincing the garlic releases those amazing oils that give you that pungent, real garlic flavor that you just can't get from the powder. Trust me on this one, it’s worth the extra few minutes of chopping. And here’s a little tip: if you're in a hurry, you can use a garlic press to make things even easier.
Also, don't be shy with the garlic. If you love garlic, go for it! I usually use about 4-5 cloves for a standard loaf of French bread, but you can always adjust it to your liking. The point is to get that real, fresh garlic flavor to shine through.
- Use fresh garlic for the best flavor.
- Mince garlic finely or use a garlic press.
- Don't be afraid to add extra garlic if you love it.
The Butter Matters
Now, let’s talk butter. It's not just a vehicle for the garlic; it's a key player in the flavor game. Make sure it’s unsalted and softened. Why unsalted? Because it lets you control the salt level, so you don't end up with overly salty bread. And softened butter mixes much better with the garlic and herbs, creating a smooth, spreadable paste. Think about it like this: you want it to be the consistency of mayonnaise, easy to slather all over the bread.
Also, don't skimp on the butter! A generous amount will make your garlic bread rich and decadent. I know, it might seem like a lot, but trust me, it's worth it. Remember, we're making the best garlic bread, not just okay garlic bread.
Butter Tip | Why It Matters |
|---|---|
Use unsalted butter | Allows you to control salt levels. |
Soften the butter | Makes it easier to mix with garlic and herbs. |
Be generous with the butter | Ensures a rich and decadent flavor. |
Baking to Perfection
Alright, let's get to the baking part. The key here is to watch your bread like a hawk. Every oven is a little different, so the baking time might vary. The goal is to get a golden brown crust and bubbly, melted cheese, if you're using it. I usually start checking around 10 minutes, and then add more time as needed.
And here's a pro tip: if you want that extra crispy texture, broil it for the last minute or two. But, and I mean BUT, watch it closely, because it can go from perfect to burnt in seconds. So, don't walk away from the oven when you’re broiling. It needs your full attention. The perfect garlic bread is a balance of crispy and soft, and that balance is what we're going for.
Serving and Storing Your Homemade Garlic Bread
Serving and Storing Your Homemade Garlic Bread
Serving Suggestions
Alright, you've made this incredible garlic bread, and now you're probably wondering, "How do I serve this thing?" Well, first things first, let it cool for a few minutes after it comes out of the oven. You don't want to burn your mouth on that molten cheese. Then, slice it up into smaller pieces. The great thing about garlic bread is that it goes with just about anything. Seriously, it's a real crowd-pleaser. It's perfect alongside a big bowl of pasta, like spaghetti or lasagna. It can also be a great addition to a soup night, like tomato soup or minestrone. Or if you are like me, just eat it on its own because it’s that good.
Don't be afraid to get creative with your serving. You can use it as a base for bruschetta, topping it with fresh tomatoes and basil. Or, you can even cut it into smaller pieces and serve it as garlic bread sticks. The possibilities are endless. It’s all about presentation, so arrange it nicely on a plate, maybe with some extra herbs sprinkled on top. And most importantly, serve it while it’s still warm, that’s when the flavor is at its absolute best. It’s going to be the star of the meal, I promise you.
Storing Leftovers
Okay, so you've made a big batch of garlic bread, and somehow, you have leftovers (I know, it's hard to believe!). The good news is, you can store it and enjoy it later, but you've got to do it right. If you're planning to eat it within a day or two, you can keep it at room temperature. Just wrap it tightly in foil or plastic wrap to keep it from drying out. But if you're not planning to eat it soon, you should definitely freeze it.
To freeze it, wrap each piece individually in plastic wrap, then place them in a freezer-safe bag or container. This way, you can take out just what you need. When you're ready to eat it, you can reheat it in the oven at 350°F (175°C) for about 10-15 minutes. Or, if you're in a hurry, you can even microwave it, but the texture might not be as good as the oven. Just remember, it's always best to eat it fresh, but with a little care, you can keep it tasting great for another day.
Storage Method | Duration | Tips |
|---|---|---|
Room Temperature | 1-2 days | Wrap tightly to prevent drying. |
Freezer | Up to 3 months | Wrap individually, then place in a freezer-safe bag. |