Table of Contents
Ever bite into a roll that's both crusty on the outside and delightfully chewy inside? That's the magic of a good long french bread roll, and it's surprisingly simple to make at home. Forget those bland, store-bought rolls; we're talking about bread with character, the kind that makes any meal feel special. This isn’t just about baking; it’s about creating an experience. We'll kick things off with some mouthwatering serving ideas, showing you how these rolls can be the star of any dish. Then, we'll uncover the secrets to the perfect recipe, using just a few basic ingredients. You'll get a detailed, step-by-step guide that even a beginner can follow, no fancy equipment needed. Finally, we’ll explore some fun and creative ways to enjoy your freshly baked long french bread roll, from simple butter to gourmet toppings. So, get ready to transform your kitchen into a mini bakery and impress everyone with your incredible homemade bread!
Serving Suggestions for Long French Bread Rolls
Serving Suggestions for Long French Bread Rolls
The Classic Companions
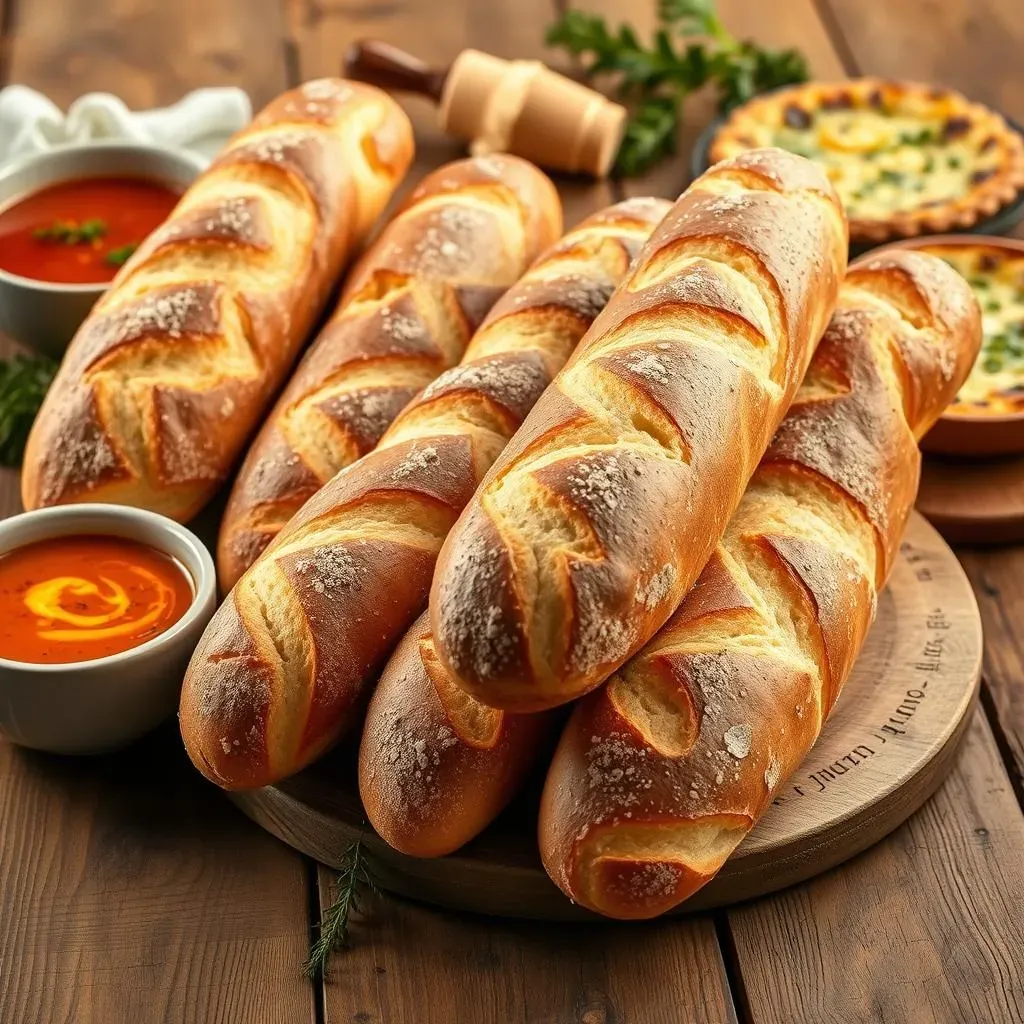
Okay, so you've got these amazing long french bread rolls, right? First things first, let’s talk about the classics. These rolls are like the best supporting actor in any meal, they just make everything better. Think about a hearty bowl of soup, that creamy tomato soup your grandma makes, or a spicy chili on a cold evening. That's where these rolls shine. They're perfect for soaking up all that deliciousness, each bite a perfect mix of texture and flavor. And don't even get me started on spaghetti night! A long french bread roll, toasted with a bit of garlic butter is the sidekick your pasta has been waiting for.
But wait, there's more! They’re not just for savory dishes. Imagine a simple yet elegant quiche, its eggy goodness complemented by the slightly chewy texture of the bread. It's like a match made in culinary heaven. These rolls have this amazing ability to be both humble and sophisticated, you know? I remember one time, I brought a basket of these to a potluck, and they were gone in minutes. People were even asking for the recipe. It was a bit of a rockstar moment for my bread, and honestly, for me too.
Meal Type | Serving Suggestion | Why it Works |
|---|---|---|
Soups & Stews | Dipped or served alongside | Perfect for soaking up broth |
Pasta Dishes | Garlic buttered and toasted | Adds a satisfying crunch |
Quiche or Frittata | Served as a side | Complements the richness |
Thinking Outside the Bread Basket
Now, let's get a bit more adventurous. Those long french bread rolls? They're not just for the sidelines. How about using them as the base for some killer mini soup appetizers? Hollow out the inside, fill it with a creamy soup, and you've got a party-worthy snack that's both cute and delicious. It's like edible bowls, how fun is that? And for something completely different, try slicing them horizontally and making mini pizzas. Just add some tomato sauce, cheese, and your favorite toppings, then bake until bubbly. It’s a super fun way to get the kids involved too. I did this with my niece once, and she thought she was the greatest chef in the world.
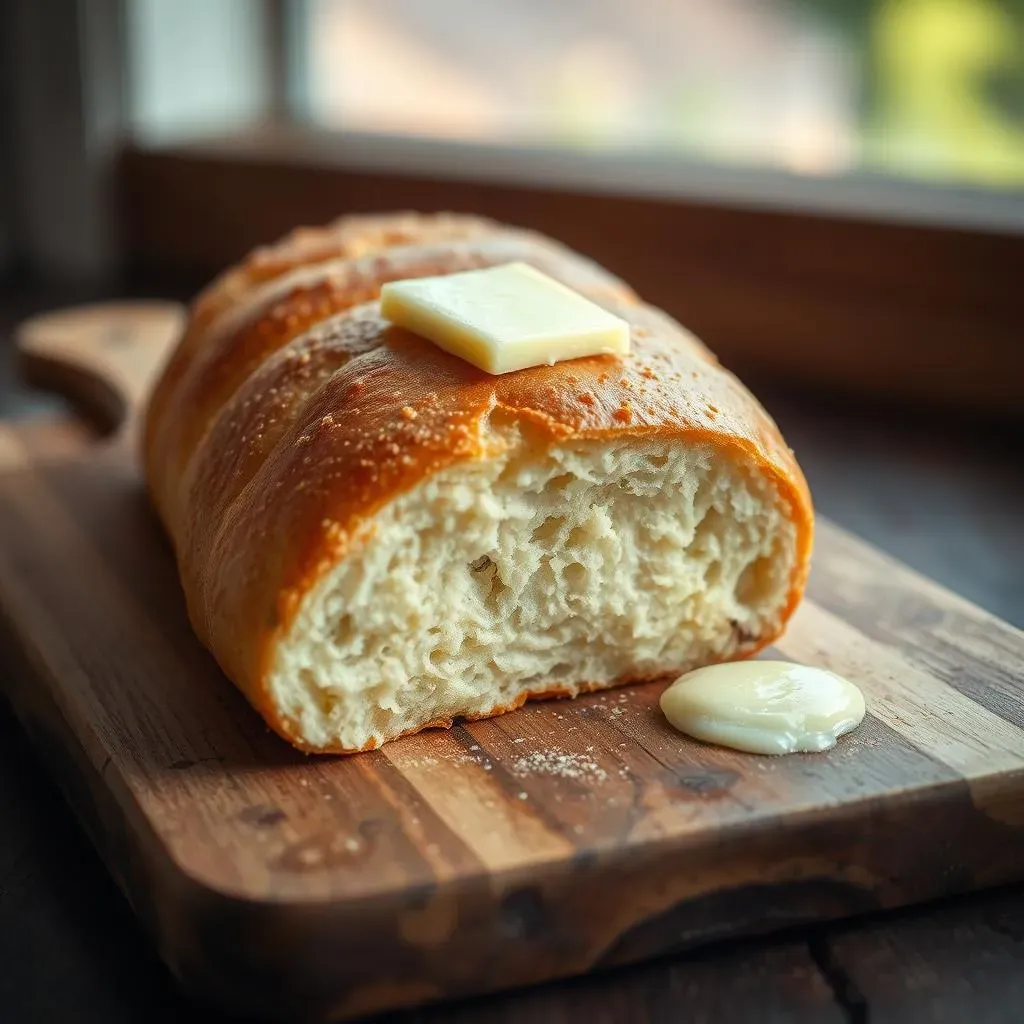
And let's not forget the simple pleasures. A warm roll with a generous smear of butter and a dollop of jam is pure comfort food. Or, if you're feeling fancy, some creamy brie and a drizzle of honey transforms it into a sophisticated treat. The possibilities are truly endless. It’s about using the bread as a blank canvas and letting your creativity flow. These rolls are so versatile, I swear, you could probably use them for anything. I once saw someone use them as makeshift hotdog buns at a barbecue, and you know what? It worked!
- Mini Soup Appetizers: Hollow out and fill with soup
- Mini Pizzas: Slice, top, and bake
- Butter and Jam: Simple and satisfying
- Brie and Honey: Elevated snack
The Secret Recipe for Perfect Long French Bread Rolls
The Secret Recipe for Perfect Long French Bread Rolls
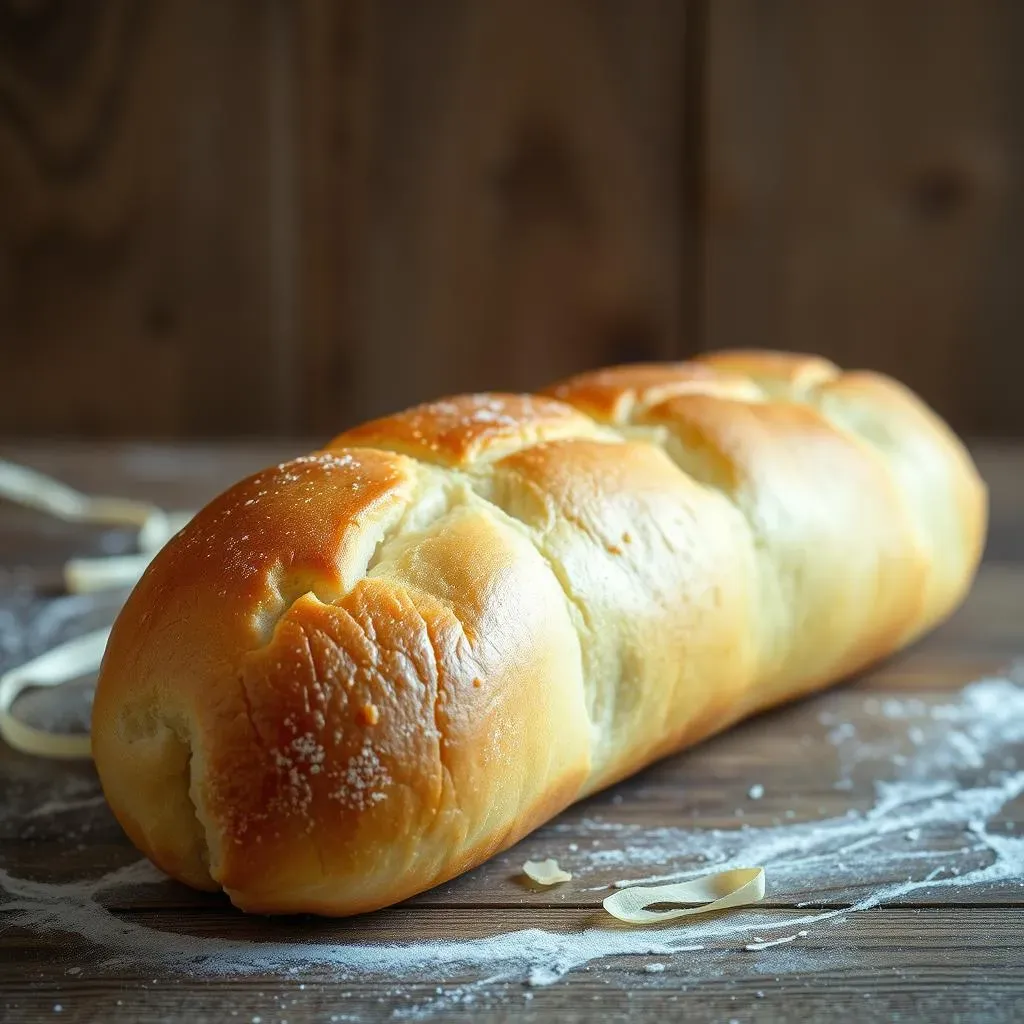
Alright, let's talk secrets, but honestly, this recipe is less about hidden magic and more about simple ingredients and a little patience. We're not talking about some crazy complicated, multi-step process here. The beauty of a truly great long french bread roll lies in its simplicity. You only need five things: water, yeast, salt, sugar, and flour. That’s it! It's almost unbelievable that such humble ingredients can create something so delicious, right? The real trick isn't what you put in, but how you let the dough develop. It's all about that slow rise, giving the flavors time to mingle and create that amazing taste. I remember the first time I tried this, I was amazed at how different it was from any bread I’d ever made before. It’s like the dough has a little personality of its own, and all you have to do is let it do its thing.
The magic, if you could call it that, is in the time. We're talking about a long, slow rise that allows the flavors to deepen and the gluten to develop, creating that signature chewy texture you love. It's kind of like letting a good stew simmer all day; the longer it goes, the better it tastes. And trust me, the wait is absolutely worth it. It's not about rushing things, it’s about letting the process work its magic. I know it might seem like a long time, but think of it as an investment in future deliciousness. Plus, the active time is actually pretty minimal, so you can go do other things while the dough is doing its thing. It's a win-win, really.
Ingredient | Purpose |
|---|---|
Water | Activates yeast and hydrates flour |
Yeast | Leavens the dough, creating air pockets |
Salt | Controls yeast activity and enhances flavor |
Sugar | Feeds the yeast and adds a touch of sweetness |
Flour | Provides structure and texture |
Now, some recipes call for an egg wash for that shiny, golden crust. It definitely looks pretty, but if you prefer a more rustic, firm crust, you can totally skip it. I’ve tried it both ways, and honestly, sometimes I'm just in a no-fuss kind of mood. The egg wash does add a bit of richness, but it's not essential for a great tasting roll. It's just a matter of personal preference. So, if you're into that glossy look, go for it. If not, don't sweat it. The most important thing is the dough itself. It's all about that perfect balance of chewiness and crust. I think that’s what makes these rolls so addictive. It's like you can't just stop at one. And, of course, fresh is always best. These rolls are absolutely heavenly when they're warm and just out of the oven. But, if you have some leftovers, they're still great the next day, especially if you toast them up.
So, to sum it up, don't be intimidated by the idea of baking your own long french bread roll. It’s not as hard as it seems. This recipe is all about simplicity and patience. Just remember those five basic ingredients, let the dough do its thing, and you'll be rewarded with the most amazing bread. It's really quite satisfying to make something so delicious with your own hands. I think that's part of the reason I love baking so much. It’s like creating a little piece of happiness in the kitchen. And honestly, who doesn't need a little more happiness in their life?
- Five simple ingredients
- Long, slow rise for flavor
- Egg wash is optional
- Fresh is best
StepbyStep Instructions for Long French Bread Roll Making
StepbyStep Instructions for Long French Bread Roll Making
Mixing the Dough
Alright, let's get our hands dirty! First, grab a big bowl – you know, the one you use for everything – and pour in some warm water. It should feel like bathwater, not too hot, not too cold. If it’s too hot, it can kill the yeast, and we don’t want that. Sprinkle the yeast and a pinch of sugar over the water, and let it sit for about five to ten minutes. You should see it get all foamy, like a tiny bubble bath. That's how you know the yeast is alive and ready to go. Then, add the salt and most of the flour. I usually save a little flour for later, just in case. Mix it all together until you have a shaggy dough. It won’t be perfect yet, so don't worry if it looks a bit rough around the edges. This is just the beginning of our beautiful bread journey.
Now, it's time to get kneading! Turn the dough out onto a lightly floured surface and start pushing and folding, like you're giving it a good massage. Knead for about 8 to 10 minutes, or until the dough is smooth and elastic. It should feel soft and springy, not sticky or tough. If it's sticking to your hands, add a little more flour, but don't go overboard. You want a nice, workable dough. Once it's ready, form it into a ball and place it in a lightly oiled bowl. Turn the dough to coat it with oil, cover the bowl with a kitchen towel or plastic wrap, and let it rise in a warm place for about an hour, or until it has doubled in size. It's like watching a balloon slowly inflate. It's pretty amazing, actually. This is where all that flavor starts to build, so be patient, it's totally worth the wait.
Step | Action | Why it's Important |
|---|---|---|
1 | Mix water, yeast, and sugar | Activates the yeast |
2 | Add salt and most of the flour | Forms the initial dough |
3 | Knead the dough | Develops gluten and texture |
4 | First rise | Allows dough to double in size |
Shaping and Baking
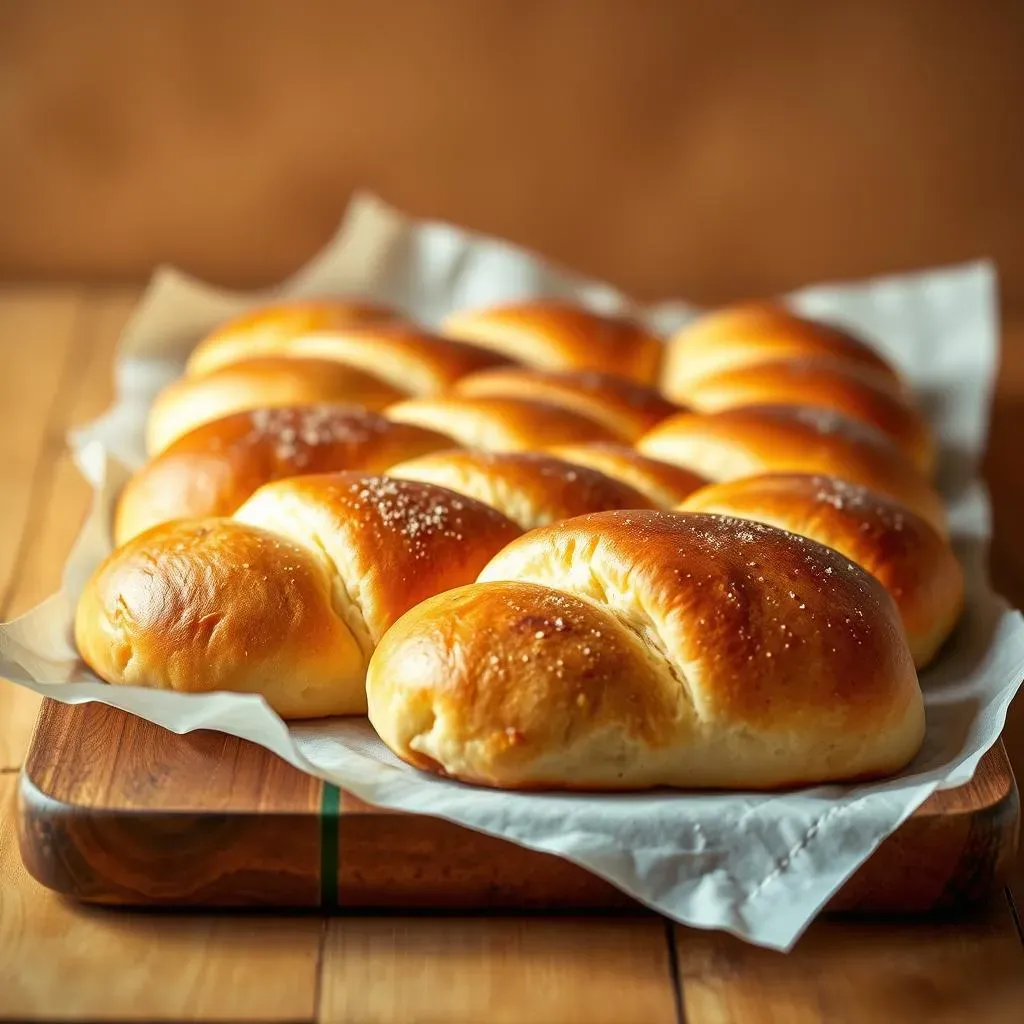
Okay, the dough has doubled – that’s great! Gently punch it down to release the air. It’s very satisfying, like deflating a tiny, fluffy pillow. Then, turn the dough out onto a lightly floured surface again. Divide the dough into 12 equal pieces. You can use a knife or a bench scraper for this. Shape each piece into a long, thin log, about 6 to 8 inches long. Place them on a baking sheet lined with parchment paper, leaving some space between each roll. They'll puff up quite a bit in the oven, so don't crowd them. Cover the rolls loosely with a kitchen towel and let them rise again for another 30 minutes. This second rise is what gives them that light and airy texture. It's like giving them one last chance to get super fluffy before they go into the oven.
While the rolls are rising, preheat your oven to 400°F (200°C). If you're using the egg wash, whisk one egg with a tablespoon of water and lightly brush it over the tops of the rolls. If not, just leave them as they are. Bake the rolls for about 15 to 20 minutes, or until they are golden brown and sound hollow when you tap them. The smell in your kitchen at this point is going to be amazing. Take them out of the oven and let them cool on a wire rack for a few minutes before serving. They're best when they're still a little warm, but try not to burn your mouth! It’s time to enjoy the fruits of your labor. You did it! You baked your own amazing long french bread rolls!
- Punch down the dough
- Divide into 12 pieces
- Shape into logs
- Second rise for 30 minutes
- Bake at 400°F (200°C) for 15-20 minutes
- Cool on a wire rack
Long French Bread Roll Serving Variations and Tips
Long French Bread Roll Serving Variations and Tips
Get Creative with Toppings
Okay, so you've mastered the art of the long french bread roll, congrats! But let's be real, sometimes you need to shake things up a bit, right? It's time to think beyond just butter and jam. Why not try making some garlic bread? It's super simple: just mix some softened butter with minced garlic, spread it on the rolls, and pop them back in the oven for a few minutes until they're golden and fragrant. It's a guaranteed crowd-pleaser, trust me. Or, if you're feeling a bit more adventurous, try making bruschetta. Dice some fresh tomatoes, add some basil, a drizzle of olive oil, and a sprinkle of salt and pepper. Spoon it over the toasted rolls and you've got a delicious and impressive appetizer. I remember one time, I made a huge batch of bruschetta rolls for a party and everyone was raving about them. It felt like I was some fancy chef, but really, it was just a few simple ingredients.
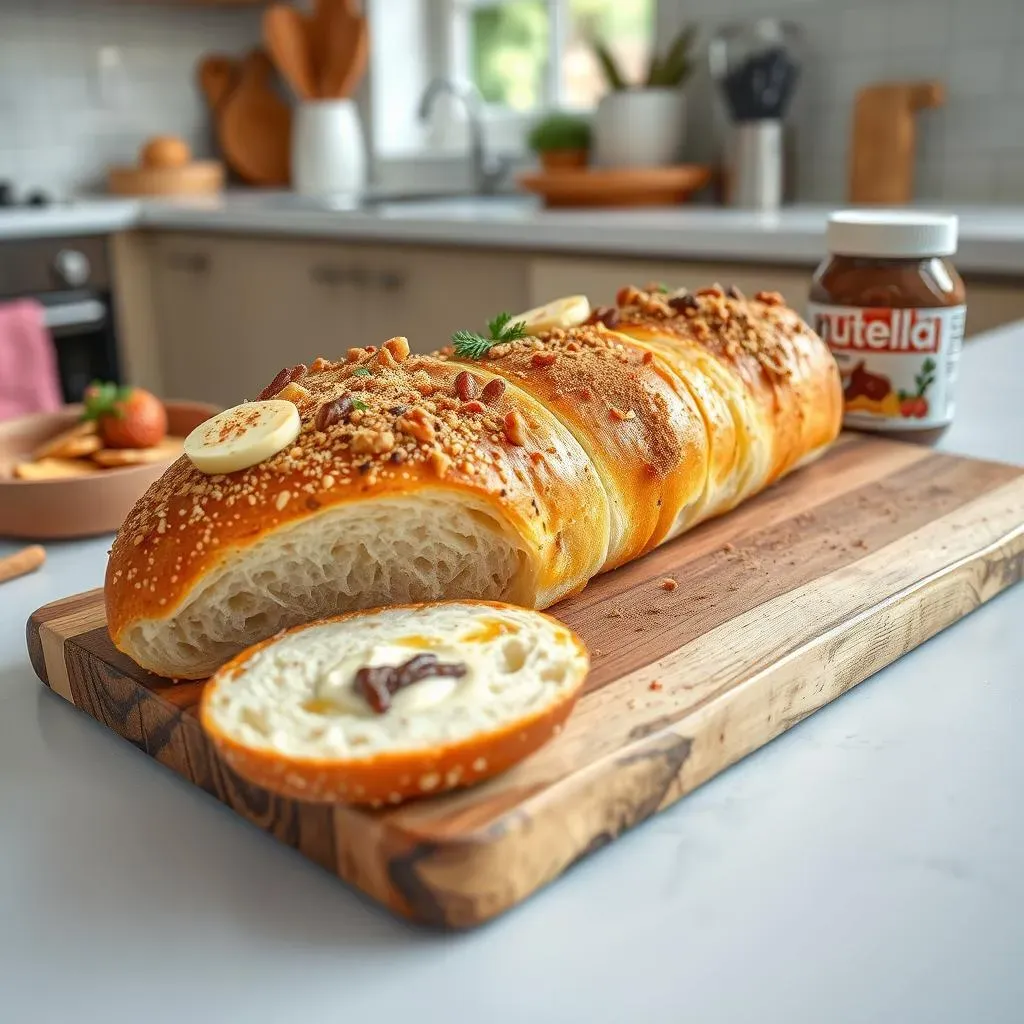
And if you're in the mood for something sweet, how about cinnamon sugar? Mix some cinnamon and sugar together, brush the rolls with melted butter, and sprinkle the mixture over the top. Bake them for a few minutes, and you'll have a warm, comforting treat that's perfect for breakfast or dessert. Or, for a bit of a twist, try spreading some Nutella on a warm roll, it's like a hug in every bite. The possibilities are truly endless, it's all about experimenting and finding what you love. These rolls are like a blank canvas, just waiting for you to get creative. I even saw someone use them as a base for a dessert pizza once, with cream cheese and fruit, and you know what? It was amazing!
Topping Idea | Description | Perfect For |
|---|---|---|
Garlic Butter | Butter mixed with minced garlic | Side dish, appetizers |
Bruschetta | Diced tomatoes, basil, olive oil | Appetizers, snacks |
Cinnamon Sugar | Cinnamon and sugar mixture | Breakfast, dessert |
Nutella | Chocolate hazelnut spread | Dessert, snack |
Tips for Serving and Storing
Alright, let's talk about keeping these long french bread rolls at their best. First off, fresh is always best. These rolls are absolutely incredible when they're still warm from the oven, but let's be real, you might not eat them all at once. If you have any leftovers, let them cool completely before storing them. I usually wrap them in foil or plastic wrap, or pop them in a zip-top bag. They'll stay good at room temperature for a day or two, or you can freeze them for longer storage. When you're ready to eat them, just thaw them out and pop them in the oven for a few minutes to warm them up. They won't be quite as fresh as the first day, but they'll still be delicious. I remember one time, I made a huge batch of these rolls and froze half of them. It was so handy to have them ready to go whenever I needed them.
And here's a little pro-tip: if you want to give your rolls a little extra crunch, try lightly toasting them before serving. It's like a little mini-revival that brings them back to life. And for a fun twist, you can even slice them horizontally and use them as the base for mini sandwiches or sliders. It’s a great way to use up leftovers and create something new. The key is to be flexible and have fun with it. There really aren't any rules, as long as you're enjoying them. I think that's the best part about cooking, it's not just about following recipes, it's about making them your own. These rolls are so versatile, I swear, you can do anything with them. I even saw someone use them as a base for a bread pudding once, and you know what? It was pretty amazing!
- Cool completely before storing
- Wrap in foil or plastic wrap
- Store at room temperature or freeze
- Toast for extra crunch
- Use as a base for mini sandwiches