
Table of Contents
Let's face it, sometimes the simplest things are the most satisfying. And what's more satisfying than a slice of perfectly crispy, garlicky toast? Today, we're not just making any garlic toast; we're mastering the art of "how to make garlic toast with french bread". Forget those flimsy, store-bought imitations, we're talking about real, homemade goodness. This isn't some overly complicated recipe; it's a straightforward guide to achieving that ideal balance of crunch, flavor, and buttery bliss. We’ll start by gathering the necessary ingredients, then we will learn how to create the most flavorful garlic butter. Finally, we will move on to the baking process, turning our humble French bread into a golden-brown masterpiece. So, if you’re ready to elevate your bread game, grab your loaf and let’s get started!
Gathering Your Garlic Toast Arsenal

Gathering Your Garlic Toast Arsenal
The Star of the Show: French Bread
Okay, let's talk bread, because it's the foundation of our garlic toast masterpiece. We're not going for your average sliced loaf here; we need a proper French baguette. I mean, a real, crusty, chewy French loaf is what we are aiming for. The kind that makes a satisfying *crunch* when you slice into it. Why French bread? It has that perfect balance of a crisp exterior and a soft, airy interior, which will soak up all that delicious garlic butter without becoming soggy. It's the ideal canvas for our garlicky creation. You can get a pre-baked loaf, or if you are feeling adventurous you can bake your own!
The Supporting Cast: Butter, Garlic, and More
Now that we have our bread, let's assemble the rest of our garlic toast dream team. First up: butter. We're talking real, unsalted butter here. The good stuff. It's not the time to skimp. It provides richness and helps the garlic spread evenly. Then, of course, we need garlic, and lots of it! Fresh garlic cloves, minced finely, are the way to go. We're not using any of that pre-minced jar stuff. For a little extra flavor, you can add some sea salt. I like to add a pinch of fresh parsley, but that's totally optional. Some people like garlic powder, but I prefer fresh garlic! I'm sure you have your own ideas too, feel free to add some!
Ingredient | Why We Need It |
|---|---|
French Bread | Perfect texture: crusty outside, soft inside |
Unsalted Butter | Richness and even garlic spread |
Fresh Garlic | Intense, authentic garlic flavor |
Sea Salt | Enhances flavors |
Fresh Parsley (Optional) | Adds a touch of freshness |
Crafting the Ultimate Garlic Butter for French Bread
Crafting the Ultimate Garlic Butter for French Bread
The Foundation: Softening Your Butter
Alright, let's get to the good stuff – the garlic butter. This isn't just melting some butter and throwing in some garlic. It's an art, I tell you! First, you need to make sure your butter is nice and soft. Not melted, but soft enough that you can easily mash it with a fork. I usually leave mine out on the counter for about an hour, or you can use the microwave for a few seconds at a time. Be careful though, you don't want it to turn into liquid. It needs to be spreadable, like a warm hug for your bread.
Mixing the Magic: Garlic and Butter Unite
Now, for the garlic. Remember all that fresh garlic we minced? Time to put it to work. Add it to the softened butter, and mash it all together with a fork. Don’t be shy with the garlic; this is where the flavor comes from. You really want to make sure that the garlic is evenly distributed throughout the butter. If you are feeling extra fancy, you can add a pinch of salt and that parsley we talked about. Mix it all together until it forms a smooth, fragrant paste. It should smell amazing, like a little piece of heaven.
Step | Action |
|---|---|
1 | Soften butter to room temperature |
2 | Mince fresh garlic finely |
3 | Combine softened butter and garlic |
4 | Mix until well combined |
Flavor Boosters: Taking It to the Next Level
While the classic garlic and butter combo is fantastic, there's always room for a little extra pizzazz. You can get creative here! Some people love adding a sprinkle of garlic powder for an extra punch of garlicky goodness, or a dash of dried herbs like oregano or thyme for a more savory note. If you're feeling adventurous, a tiny bit of red pepper flakes can add a subtle kick. The key is to experiment and find what you like best. Ultimately, this garlic butter should be tailored to your unique taste. It's your canvas, paint it how you like it!
Baking Your French Bread Garlic Toast to Golden Brown
Baking Your French Bread Garlic Toast to Golden Brown
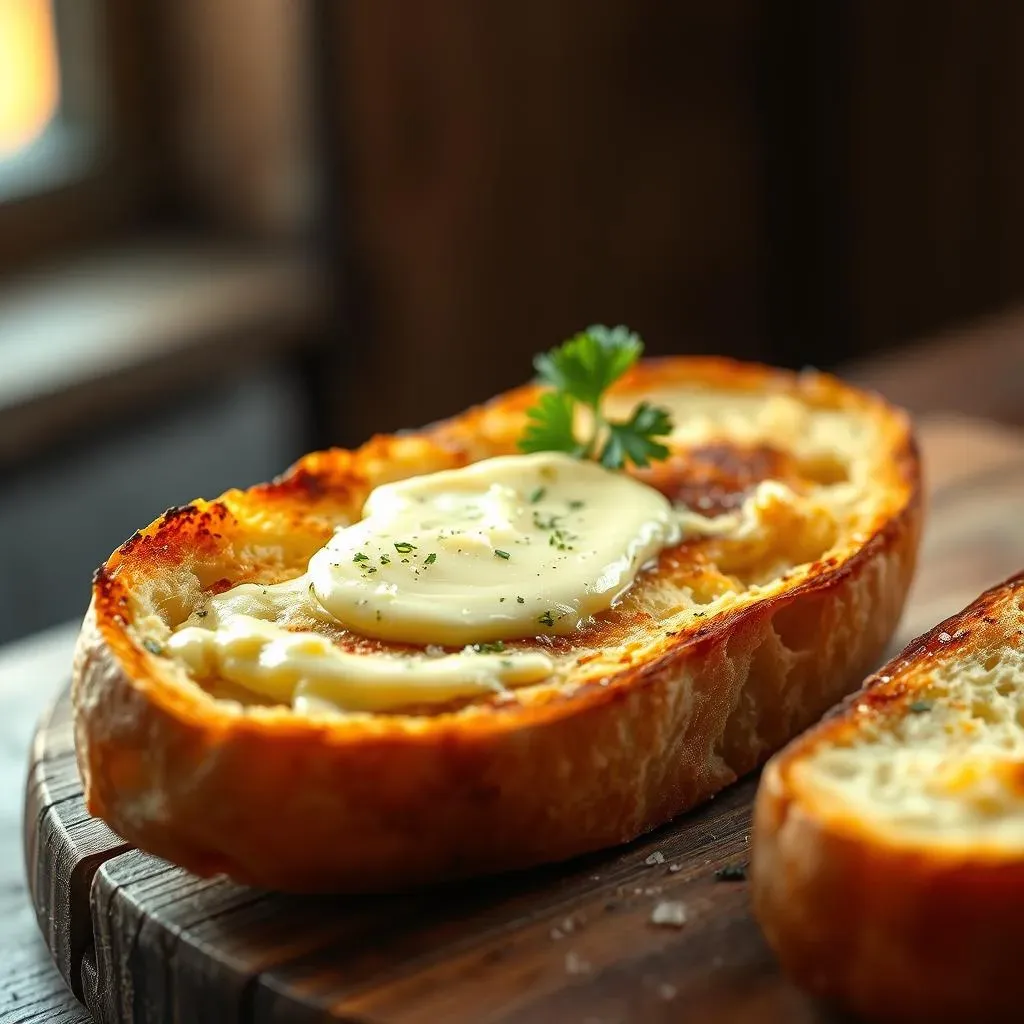
Prepping for the Oven: Slicing and Spreading
Alright, the garlic butter is ready, and now it's time to get our bread ready for its transformation into golden, crispy perfection. First, grab your French loaf and slice it into thick, even slices. I usually go for about an inch thick; it gives you a good balance of crunch and soft interior. Now, take that glorious garlic butter and spread it generously over each slice. Don't be shy, we want every nook and cranny coated in that flavorful mixture. Imagine you're painting a masterpiece, and the bread is your canvas. You want an even coat of garlic butter on each slice for optimal flavor and crispiness.
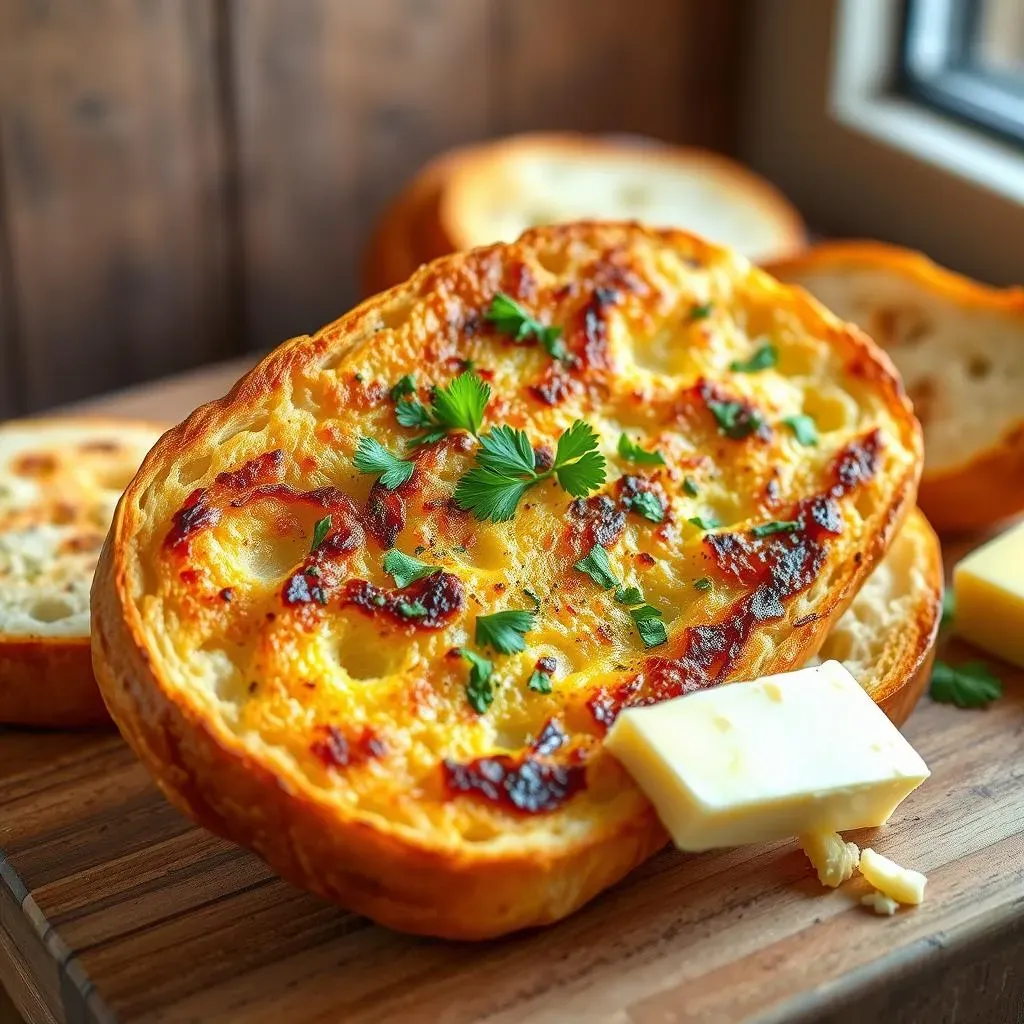
The Baking Process: Achieving Golden Perfection
Now that our bread slices are all dressed up in their garlic butter finery, it's time to introduce them to the oven. Preheat your oven to about 375°F (190°C). Place the slices on a baking sheet, and pop them into the oven. The baking time can vary a bit depending on your oven, but usually, it takes about 10-15 minutes to get that golden brown color we’re looking for. Keep a close eye on them, you want them to be crispy and golden, not burnt. The edges should be nicely browned and the garlic should smell heavenly. It's like watching a caterpillar turn into a butterfly, but instead, it's bread turning into garlicky goodness.
Step | Action |
|---|---|
1 | Slice French bread into even slices |
2 | Generously spread garlic butter on each slice |
3 | Preheat oven to 375°F (190°C) |
4 | Bake for 10-15 minutes, until golden brown |
Finishing Touches: Serving and Enjoying
Once the garlic toast is golden brown and crispy, take it out of the oven and let it cool for just a minute or two. I know it's tempting to dive right in, but a little patience will reward you. If you're feeling fancy, you could sprinkle some more fresh parsley on top, or a light grating of Parmesan cheese. Now, it's time to enjoy the fruits of your labor. Serve your garlic toast warm, and watch as it disappears in minutes. It's the perfect side for pasta, soup, or just a snack to enjoy by itself. Trust me, once you've mastered this recipe, you’ll be making it all the time. It's that good, and it's that simple. So go ahead, take a bite, and savor the garlicky goodness.
"The smell of garlic and butter is like a warm hug for the soul." - Some Wise Person (probably me)