Table of Contents
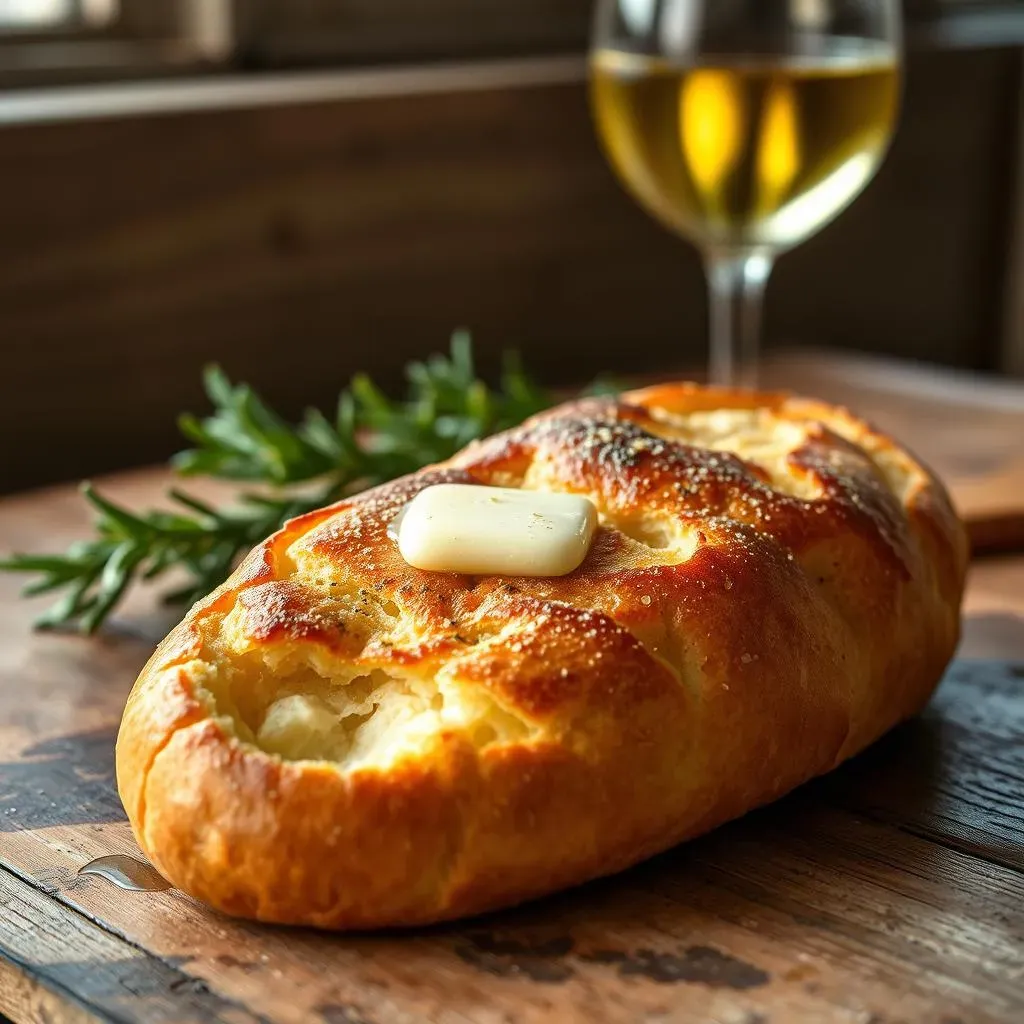
Ever get that craving for warm, crusty bread slathered in garlic butter? Yeah, me too. Forget those sad, store-bought loaves; we're talking about making the real deal: homemade garlic french bread in the oven. This isn't some complicated chef thing, it's super easy, and I'm going to show you exactly how to do it. We'll kick things off with the simple secret to getting that perfect balance of crispy and chewy. Then, we'll walk through the step-by-step process of how to make garlic french bread in the oven, from prepping your ingredients to pulling out a golden, garlicky masterpiece. And because I know you're not just going to stop at "good enough," I'll share some tips, tricks, and fun variations to take your garlic bread game to the next level. Ready to transform an ordinary loaf into something extraordinary? Let's get baking!
The Secret to Perfect Garlic French Bread in the Oven
The Secret to Perfect Garlic French Bread in the Oven
The Right Bread Matters
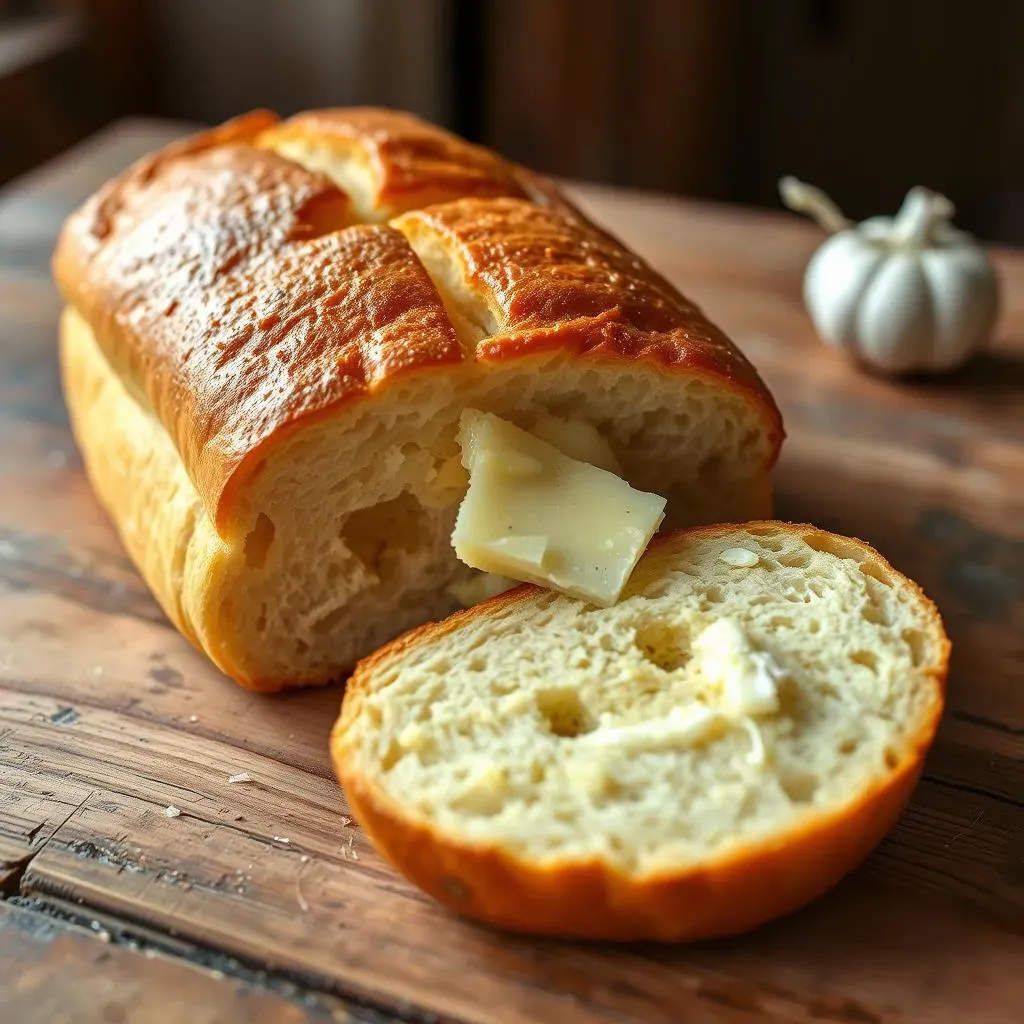
Okay, so you can't just grab any old loaf and expect magic. The bread is the foundation, right? You want a good, sturdy French or Italian loaf. Think of it like choosing the right wood for a birdhouse; you want something that's going to hold up. Not too soft, not too dense, just right. If the bread is too soft it'll get soggy with all the butter we're about to throw at it. If it's too dense, you might need a chainsaw to cut it. I usually go for one that's a day old, it has the perfect texture for soaking up the garlic butter, and it's easier to slice.
And about slicing, let's be real. You're not performing surgery, but try to make it as even as possible. We need a flat surface for all that garlicky goodness to spread onto. Slice it lengthwise, like you're opening a book, not like you're trying to create a bunch of tiny bread rafts. That even surface ensures the bread bakes evenly and gets all crispy, not just the edges. Trust me, even slices are a game changer. So take your time, no need to rush, and imagine the deliciousness that awaits.
Garlic Butter is the MVP
Now, let's talk about the star of the show: the garlic butter. This isn't just melted butter with some garlic thrown in. Oh no, this is a carefully crafted concoction. Fresh garlic is key here, none of that pre-minced stuff in a jar. You want to mince it fine, so you don't end up with big chunks of raw garlic. We're aiming for a smooth, flavorful paste that will spread evenly. And don't skimp on the butter, it's the vehicle for all that garlic goodness. I like to use unsalted butter, that way I can control the salt level. Once you have that garlic and butter mixed, it's where the magic really starts to happen.
And don't forget the herbs! Fresh parsley is my go-to, but you could add some oregano or thyme too. It adds a little something extra, a fresh note to cut through all that richness. Some people like to add a pinch of red pepper flakes for some heat, but that's your call. The point is, don't be afraid to experiment a bit. Just make sure you don't overdo it on the herbs, you want the garlic to be the star, not the supporting cast. This garlic butter isn't just a spread, it's a flavor bomb.
Ingredient | Why it Matters |
|---|---|
Fresh Garlic | More flavor, no weird aftertaste |
Unsalted Butter | Control the salt level |
Fresh Herbs | Adds a fresh note |
StepbyStep Instructions: How to Make Garlic French Bread
StepbyStep Instructions: How to Make Garlic French Bread
Prepping the Bread and Oven
Alright, let's get this show on the road! First things first, preheat your oven to 425°F (220°C). This is crucial, because we want that initial blast of heat to crisp up the bread. While the oven is warming up, grab your loaf of bread and that knife. Remember how we talked about slicing it lengthwise? Do that now, nice and even. Place the two halves cut-side up on a baking sheet. I like to line mine with parchment paper for easy cleanup, but foil works too. This step is all about laying the groundwork for deliciousness.
Now, a little side note, if you're using a really long loaf, you might need to cut it in half to fit on your baking sheet. No biggie, just make sure you're working with manageable pieces. The key here is to have everything ready to go when the oven's hot. You don't want your butter melting while you're still fiddling with the bread. So, double-check, make sure everything's in place, and let's move on to the next exciting step!
Spreading the Garlic Butter
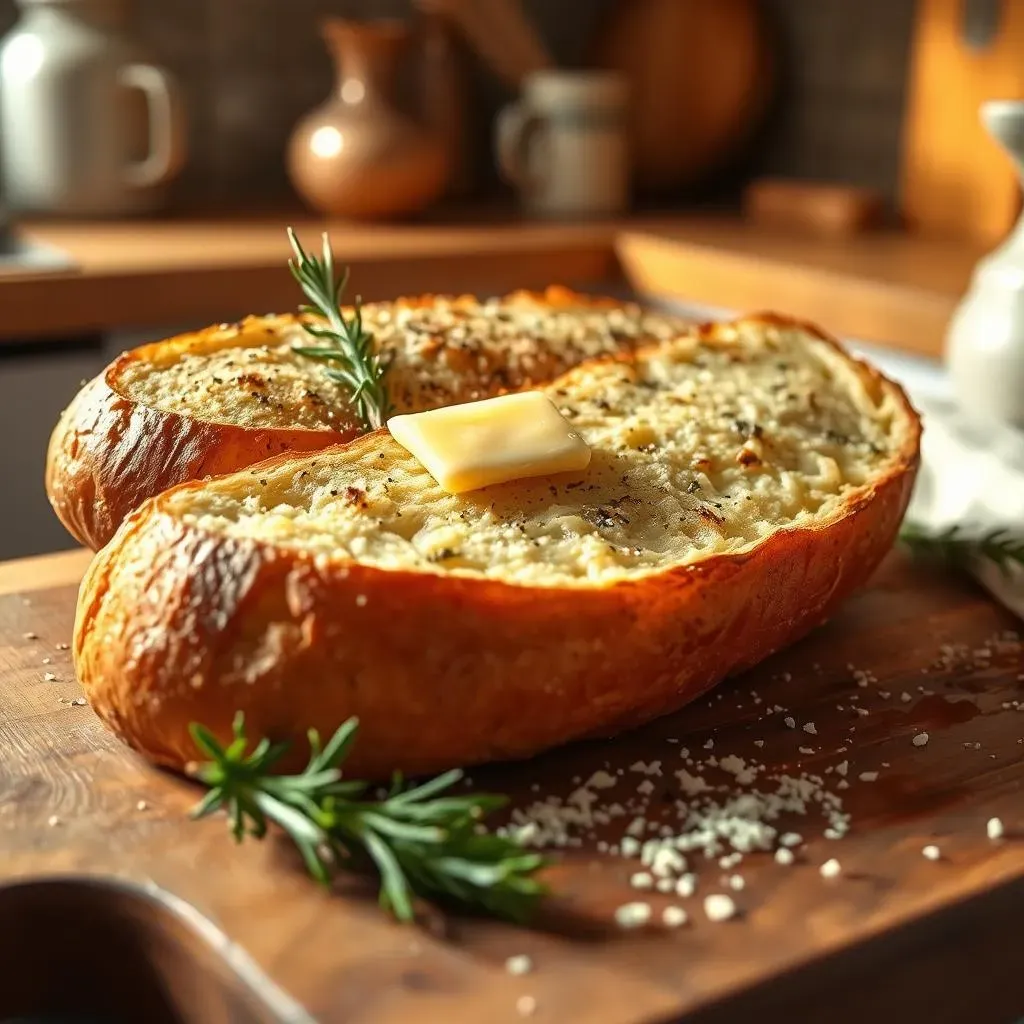
Okay, this is where the magic happens. Take that glorious garlic butter you made earlier and start spreading it evenly over the cut sides of the bread. Don't be shy, we want every nook and cranny covered. Use a knife or a spatula, whatever you find easiest, and get every bit of that garlicky goodness onto the bread. Imagine you're painting a masterpiece, but with garlic butter instead of paint. The goal here is to create an even layer, ensuring every bite is packed with flavor. No dry spots allowed!
Make sure you get right up to the edges, that’s where the best crispiness happens. And if you have any leftover garlic butter, don't throw it away! You can save it for another batch of garlic bread or even use it to flavor other dishes. Seriously, that stuff is liquid gold. Once you've got your bread all buttered up, it's time for the oven. We're almost there, I promise. The smell in your kitchen is about to get amazing.
Step | What to Do | Why It Matters |
|---|---|---|
Preheat Oven | 425°F (220°C) | Crispy bread |
Slice Bread | Lengthwise, evenly | Even cooking |
Spread Garlic Butter | Evenly over cut sides | Maximize flavor |
Baking to Golden Perfection
Alright, into the oven they go! Place your baking sheet with the garlic-buttered bread into the preheated oven. Now, the baking time can vary a bit depending on your oven and how thick your bread is, but we're generally looking at around 10 to 15 minutes. Keep a close eye on it, because we want it to be golden brown and crispy on the edges, but not burnt. The goal is to get that perfect balance of crunchy and soft. This is where your patience pays off, so don't rush it.
Once it's looking perfect, pull it out of the oven and let it cool for a minute or two before slicing and serving. And if you want to add some cheese, sprinkle it on during the last 2 minutes of baking, that's when it will melt but not burn. When you take it out of the oven, you'll notice the amazing smell that fills the kitchen and you might have a hard time waiting for it to cool down. But trust me, it's worth it. The slightly cooled bread will be easier to cut and enjoy. Get ready to experience the best garlic bread ever.
Tips, Tricks, and Variations for OvenBaked Garlic Bread

Tips, Tricks, and Variations for OvenBaked Garlic Bread
Spice it Up
Okay, so you've nailed the basic garlic bread, now let's get a little adventurous! Want to kick up the flavor? Try adding a pinch of red pepper flakes to the garlic butter for a little heat. Or maybe some Italian seasoning for an extra layer of savory goodness. Don't be shy about experimenting with different herbs too. Fresh rosemary or thyme can add a wonderful earthy note. And if you're feeling fancy, a drizzle of balsamic glaze after baking can be a real game changer. It adds a touch of sweetness and tanginess that will make your taste buds sing. The world is your garlic-buttered oyster, so go wild!
Another thing you could try is using roasted garlic instead of fresh. Roasting the garlic brings out a sweeter, mellower flavor that is incredible in garlic bread. It's a bit more work, but trust me, it's worth it. Just roast a whole head of garlic until it's soft and caramelized, then mash it into your butter. And about cheese, don't limit yourself to just parmesan. Try a blend of mozzarella and provolone, or even some sharp cheddar. The possibilities are endless! Just make sure you add the cheese during the last few minutes of baking, so it melts nicely without burning.
Variation | Description |
|---|---|
Red Pepper Flakes | Adds a touch of heat |
Italian Seasoning | Savory and aromatic |
Roasted Garlic | Sweeter, mellower flavor |
Different Cheeses | Experiment with flavor |
Bread Beyond the Usual
Who says you have to stick with a French or Italian loaf? Why not try making garlic bread with ciabatta or even sourdough? Ciabatta has those big air pockets that are perfect for soaking up garlic butter, and sourdough adds a tangy flavor that's amazing with garlic. You could also use baguette slices for individual portions, or even try making garlic bread "croutons" by cubing the bread and baking it until crispy. It is a great way to use up leftover bread. And if you're feeling really creative, you could even make garlic bread pinwheels, by rolling up the buttered bread and slicing it into spirals before baking. It's all about having fun and playing around with different textures and shapes.
And don't forget about the toppings! Some people like to sprinkle a little bit of nutritional yeast on top for a cheesy flavor, or add some caramelized onions for a touch of sweetness. I once saw someone add some sun-dried tomatoes, and it was surprisingly good. The point is, there are no rules, just guidelines. So, go ahead, break the mold and create your own signature garlic bread! It's all about making it your own and enjoying the process. After all, cooking should be fun, not a chore.