Table of Contents
Okay, let's be real, who doesn't love garlic bread? That warm, crispy, buttery goodness is just pure comfort food. But, have you ever wondered how to make garlic bread with French bread that's *actually* amazing? Not the kind that's dry or flavorless, but the kind that makes you want to eat the whole loaf? Well, I'm here to tell you, it's easier than you think! In this article, I'm going to show you exactly how to transform a simple loaf of French bread into a flavor-packed side dish that'll have everyone asking for seconds. We'll go through the key ingredients, the simple equipment you'll need, and a super easy step-by-step guide. Plus, I'll share some fun variations to keep things interesting, what to serve with your amazing garlic bread, and answer some common questions. Get ready to ditch the store-bought stuff, because once you learn how to make garlic bread with French bread this way, you'll never go back!
Why I Love Making Garlic Bread with French Bread
Why I Love Making Garlic Bread with French Bread
Okay, so why am I so obsessed with making garlic bread using French bread? It's not just because it tastes amazing, though that's a big part of it. I think it's the combination of simplicity and satisfaction. Seriously, with just a few ingredients and minimal effort, you can create something that's way better than anything you'd get at the store. There's something incredibly rewarding about taking a plain loaf of French bread and transforming it into this golden, garlicky masterpiece. It’s like a little kitchen magic trick that anyone can do. Plus, the smell that fills your kitchen while it's baking? Forget candles; that's the real aromatherapy! It's the kind of thing that makes your house feel like a home, you know?
Key Ingredients and Equipment for French Bread Garlic Bread

Key Ingredients and Equipment for French Bread Garlic Bread
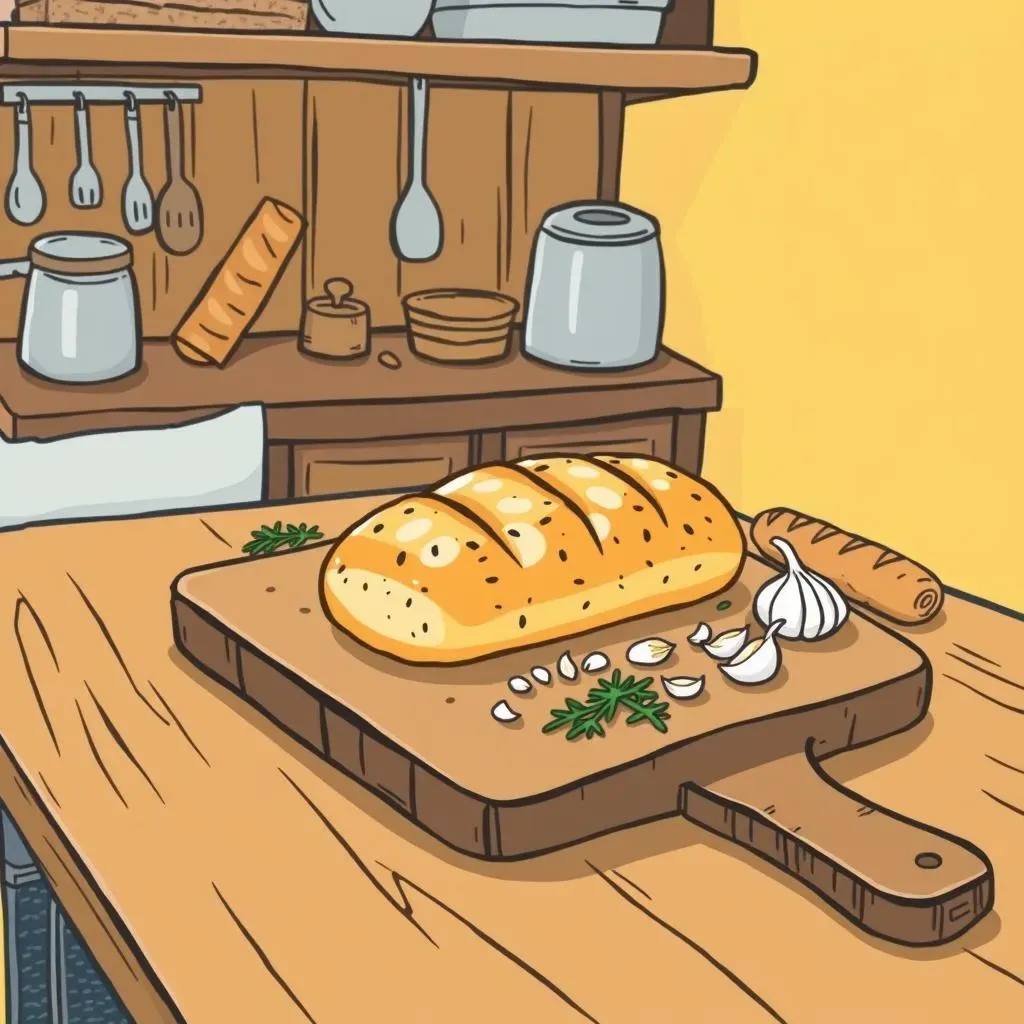
Alright, let's talk shop. You wanna make killer garlic bread? You gotta have the right stuff. It's not complicated, thankfully. For ingredients, you're looking at a good loaf of French bread – not a baguette, you want something a bit wider so you have more surface area for the good stuff. Then, you’ll need butter, and I'm talking real butter, not margarine. We're going for maximum flavor here! Garlic, of course, and you can use fresh minced garlic or garlic powder, depending on your mood. Finally, some parsley flakes for a little color and a hint of herbiness.
As for equipment, we’re keeping it simple. You’ll need a baking sheet, because, well, where else are you going to bake this beauty? A small bowl for mixing up the buttery garlic concoction, and a knife for slicing the bread. And, if you want to be extra fancy, some aluminum foil for wrapping it up while it’s baking. But honestly, even that's optional. That’s all, no crazy gadgets or hard to find tools required. This recipe is all about keeping it easy and delicious.
Ingredient | Why We Need It |
|---|---|
French Bread | The perfect base with a soft inside and crusty outside |
Real Butter | Adds richness and melts beautifully |
Garlic (Fresh or Powder) | The star of the show, for that garlicky goodness |
Parsley Flakes | A touch of color and subtle herby flavor |
StepbyStep Guide: How to Make Garlic Bread with French Bread
StepbyStep Guide: How to Make Garlic Bread with French Bread
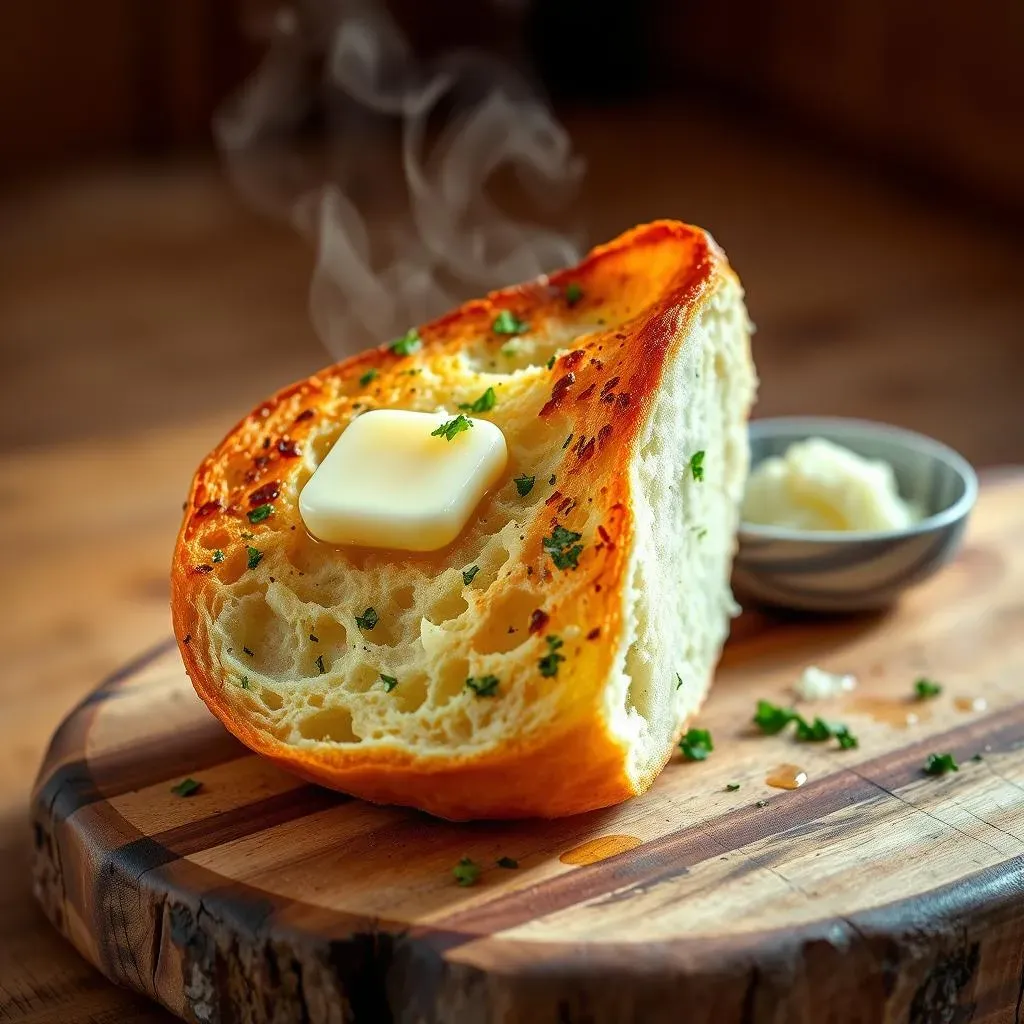
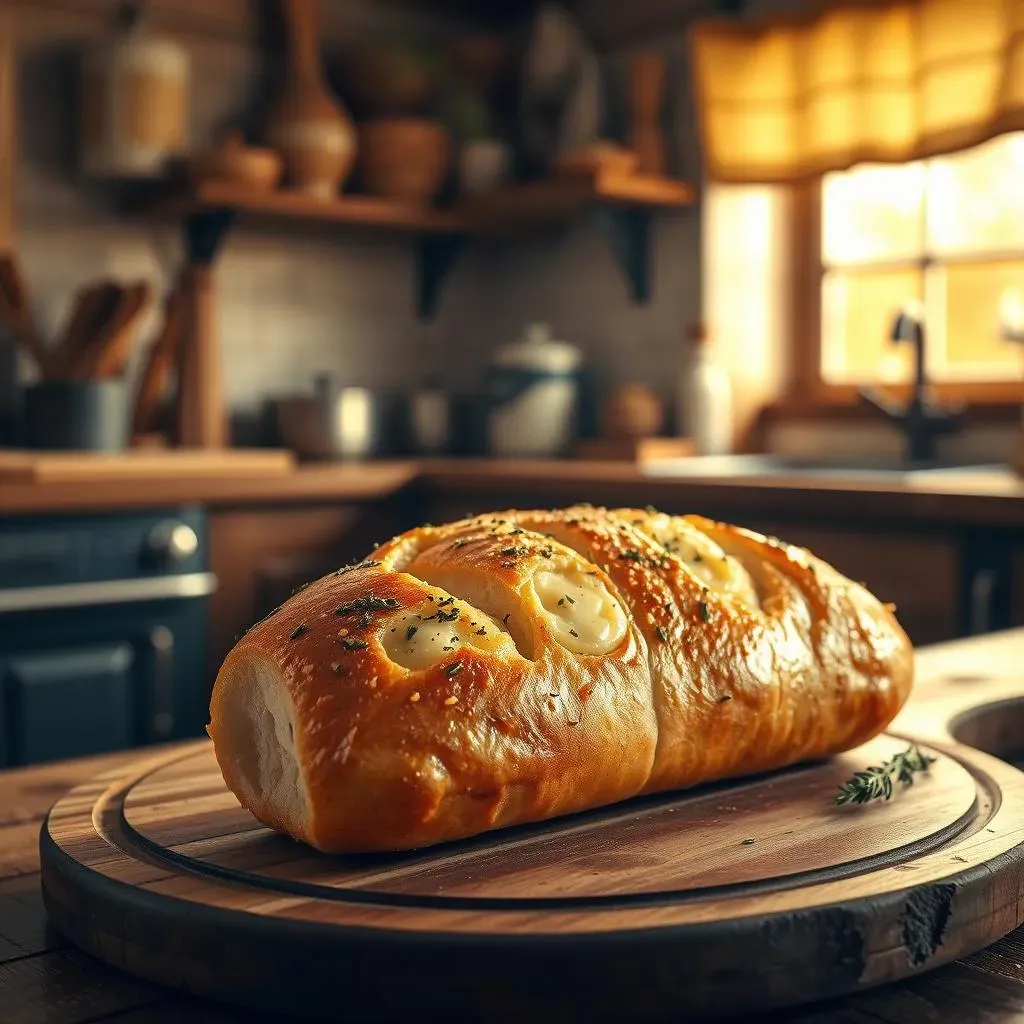
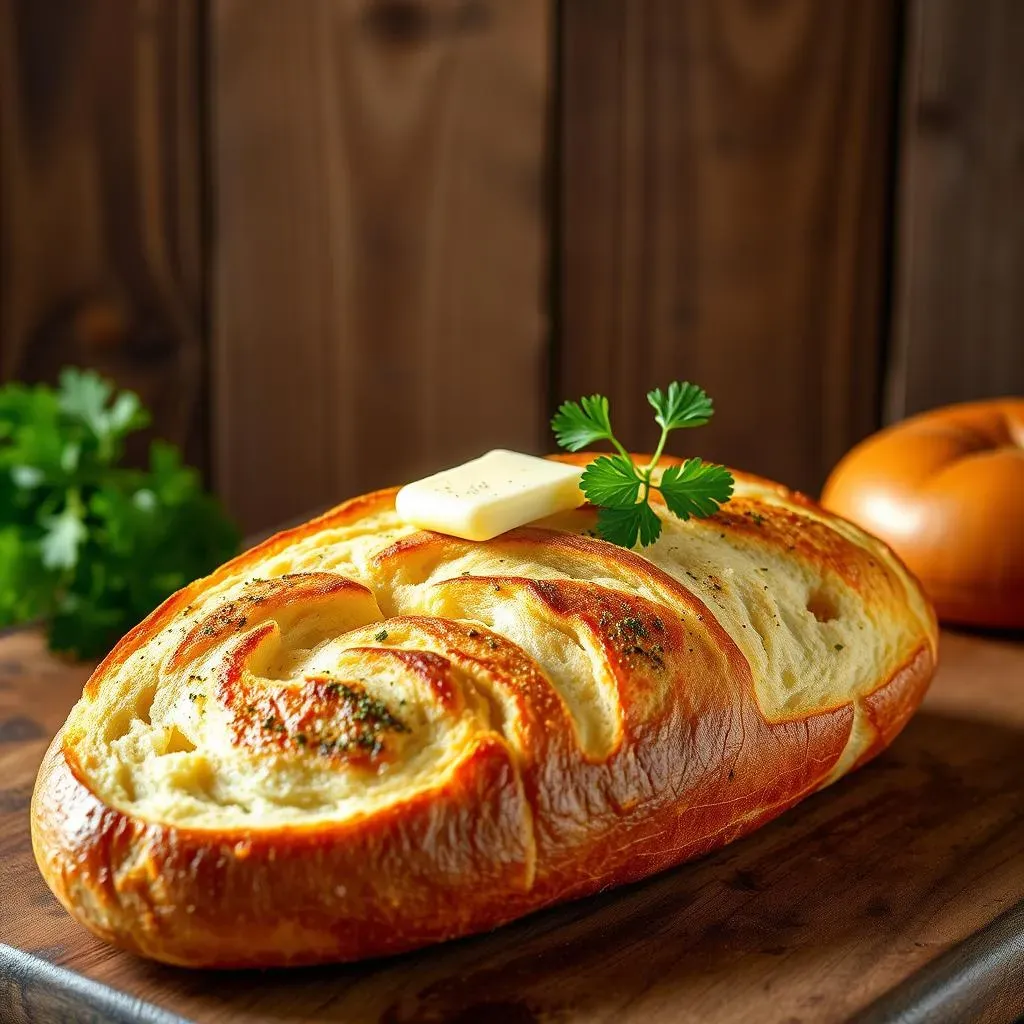
Okay, so you’ve got your ingredients, and you’re ready to rock? Awesome! First things first, preheat your oven to 425°F (220°C). While the oven is heating up, grab that loaf of French bread and slice it lengthwise, so you have two long halves. Now, in that small bowl, mix together your softened butter, garlic (freshly minced or powder, your choice), and parsley flakes. Give it a good stir until it's all combined and looking like a beautiful, garlicky spread. Next, take your knife and generously slather each half of the French bread with that buttery mixture. Don't be shy; this is where the magic happens! Make sure every nook and cranny is coated, because no one likes a dry spot on their garlic bread.
Now, you have a choice. If you want super crispy garlic bread, skip the foil and place the bread directly on the baking sheet, butter-side up. If you prefer a slightly softer texture, wrap each half loosely in aluminum foil. Place the bread in the preheated oven and bake for about 12-15 minutes. Keep an eye on it, because you're looking for that golden-brown, toasty perfection. Once it's done, take it out of the oven, let it cool for a minute or two, and then slice into it! You’ll hear that satisfying crunch as you cut through the crust. Voila! You've just made amazing garlic bread with French bread.
Step | Action |
|---|---|
1 | Preheat oven to 425°F (220°C) |
2 | Slice French bread lengthwise |
3 | Mix butter, garlic, and parsley |
4 | Spread mixture on bread |
5 | Bake for 12-15 minutes |
Recipe Variations for Garlic Bread with French Bread
Recipe Variations for Garlic Bread with French Bread
Cheesy Garlic Bread Heaven
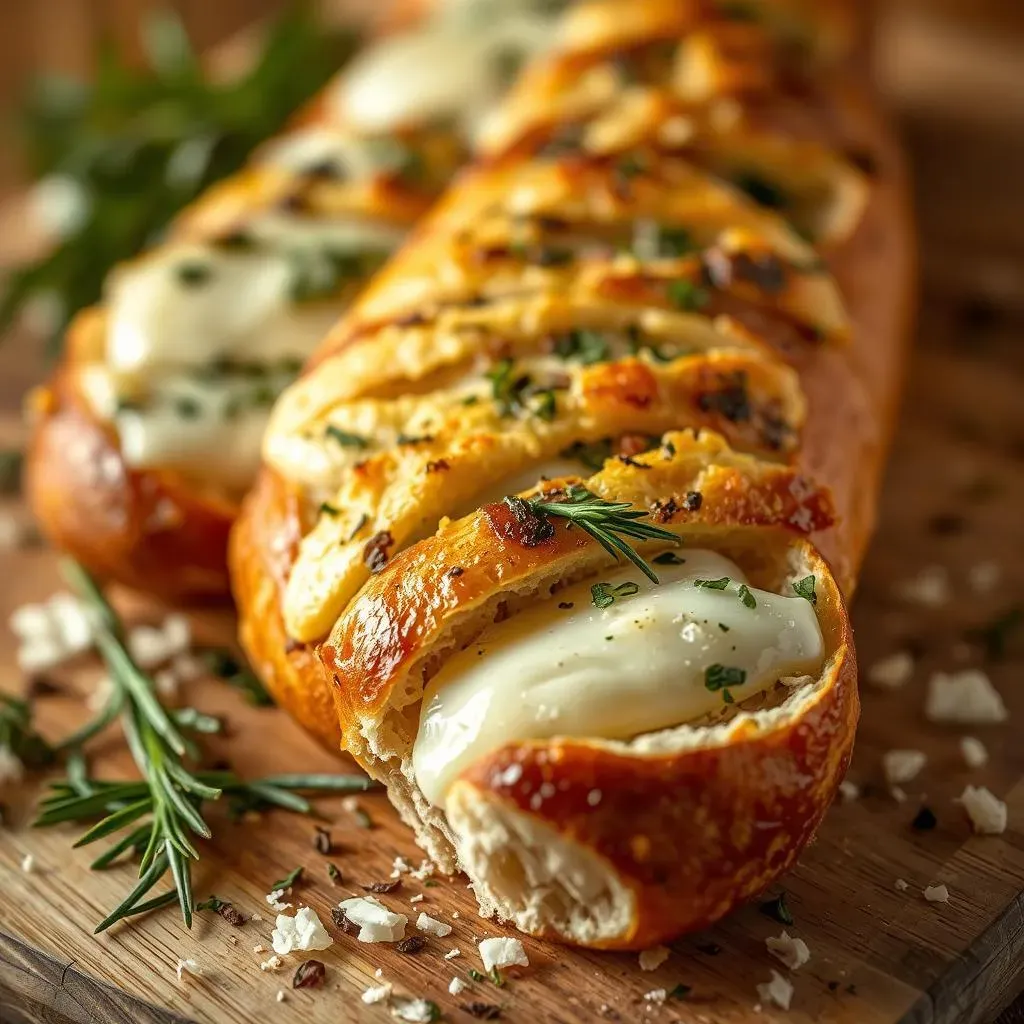
Okay, so you've mastered the basic garlic bread, what's next? Let's talk cheese! Adding cheese is like taking your garlic bread from good to "OMG, this is amazing!" You can sprinkle some shredded mozzarella, provolone, or even some sharp cheddar on top of the garlic butter before baking. For a real treat, try a mix of parmesan and asiago. The cheese melts into all those nooks and crannies, creating a gooey, cheesy, garlicky masterpiece. It's like a pizza and garlic bread had a delicious baby, and I am here for it. Don’t be shy with the cheese, you want a nice layer to get that perfect melt.
Another option is to add a sprinkle of red pepper flakes along with the cheese for a little kick. It's just enough to give it a little warmth without being overpowering. You could also try using different types of cheese like Gruyere or fontina for a more complex flavor profile. The possibilities are endless! I usually add the cheese in the last 5 minutes of baking to get the perfect melt without burning it.
Herb-Infused Garlic Bread
If you're feeling a little fancy, let's talk herbs! While parsley flakes are nice, using fresh herbs takes the flavor to a whole new level. Try mixing some finely chopped fresh rosemary, thyme, or basil into your garlic butter. It adds a beautiful aroma and a burst of freshness that complements the richness of the butter and garlic. You can use one herb or a combination, it really depends on what you have on hand and what flavors you like. The key is to chop them finely so they distribute evenly throughout the butter. Also, if you have some fresh chives, those are great sprinkled on top after the bread is done baking for a little extra flavor and color.
Don't be afraid to experiment with different herbs! For example, oregano and marjoram would be amazing for a more Italian-style garlic bread, or even a little dill would be great for something different. If you're not using fresh herbs, dried herbs work too, just be sure to use about half the amount as dried herbs are generally more potent than fresh ones. For example, if the recipe calls for 1 tablespoon of fresh rosemary, use 1/2 tablespoon of dried rosemary instead.
Herb | Flavor Profile | Best Use |
|---|---|---|
Rosemary | Piney, Earthy | Pairs well with cheese, great for a more robust flavor |
Thyme | Earthy, Slightly Minty | Good with cheese, adds depth |
Basil | Sweet, slightly peppery | Excellent for a lighter, fresh flavor |
Oregano | Earthy, Pungent | Great for a classic Italian taste |
Extra-Crispy Garlic Bread
Sometimes you just want that extra crunch, right? If you're a fan of super crispy garlic bread, there are a few tricks you can try. First, skip the foil wrapping altogether. The foil traps steam, which can soften the bread. Instead, place the bread directly on the baking sheet, butter-side up, and bake it for the full 15 minutes. For a real upgrade, try broiling it for the last minute or two, but keep a close eye on it, because it can go from golden brown to burnt very quickly. This will give the top of the bread a nice, caramelized crust. This is where the magic happens.
Another thing you can do is to slice the French bread into individual slices before adding the garlic butter. This exposes more surface area to the heat, which helps create more crispiness. You can also add a little bit of olive oil to the butter mixture for added crispness. Just be sure to not add too much, or the bread will become greasy. And as always, make sure you’re using real butter, that makes a big difference in the final result. Experiment with these techniques and find what works best for you, everyone has their personal preference for texture.
Serving Suggestions: What to Enjoy with Your Garlic Bread
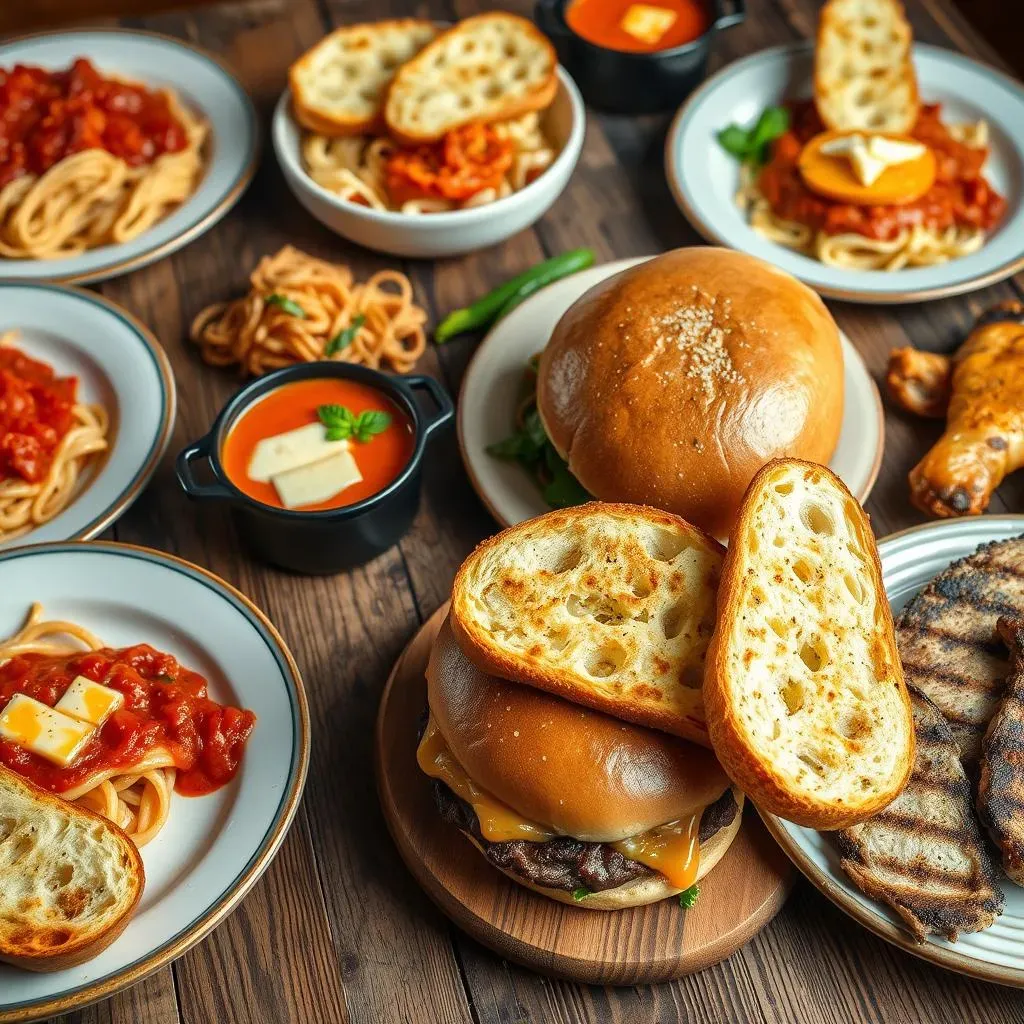
Serving Suggestions: What to Enjoy with Your Garlic Bread
Classic Italian Pairings
Okay, so you've got this amazing, homemade garlic bread, now what do you eat it with? Well, when I think of garlic bread, my mind immediately goes to Italian food. It's like they were made for each other! A big plate of spaghetti with marinara sauce is the perfect base for soaking up all that garlicky butter. Or how about some lasagna, with all those delicious layers? The crispy garlic bread adds a great textural contrast to the soft pasta and rich sauce. It's also fantastic alongside ravioli, especially if it's a creamy sauce. Honestly, any Italian dish with a good sauce is begging to be paired with some garlic bread. It's just a classic combination that always hits the spot.
And let’s not forget about chicken parmesan or eggplant parmesan! The crispy, cheesy goodness of those dishes is made even better with a side of garlic bread to scoop up all the extra sauce. It's like a flavor explosion in your mouth. You can also use it as a base for bruschetta. Just top it with some fresh tomatoes, basil, and a drizzle of olive oil. It's a simple yet elegant appetizer that everyone will love. I also love to dip it into a bowl of warm tomato soup, it adds a nice flavor and texture to the soup. For a complete Italian feast, a simple salad with a vinaigrette dressing complements the richness of the garlic bread beautifully.
Beyond the Italian Table
While garlic bread is a natural fit for Italian cuisine, don't feel limited! It's a fantastic side for so many different types of meals. Think about a hearty ground beef casserole; that buttery garlic bread is the perfect vehicle for scooping up every last bit. You could even pair it with a creamy seafood chowder. The garlicky flavor works surprisingly well with the richness of the chowder. And, if you're having a BBQ, garlic bread is a great alternative to plain old rolls. It goes great with grilled chicken, burgers, or even ribs. It adds a little something extra to your meal.
I've even used garlic bread as the base for a quick and easy pizza, just add some sauce, cheese, and your favorite toppings. It's a great way to use up any leftover garlic bread you might have. You can also use it as a side for scrambled eggs, it adds a little flavor and texture to your breakfast. And if you're feeling adventurous, try it with some spicy chili. The buttery garlic bread balances out the heat perfectly. The possibilities are truly endless! Don't be afraid to experiment and find your own favorite pairings. The key is to enjoy the food you're eating.
Meal Type | Perfect Pairing |
|---|---|
Italian | Spaghetti, Lasagna, Ravioli, Chicken Parmesan |
Casseroles | Ground Beef, Chicken, or Vegetable Casseroles |
Soups & Stews | Tomato Soup, Seafood Chowder, Chili |
BBQ | Grilled Chicken, Burgers, Ribs |
Breakfast | Scrambled Eggs, Omelets |
Frequently Asked Questions About Making Garlic Bread
Frequently Asked Questions About Making Garlic Bread
Can I use a baguette instead of French bread?
That's a great question! While you *can* use a baguette, I find that French bread works a bit better for garlic bread. French bread is typically wider and has a softer interior, which means you get more surface area for the garlic butter and a nice, fluffy bite. Baguettes tend to be thinner and have a more dense texture, which can sometimes lead to a drier garlic bread. But, if a baguette is all you have, go for it! Just keep a close eye on it while it's baking, as it might cook a little faster. The key is to adjust your cooking time and butter amount accordingly. It will still be delicious, just maybe a slightly different texture.
Also, consider how you’ll be using the garlic bread. If you’re planning on serving it as a side to a saucy pasta dish, the wider surface of French bread is ideal for soaking up all that goodness. If you’re using it for something like bruschetta, a baguette might work better since you’ll be slicing it into smaller rounds. It really boils down to personal preference and what you have available. Don’t be afraid to experiment and see what you like best!
What's the best way to mince garlic?
Ah, the age-old question of garlic mincing! There are a few ways to tackle this, and honestly, it just depends on what you're comfortable with. My go-to method is to use a garlic press. It's quick, easy, and gets the job done with minimal effort. Plus, you don't have to worry about getting that garlic smell stuck to your fingers. If you don't have a garlic press, you can also finely chop it with a knife. Just be sure to use a sharp knife and take your time so you don't end up with big chunks of garlic. It’s also helpful to add a little salt to the garlic as you’re chopping, it helps to break it down into smaller pieces.
Another option is to use a microplane grater. This method creates a very fine garlic paste, which is great if you want the garlic flavor to really infuse into the butter. Just be careful not to grate your fingers! No matter which method you choose, the most important thing is to use fresh garlic. It makes a world of difference in the final flavor. And remember, the smaller you mince it, the more intense the garlic flavor will be. So, if you're not a huge garlic fan, you might want to go a little easier on the mincing or use garlic powder instead.
Method | Pros | Cons |
|---|---|---|
Garlic Press | Quick, easy, minimal mess | Requires a press, can be harder to clean |
Knife | No special equipment needed | Can be uneven, garlic smell on fingers |
Microplane Grater | Very fine garlic paste, intense flavor | Easy to grate fingers, can be messy |
Storing and Reheating Your Homemade Garlic Bread

Storing and Reheating Your Homemade Garlic Bread
How to Store Leftover Garlic Bread
Alright, so you've made this incredible garlic bread, but maybe you have some leftovers. No problem! Storing it properly is key to keeping it from getting soggy or stale. The best way to store your garlic bread is to let it cool completely first, then wrap it tightly in plastic wrap or aluminum foil. You can also put it in an airtight container. The goal is to keep as much air out as possible so it doesn't dry out. If you wrapped it in foil for baking, you can simply leave it wrapped. I usually store mine in the fridge, and it will keep for up to three days. But honestly, it rarely lasts that long in my house! Just be sure to wrap it well, because no one wants a fridge full of garlic smell.
If you know you’re not going to eat it within a few days, you can also freeze your garlic bread. Just make sure it's wrapped tightly to prevent freezer burn. When you’re ready to enjoy it, you can reheat it straight from the freezer. This is especially great if you've made a big batch and want to have some on hand for a quick meal. Freezing it is a great way to save any leftovers and avoid wasting any of your hard work. Just remember to label it so you know what it is and when you froze it. This way, you’ll always have a yummy treat waiting for you.
Storage Method | Best For | Duration |
|---|---|---|
Wrapped in Plastic Wrap or Foil | Short-term storage in the fridge | Up to 3 days |
Airtight Container | Short-term storage in the fridge | Up to 3 days |
Freezer-Safe Bag or Container | Long-term storage in the freezer | Up to 2 months |
Tips for Reheating Garlic Bread
Now, let's talk reheating! There's nothing worse than reheated garlic bread that's soggy and sad. The key to reheating it is to bring back that crispy texture without drying it out. My favorite method is to reheat it in the oven. Preheat your oven to 350°F (175°C), and place the garlic bread on a baking sheet. If it was wrapped in foil, remove it. Bake for about 10-15 minutes, or until it's heated through and the crust is nice and crispy again. If you’re reheating it from frozen, you may need to add a few extra minutes to the baking time.
Another great option is to use a toaster oven, which works well for smaller portions. Just keep an eye on it so it doesn't burn. If you are in a time crunch, you can also use the microwave, but be warned, it’s not going to be as crispy. If you do use the microwave, wrap it in a paper towel to help absorb some of the moisture. Reheating garlic bread is all about finding the right balance between heat and moisture. And remember, the goal is to get it as close to fresh-baked as possible. So, experiment and find what works best for you!
- Oven: Preheat to 350°F (175°C) and bake for 10-15 minutes.
- Toaster Oven: Reheat until crispy, watch carefully.
- Microwave: Wrap in a paper towel, heat in short intervals.
More Bread Recipes You'll Love
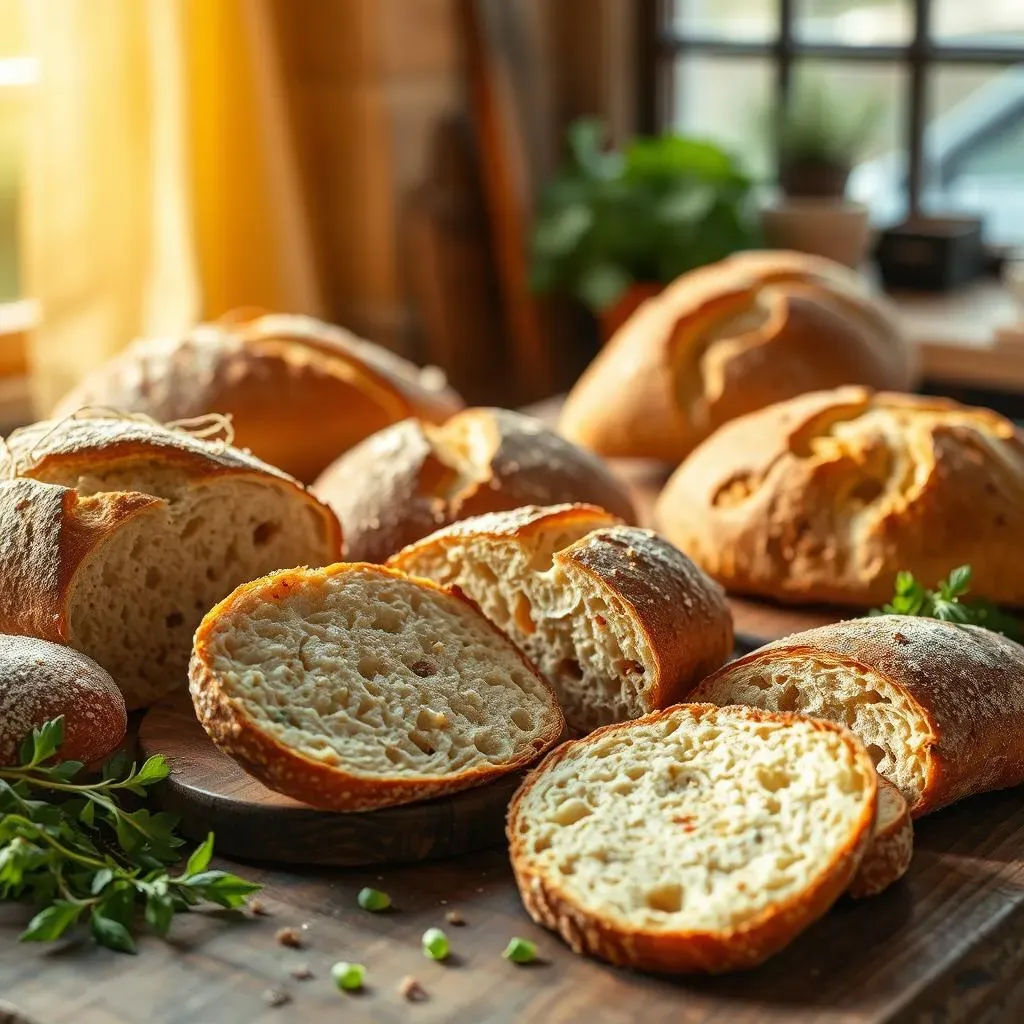
More Bread Recipes You'll Love
Okay, so you’ve become a garlic bread pro, that’s fantastic! But, let's be honest, there's a whole universe of amazing bread recipes out there just waiting to be explored. If you’re anything like me, once you get that baking bug, it's hard to stop. So, if you’re looking to expand your bread-making horizons, I've got a few suggestions that I think you'll absolutely love. First off, let's talk about focaccia, this is like the Italian cousin of garlic bread, but with a chewier texture and fun dimples on top. It’s super versatile; you can top it with herbs, olives, or even roasted vegetables. It's also a great way to get creative with your baking.
Then, there’s the world of sourdough. It's a bit more of a commitment, but the tangy flavor and satisfying chew are totally worth it. It’s like a science experiment and a baking project all rolled into one. If you want something a little sweeter, how about some soft and fluffy brioche? It's perfect for French toast or just enjoying with a bit of jam. And for something quick and easy, you can't beat a simple no-knead loaf. Just mix the ingredients, let it sit, and bake! It’s practically foolproof. The bottom line is, don't just stop at garlic bread; there's a whole world of bread out there to discover, so let's get baking!
Bread Type | Description | Why You'll Love It |
|---|---|---|
Focaccia | Italian flatbread with dimples | Versatile, great for toppings |
Sourdough | Tangy, chewy bread | Unique flavor, satisfying bake |
Brioche | Soft, fluffy, slightly sweet | Perfect for French toast or jam |
No-Knead Bread | Easy, minimal effort loaf | Quick, foolproof recipe |