Table of Contents
Have you ever dreamed of crafting a perfect, crusty loaf of French bread, bursting with that signature tangy sourdough flavor? This article is your key to unlocking that culinary dream. We'll guide you through the process of learning how to make french bread with sourdough starter, from understanding the fundamentals of both sourdough and French bread baking to mastering the essential techniques. Get ready to embark on a delicious journey, filled with step-by-step instructions, expert tips, and troubleshooting advice to help you navigate any challenges along the way. Whether you're a seasoned baker or a curious beginner, this comprehensive guide will equip you with the knowledge and confidence to bake unforgettable sourdough French bread. We'll cover everything from preparing your sourdough starter to shaping and baking your masterpiece, ensuring you achieve a perfectly textured loaf every time. So, let's get started on this exciting adventure and transform your kitchen into a bakery!
Understanding Sourdough and French Bread Basics
Understanding Sourdough and French Bread Basics
Let's start with the stars of our show: sourdough and French bread. Sourdough, at its heart, is bread leavened by a "starter"—a bubbly mixture of flour and water teeming with wild yeasts and bacteria. This gives sourdough bread its distinctive tangy flavor and complex texture. There are many different ways to feed your sourdough starter, and you can find out more by checking out my guide on making sourdough starter. This slow fermentation process also contributes to better digestibility for many people. On the other hand, French bread is known for its crisp crust and airy crumb. Traditionally made with baker's yeast, it's a quick-rising bread, resulting in a lighter texture compared to sourdough. But we're combining the best of both worlds here!
Bread Type | Leavening Agent | Rise Time | Texture |
|---|---|---|---|
Sourdough | Sourdough Starter | Long (hours to days) | Chewy, tangy |
Traditional French Bread | Baker's Yeast | Short (minutes to hours) | Light, airy |
By using a sourdough starter in our French bread recipe, we'll get the delightful tang and complexity of sourdough with the satisfying crispness and airy texture of a classic French loaf. It's a delicious fusion! For more inspiration on sourdough bread recipes, you might want to check out some of my other recipes, like this easy sourdough French bread recipe or this French sourdough bread recipe. The possibilities are endless!
- Sourdough starter provides unique flavor and improved digestibility.
- French bread techniques create a crisp crust and airy interior.
- Combining both yields the best of both worlds!
The Essential Steps: Making Sourdough French Bread from Scratch
The Essential Steps: Making Sourdough French Bread from Scratch
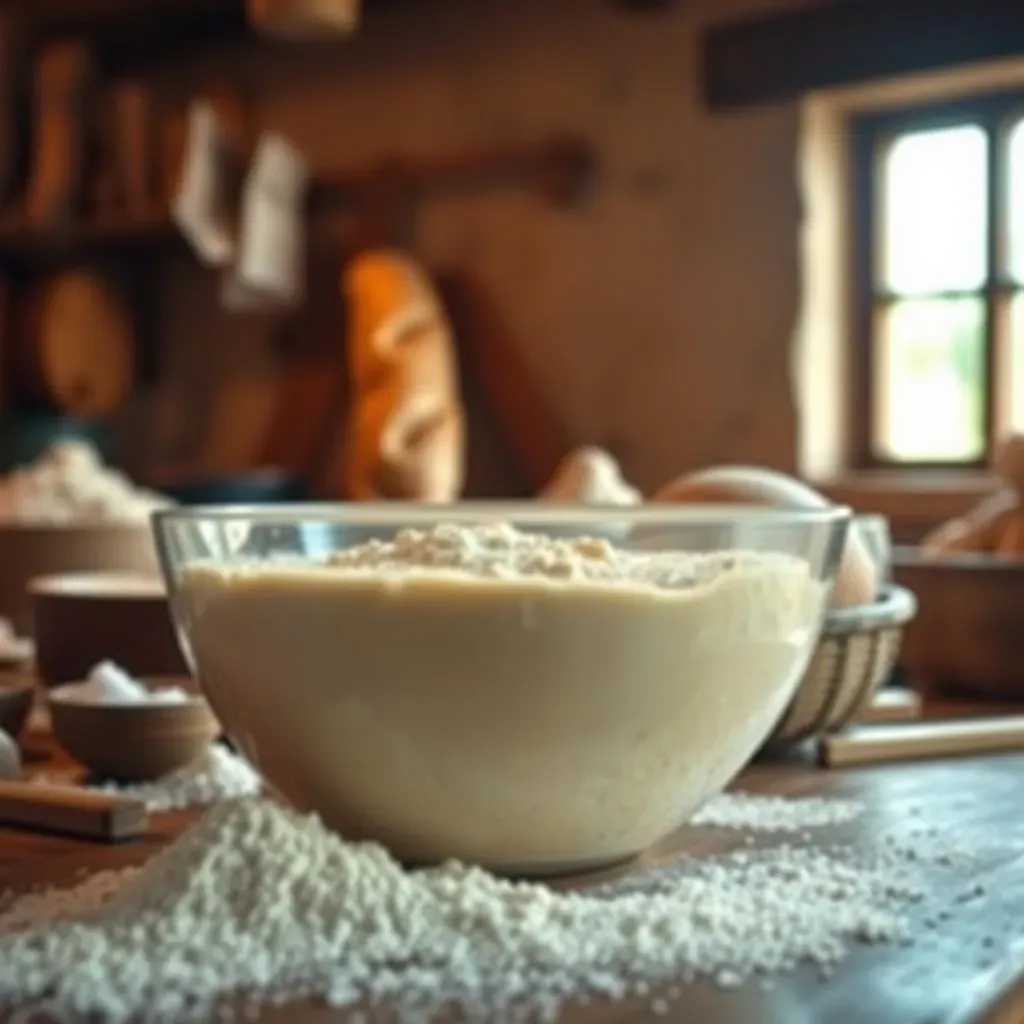
Mixing the Dough: The Foundation of Flavor
First, we'll create the dough, the heart of our French bread. You'll need your active sourdough starter (fed and bubbly!), flour (bread flour is best, but all-purpose works in a pinch), water, salt, and a touch of sugar or honey (optional, for a richer flavor). Combine these ingredients in a large bowl, mixing until a shaggy dough forms. Don't worry about perfection at this stage; we'll knead it later. This initial mix is all about getting those ingredients intimately acquainted. For a more detailed guide on getting started, check out my ultimate guide to sourdough.
Next comes the kneading, a crucial step for developing gluten. Gluten is what gives your bread its structure and chewiness. Knead the dough for about 8-10 minutes, either by hand (it's a great arm workout!) or with a stand mixer using a dough hook. The dough should be smooth and slightly elastic. If you're unsure if you've kneaded enough, try the "windowpane test": stretch a small piece of dough; if it stretches thinly without tearing, you're golden. Otherwise, knead for a few more minutes. A good knead is the foundation of a great loaf!
- Gather your ingredients: active sourdough starter, flour, water, salt, and optional sweetener.
- Mix until a shaggy dough forms. Don't overmix at this stage.
- Knead for 8-10 minutes until smooth and elastic (perform the windowpane test).
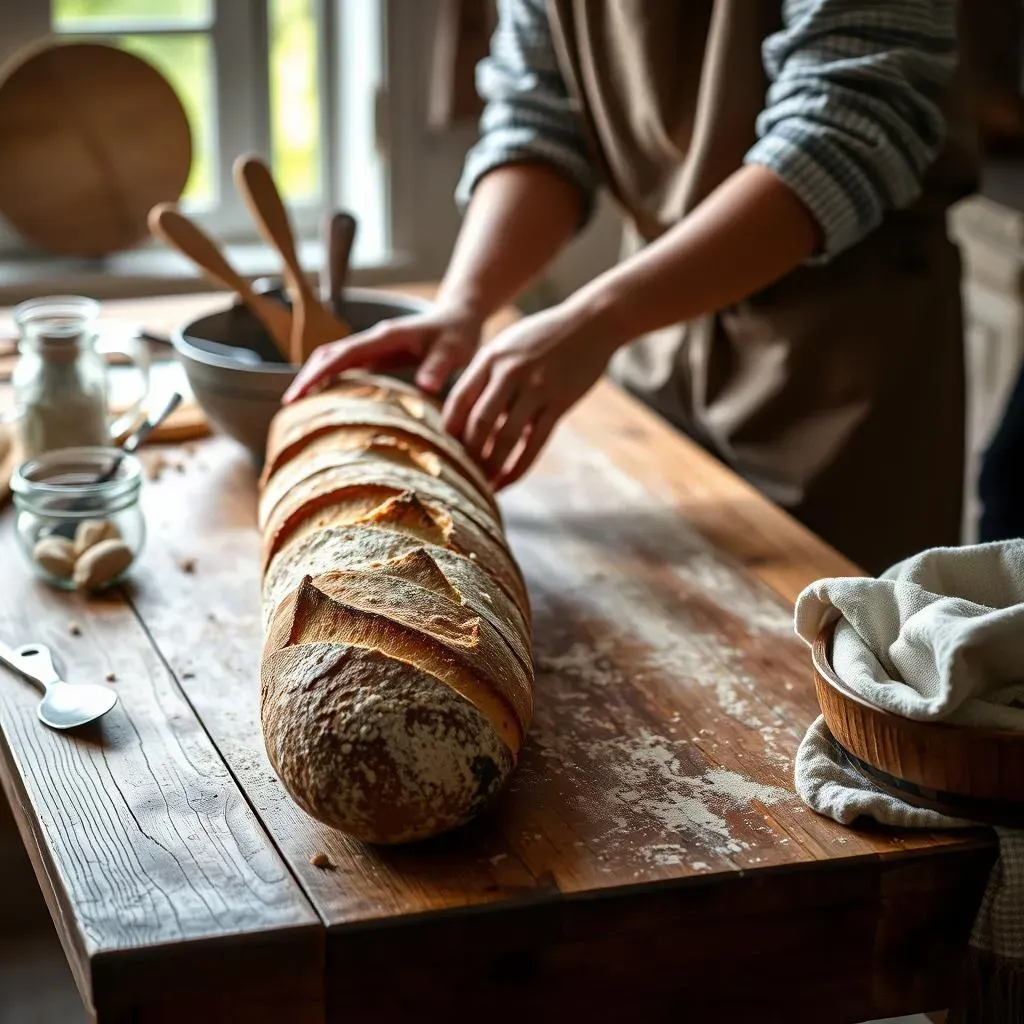
Bulk Fermentation and Shaping: Patience and Precision
Once kneaded, place the dough in a lightly oiled bowl, cover it, and let it rise in a warm place for several hours (this is called bulk fermentation). The dough should roughly double in size. This is where the magic of sourdough happens—the wild yeasts and bacteria are hard at work, creating flavor and texture. The length of time it takes depends on the temperature of your surroundings and the activity of your starter. You'll notice a lot of bubbly action, which is what we want. For more on fermentation, check out my post on 6-hour sourdough bread.
After bulk fermentation, gently punch down the dough to release the gas. Divide it into portions (usually two for classic French loaves), and shape each portion into a long oval. This shaping is key to getting that beautiful, elongated form. Let the shaped loaves rest, covered, for another 30-60 minutes to allow them to relax before baking. This final rise gives the bread its airy texture. It’s a little bit like giving your dough a spa day before it hits the oven!
Step | Description | Time |
|---|---|---|
Bulk Fermentation | Let the dough rise in a warm place | 3-6 hours (or longer) |
Shaping | Divide and shape the dough into loaves | 15-20 minutes |
Final Proof | Let the shaped loaves rest | 30-60 minutes |
Tips and Tricks for Perfect Sourdough French Bread
Tips and Tricks for Perfect Sourdough French Bread
Mastering the Bake: Oven Spring and Crust
Let's talk oven spring—that glorious rise your bread experiences in the oven's heat. For maximum oven spring, ensure your dough is properly proofed (not underproofed or overproofed!). A good rule of thumb is to aim for a dough that has almost doubled in size during its final proof. Also, preheating your oven to a high temperature (around 450°F or 230°C) is crucial for creating that signature crisp crust. Adding steam to the oven during the first 10-15 minutes of baking helps to create a beautiful, chewy crust and enhances the overall texture. You can achieve this by throwing a few ice cubes into the bottom of the preheated oven or using a steam-injection method. For more on baking methods, check out my guide on baking sourdough.
Scoring your loaves before baking is another key element. This controlled cutting allows for even expansion and creates that characteristically beautiful pattern on the crust. Use a sharp knife or lame (a special bread-scoring tool) to make shallow slashes along the length of the loaves. The depth of the score should be consistent, and you can experiment with different patterns. But be gentle—too deep a slash and you'll risk deflating your beautiful bread. For more tips on scoring, check out my article on French-style sourdough bread.
- Proper proofing is key to maximizing oven spring.
- High oven temperature (450°F or 230°C) is essential for a crisp crust.
- Add steam during the initial baking for enhanced crust texture.
- Score the loaves before baking for even expansion and aesthetic appeal.
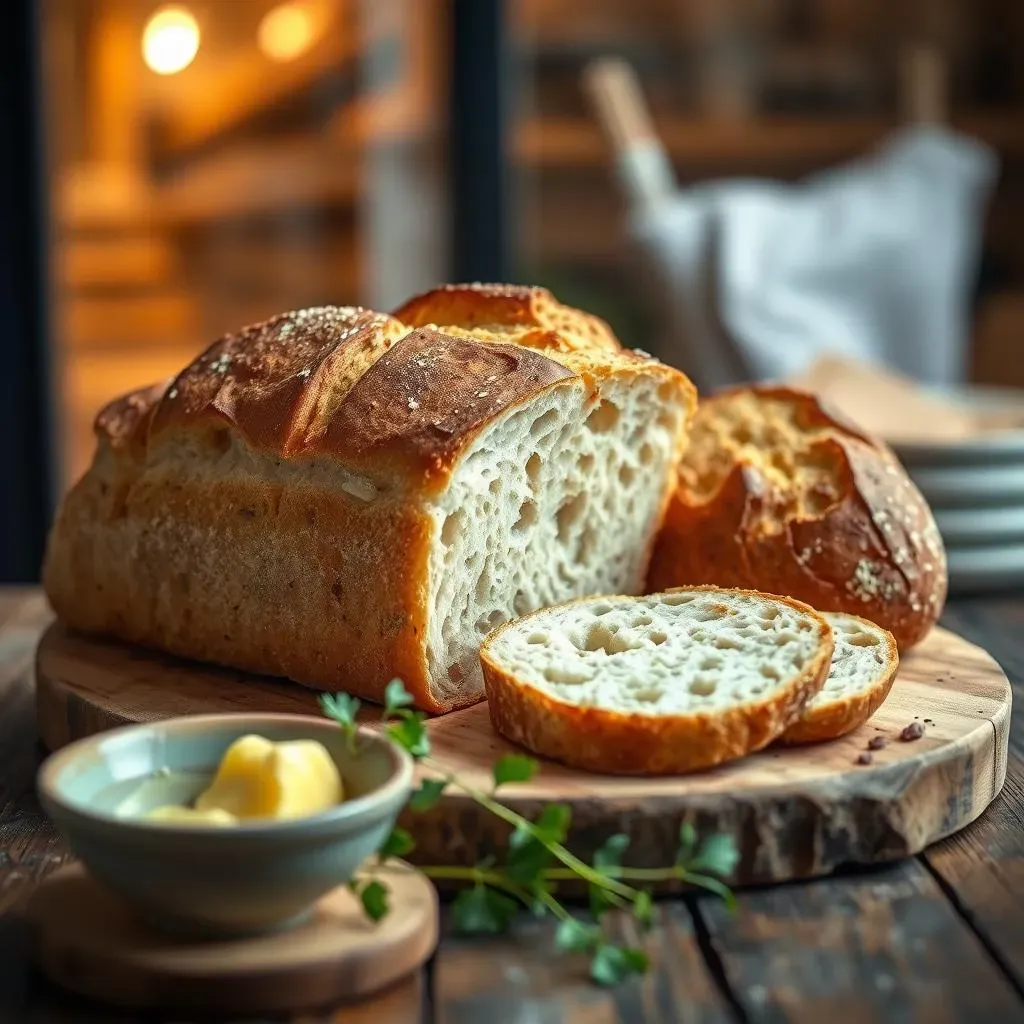
Beyond the Basics: Flavor and Texture Enhancements
Want to elevate your sourdough French bread game? Experiment with different flours! Adding a small percentage of whole wheat flour can add depth and complexity to the flavor. Similarly, using a combination of bread flour and all-purpose flour can result in a unique texture. Remember that different flours have varying protein contents, which influences the gluten development and the final texture of your bread. I've had great results with a 00 flour sourdough recipe.
Don't be afraid to get creative with additions! A sprinkle of herbs (rosemary, thyme), seeds (sesame, poppy), or even a touch of cheese can transform your basic loaf into something truly special. Just keep in mind that adding ingredients can affect the rise time and overall texture, so adjust accordingly. For another creative twist, why not try a French onion sourdough?
Addition | Effect on Flavor | Effect on Texture |
|---|---|---|
Whole wheat flour | Nuttier, earthier | Denser, more complex |
Herbs | Savory, aromatic | Generally unchanged |
Seeds | Adds crunch and subtle flavor | Adds texture and visual appeal |
Troubleshooting Common Issues in Sourdough French Bread Baking
Troubleshooting Common Issues in Sourdough French Bread Baking
Underproofed or Overproofed Dough
One of the most common problems is getting the proofing just right. Underproofed dough (not risen enough) will result in a dense, heavy loaf lacking oven spring. Overproofed dough (risen too much) will be weak and may collapse during baking. The key is to watch your dough carefully. It should almost double in size during bulk fermentation and again during the final proof. The surface should be slightly bubbly, but not excessively so. If your dough is underproofed, you might need to let it rise for a bit longer next time. If it's overproofed, gently punch it down and try to reshape it before baking. Remember, patience is key in sourdough baking! For more on proofing times, check out my post on 6-hour sourdough bread.
Temperature plays a significant role in proofing. A warmer environment will speed up fermentation, while a cooler one will slow it down. Consider using a proofing box or a warm spot in your kitchen to maintain a consistent temperature. You can also adjust the amount of starter you use. A more active starter will result in a faster rise. Keep in mind that even with experience, you’ll find that every batch is different. You may find that your kitchen temperature changes from day to day, resulting in different rise times. For more advanced tips on getting your sourdough just right, check out my ultimate guide to sourdough.
- Underproofed dough: Dense, heavy loaf, poor oven spring.
- Overproofed dough: Weak, may collapse during baking.
- Monitor rise carefully, aiming for almost doubled size.
- Control temperature for consistent rise times.
Weak Gluten Development and Shaping Issues
If your dough is too sticky or doesn't hold its shape well, it might indicate weak gluten development. This could be due to insufficient kneading or using a flour with low protein content. Make sure you knead the dough thoroughly until it passes the windowpane test. If you're still having trouble, consider using bread flour, which has a higher protein content than all-purpose flour. If you're low on bread flour or want to try something different, why not try a 00 flour sourdough? It’s amazing!
Shaping issues can also stem from improper handling of the dough. Be gentle but firm when shaping the loaves, avoiding excessive stretching or tearing. If the dough is too sticky to handle, sprinkle a little flour on your work surface. Remember to allow the shaped loaves to rest before baking to allow them to relax and maintain their shape. A little patience and a light touch go a long way. If you are still having issues, I'd suggest checking out my post on French-style sourdough bread for more tips and tricks.
Problem | Possible Cause | Solution |
|---|---|---|
Sticky dough | Insufficient kneading, low-protein flour | Knead longer, use bread flour |
Dough doesn't hold shape | Weak gluten, rough handling | Knead more, handle gently |