Table of Contents
Ever wondered how to make french bread garlic bread that tastes like it came straight from your favorite Italian restaurant? I get it; sometimes, the simplest things are the hardest to nail. But don't worry, I've got you covered. Forget those sad, soggy, store-bought versions. We're about to make garlic bread that's so good, you might just start making it every night. This isn't just about slapping some garlic butter on bread; it’s about understanding the technique, the ingredients, and the little tricks that elevate it from good to unforgettable. In this article, I'll walk you through my tried-and-true method for creating the perfect french bread garlic bread. We'll cover everything from selecting the right loaf to achieving that perfect golden-brown crust and the gooey, garlicky center. So, grab your loaf, and let’s get started on this delicious adventure!
The Secret to Amazing French Bread Garlic Bread
The Secret to Amazing French Bread Garlic Bread
The Bread's the Base
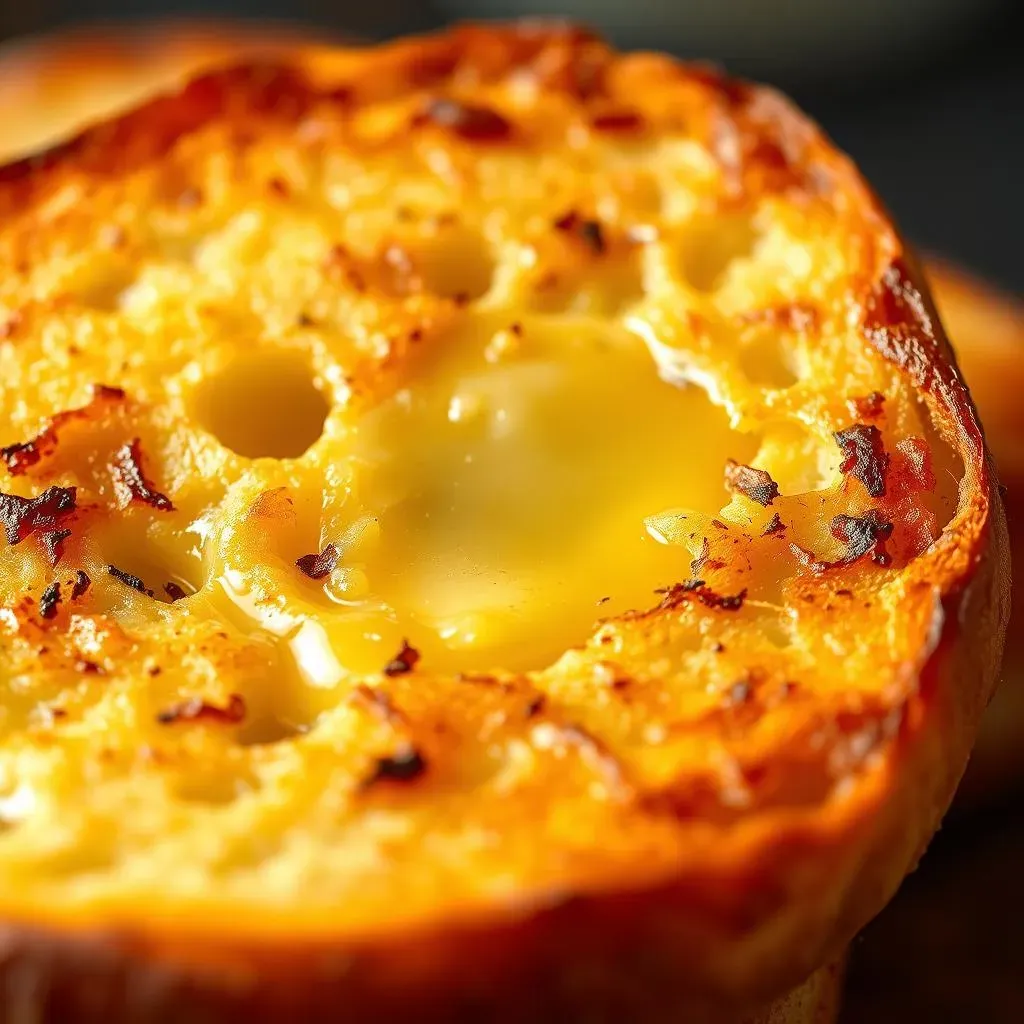
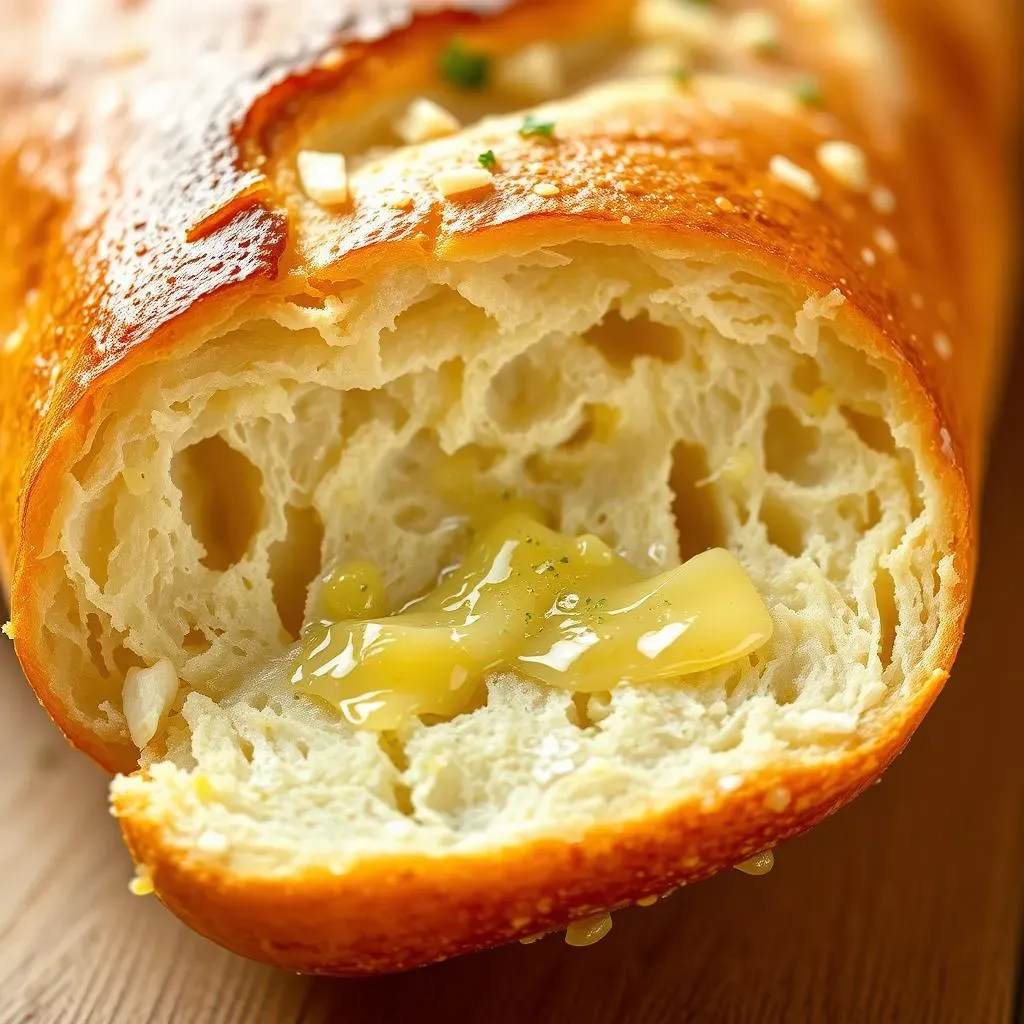
Let's be real, the bread you pick is crucial. You can't just grab any old loaf and expect magic. I'm talking about a proper French baguette, the kind that's got a good crusty exterior but is soft and airy inside. It's gotta be dense enough to hold up to the garlic butter, but not so dense that it's like chewing on a brick. Think of it like the foundation of a house; if it's not solid, the whole thing crumbles. I've tried it with those pre-sliced baguette and it just doesn't compare, you know? It soaks up all the butter and becomes soggy. We need that contrast between crispy and soft.
And here's a little secret: freshness matters. If the baguette is a day or two old, it's going to be drier, and while that's not a total disaster, it won't have that perfect texture we're going for. So, hit up your local bakery or grocery store and grab a fresh one. You can even lightly toast it before adding the garlic butter to give it a head start on the crispiness. Trust me, this small step can make a huge difference. It’s like giving the bread a little pep talk, telling it to be the best it can be.
Garlic Power: Fresh vs. Powder
Now, let's talk garlic. This is where things get interesting. You might be thinking, "Garlic is garlic, right?" Wrong. There's a HUGE difference between fresh garlic and garlic powder. Fresh garlic, when minced, gives you that pungent, sharp, almost spicy kick that you just can't get from the powder. It’s like comparing a live band to a recording; both are music, but one has more energy, more punch. And if you want that real, authentic garlic flavor, fresh is the way to go. Don't be shy with it, either, we’re not making garlic *suggested* bread here.
Garlic powder, on the other hand, has its place. It's great for adding a more mellow, background garlic flavor that complements the fresh garlic. Think of it as the harmony to the fresh garlic's melody. It adds a depth, a warmth, without being overpowering. I like to use a combo of both, fresh for the main punch and powder to round out the flavor. This way, you get the best of both worlds. A little secret? Roast your garlic first before mincing it. It adds a wonderful depth of flavor that will knock your socks off.
Ingredient | Fresh | Powder |
|---|---|---|
Garlic Flavor | Pungent, Sharp, Spicy | Mellow, Warm |
Use Cases | Main Garlic Punch | Background flavor |
Simple Steps: Making French Bread Garlic Bread
Simple Steps: Making French Bread Garlic Bread
Butter Up: The Garlic Base
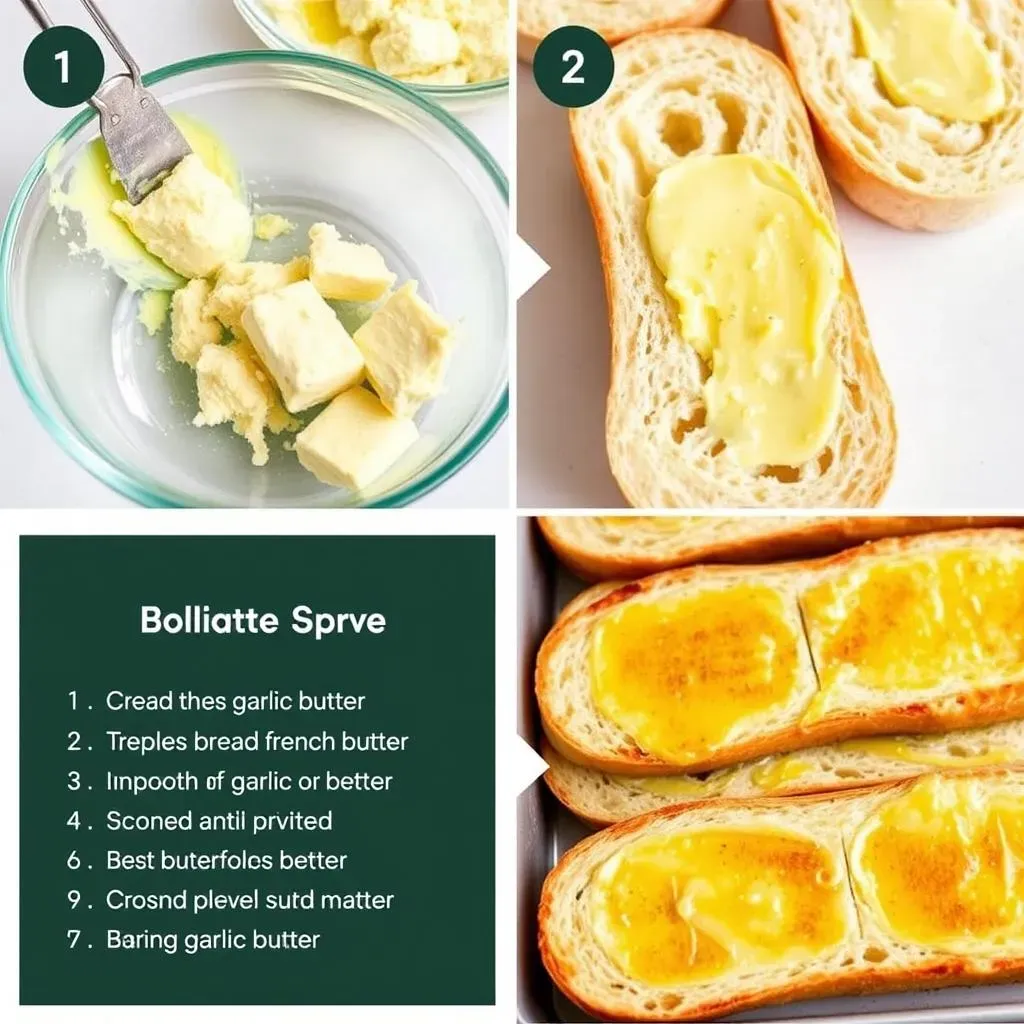
Alright, so we’ve got our bread and our garlic game plan sorted. Now it's time to make that glorious garlic butter. It's not rocket science, but there's a method to the madness. You'll want to start with softened butter; we're not looking for rock-hard butter that rips the bread apart. Think of it as the Goldilocks of butter temperatures: not too hard, not too melted, just right for spreading. I usually leave mine out on the counter for about 30 minutes, but if you're in a hurry, a quick zap in the microwave, in small bursts, works too. Just don't go melting it completely, that's not what we want.
Once your butter is soft, it's time to mix in the garlic. Remember that fresh minced garlic and garlic powder combo we talked about? Now's their time to shine. I like to add a pinch of salt to the butter mixture as well, it helps to bring out the flavors. And don't forget some finely chopped parsley, because we're fancy like that. It's not just for color, though, it adds a subtle herby note that complements the garlic perfectly. Mix everything together until it's well combined. You should have a gorgeous, fragrant, garlic-infused butter, ready to transform your bread.
Spread the Love: Assembly Time
Now comes the fun part, spreading that garlic butter onto the bread. Using a serrated knife, cut the baguette in half lengthwise. This gives you two long halves, ready for their butter bath. You can also cut it into smaller sections if you prefer, but I like the drama of the full-length loaf. Grab your garlic butter and start spreading it generously over each half. Don’t be shy, we want every nook and cranny covered in that garlicky goodness. Think of it like painting a masterpiece, except this masterpiece is edible and smells amazing.
Once the bread is buttered, you can add an extra sprinkle of Parmesan cheese, if you're feeling extra cheesy. I always am. Then, it's time to get it into the oven. I like to bake it at around 375°F (190°C) for about 10-15 minutes, or until the bread is golden brown and crispy, and the butter is bubbling. Keep an eye on it, because oven temperatures can vary, and you don't want to burn your precious garlic bread. Once it’s done, take it out and let it cool slightly before slicing and serving. The aroma alone will make your mouth water.
Step | Action | Details |
|---|---|---|
1 | Soften Butter | Leave at room temp or microwave briefly |
2 | Mix Garlic | Combine fresh minced garlic, garlic powder, salt, parsley |
3 | Cut Bread | Slice baguette lengthwise |
4 | Spread Butter | Apply generously to each half |
5 | Bake | Oven at 375°F (190°C) for 10-15 minutes |
Tips and Tricks for Perfect Garlic French Bread
Tips and Tricks for Perfect Garlic French Bread
Get Ahead: Prep Like a Pro
Okay, so you've got the basics down, but let's talk about taking your garlic bread to the next level. First up, prep work. I know, it's not the most exciting part, but trust me, it makes a world of difference. You can actually make the garlic butter ahead of time. Just whip it up, pop it in an airtight container, and stash it in the fridge for up to three days. When you're ready to bake, just pull it out and let it soften a bit before spreading. It’s like having a little garlic-flavored superpower in your fridge, ready to save the day whenever a carb craving hits. This is especially handy when you’re having a dinner party or just want a quick side dish without the fuss.
Another trick? Don't be afraid to experiment with different types of cheese. Parmesan is a classic, but you can also try adding a bit of mozzarella for extra gooeyness, or a sprinkle of Pecorino Romano for a sharper flavor. And if you're feeling adventurous, a little bit of red pepper flakes adds a nice kick of heat. It’s like giving your garlic bread a little makeover, making it your own unique creation. And don’t forget about herbs, either. While parsley is great, you can also try oregano, basil, or even a mix of Italian herbs. The possibilities are endless!
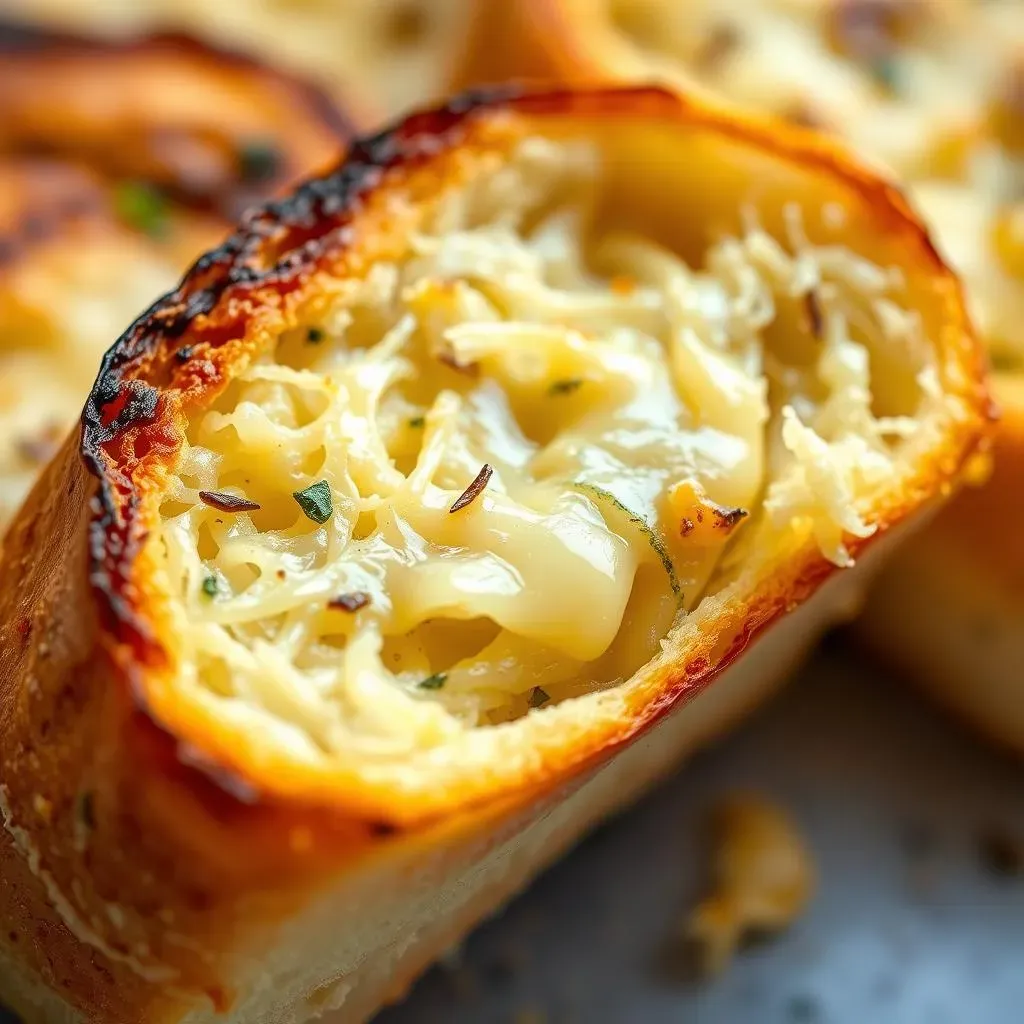
Crispy Crust, Gooey Center: The Perfect Bake
Alright, let's talk about that perfect texture. We're aiming for a crust that's golden brown and crispy, and a center that's soft and gooey, and yes I know that’s a lot to ask for. The key here is oven temperature and time. If your oven runs hot, you might want to lower the temp a bit, or if it's on the cooler side, you might need to bake it for a little longer. Keep a close eye on it, because that perfect window between golden brown and burnt is small. And don't be afraid to use the broiler for the last minute or two to get that extra crispiness, just make sure you don’t burn it. It’s like giving your bread a final touch of magic, making it irresistible.
And here's a pro tip: place the bread directly on the oven rack instead of a baking sheet. This allows the heat to circulate evenly, resulting in a crispier bottom crust. If you're worried about the butter dripping, you can place a baking sheet on the rack below to catch any drips. It’s like giving your bread a little spa treatment, ensuring it gets the best heat distribution possible. And once it's out of the oven, let it rest for a few minutes before slicing. This allows the flavors to meld together and the bread to cool slightly, making it easier to handle. It’s like giving your bread a moment to shine before its grand debut.
Tip | Details |
|---|---|
Make Butter Ahead | Store in fridge up to 3 days |
Experiment with Cheese | Try mozzarella, Pecorino Romano, or red pepper flakes |
Oven Placement | Place bread directly on the rack |
Broil for Crispiness | Use broiler for a minute or two at the end |
Serving Suggestions & Storing Your Garlic Bread
Serving Suggestions & Storing Your Garlic Bread
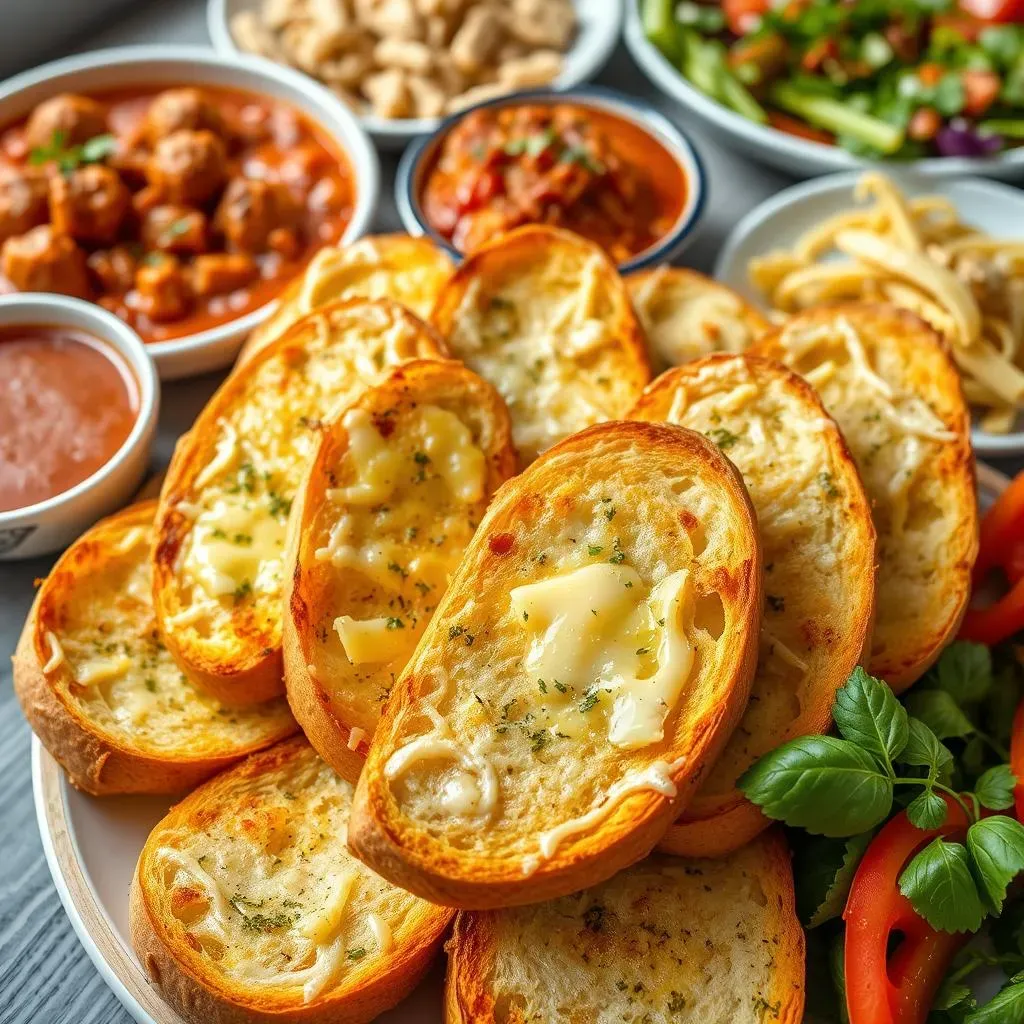
Okay, so you've just pulled your masterpiece of french bread garlic bread out of the oven, and the smell is absolutely intoxicating. Now what? Well, let's talk about how to serve this bad boy and, if you're lucky enough to have leftovers, how to store it. First off, this garlic bread is a team player. It goes with just about anything. Pasta? Absolutely. Soup? You bet. Salad? Why not? It’s like the Swiss Army knife of side dishes. I love serving it with a big bowl of spaghetti and meatballs, the garlic bread is perfect for soaking up all that delicious sauce. But honestly, it's so good, you could eat it on its own. And if you're having a party, it’s the perfect appetizer. Just slice it up and let people grab a piece. It’s always a crowd-pleaser, and it disappears faster than you can say "garlic".
Now, let's say you're not feeding an army and you have some garlic bread left over. Don't worry, it's not the end of the world. You can store it in an airtight container at room temperature for a day or two. But if you want to keep it longer, your best bet is to wrap it tightly in foil and pop it in the freezer. When you're ready to eat it, just take it out and bake it in the oven until it's heated through and the crust is crispy again. It might not be exactly the same as fresh-out-of-the-oven, but it’s still pretty darn good. I’ve also found that you can reheat it in a skillet with a touch of butter, which helps to bring back some of that crispiness. So, whether you’re serving it up fresh or saving it for later, your garlic bread is ready to bring the flavor!
Serving Suggestion | Pairing |
|---|---|
Pasta | Spaghetti, lasagna, or any pasta dish |
Soup | Tomato, minestrone, or creamy soups |
Salad | As a side or crouton alternative |
Appetizer | Sliced and served at parties |
One more thing, if you're planning to freeze your garlic bread, I suggest you don't add any cheese. The cheese has a tendency to get a bit weird when frozen and thawed. Add the cheese when you are ready to reheat. Also, when reheating, if you find the bread is a bit dry, add a little bit more garlic butter before you pop it in the oven. It helps to add back some of that moisture and flavor. And remember, garlic bread isn't just a side dish; it's an experience. It’s about that perfect combination of crispy, soft, garlicky, and buttery goodness. So, go ahead, serve it up with pride and enjoy every single bite! Because you absolutely deserve it.