Table of Contents
Ever dreamed of sinking your teeth into a perfectly crisp, chewy French baguette, but thought it was a bakery-only feat? Think again! This article is your passport to baguette bliss, even if you're a bread-baking newbie. We're going to unlock the secrets of how to make french baguette in bread maker, transforming your kitchen appliance into a French patisserie. Forget complicated hand-kneading and hours of proofing; we'll leverage the power of your bread maker to do the heavy lifting. Get ready to learn the art of crafting that signature baguette dough, mastering the shaping techniques that give baguettes their iconic look, and perfecting the baking process to achieve that stunning golden-brown crust and airy interior. We'll cover everything from choosing the right bread machine settings to troubleshooting common issues, ensuring your first (and every subsequent) attempt is a resounding success. So, ditch the store-bought loaves and get ready to impress yourself – and everyone else – with your newfound baguette-making prowess. Let's get baking!
Mastering the Dough: Bread Maker Settings for Perfect Baguettes
Mastering the Dough: Bread Maker Settings for Perfect Baguettes
Choosing the Right Bread Machine Setting
So, you're ready to tackle baguette-making with your bread machine? Fantastic! The first step to success lies in understanding your machine's settings. Most bread makers offer a "French Bread" or "Dough" cycle. The "French Bread" cycle is usually designed for a complete bake, meaning the machine will mix, knead, rise, and bake the bread. However, for baguettes, we'll want more control over the shaping and baking process. That's where the "Dough" cycle comes in handy. This setting allows you to create the dough, giving you the freedom to shape and bake it separately, leading to a more authentic baguette texture. Some bread machines even offer a "pizza dough" setting, which is a close cousin and can work well.
Don't be afraid to experiment! Each bread maker is slightly different, so reading your machine's manual is crucial. Pay close attention to the settings, such as kneading time and rise times. You might find that adjusting these slightly, based on your flour and environment, yields even better results. For example, if your dough seems too sticky, you might try adding a tablespoon or two of flour during the kneading cycle, but always check your manual first.
Bread Machine Setting | Description | Suitable for Baguettes? |
|---|---|---|
French Bread | Mixes, kneads, rises, and bakes the bread. | Less control, but convenient for beginners. |
Dough | Mixes and kneads the dough; baking is done separately. | Recommended for better shaping and baking control. |
Pizza Dough | Similar to Dough cycle, often with slightly shorter kneading time. | Can be used as an alternative to the Dough cycle. |
Ingredient Ratios and Flour Considerations
The magic of a great baguette lies not just in the technique, but in the precise balance of ingredients. While recipes vary, the foundation remains consistent: flour, water, yeast, and salt. The type of flour you use significantly impacts the texture and rise of your bread. Bread flour, with its higher protein content, is generally preferred for baguettes as it gives you a stronger gluten network, resulting in that characteristic chewy interior. All-purpose flour can work in a pinch, but you might not get the same level of chewiness. Experiment to see what works best for your machine and preference.
Another crucial aspect is the water temperature. Lukewarm water is key for activating the yeast. Too hot, and you’ll kill the yeast; too cold, and the activation will be sluggish. This is where your bread machine’s temperature sensor is your ally. If your bread maker doesn't have one, use a thermometer to get that temperature just right. Don't forget that the amount of water influences dough consistency. A wetter dough may require a longer kneading time to develop gluten, but will yield a softer crumb.
- Use bread flour for best results.
- Lukewarm water is essential for yeast activation.
- Adjust water amount based on your flour and desired dough consistency.
Shaping Your Baguettes: From Dough to Delightful Loaf

Shaping Your Baguettes: From Dough to Delightful Loaf
Okay, so your bread machine has done its magic, and you've got a beautiful, slightly sticky ball of baguette dough. Now for the fun part: shaping! Don't be intimidated; it's easier than it looks. First, gently turn the dough out onto a lightly floured surface. Avoid over-flouring, as this can make the dough dry and tough. Gently press the dough into a rough rectangle. The goal isn't perfection; just get it into a somewhat manageable shape. Then, starting from one of the long sides, tightly roll the dough away from you, creating a long cylinder. It's like rolling out a giant sausage, but a little more delicate. Aim for a length of about 12-15 inches, depending on your baking pan.
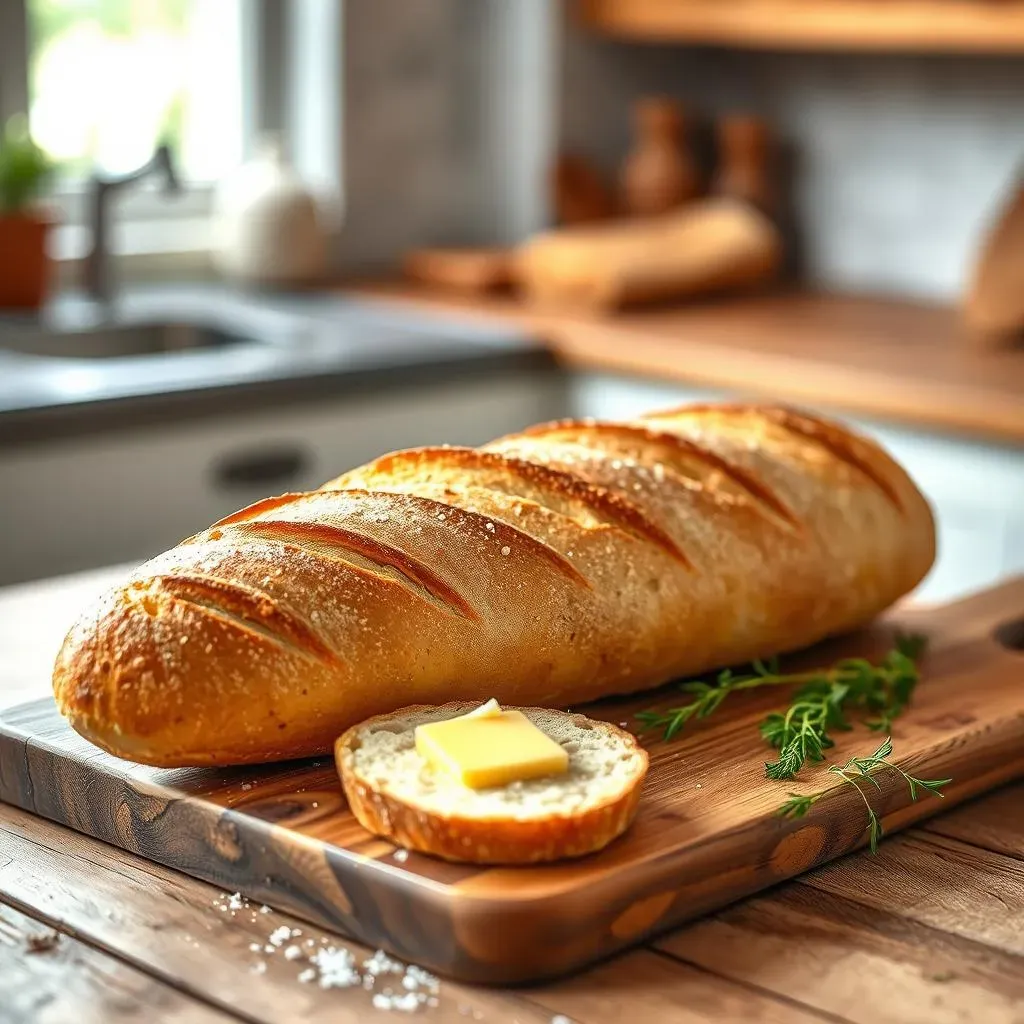
Once you have your cylinder, gently pinch and seal the seam. This prevents it from unraveling during the rise and bake. Now, here's where the artistry comes in. Using a sharp knife or lame (a special bread scoring tool), make several diagonal slashes across the top of the baguette. These slashes allow the bread to expand properly during baking, resulting in that beautiful, airy texture and those signature ear-like protrusions. Don't be afraid to experiment with different scoring patterns; it's part of the fun! A simple series of diagonal slashes is a classic and always works well. Finally, carefully place your shaped baguette onto a baking sheet lined with parchment paper. This prevents sticking and makes for easy transfer later.
- Gently turn the dough onto a lightly floured surface.
- Press into a rectangle, then roll into a cylinder.
- Pinch and seal the seam.
- Score the baguette with diagonal slashes.
- Place on a parchment-lined baking sheet.
“The beauty of a baguette lies not only in its taste but also in its visual appeal. The scoring is a crucial step, allowing for expansion and creating those characteristic ears.” - A Master Baker
After shaping, your baguettes need a final rise, often called the "proofing" stage. This allows the dough to relax and develop its full flavor. Cover the baking sheet loosely with plastic wrap to prevent the surface from drying out. Let them proof in a warm place for about 45 minutes to an hour, or until they've almost doubled in size. This step is crucial for achieving that light and airy crumb. You'll know they're ready when they gently spring back when poked lightly. If they seem a little underproofed, give them another 15 minutes or so; overproofed, and they might collapse during baking. The proofing environment matters, too – a slightly humid environment is ideal.
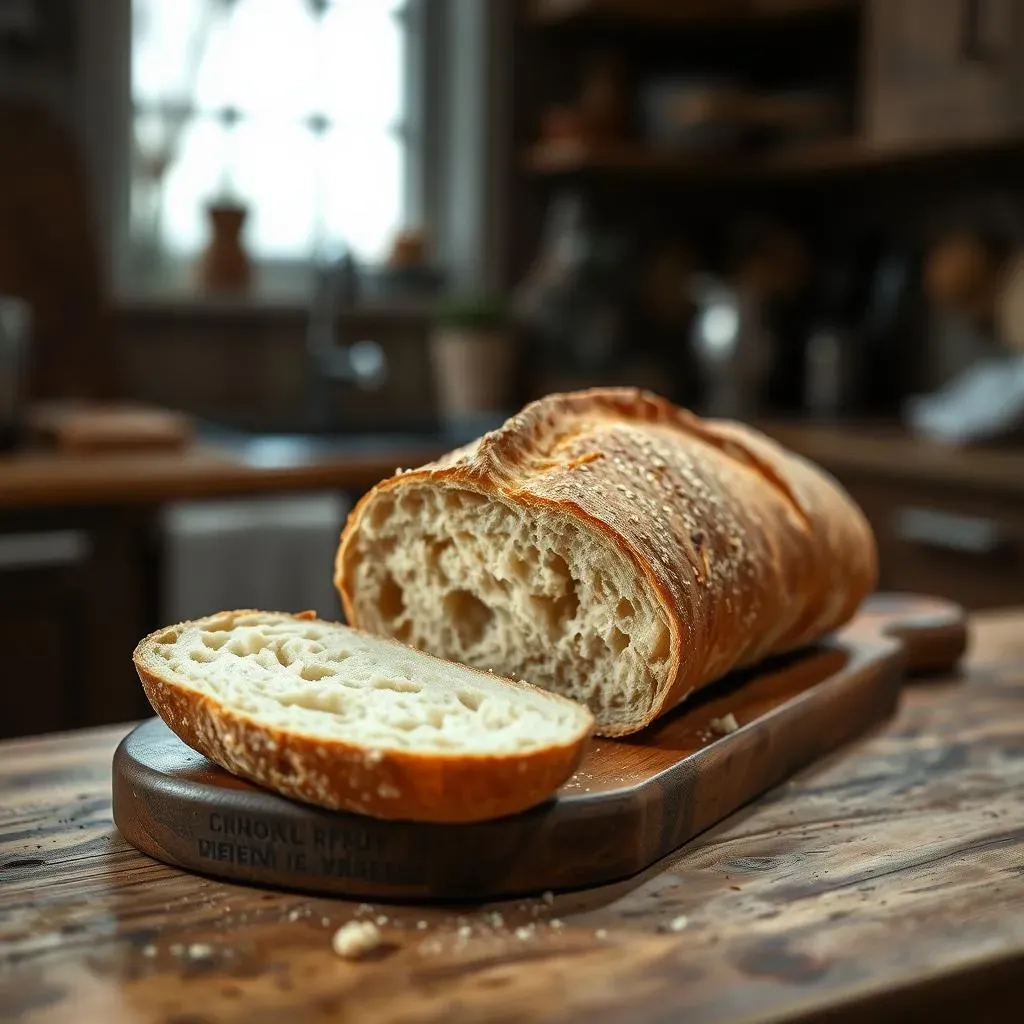
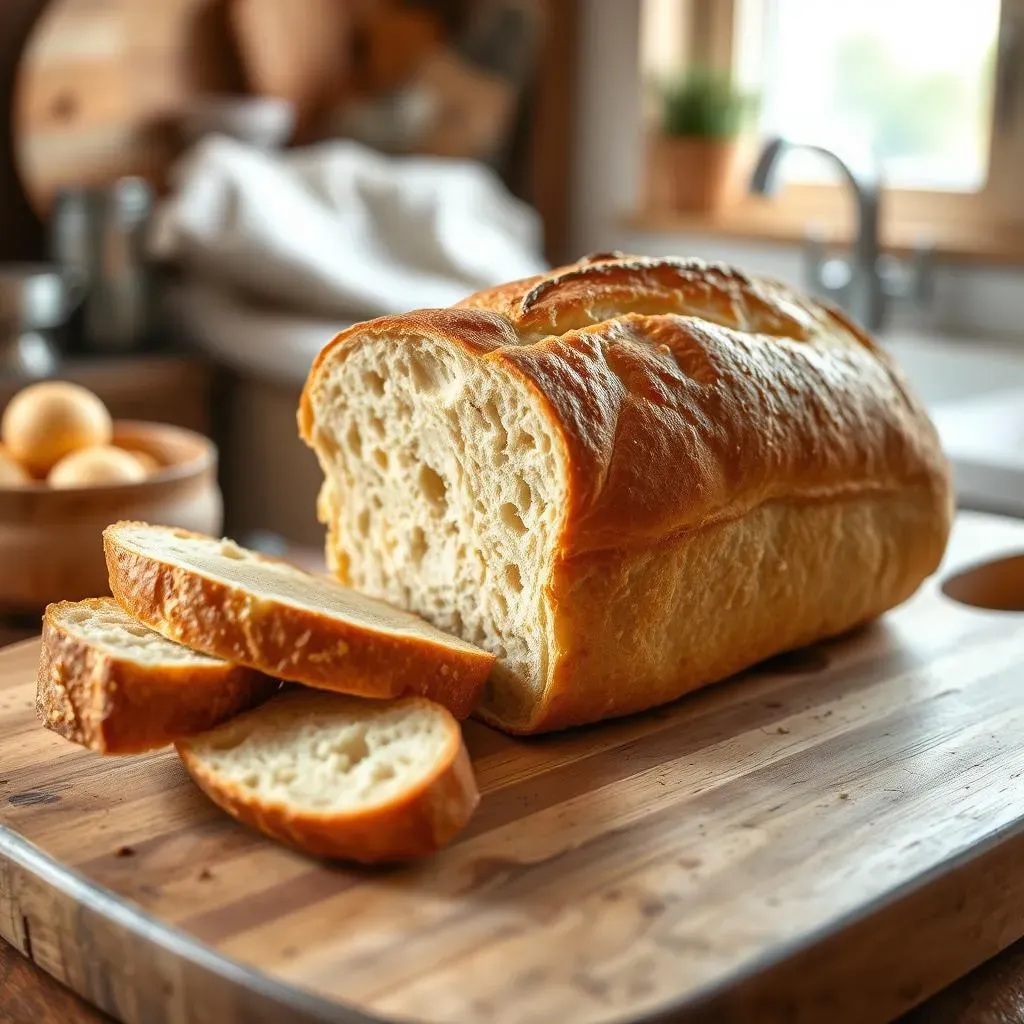
Once proofed, your baguettes are ready for the oven! Preheating your oven to a high temperature (around 450°F or 230°C) is essential for that crispy crust. Baking time will depend on your oven and the size of your baguettes; usually around 20-25 minutes. Keep a close eye on them to prevent burning. You can use a thermometer to check the internal temperature, aiming for around 200°F (93°C). When they're golden brown and sound hollow when tapped on the bottom, they're ready to come out. Let them cool completely on a wire rack before slicing and serving. The cooling process allows the crumb to set properly and enhances the overall flavor. Resist the urge to slice into them while they're still warm; patience is key!
Step | Description | Time |
|---|---|---|
Shaping | Roll dough into a cylinder, pinch seam, score top. | 10-15 minutes |
Proofing | Cover loosely, let rise in warm place until almost doubled. | 45-60 minutes |
Baking | Bake at high heat until golden brown and hollow-sounding. | 20-25 minutes |
Cooling | Cool completely on wire rack before slicing. | At least 30 minutes |
Baking to Perfection: Oven Techniques for GoldenBrown Crusts
Baking to Perfection: Oven Techniques for GoldenBrown Crusts
Achieving that Golden-Brown Crust: Oven Temperature and Baking Techniques
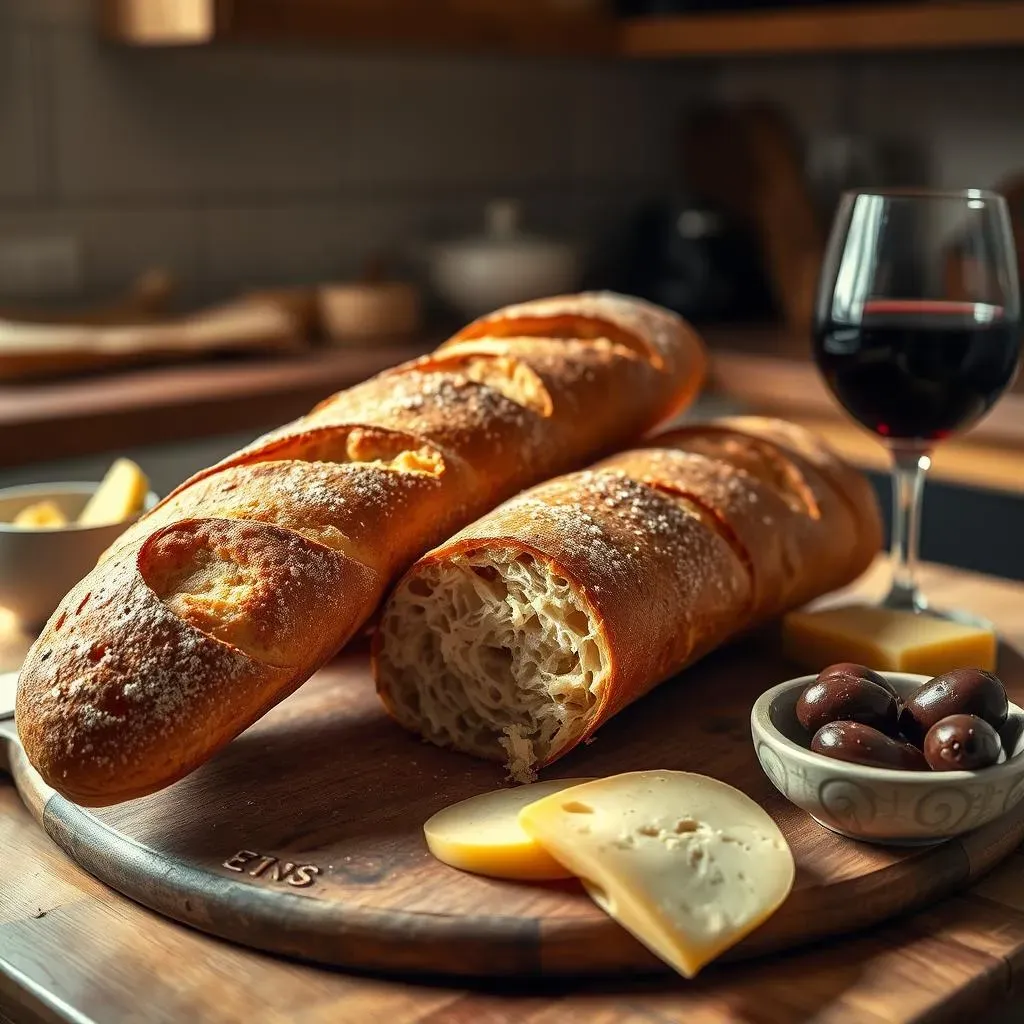
Alright, your baguettes are proofed and ready for their star turn in the oven. This is where the magic happens, transforming your dough into a beautifully browned, crusty masterpiece. The key is high heat – think 450°F (230°C) or even higher, if your oven allows. This intense heat creates a rapid browning reaction on the surface, forming that signature crispy crust while the inside remains soft and airy. Some bakers even add a baking stone or steel to the oven to enhance heat retention and improve crust development. A baking stone absorbs and radiates heat, resulting in a crispier crust. If you don't have one, a baking sheet works fine.
Another trick to achieving that perfect crust is steam. Steam helps to create a more even browning and prevents the crust from becoming too hard. You can introduce steam into your oven in a couple of ways. One method is to place a pan of boiling water on the bottom rack of your oven while baking. The steam created will help to keep the crust soft and moist. Alternatively, some ovens have steam injection features, which will make this process easier. Experiment to find what works best for your oven and preference. You can also spritz the baguettes with water during the first few minutes of baking. Don't overdo it, though; too much moisture can lead to a soggy crust.
- Preheat oven to 450°F (230°C) or higher.
- Use a baking stone or steel for optimal crust development.
- Introduce steam via a pan of boiling water or oven steam function.
- Lightly spritz baguettes with water during the first few minutes of baking.
Monitoring your baguettes during baking is crucial. They should start to brown nicely within the first 10-15 minutes. Keep an eye out for any uneven browning; you might need to rotate the pan halfway through baking to ensure even heat distribution. The baking time will vary depending on your oven and the size of your baguettes, but generally, you're looking at 20-25 minutes. A good way to tell if they're done is to tap the bottom of a baguette; it should sound hollow when it's ready. Overbaking can lead to a dry, hard crust, so it's better to slightly underbake than overbake. You can always add a few minutes if needed.
Once your baguettes are baked to perfection, carefully remove them from the oven and immediately transfer them to a wire rack to cool completely. Cooling on a wire rack allows for better air circulation, preventing the bottom from becoming soggy. Resist the temptation to slice into them while they're still warm; this will ruin the texture and prevent the crust from crisping fully. Let them cool for at least 30 minutes before slicing and enjoying. That golden-brown crust and airy interior are worth the wait! The aroma alone will tell you they are ready.
Baking Stage | Observation | Action |
|---|---|---|
First 10-15 minutes | Check for even browning. | Rotate pan if needed. |
15-25 minutes | Tap bottom; sound should be hollow. | Remove from oven if hollow-sounding. |
Cooling | Transfer to wire rack. | Let cool completely (at least 30 minutes) |
How to Make French Baguette in Bread Maker: Tips and Troubleshooting
How to Make French Baguette in Bread Maker: Tips and Troubleshooting
Troubleshooting Common Baguette Issues
So, you've followed the recipe, but your baguettes aren't quite hitting the mark? Don't despair! Baguette baking can be finicky, but most problems are easily solved. Let's tackle some common issues. A dense, gummy interior often points to under-kneading or under-proofing. Make sure your dough has developed enough gluten—a good way to test this is by performing a windowpane test (stretching a small piece of dough until it's thin enough to see light through it). If it tears easily, it needs more kneading. If your baguettes have collapsed during baking, this often indicates over-proofing or too much yeast. Next time, try reducing the yeast quantity or shortening the proofing time. A hard, dry crust might mean overbaking or insufficient steam during baking. Pay close attention to the oven temperature and add a pan of water next time.
Conversely, a soggy crust usually points to insufficient oven heat or excessive moisture. Ensure your oven is preheated to a high temperature, and limit the amount of water you spray on the baguettes. Uneven browning often means your oven has hot spots or you didn't rotate the baking sheet. Always preheat your oven thoroughly and rotate the pan halfway through baking. Experimentation is key. Don't be discouraged by a few initial mishaps; every baker has their learning curve. Keep detailed notes of your attempts, including ingredient quantities, machine settings, and baking times. Over time, you'll develop a feel for what works best with your oven and bread machine.
- Dense interior: Under-kneading or under-proofing.
- Collapsed baguettes: Over-proofing or too much yeast.
- Hard, dry crust: Overbaking or insufficient steam.
- Soggy crust: Insufficient oven heat or excessive moisture.
- Uneven browning: Oven hot spots or lack of pan rotation.
Tips for Baguette Success
Beyond troubleshooting, here are a few extra tips to elevate your baguette game. Using fresh ingredients, especially yeast, is paramount. Old yeast can lead to poor rise and weak gluten development. Always check your yeast's expiration date. Similarly, the quality of your flour matters. Bread flour, with its higher protein content, is ideal for baguettes, yielding a chewier crumb. If you're using all-purpose flour, you might need to adjust the hydration (water content) slightly. Don't be afraid to experiment with different flours to find your favorite.
Another crucial aspect is the proper shaping technique. Gentle handling is key; avoid over-manipulating the dough, as this can toughen it. Remember to score your baguettes deeply enough to allow for proper expansion during baking. A sharp lame or knife is essential for clean, even scores. Finally, practice makes perfect! Don't get discouraged if your first few attempts aren't perfect. With each bake, you'll gain a better understanding of your bread machine, your oven, and the nuances of baguette-making. The more you bake, the better you'll become at predicting and correcting potential problems. Embrace the learning process, and soon you'll be turning out beautiful baguettes consistently.
Tip | Description |
|---|---|
Use fresh ingredients | Especially yeast; check expiration dates. |
Bread flour is best | Higher protein content for better chewiness. |
Gentle shaping | Avoid over-manipulating the dough. |
Deep scoring | Use a sharp lame or knife for even expansion. |
Practice makes perfect | Keep practicing and learning from each attempt. |