Table of Contents
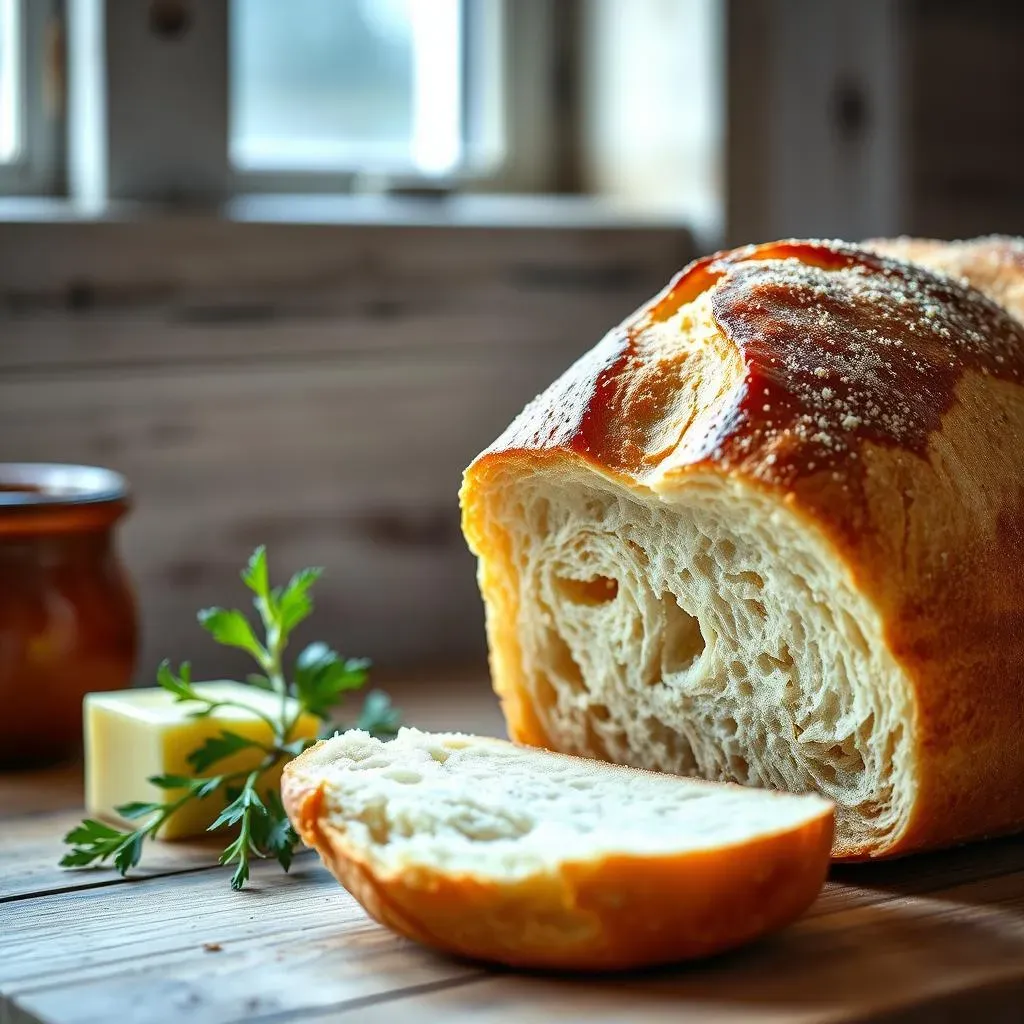
Ever dream of that perfect, crusty baguette, the kind that makes you feel like you're strolling along the Seine? Well, you can stop dreaming and start baking! Forget the fancy bakeries, because today, I'm going to show you exactlyhow to make french baguette bread at home. It's not as scary as it sounds, I promise. We'll start with the basics: the few simple ingredients you need, and why each one matters. Then, I’ll walk you through a step-by-step process, from mixing the dough to shaping those iconic loaves. And finally, we'll get to the good stuff - baking, scoring, and how to get that perfect golden-brown crust. This isn't just about following a recipe; it's about understanding the magic behind each step. So, roll up your sleeves, preheat that oven, and let's get baking! By the end, you'll be pulling out baguettes that'll make your kitchen smell like a Parisian bakery.
The Simple Magic: Ingredients for Homemade French Baguette
The Simple Magic: Ingredients for Homemade French Baguette
The Fab Four: What You'll Need
Okay, so you wanna make a baguette that rivals those from a Parisian boulangerie? It all starts with four humble ingredients: flour, water, yeast, and salt. That's it! No fancy stuff, just these four simple components working together. It's almost magical how something so basic can transform into something so delicious. But don't be fooled by their simplicity; each one plays a crucial role in the final product. Think of them as the four members of a band, each with its own instrument, creating a symphony of flavor and texture.
First, we have flour. Not just any flour, mind you. We're talking about all-purpose flour. It's the backbone of our baguette, providing the structure and chewiness. Then comes water, the lifeblood of our dough. It hydrates the flour, allowing the gluten to develop, which is what gives the baguette its airy texture. Yeast is our secret weapon, the tiny organisms that make the dough rise and become light and fluffy. And finally, salt, the flavor enhancer. It controls the yeast and adds depth to the taste. These are not just ingredients; they're the key to unlocking the perfect baguette.
Ingredient | Role | Why it Matters |
|---|---|---|
All-Purpose Flour | Structure | Provides chewiness and shape |
Water | Hydration | Activates gluten, creates airy texture |
Yeast | Leavening | Makes the dough rise and become fluffy |
Salt | Flavor & Control | Enhances taste, regulates yeast activity |
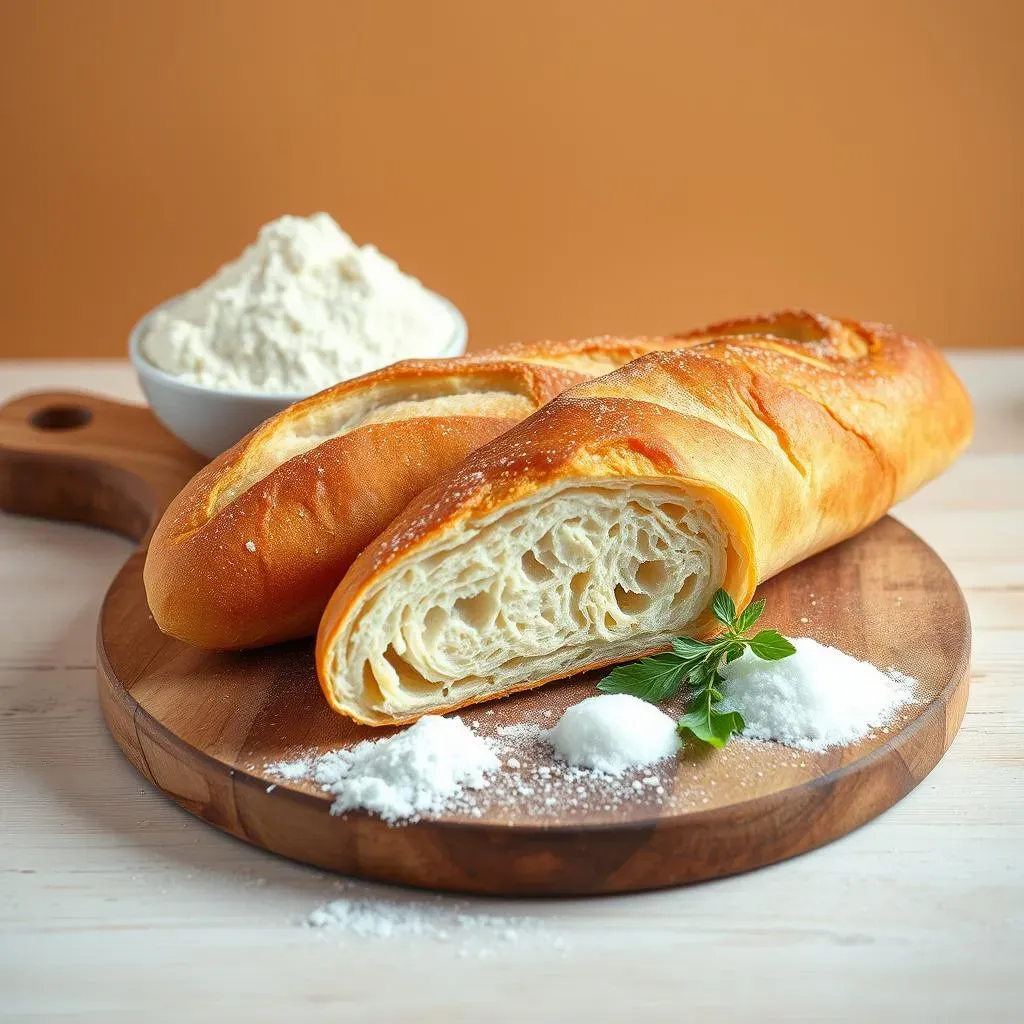
Quality Matters: Choosing the Best
Now, while we're only using four ingredients, their quality will greatly impact our baguette. For flour, go for unbleached all-purpose. It gives a better flavor than bleached. Water should be lukewarm; not too hot, not too cold, just like Goldilocks' porridge. This helps activate the yeast perfectly. As for yeast, you can use active dry yeast or instant yeast. Both work great, but if you're using active dry, you'll need to activate it in warm water before adding it to the dough. And for salt? Plain old table salt will do the trick. See, nothing too complicated!
Don't skimp on quality; it's tempting to use whatever is already in the pantry, but a little attention to detail here makes a big difference. These four ingredients are the foundation of our masterpiece, so make sure they're the best you can find. It's like using the best paints for a painting; the better the materials, the better the art. We're not just baking bread; we're crafting an experience, a taste of France right in your kitchen. So go ahead, gather your fab four, and get ready to bake!
HandsOn: StepbyStep Guide to Making French Baguette Bread at Home

HandsOn: StepbyStep Guide to Making French Baguette Bread at Home
Alright, so you've got your ingredients ready, now for the fun part! Making a baguette isn't about being a pro baker; it's about getting your hands dirty and enjoying the process. First, grab a big bowl and toss in your flour and salt. Give them a little mix, and then make a well in the center, like a little volcano. Pour in your lukewarm water and yeast. If you're using active dry yeast, make sure it's all foamy and ready to go before adding it to the mix. Now, get your hands in there and mix it all up. It’ll start off shaggy and kinda messy, but don't worry; that's totally normal.
Once everything is roughly combined, it's time to start kneading. Now, kneading isn't about beating the dough into submission, it's more like a gentle dance. Turn the dough out onto a lightly floured surface and start pushing, folding, and turning. It's like giving the dough a little massage. At first, it'll be sticky, but keep going for about 8-10 minutes, and you'll see it transform into a smooth, elastic ball. It should feel soft and a bit tacky, but not like it’s going to glue itself to your fingers. If it's too sticky, add a tiny bit of flour, but don’t overdo it. You want a dough that's happy and hydrated. This kneading process is what develops the gluten, which is the key to that lovely chewy texture of a good baguette.
Step | Action | Why |
|---|---|---|
1 | Combine dry ingredients and then add wet | Ensures even distribution |
2 | Mix until roughly combined | Start of dough formation |
3 | Knead for 8-10 minutes | Develops gluten for texture |
Now that you have a lovely ball of dough, it's time to let it rest. Place the dough in a lightly oiled bowl, turning it once to coat. Cover it with plastic wrap or a damp towel and let it rise in a warm place for about 1.5 to 2 hours, or until it's doubled in size. It’s like tucking your dough in for a nap. This is where the magic happens, as the yeast does its thing, creating all those lovely air bubbles. After its nap, gently punch the dough down to release the air, and then divide it into three equal pieces. These will be your future baguettes. Shape each piece into a rough rectangle, and let them rest for about 15 minutes. This makes them easier to roll out later.
After the rest, it's time to shape our baguettes. Take one of the rectangles and start rolling it up tightly, like you're making a sleeping bag, making sure to seal the seam as you go. Taper the ends slightly to give it that classic baguette shape. Repeat with the other two pieces. Now, place the shaped baguettes on a baking sheet lined with parchment paper or on a floured couche. If you’re using parchment, make sure there’s enough space between them, because they’re going to expand. Cover them with plastic wrap or a damp towel and let them proof for another 30 to 60 minutes. This second rise is crucial; it’s what gives the baguettes their final light and airy texture. Don’t rush this; patience is key when making bread!
- Rest: Let dough rise for 1.5 to 2 hours until doubled.
- Divide: Split dough into three equal parts.
- Shape: Form into rectangles, then roll into baguette shapes.
- Proof: Let shaped baguettes rise again for 30 to 60 minutes.
Secrets to Success: Baking, Scoring, and Achieving the Perfect Crust for Your French Baguette at Home
Secrets to Success: Baking, Scoring, and Achieving the Perfect Crust for Your French Baguette at Home
The Heat is On: Baking Your Baguettes
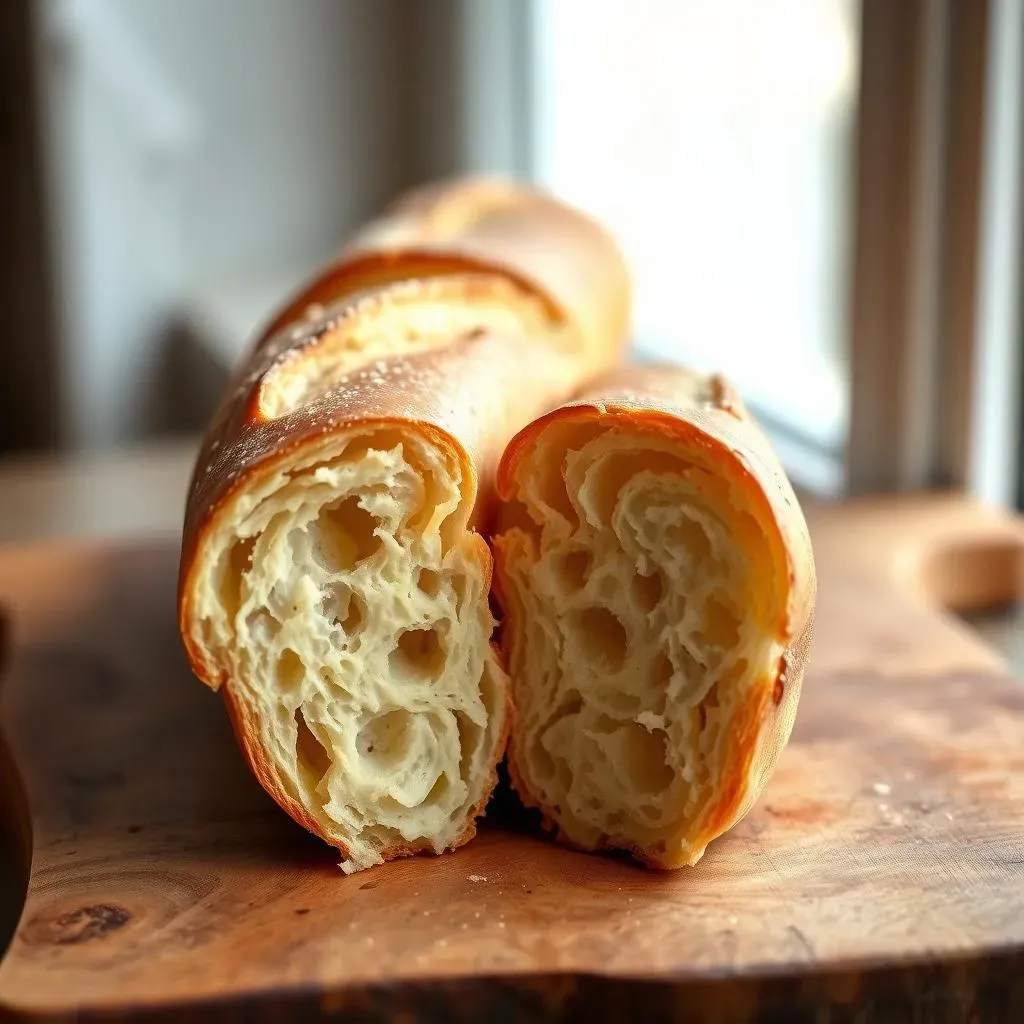
Okay, your baguettes are proofed, looking all plump and ready. Now, it's time for the oven magic! Preheat your oven to a blazing 450°F (230°C). The key here is heat—lots of it. Place a baking stone or a baking sheet on the middle rack while the oven is preheating. This helps create that lovely, crispy crust we're all after. And here's a little secret: steam is your best friend. It keeps the outside of the dough moist for a bit longer, which allows it to expand fully before it sets. So, how do we get steam in a home oven? There are a few tricks. You can toss a few ice cubes into a hot pan on the bottom rack when you put the baguettes in, or you can spray the oven walls with water. Just be careful not to get the water directly on the oven light or heating elements. We want crusty baguettes, not a kitchen fire!
Carefully slide your baguettes onto the preheated baking stone or sheet. If you’re using parchment paper, just slide the whole thing in. Now, bake for about 15 minutes with the steam, and then remove the steam source and bake for another 15 minutes or so, until the baguettes are a deep golden brown and sound hollow when you tap their bottoms. Don't open the oven too much during baking, as it will let the heat escape. When those baguettes come out of the oven, they'll be aromatic, golden-brown, and the stuff of baking dreams. Let them cool on a wire rack before slicing. If you can resist the temptation to tear into them immediately, you'll be rewarded with a better texture. But hey, I get it if you can't wait. I wouldn't be able to either.
Baking Stage | Action | Why |
|---|---|---|
Preheat | Oven to 450°F (230°C) with baking stone/sheet | Ensures even, high heat for crust |
Initial Bake | 15 minutes with steam | Helps dough expand fully |
Final Bake | 15 minutes without steam | Achieves golden-brown crust |
The Art of the Score: Making the Cut
Before those baguettes hit the oven, there's one crucial step: scoring. It's not just for looks; it's actually very functional. Scoring, which means making shallow cuts along the top of the dough, controls how the bread expands in the oven. If you don't score, the bread will just burst open randomly, which is not what we want. We want those nice, even slashes that look so professional. To score, use a very sharp knife, a lame (a special bread scoring tool), or even a razor blade. Make quick, confident slashes along the top of each baguette, about ½ inch deep and about 4-5 slashes per baguette. The angle should be slightly diagonal, and the cuts should overlap slightly. This creates those classic "ears" on the baguette.
Don't be too timid with your scoring; you need to make the cuts decisively. If you're too gentle, the dough will just catch on the blade and not score properly. Think of it like you're signing your name on your masterpiece. This step is where you can really make your baguettes look like they came straight from a French bakery. It might take a little practice to get the hang of it, but don’t worry. Even if your first few attempts aren’t perfect, they’ll still taste great. And that’s what really matters, right? The scoring is the final touch, the last detail, that transforms a simple loaf of bread into an authentic baguette. So, grab your blade and get scoring!
- Purpose: Controls expansion, prevents random bursting.
- Tool: Sharp knife, lame, or razor blade.
- Technique: Quick, confident, slightly diagonal slashes.
- Depth: About ½ inch deep, 4-5 slashes per baguette.