Table of Contents
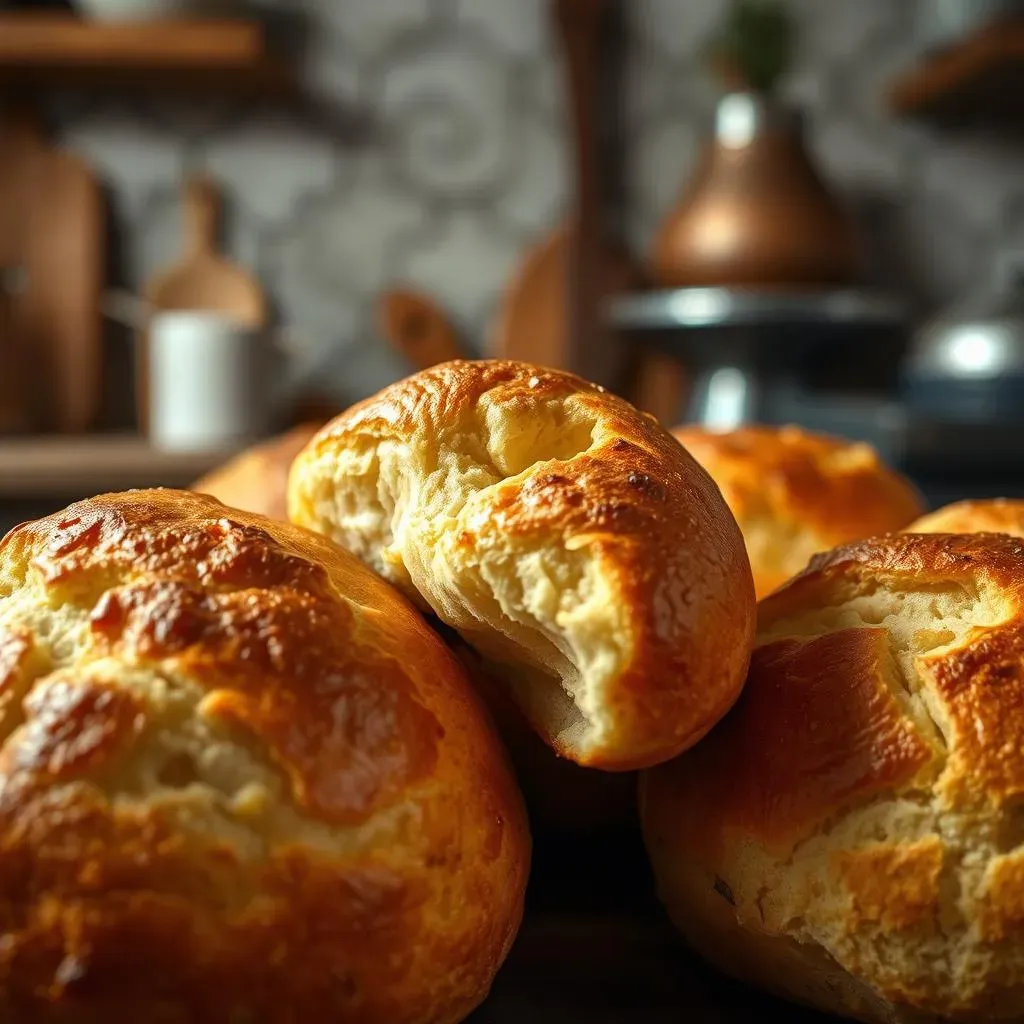
Ever dream of pulling warm, crusty bread rolls from your oven? The kind that crackle when you bite into them, giving way to a soft, airy interior? Well, you're in the right place! This isn't some fancy bakery secret; it's a simple skill you can master at home. We're talking about learning how to make crusty french bread rolls that will impress everyone at the dinner table. Forget those bland, store-bought rolls; we're aiming for bread that's got character. This article will guide you through each step, from gathering your ingredients to achieving that perfect, golden-brown crust. We'll uncover the magic behind that satisfying chew, and I'll even share some tips that I've learned along the way. Plus, I’ll tell you why a little fridge time is key for the best flavor. Finally, I will share some of my favorite ways to serve these delightful rolls. So, let's get baking!
Crusty Bread Rolls Recipe Ingredients
Crusty Bread Rolls Recipe Ingredients
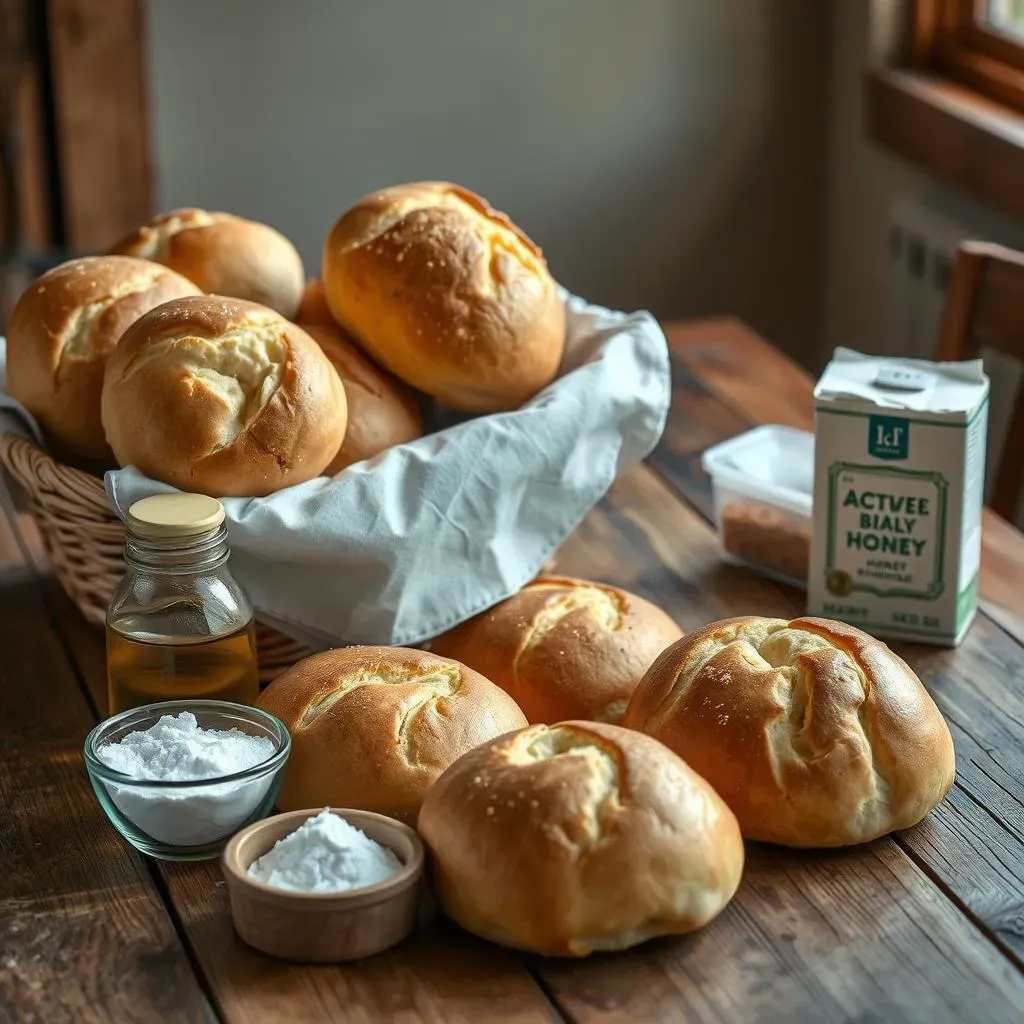
Okay, so you wanna make some seriously good crusty bread rolls? Let's talk ingredients. It's not complicated, but each one plays a key role. First up, you'll need about 1 cup of warm water. Not too hot, or you'll kill the yeast, think lukewarm bath water, about 110 degrees Fahrenheit. Then, we're adding 1 teaspoon of active dry yeast. If you're in a rush, you could use quick-rise yeast, but I prefer the flavor of active dry. A little sweetness helps the yeast do its thing, so we'll include ½ teaspoon of honey. Now for the main event, 2 ½ cups of all-purpose flour. I like unbleached because it gives a better result, but regular is fine. And last but not least, 1 teaspoon of salt. That’s it! Simple, right?
Ingredient | Amount | Purpose |
|---|---|---|
Warm Water | 1 cup | Activates the yeast |
Active Dry Yeast | 1 tsp | Leavening agent |
Honey | ½ tsp | Feeds the yeast |
All-Purpose Flour | 2 ½ cups | Provides structure |
Salt | 1 tsp | Flavor enhancer and controls yeast |
How to Make Crusty French Bread Rolls
How to Make Crusty French Bread Rolls
Getting Started with the Dough
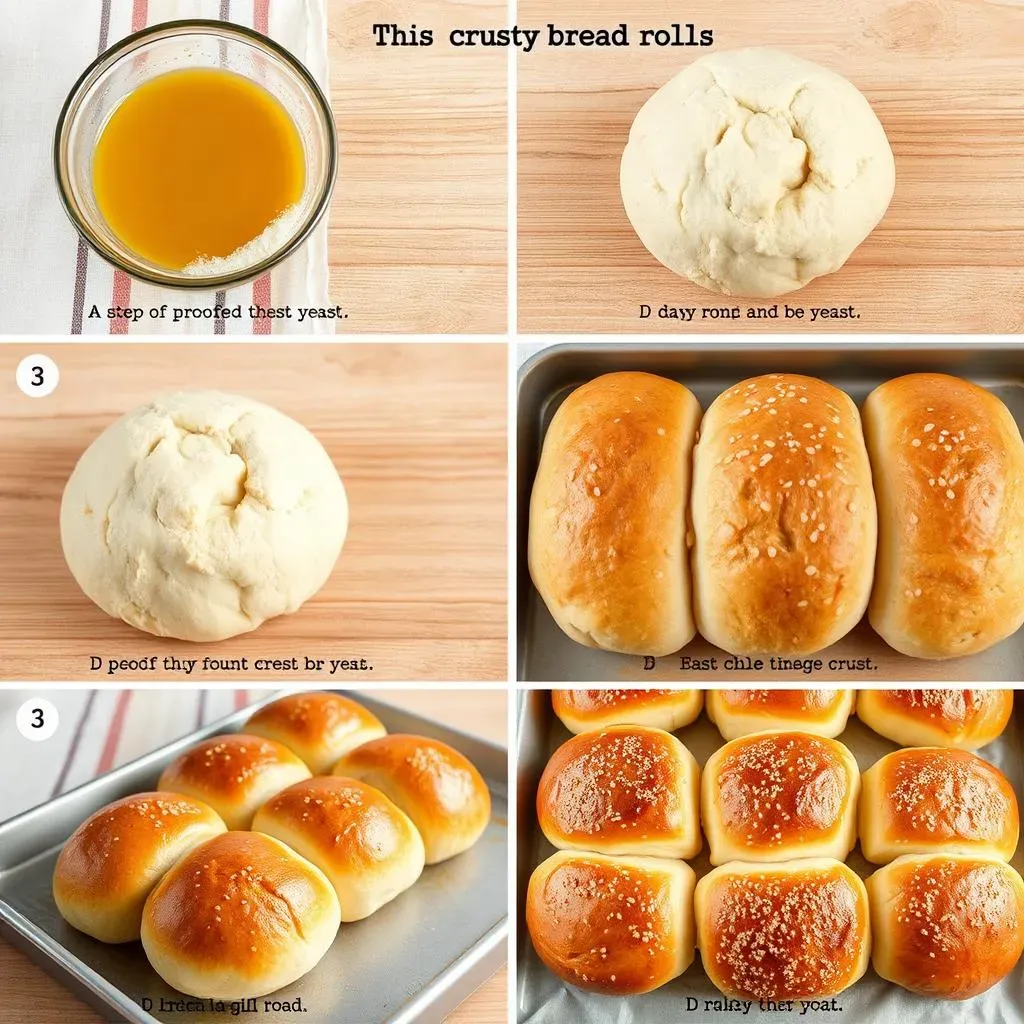
Alright, so you've got your ingredients ready, now let's get to the fun part. First, we need to wake up the yeast. In a large bowl, pour in that warm water and add the yeast and honey. Give it a gentle stir and let it sit for about 5-10 minutes. You’ll know it's ready when it gets a little foamy on top, like a tiny bubble bath. If it doesn't get foamy, your yeast might be old, and you might need to start over. Once it's bubbly, add in all the flour and salt. Now, mix it all together. You can use a spoon or your hands, I prefer my hands because I like to feel the dough, but that's just me. Mix it until it forms a shaggy dough. It will be a bit sticky, that's normal.
Next up, it’s kneading time. Turn the dough out onto a lightly floured surface. Knead the dough for about 8 to 10 minutes. It may seem like a long time, but trust me, it's worth it. The dough should become smooth and elastic. It’s like giving it a little workout! Once you've kneaded it, place it in a lightly oiled bowl, turning it to coat. Cover the bowl with plastic wrap or a clean kitchen towel, and let it rise in a warm place for about 1 to 1.5 hours, or until it has doubled in size. I sometimes put it in my oven with just the oven light on for a warm spot. You'll be amazed at how much it grows!
Shaping and Preparing for Baking
Okay, your dough has doubled, that's the sign that the yeast is done doing its job. Punch it down gently to release the air. Now, turn it out onto a lightly floured surface again. Divide the dough into 6-8 equal pieces, depending on how big you want your rolls. Shape each piece into a ball by tucking the edges underneath, like you are making a tiny smooth planet. Place the shaped rolls on a baking sheet lined with parchment paper, leaving some space between them because they will rise more. Lightly cover them with plastic wrap and let them rest for another 30 minutes. This is a crucial step, don't skip it!
While the rolls are resting, preheat your oven to 400°F (200°C). Now for the secret to that perfect crust: right before you put them in the oven, spray them with some cold water. Yes, cold water! It creates steam, which is what gives you that nice, crackly crust. Then, bake them for about 20-25 minutes, or until they are golden brown and sound hollow when you tap them on the bottom. When they're done, let them cool on a wire rack before you dig in. Be careful, they'll be hot! I know it's hard, but let them cool a bit, you will thank me later.
Step | Action | Time |
|---|---|---|
1 | Proof the yeast | 5-10 minutes |
2 | Mix the dough | 5 minutes |
3 | Knead the dough | 8-10 minutes |
4 | First rise | 1-1.5 hours |
5 | Shape the rolls | 10 minutes |
6 | Second rise | 30 minutes |
7 | Bake the rolls | 20-25 minutes |
Why Refrigerate Your French Bread Rolls Dough
Why Refrigerate Your French Bread Rolls Dough
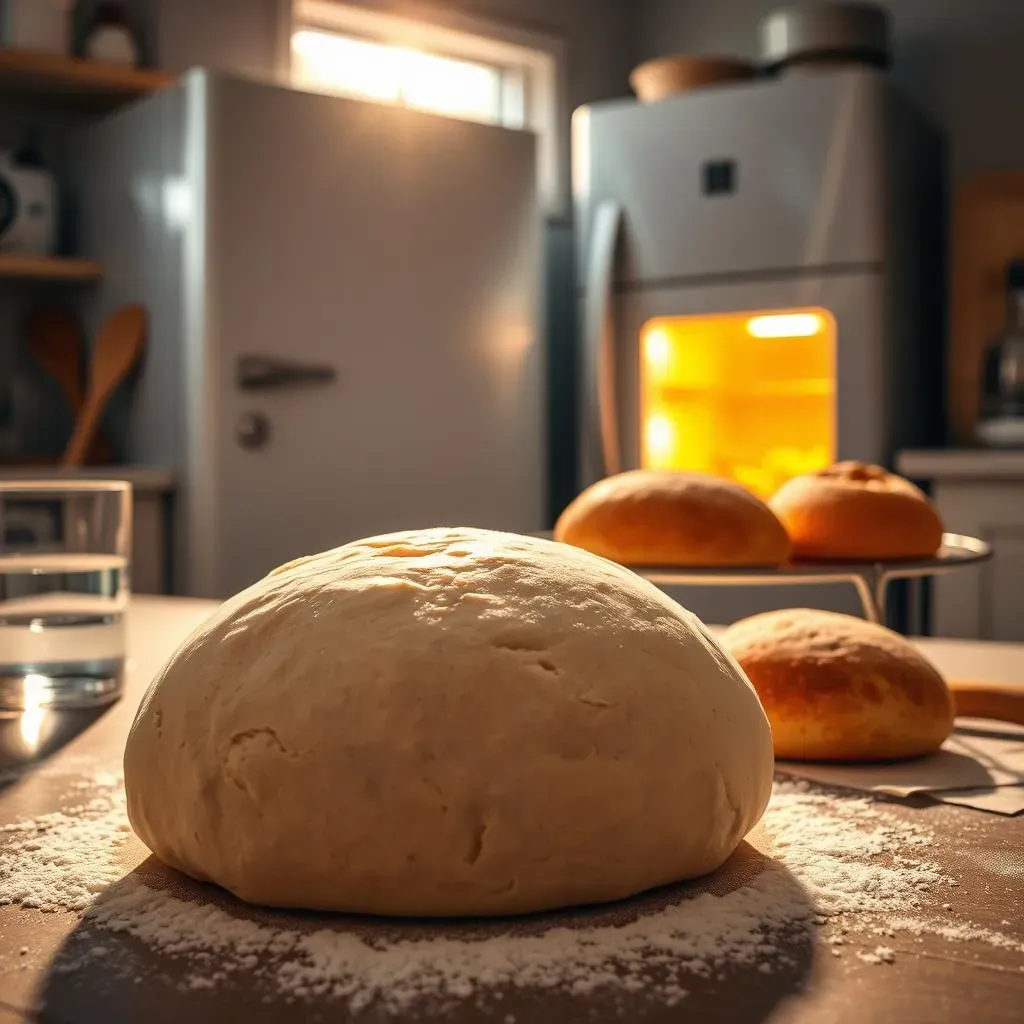
Okay, so you've made your dough, it's all smooth and beautiful, and you might be wondering, "Why do I have to put this in the fridge?" Well, let me tell you, it's not just for kicks. Refrigerating the dough is like hitting the pause button on the yeast, but it’s doing so much more than just slowing things down. It's about flavor, texture, and getting that perfect crust. When the dough chills in the fridge, the yeast works slower, developing a more complex and tangy flavor. It's like letting a good wine age; it gets better over time. Plus, cold dough is easier to handle and shape. It's less sticky and more cooperative, which means your rolls will look even better. And finally, the cold dough helps the crust become extra crispy when it hits the hot oven. It's a win-win-win situation, really.
Benefit | Explanation |
|---|---|
Flavor Enhancement | Slow fermentation develops a more complex, tangy taste. |
Texture Improvement | Cold dough is easier to handle and shape, resulting in better texture. |
Crust Development | Cold dough contributes to a crispier crust when baked. |
Serving Suggestions for Your Crusty French Bread Rolls
Serving Suggestions for Your Crusty French Bread Rolls
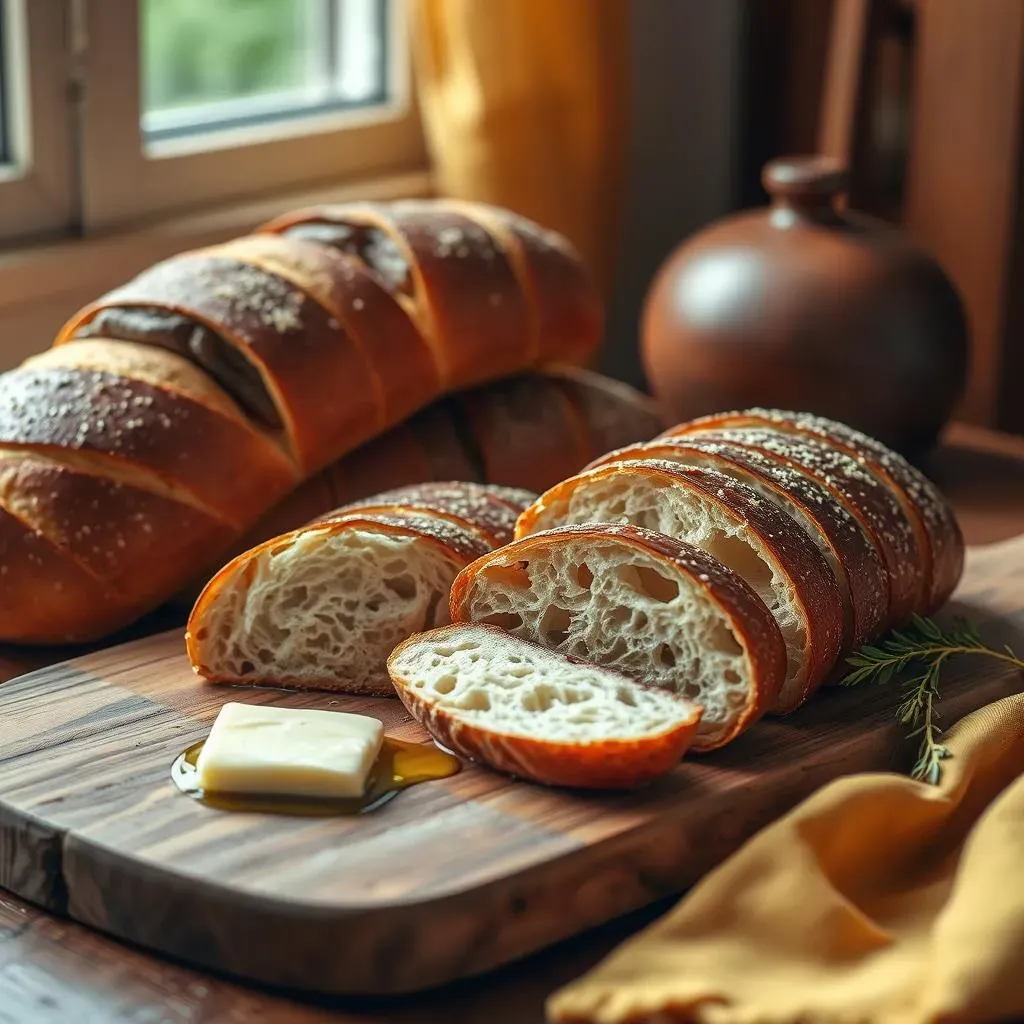
Alright, you've baked these beautiful, crusty rolls, and now you're wondering, "What do I do with these golden treasures?" Well, the possibilities are endless! These rolls are fantastic for sopping up sauces, think of a rich marinara, or a creamy alfredo. They're also perfect alongside a hearty soup, like a classic minestrone, or a spicy lentil stew. I love to use them to make mini sandwiches, just slice them in half, add some deli meat, cheese, and your favorite toppings, and you've got a quick and satisfying meal. But honestly, sometimes the simplest way is the best. Just a little bit of butter or olive oil is all you need to enjoy the amazing flavor and texture of these rolls. Don't be afraid to experiment and find your favorite pairings, the sky's the limit!
If you're having an Italian feast, these rolls are a must! Imagine a plate of linguine with clams, and these crusty rolls to mop up all the delicious garlic-wine sauce. Or picture a hearty beef braciole, with a side of these rolls to soak up every drop of the tomato gravy. They're also fantastic with a simple pasta dish, like a creamy pesto or a classic carbonara. And for a casual get-together, a big bowl of minestrone soup and a basket of these warm rolls is always a crowd-pleaser. They are also great for dipping into olive oil with some herbs. They're so versatile, you can pretty much pair them with anything. Seriously, try them with everything, you might be surprised by how well they go with almost any meal.
Dish | Why it pairs well |
|---|---|
Linguine with Clams | Perfect for soaking up the garlic-wine sauce. |
Minestrone Soup | Adds a hearty element to a light soup. |
Beef Braciole | Ideal for sopping up the rich tomato gravy. |
Olive Oil with Herbs | A simple and delicious way to enjoy the bread's flavor. |