Table of Contents
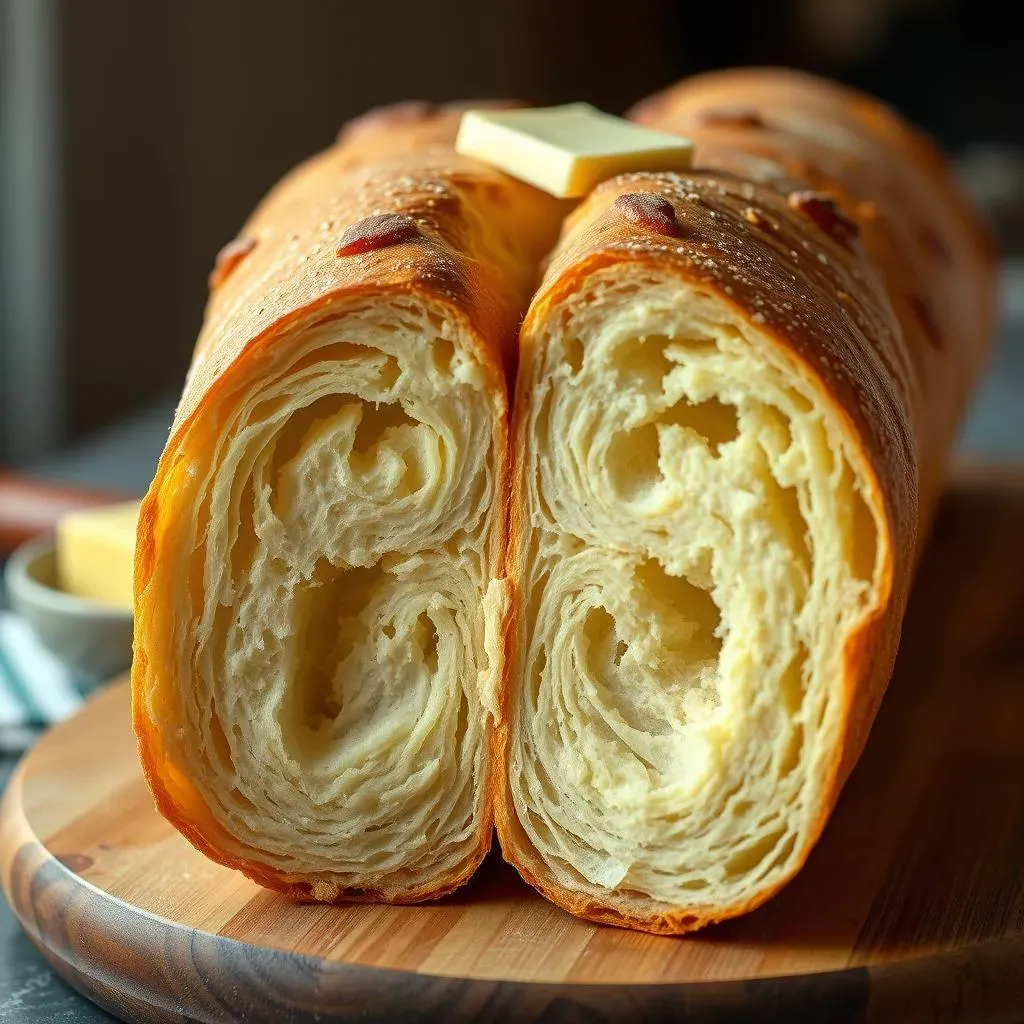
The aroma of freshly baked bread, that crispy crust yielding to a soft, airy interior… Ah, the magic of a perfect French baguette! For years, the idea of baking these iconic loaves at home might have seemed intimidating, a culinary feat reserved for professional bakers. But I’m here to tell you that’s a myth! This article will demystify the process, guiding you step-by-step through every stage of baking your own delicious French baguettes. Forget those bland supermarket loaves; prepare to experience the unparalleled satisfaction of creating something truly special. We'll cover everything from gathering the right ingredients and equipment to mastering the art of shaping, proofing, and scoring. Learning how to bake french baguette bread isn't just about following a recipe; it's about understanding the science behind the perfect crust and the satisfying chew of the crumb. Whether you're a seasoned baker or a complete beginner, get ready to embark on a delicious journey, filled with tips, tricks, and a whole lot of buttery, crusty goodness. Let's get baking!
Gathering Your Ingredients and Equipment

Gathering Your Ingredients and Equipment
Essential Ingredients: The Foundation of Flavor
First things first, let's talk about the ingredients. You'll need strong bread flour – this high-protein flour is crucial for developing the gluten that gives baguettes their characteristic chewy texture. Don't substitute all-purpose flour; it simply won't work the same way! Next up is water – lukewarm is best, as it activates the yeast properly. Then, you'll need active dry yeast (or fresh yeast, if you prefer – just check the instructions for equivalent amounts). Finally, a touch of salt enhances the flavor and controls yeast activity. For a more authentic taste, consider using sea salt. It's the simple things that make all the difference!
Remember, precision is key when baking bread. Using a kitchen scale to measure ingredients ensures consistent results. Think of it as a tiny science experiment where accuracy is paramount. A simple kitchen scale can be purchased inexpensively, and it's a worthwhile investment if you're serious about baking great bread! If you want to explore different flavor profiles, you might consider adding herbs or spices – but for the classic baguette, keep it simple! A great traditional recipe can be found here: traditional baguette recipe.
Ingredient | Quantity (approximate) | Notes |
|---|---|---|
Strong Bread Flour | 500g | High protein content is essential |
Lukewarm Water | 300-350ml | Adjust based on flour absorption |
Active Dry Yeast | 7g | Or equivalent amount of fresh yeast |
Salt | 10g | Sea salt preferred |
Essential Equipment: Your Baking Arsenal
Now, let's talk tools. You'll need a large mixing bowl for combining ingredients, ideally one that's not too shallow. A sturdy dough scraper or bench knife will come in handy for scraping down the sides of the bowl and handling the dough. A good quality baking stone is highly recommended, as it creates a wonderfully crispy crust. If you don't have one, a baking steel is a great alternative. A lame (a razor blade or sharp knife) is used for scoring the baguettes, creating that signature look. And lastly, a couche (a linen cloth) helps to gently support the rising dough, preventing it from flattening. While a couche is ideal, a lightly floured tea towel will also work in a pinch. You can learn more about the equipment used in professional settings with this article: how to make french baguette bread.
While a lame is traditionally used for scoring, a very sharp knife will work just as well. The key is to make clean, precise cuts, which will help the baguette expand evenly during baking. Don't worry about being perfect; practice makes perfect! And remember, even if you don't have every single piece of equipment on this list, you can still bake amazing baguettes. Improvise, adapt, and have fun with it! Thinking about making French toast with your leftover baguettes? Check out this recipe: baguette french toast bake.
- Large mixing bowl
- Dough scraper/bench knife
- Baking stone or baking steel
- Lame (or sharp knife)
- Couche (or floured tea towel)
- Parchment paper
Mixing, Kneading, and the First Rise

Mixing, Kneading, and the First Rise
Bringing It All Together: The Mixing Process
Okay, let's get our hands dirty! In your large mixing bowl, combine the lukewarm water and yeast. Give it a gentle stir; you want to help the yeast get cozy and start working its magic. Let it sit for about 5-10 minutes until it gets foamy – this is a sign that your yeast is happy and active, ready to party! Next, add the flour and salt. Now, here's where things get a little more hands-on.
Using your hands (or a stand mixer with a dough hook – but the hand kneading method is where the real magic happens!), start mixing everything together. Initially, it'll be a shaggy mess, but keep kneading until a fairly smooth dough forms. This takes some elbow grease, but it's worth it! Think of it as a workout for your arms and a bonding experience with your future baguette. For a more detailed explanation of traditional methods, check out this article: authentic french baguette recipe.
- Add yeast to water, let it proof
- Add flour and salt, mix until a shaggy dough forms
- Knead until smooth (at least 8-10 minutes)
The Knead to Know: Developing Gluten
The kneading process is crucial for developing gluten, that stretchy protein network that gives your baguettes their structure and chewiness. Don't be shy; really work that dough! You'll know you've kneaded enough when the dough is smooth, elastic, and slightly sticky. It should pass the windowpane test – meaning you can gently stretch a small piece of dough thin enough to see light through it without it tearing. If it tears easily, you need to knead a bit more. If you're using a stand mixer, knead on medium-low speed for about 8-10 minutes.
Once your dough passes the windowpane test, it's time for the first rise, also known as bulk fermentation. Place the dough in a lightly oiled bowl, cover it with plastic wrap, and let it rise in a warm place for about 1-1.5 hours, or until it's almost doubled in size. The rise time may vary depending on the temperature of your environment, so keep an eye on it. A warm spot is key for a good rise, think near a sunny window or above a warm oven (turned off, obviously!). If you're interested in speeding up the process, check out this recipe: quick french baguette recipe.
Stage | Description | Time |
|---|---|---|
Mixing | Combine ingredients, mix until shaggy | 5-10 minutes |
Kneading | Knead until smooth and elastic (windowpane test) | 8-10 minutes |
Bulk Fermentation (First Rise) | Let dough rise in a warm place | 1-1.5 hours |
Shaping, Proofing, and Scoring Your Baguettes

Shaping, Proofing, and Scoring Your Baguettes
Shaping Your Dough: From Blob to Baguette
Now comes the fun part – shaping! Gently deflate the risen dough. Divide it into three equal pieces (or more, depending on your desired baguette size). Shape each piece into a rough rectangle. Then, starting from the long side, tightly roll it up into a cylinder, sealing the seam well. Gently stretch and shape the cylinder into a baguette shape, about 12-14 inches long. Remember, you want a nice, even shape for even baking. Don't worry if it's not perfect; practice makes perfect! Need some extra guidance? This article offers visual help: making french baguettes.
Once you've shaped your baguettes, you need to give them a little rest. Place them seam-side up on a lightly floured couche (or a tea towel) and let them proof for another 30-45 minutes, or until they've puffed up slightly and feel soft and airy. This is a crucial step that helps develop their flavor and texture. Remember, a warm environment is your friend here! You might even want to put a damp tea towel over the couche to create a humid environment for an optimal rise.
- Gently deflate the dough
- Divide into equal pieces
- Shape into rectangles, then roll into cylinders
- Stretch and shape into baguettes
- Proof seam-side up on a couche or tea towel
Scoring and Baking: The Final Touches
Right before baking, it's time for scoring – the crucial step that gives baguettes their distinctive look and helps them expand beautifully during baking. Using your lame (or a very sharp knife), make several diagonal slashes across the top of each baguette. These slashes should be about ½ inch deep and spaced about 1 inch apart. Don't be afraid to make them deep enough, but be careful not to cut all the way through the dough! A good score is crucial for a beautiful, well-risen baguette. Want to see scoring techniques in action? Check out this video: how to make french baguette bread.
Now for the moment of truth – baking! Preheat your oven to 450°F (232°C) with your baking stone inside for at least 30 minutes. Carefully transfer your baguettes to the hot baking stone using a pizza peel or a baking sheet lined with parchment paper. Immediately spray the inside of the oven with water to create steam – this helps create a crisp crust and a soft interior. Bake for 20-25 minutes, or until the baguettes are deeply golden brown and sound hollow when tapped on the bottom. Keep an eye on them; ovens can vary! For a detailed breakdown of baking times and temperatures, refer to this recipe: authentic french bread baguette recipe.
Step | Description | Time |
|---|---|---|
Scoring | Make diagonal slashes on the top of baguettes | A few minutes |
Baking | Bake in a preheated oven with steam | 20-25 minutes |
Baking, Cooling, and Enjoying Your Perfect Baguettes
Baking, Cooling, and Enjoying Your Perfect Baguettes
From Oven to Table: The Baking Process
Once those beautiful baguettes are in the oven, the real magic begins! Keep a close eye on them during baking; you’re aiming for a deep golden-brown crust. The steam you created at the start helps achieve that signature crisp exterior and soft interior. If the crust is browning too quickly, you can tent the oven with foil to slow things down. Remember, every oven is a little different, so adjust baking time as needed. For more tips on achieving the perfect crust, check out this article on how to make french baguettes.
After 20-25 minutes (or when they sound hollow when tapped), carefully remove your baguettes from the oven. Let them cool completely on a wire rack before slicing. Resist the urge to dig in while they're still warm; this allows the crust to fully crisp up and the interior to set properly. This is a crucial step for the best flavor and texture! Want to know how many calories are in your freshly baked masterpiece? Check out this post on calories in french bread.
- Bake until golden brown and hollow-sounding
- Cool completely on a wire rack
- Resist the urge to eat them immediately!
Cooling and Storage: Keeping Your Baguettes Fresh
Once cooled, store your baguettes in a paper bag or airtight container at room temperature for up to a day. They'll start to lose their crispness after that, but don't worry – there are ways to revive them! To refresh a slightly stale baguette, simply run it under water and bake it for a few minutes in a preheated oven. This will restore some of its original crispness. Want to make them last even longer? Check this out: freezing your baguettes.
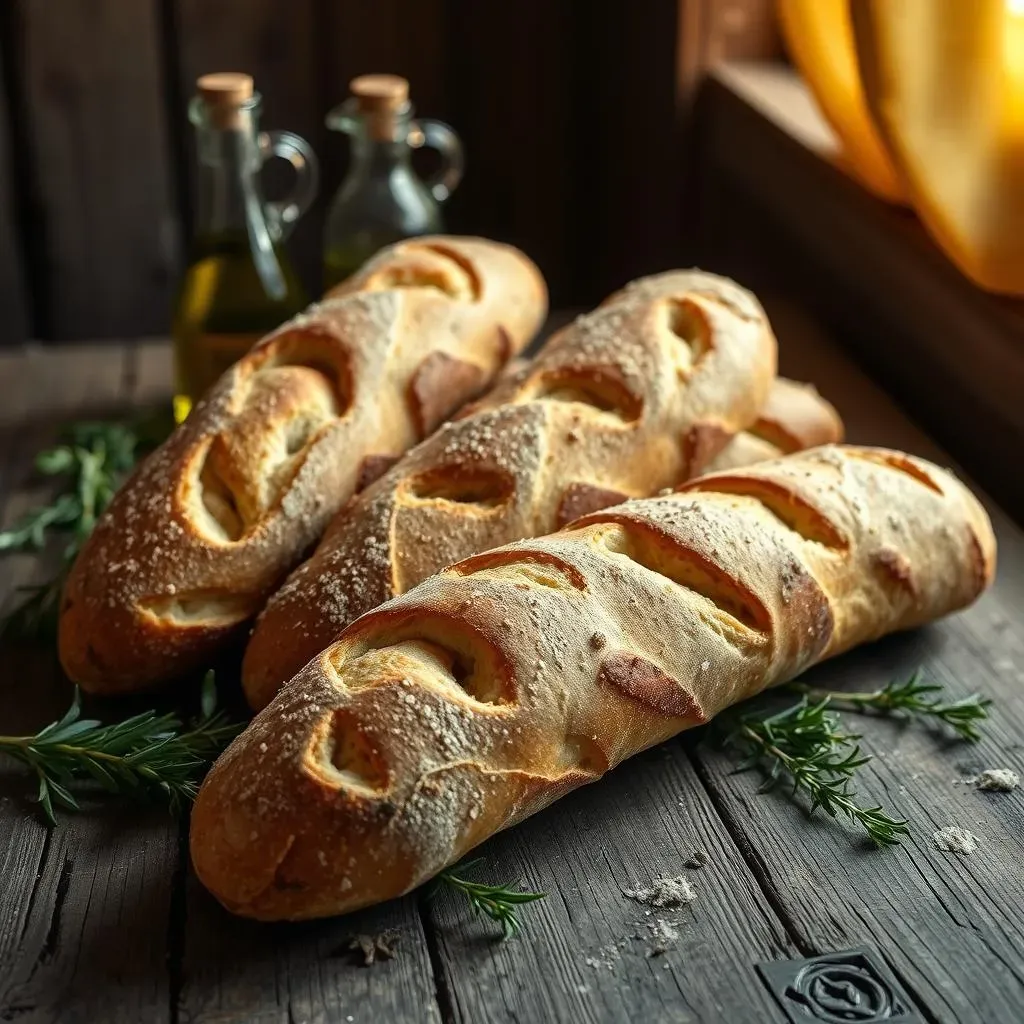
And finally, the most important part: enjoying your delicious, homemade baguettes! These are perfect for sandwiches, bruschetta, dipping in olive oil, or simply enjoying on their own. The satisfaction of biting into a perfectly baked baguette you made yourself is unparalleled. You’ve earned this moment of pure bread-based bliss! Need some ideas on how to use your freshly baked loaves? Check out these recipes: garlic bread with french baguette and baguette french toast.
Storage Method | Duration | Notes |
|---|---|---|
Room temperature (paper bag or airtight container) | 1 day | Best for maintaining crispness |
Freezing | Several months | Wrap well to prevent freezer burn |