Table of Contents
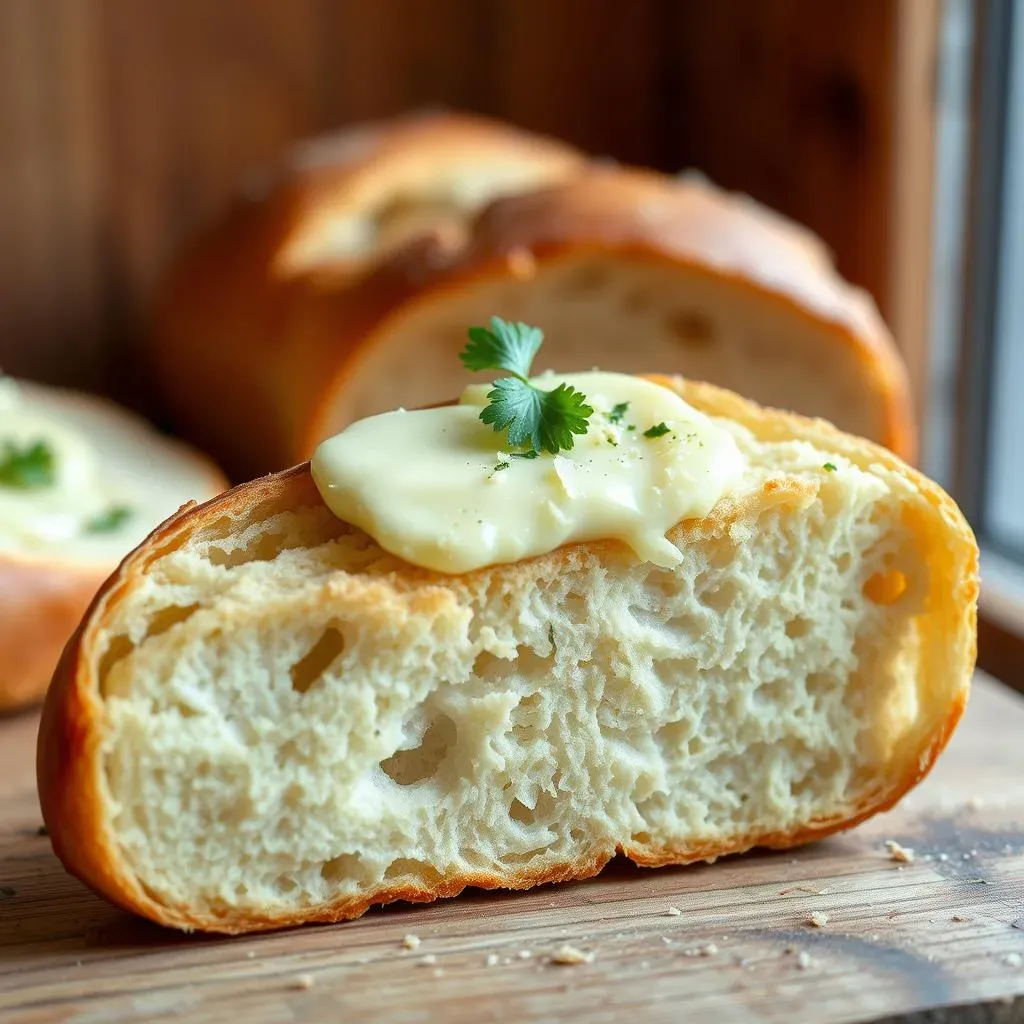
Ever craved that warm, garlicky goodness that only a perfect slice of homemade garlic bread can deliver? I know I have. Forget those sad, store-bought versions! We're about to embark on a culinary adventure, creating the most amazing homemade garlic bread using a simple loaf of French bread. This isn’t just about following a recipe; it's about understanding the magic behind those crispy edges and that soft, flavorful center. I'll walk you through each step, from prepping your ingredients to achieving that perfect golden-brown crust. You'll learn how to make a luscious garlic butter, how to get the best texture, and even some fun variations to spice things up. We'll also discuss how to store your homemade garlic bread french bread so you can enjoy it later. Ready to transform a simple loaf into a flavor explosion? Let's get started on this homemade garlic bread french bread journey!
Gathering Your Ingredients for Homemade Garlic Bread French Bread
Gathering Your Ingredients for Homemade Garlic Bread French Bread
The Star of the Show: French Bread
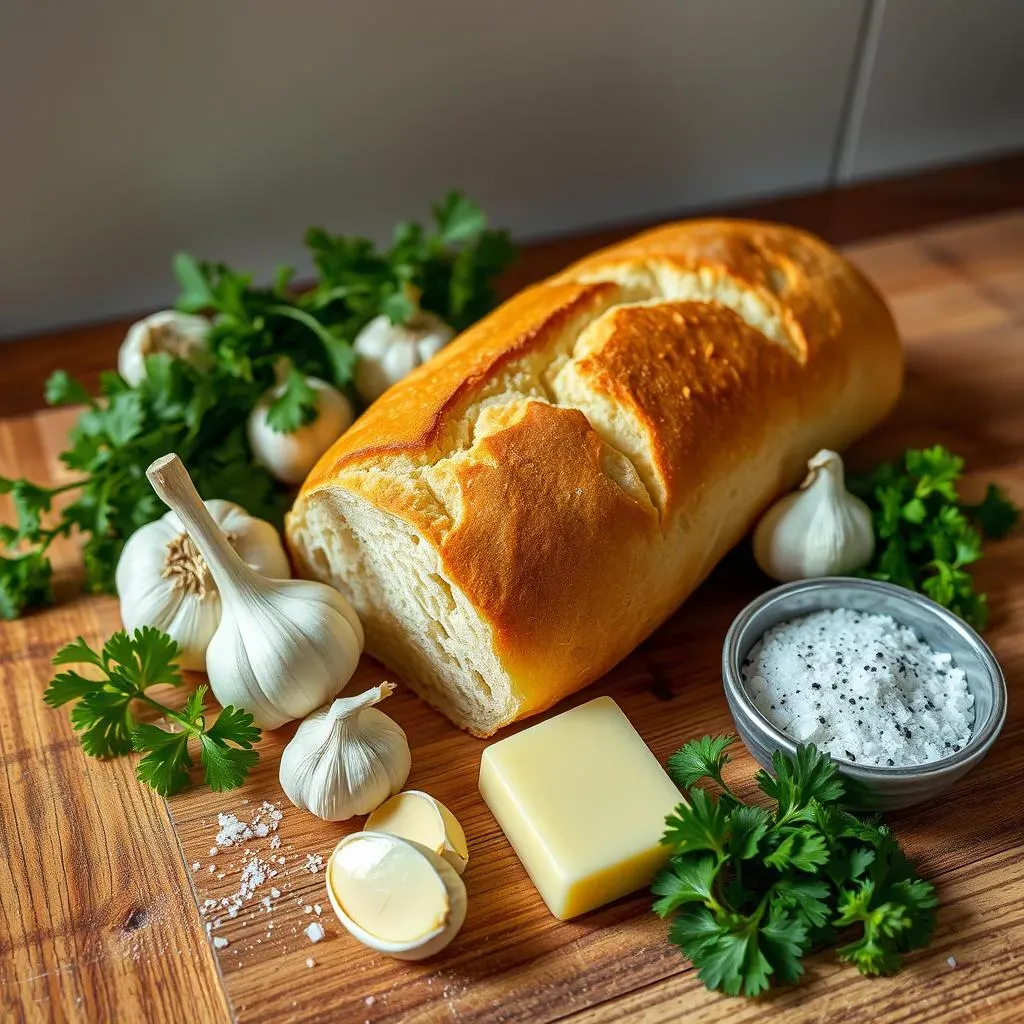
Okay, let's talk bread. You can't have amazing homemade garlic bread without the right base. For me, a classic French loaf is the way to go. It’s got that perfect crust-to-crumb ratio. I like the kind from the bakery section of the grocery store, the one that's still soft. It's sturdy enough to hold all that delicious garlic butter we’re going to slather on it, but still has a nice, airy interior. Now, don't get me wrong, you can use a baguette or even an Italian loaf if that's what you have around. But, trust me, a French loaf is where it's at for this recipe.
When you're picking out your loaf, give it a little squeeze. It should feel soft, not rock hard. If it's already super crusty, it'll probably end up too crunchy after baking, and we want that lovely balance of textures. Also, check the size – a standard loaf is usually about 24 inches long, and that’s perfect for this recipe. But if you have a big family, go ahead and grab two! It's better to have too much garlic bread than not enough, wouldn’t you agree?
The Garlic Butter Dream Team
Now for the real magic: the garlic butter. This is where the flavor party happens! First, you'll need butter, obviously. I always use unsalted butter so I can control the salt level, but salted works fine if that's what you have on hand. Let that butter soften. Don't melt it. You want it spreadable, not liquid. Next up, garlic! Fresh garlic is a must. I’m talking about real cloves. Mince them up real small, or use a garlic press if you have one. The more garlic the better in my book, but I recommend about 4 cloves for a standard loaf. Don't be shy.
Some people use garlic powder too, but I find fresh garlic has a better taste. If you must use powder, try using it in addition to fresh garlic, not as a replacement. Now, for the herbs, I like to keep it simple with some fresh parsley. It adds a nice pop of color and a little freshness. You can use dried parsley, but fresh is always better. And a dash of salt to bring all the flavors together, and a bit of black pepper to give it a little kick, and that's it! That’s our garlic butter dream team.
Ingredient | Quantity | Notes |
|---|---|---|
French Bread | 1 Loaf | About 24 inches long, soft |
Unsalted Butter | 1/2 Cup (1 Stick) | Softened, not melted |
Fresh Garlic | 4 Cloves | Minced or pressed |
Fresh Parsley | 2 Tablespoons | Chopped |
Salt | 1/2 Teaspoon | Or to taste |
Black Pepper | 1/4 Teaspoon | Or to taste |
StepbyStep: Making the Best Homemade Garlic Bread French Bread
StepbyStep: Making the Best Homemade Garlic Bread French Bread
Prepping the Bread
Alright, let's get down to business! First things first, grab that beautiful French loaf. Now, you've got a choice here. You can either slice it lengthwise, creating two long halves, or you can slice it into individual slices, about 3/4 inch thick. I prefer the lengthwise cut because it gives you a larger surface area for that garlic butter, but if you prefer individual slices, go for it. If you're going with the lengthwise method, lay the loaf on a cutting board and carefully slice it open, like you are opening a book. Make sure you don't cut all the way through! If you're doing slices, just cut the loaf into even pieces, making sure not to go too thin.
Once you've got your bread prepped, place it on a baking sheet lined with parchment paper or aluminum foil. This will make cleanup a breeze. If you're using aluminum foil, make sure to use the non-stick kind if you have it. If you don't have parchment paper or non-stick foil, just make sure your baking sheet is clean. And don't worry if you get a little bit of garlic butter on the sheet, it'll just add to the flavor! Now, let's get that garlic butter ready to be spread on the bread.
Spreading the Garlic Butter
Okay, now for the fun part! Take that softened garlic butter and start spreading it evenly over the cut sides of your bread. Make sure you get every nook and cranny, all the way to the edges. Don't be shy with the butter, we want a good, flavorful layer. If you’re using the sliced method, spread the butter on one side of each slice. I like to use a butter knife, but you can use a spoon or even your fingers if you prefer, just be careful not to rip the bread. Once you’ve got all that garlic butter spread, you can add a bit of extra parsley on top, if you like. It adds a nice little pop of color and flavor. I always add a little extra.
If you're feeling fancy, you can also sprinkle on a little bit of grated Parmesan cheese at this point. It's not necessary, but it adds a nice salty, cheesy flavor that I think goes really well with the garlic. It also helps create a nice golden crust. Now that your bread is all prepped and ready, it’s time to bake this bad boy! Preheat your oven to 375°F (190°C). Make sure your rack is in the center of the oven, and be sure the oven is properly preheated. This will help to ensure even cooking.
Step | Action | Notes |
|---|---|---|
1 | Prepare the Bread | Slice lengthwise or into 3/4 inch slices. |
2 | Place on Baking Sheet | Line with parchment paper or foil. |
3 | Spread Garlic Butter | Evenly coat cut sides of bread. |
4 | Add Optional Toppings | Sprinkle with parsley and/or Parmesan cheese. |
5 | Preheat Oven | 375°F (190°C). |
Baking to Golden Perfection
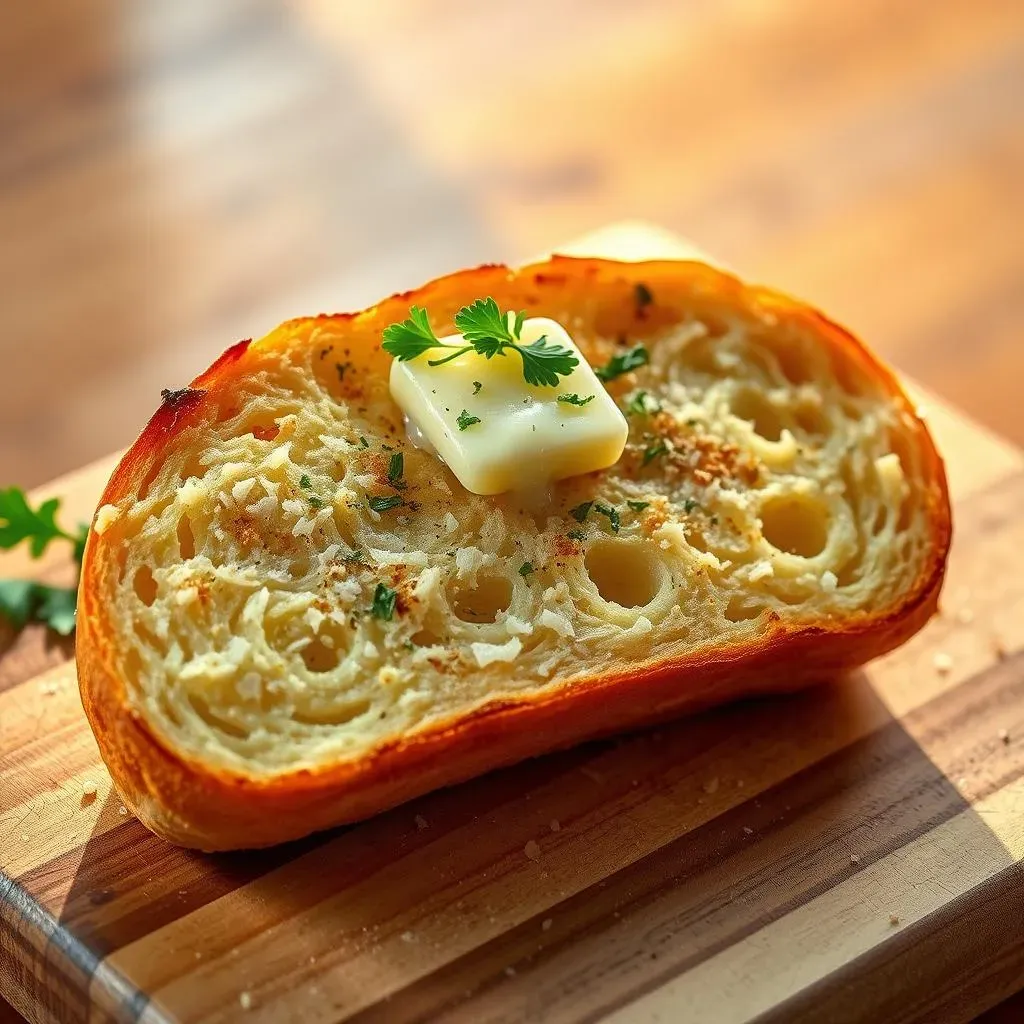
Alright, with your oven preheated and your bread all buttered up, it's time to bake! Carefully place the baking sheet with your garlic bread into the oven. Bake for about 10 to 15 minutes. Keep an eye on it, because ovens can vary. You're looking for that lovely golden-brown color, and the edges should be nice and crispy. If you want your bread a bit softer, go for the lower end of the time range. If you want it super crispy, go closer to the 15-minute mark. I like mine somewhere in the middle, so I usually go for 12 minutes.
Once the garlic bread is golden brown and crispy to your liking, carefully remove it from the oven. Be careful, the baking sheet and the bread will be hot! Let it cool on the baking sheet for a few minutes before transferring it to a cutting board or serving plate. This will help the bread to stay crispy. If you try to move it while it's still too hot, it might get a little soft. And just like that, you’ve made some delicious homemade garlic bread.
Tips and Tricks for Perfect Homemade Garlic Bread French Bread

Tips and Tricks for Perfect Homemade Garlic Bread French Bread
Getting the Most Out of Your Garlic
Okay, so you've got the basics down, but let's talk about taking your homemade garlic bread french bread to the next level. First up, garlic. If you're a serious garlic lover like me, you might be tempted to just throw in a whole head. But hold on a minute! The key is to mince it finely or use a garlic press. This releases all those amazing garlicky oils and ensures the flavor is evenly distributed throughout the butter. Also, don't be afraid to let your minced garlic sit for about 10 minutes before mixing it with the butter, this process helps to activate the allicin, which is the compound that gives garlic its distinctive flavor. And trust me, it makes a big difference!
Now, some people are scared of garlic burning, and I get that. Nobody wants bitter garlic bread. To avoid this, try adding the garlic to the melted butter after taking it off the heat, instead of cooking it with the butter. This way, the garlic will infuse the butter without burning. Also, if you prefer a milder garlic flavor, you can roast the garlic cloves before mincing them. Roasting gives the garlic a sweeter, more mellow flavor and is a great trick for those who are not a big fan of strong garlic taste. You can roast it in the oven at 400°F (200°C) for about 40 minutes.
The Butter Matters
Next, let's chat about the butter. It's not just a carrier for the garlic; it’s a flavor enhancer in its own right. Always use good quality butter, the difference is really noticeable. And again, make sure it’s softened, not melted. If it's too runny, it'll just soak into the bread and won't give you that nice, buttery layer on top. If you forget to take the butter out ahead of time, you can try the microwave for a few seconds, but be careful not to melt it. You want it soft and spreadable, like room-temperature cream cheese.
Another trick for a more flavorful garlic butter is to add a pinch of red pepper flakes. It adds a tiny bit of heat that is just so good. You can also try using a blend of different herbs, like oregano, thyme, or even a bit of rosemary. Just make sure the flavors complement each other. If you're using dried herbs, add a little less than you would with fresh herbs. Also, consider adding a touch of lemon zest to your garlic butter, it brings a little brightness and balances the richness of the butter. I know it might sound a little weird, but trust me, it's awesome.
Tip | Description |
|---|---|
Mince Garlic Finely | Releases more flavor and ensures even distribution. |
Let Garlic Sit | Activates allicin for enhanced flavor. |
Avoid Burning Garlic | Add garlic to melted butter off heat or roast for milder taste. |
Use Good Quality Butter | Better flavor and texture. |
Soften, Don't Melt Butter | Ensures a spreadable, not runny, consistency. |
Add Red Pepper Flakes | For a touch of heat. |
Experiment with Herbs | Try oregano, thyme, or rosemary. |
Add Lemon Zest | For brightness and balance. |
Serving and Storing Your Homemade Garlic Bread French Bread
Serving and Storing Your Homemade Garlic Bread French Bread
Serving Suggestions
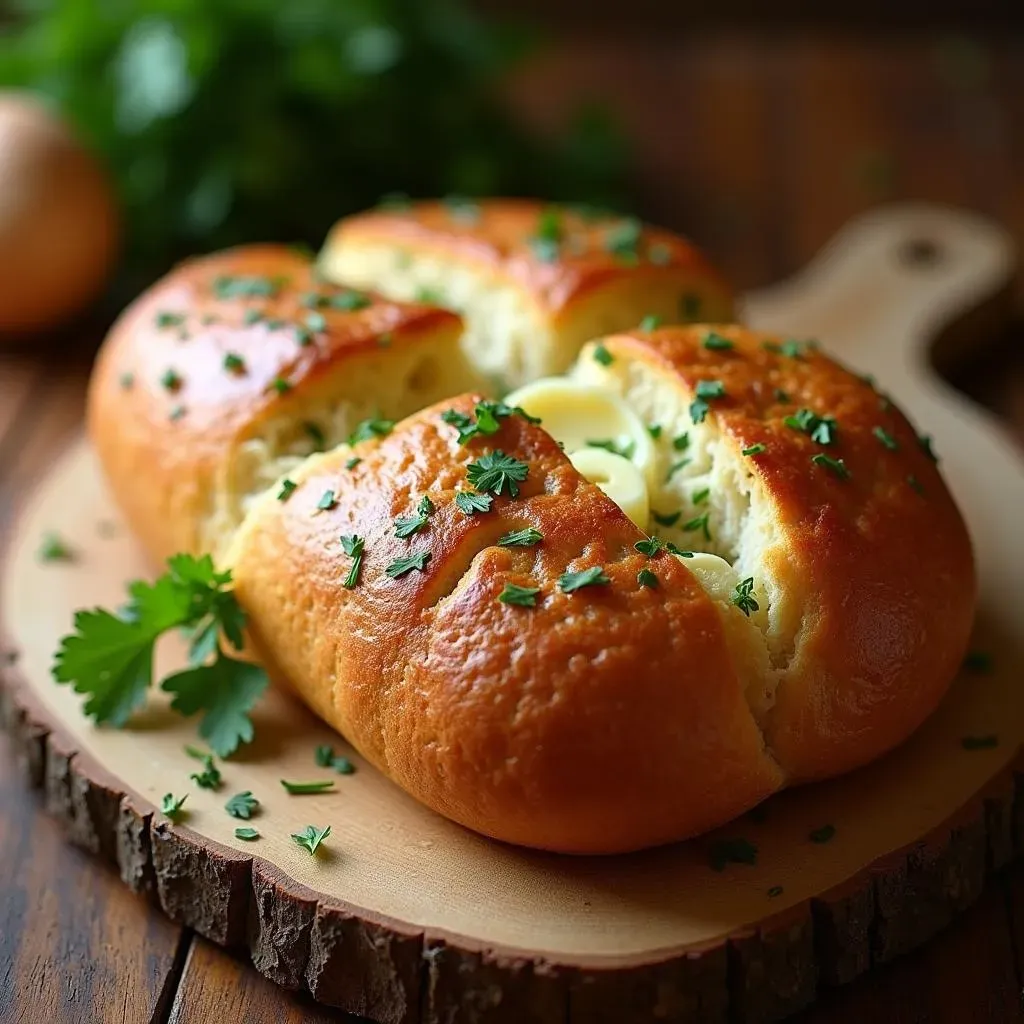
Alright, your kitchen smells amazing, and that homemade garlic bread French bread is calling your name. Let's talk about serving! This bread is fantastic on its own, warm from the oven, maybe with a little extra sprinkle of parsley. But it's also a fantastic side dish for just about any meal. Think about serving it alongside a big bowl of pasta, maybe some lasagna, or even with a hearty soup or stew. It's also a great addition to a salad or a charcuterie board. Seriously, there’s no wrong way to enjoy it. If you're feeling extra fancy, you can even cut it into smaller slices and use it as a base for bruschetta. Just top it with some chopped tomatoes, basil, and a drizzle of olive oil, and you've got an instant appetizer. And, honestly, sometimes I just eat it as a snack, straight from the baking sheet. Don't judge me.
Another fun way to serve it is to pair it with different dips. Think marinara sauce, pesto, or even a creamy artichoke dip. The possibilities are endless! The crisp edges of the bread are perfect for scooping up all that deliciousness. Also, don’t underestimate the power of a simple pat of butter on a warm slice of garlic bread. It melts so nicely and adds that extra bit of richness. I know it's a bit much, but I can't help myself. And if you're having a party, you can always cut the bread into smaller, bite-sized pieces and serve it as an appetizer. It's always a crowd-pleaser.
Storing Your Leftovers
Okay, so maybe you didn’t eat the entire loaf in one sitting. I’ve been there. If you have any leftover homemade garlic bread French bread, don't worry, it can be stored easily. The key is to keep it from getting soggy. Once the bread has cooled completely, wrap it tightly in aluminum foil or plastic wrap. You can also store it in an airtight container. This will help to keep it fresh and prevent it from drying out. It’s important to make sure that it's completely cool before wrapping it, or else you’ll trap moisture and it will get soggy. I’ve learned that the hard way.
You can store it at room temperature for a day or two, but if you want to keep it longer, store it in the fridge for up to a week. When you're ready to eat it, you can reheat it in the oven at 350°F (175°C) for about 5 to 10 minutes, or until it's heated through and crispy. If you’re reheating it from the fridge, you might need to bake it a few extra minutes. You can also reheat it in a toaster oven or even a skillet on the stovetop. Just be careful not to burn it. And if you're feeling lazy, you can always just pop it in the microwave, but it won't be as crispy. If you want to freeze it, wrap it tightly in plastic wrap and then aluminum foil, and store it in the freezer for up to 3 months. Just be sure to thaw it completely before reheating. Now, you can have delicious homemade garlic bread whenever you want!
Serving Idea | Description |
|---|---|
Side Dish | Pairs well with pasta, lasagna, soups, and stews. |
Appetizer | Cut into smaller slices and serve with dips or toppings. |
Snack | Enjoy warm from the oven with a pat of butter. |
Storage Method | Description |
Room Temperature | Wrap in foil or plastic wrap, lasts 1-2 days. |
Refrigerator | Wrap in foil or plastic wrap, lasts up to 1 week. |
Freezer | Wrap tightly in plastic wrap and foil, lasts up to 3 months. |