Table of Contents
Ever dream of the smell of freshly baked bread wafting through your kitchen? What if I told you that you could easily achieve that, with your own batch of warm, crusty homemade french bread rolls? Forget those store-bought, flavorless imposters. We're talking about real, honest-to-goodness, made-with-your-own-hands deliciousness. This isn't some complicated, chef-level undertaking. This guide breaks down the process into simple, manageable steps, perfect for even the most beginner baker. We'll walk through the recipe, discuss the secrets to achieving that perfect crust and fluffy interior, and even explore some fun variations. Get ready to learn how to craft your own amazing homemade french bread rolls, transforming your kitchen into a mini-bakery. We'll cover everything from mixing the dough to baking them to golden perfection, ensuring you have the skills to impress your family and friends. Let's get baking!
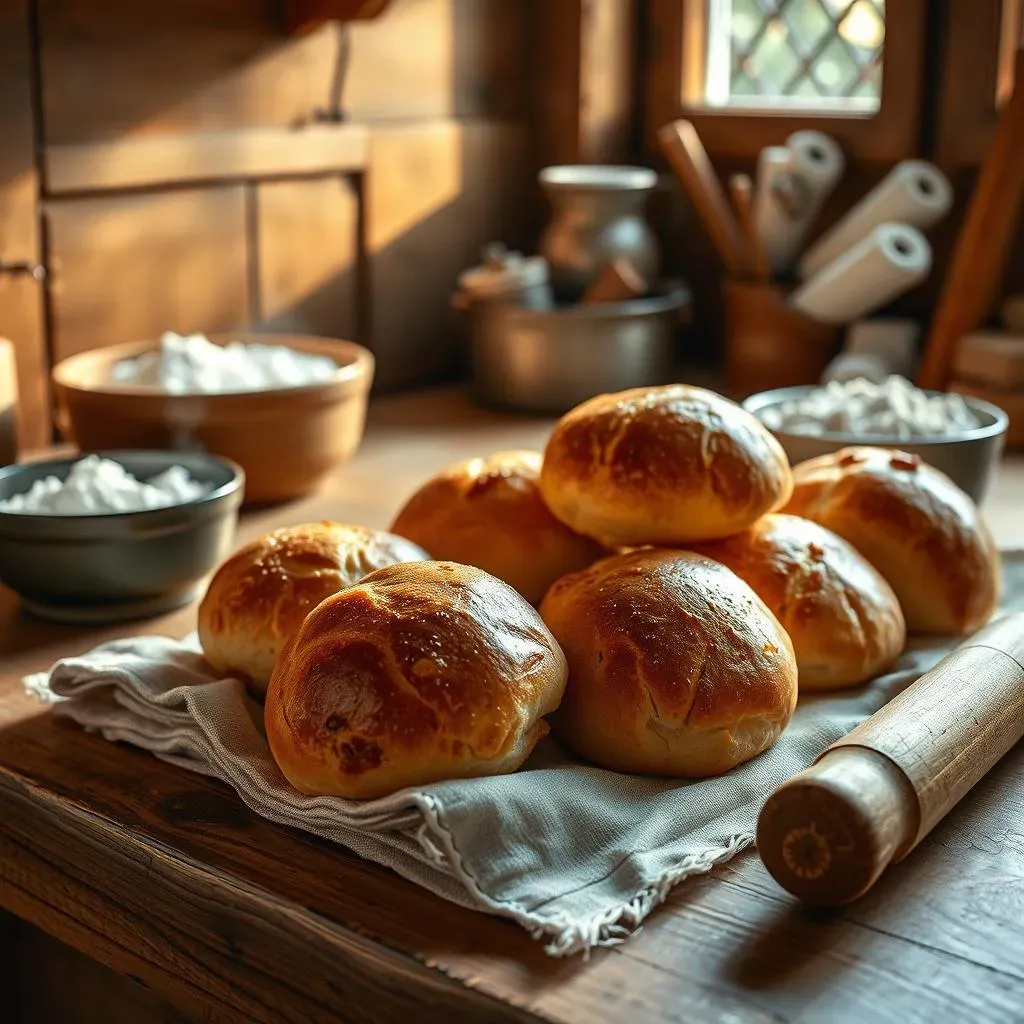
Crafting Your Own Homemade French Bread Rolls

Crafting Your Own Homemade French Bread Rolls
The Magic of Simple Ingredients
Okay, let's get real. You don't need a fancy culinary degree to make killer homemade french bread rolls. It's all about the basics. We're talking flour, water, yeast, salt, and a touch of sugar. That's it! The magic happens when these humble ingredients come together. Think of it like a science experiment, but one you get to eat afterward. Don't be intimidated by the yeast; it's a tiny powerhouse that brings our dough to life. You'll be amazed how these simple things can transform into something so delicious.
I remember the first time I made bread. I was so nervous about the yeast, thinking it was some kind of delicate flower that I'd surely kill. Turns out, it's pretty resilient, and as long as you follow the recipe, it'll do its job like a champ. So, gather your ingredients, and let’s get started on this bread-making adventure!
Mixing and Kneading Like a Pro
Alright, now we get our hands dirty. Mixing the dough is where the fun starts. You can use a stand mixer if you're fancy or just get in there with your hands. Either way, you want to combine everything until it forms a shaggy dough. Then comes the kneading, which is like giving the dough a massage. This process develops the gluten, which is what gives bread its structure. Don’t be shy, get your hands in there and work that dough. It should become smooth and elastic after about 8-10 minutes. If it's too sticky, add a little flour, a tablespoon at a time, until it's manageable.
Ingredient | Amount | Purpose |
|---|---|---|
Flour | 3 cups | Provides structure |
Water | 1 1/4 cups | Hydrates the dough |
Yeast | 2 1/4 teaspoons | Makes the bread rise |
Salt | 1 1/2 teaspoons | Adds flavor |
Sugar | 1 tablespoon | Feeds the yeast |
First Rise and Shaping
Once your dough is kneaded, it's time to let it rest. This is when the yeast really gets to work. Place the dough in a lightly oiled bowl, cover it, and let it rise in a warm place for about an hour, or until it has doubled in size. It's like watching a balloon inflate, but much tastier. Once doubled, gently punch down the dough and divide it into equal portions. Then, shape each portion into a roll, placing them on a baking sheet. Now, you're one step closer to those perfect homemade french bread rolls. Patience is key here, don't rush the rising process, it's what makes the bread light and fluffy.
I remember when I first made bread, I totally underestimated how much the dough would rise. I used a bowl that was too small, and the dough ended up overflowing! Lesson learned: bigger bowl is better. And that’s the beauty of baking, sometimes you make a mess, but you always learn something new.
Tips for Perfect Homemade French Bread Rolls
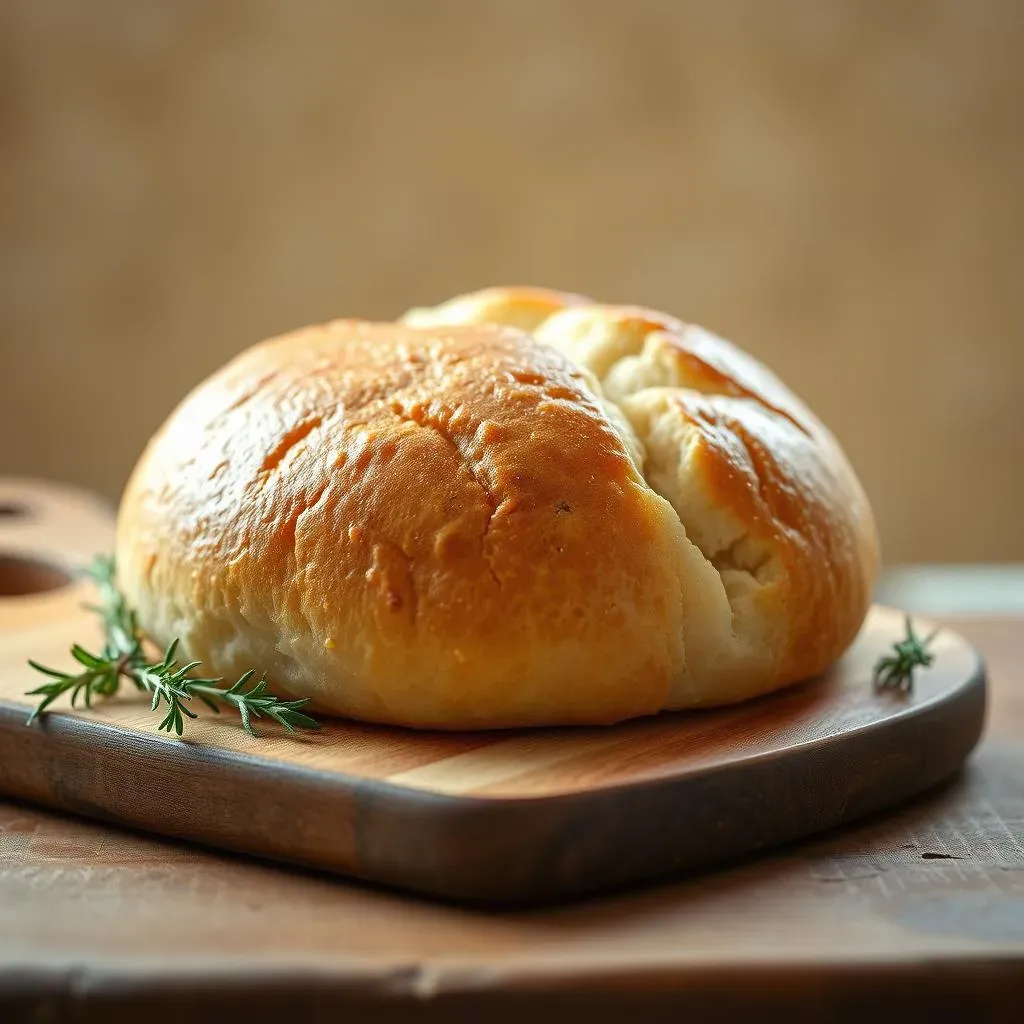
Tips for Perfect Homemade French Bread Rolls
Okay, so you've got the basics down, but let's talk about taking those homemade french bread rolls from good to absolutely amazing. It's all in the details. The first secret is all about the steam. Adding steam to your oven creates that wonderful, crispy crust we all crave. You can achieve this by placing a pan of hot water on the bottom rack of your oven while the rolls bake. This helps the outside to get super crunchy while keeping the inside soft and fluffy. It's like giving your rolls a spa treatment, but with heat. Another tip? Don't be afraid to experiment with the flour. Using a mix of bread flour and all-purpose flour can give you a fantastic texture. And finally, a little egg wash before baking will give your rolls that beautiful golden sheen. Trust me, these small touches make a big difference.
I remember one time, I forgot the steam part, and my bread rolls came out a little dry. It was a sad day for bread. But that’s how we learn, right? So now, I make sure to always have my trusty pan of water ready to go. It's like my bread-baking sidekick. And, hey, if you mess up, it's okay. It's just bread. You can always make more.
Another thing that can make or break your rolls is the oven temperature. You want it hot, but not too hot. A temperature of around 400°F (200°C) is usually perfect. Also, always make sure your oven is fully preheated before you put your rolls in. This will help them rise properly and bake evenly. And, finally, don't overbake them! You want them to be golden brown, but still soft on the inside. Keep a close eye on them during the last few minutes of baking, and take them out as soon as they look ready. Trust your instincts; you know when they're just right.
One time, I got distracted by a TV show and totally forgot about my bread rolls in the oven. When I finally remembered, they were a little too brown, but they were still delicious. It just goes to show that even when things don’t go exactly as planned, you can still end up with something good. But, let’s aim for perfection, or at least, really good.
Tip | Description |
|---|---|
Steam in the Oven | Place a pan of hot water in the oven for a crispy crust |
Flour Mix | Use bread flour and all-purpose for better texture |
Egg Wash | Brush with egg wash for a golden color |
Correct Temperature | Bake at 400°F (200°C) for best results |
Don't Overbake | Remove when golden brown and still soft |
Serving and Storing Your Homemade French Bread Rolls
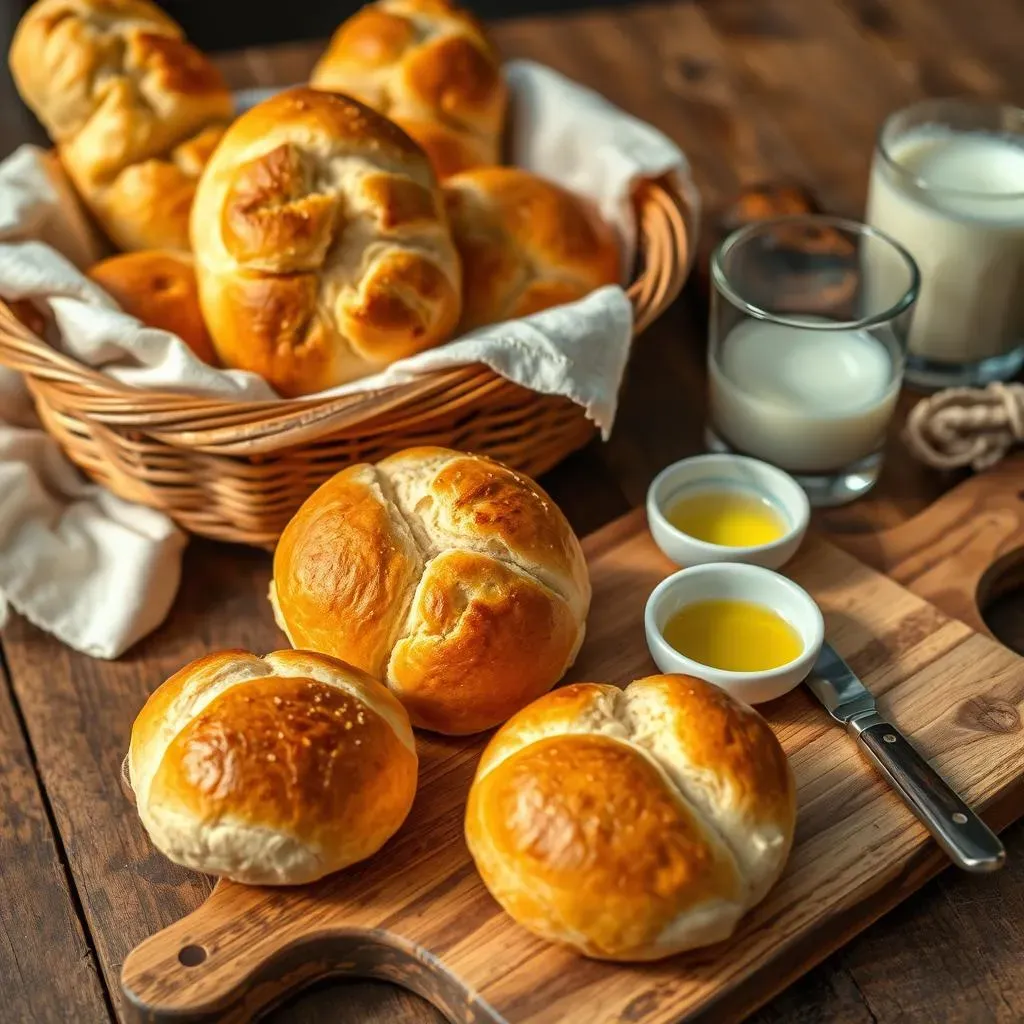
Serving and Storing Your Homemade French Bread Rolls
Alright, you've baked these beautiful homemade french bread rolls, now what? Well, first, let them cool slightly on a wire rack. This is important because if you cut into them while they're still super hot, the inside can get a little gummy. Once they're warm, not hot, they're ready to be devoured. Think of them as the perfect base for a killer sandwich. Maybe some sliced turkey, a bit of cheese, and a smear of your favorite mustard? Or, if you're feeling fancy, you can use them for mini-sliders. The possibilities are endless. And don't forget, these rolls are also amazing just on their own, with a little bit of butter or olive oil. They're perfect for dipping into a hearty soup, or just as a side to your favorite meal. The key is to enjoy them while they're fresh and delicious.
I remember the first time I made these rolls, I was so excited, I tried to eat one right out of the oven, and I burned my mouth! I learned my lesson that day, patience is a virtue, especially when it comes to hot bread. But, seriously, the wait is worth it. That first bite of a warm roll is pure heaven. And if you have any leftovers, don't worry, we've got you covered on how to store them.
Now, let's talk storage. If you've got some leftover rolls, and let's be honest, that's a rare occurrence, you'll want to keep them fresh. The best way to store them is in an airtight container or a zip-top bag at room temperature for a day or two. If you need to keep them longer, freezing them is the way to go. Let them cool completely, wrap them individually in plastic wrap, then place them in a freezer bag. When you're ready to eat them, just take them out and let them thaw at room temperature, or pop them in the oven for a few minutes to warm them up. They won't be quite as perfect as the day they were baked, but they'll still be pretty darn good. And, hey, who doesn't love a little bit of homemade bread, no matter what day it is?
One time, I made a huge batch of these rolls, and I had so many leftovers, I ended up giving them to my neighbors! It was a win-win. They got delicious bread, and I didn’t have to eat them all myself. It’s always great to share the love (and the bread!). So, whether you're serving them up right away or storing them for later, these rolls are sure to be a hit. Enjoy!
Serving Suggestion | Description |
|---|---|
Sandwiches | Use as a base for your favorite fillings |
Sliders | Make mini-burgers or sliders |
Dipping | Serve with soups, stews, or olive oil |
Butter or Oil | Enjoy them plain with a spread |
And remember, fresh bread is best shared. So, don’t be shy about inviting friends and family over to enjoy your homemade french bread rolls. The aroma of fresh bread baking is one of the most welcoming scents there is. It's a simple pleasure, but it can make any day just a little bit better. And if you’re anything like me, you’ll be making another batch soon enough! Happy baking!