Table of Contents
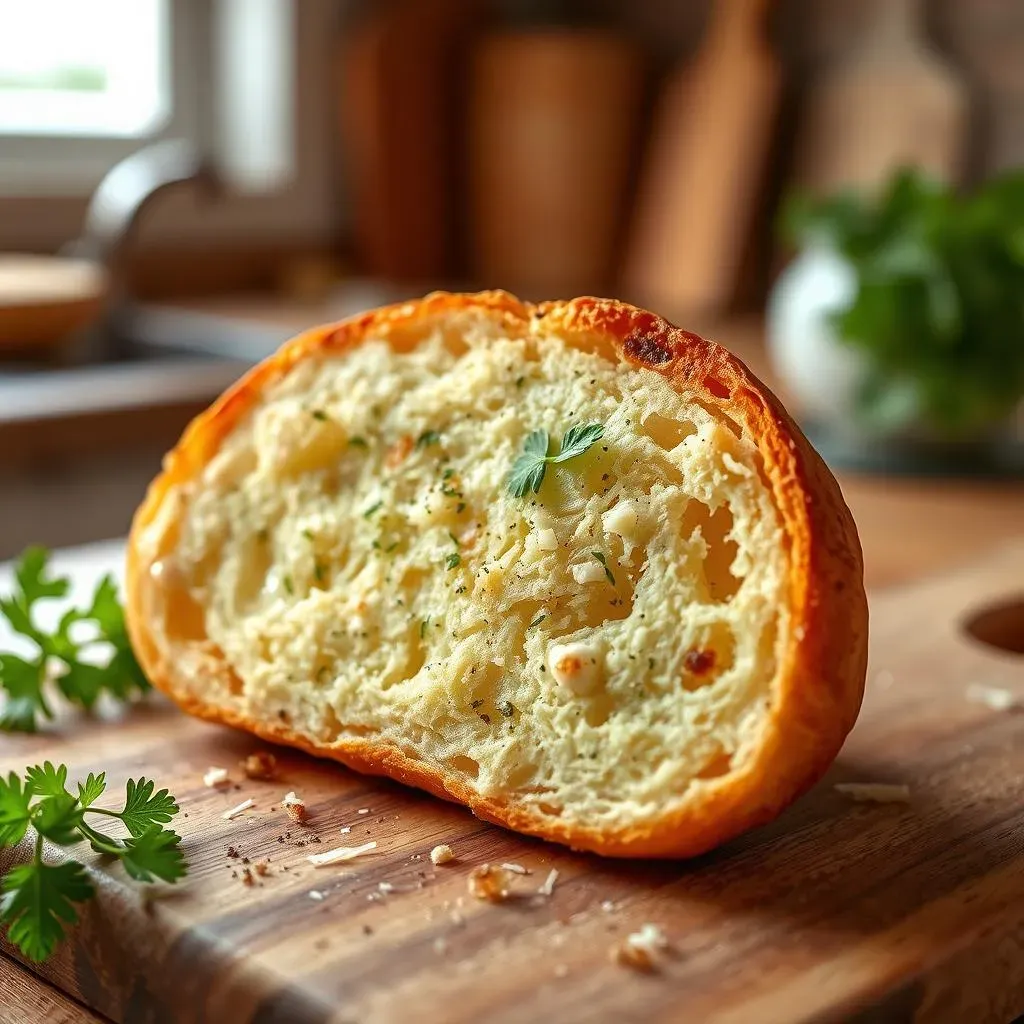
Let's be honest, who doesn't love the smell of warm, garlicky bread wafting through the kitchen? Today, we're ditching the store-bought stuff and making our own incredible homemade french bread garlic bread. It's easier than you think, and the taste is out of this world. This isn't just about slapping some butter and garlic on a loaf; we’re going to show you how to create a truly irresistible side dish. We'll start by exploring why making it at home is so much better, from the fresh ingredients to the personalized flavors. Then, I’ll walk you through the simple steps to achieve that perfect golden-brown crust and soft, flavorful inside. We'll also explore some fun ways to jazz up your garlic bread, because who doesn't love options? Finally, we'll talk about how to serve it and keep it fresh. Get ready to transform a simple loaf of French bread into the star of your next meal!
Why Homemade French Bread Garlic Bread is the Best
Why Homemade French Bread Garlic Bread is the Best
Freshness You Can Taste
Let's face it, store-bought garlic bread can be a bit of a letdown. It's often kinda stale, the garlic flavor is weak, and the texture is just...meh. When you make it yourself, you're starting with fresh ingredients. You get to choose a loaf of french bread that's still soft and warm, and you control exactly how much garlic goes in. The difference in taste is like night and day. It's not just a side, it's an experience.
Think of it like this: you wouldn't compare a garden-fresh tomato to one that's been sitting in a can for months, would you? Same goes for garlic bread. The freshness of your homemade version is going to blow the pre-made stuff out of the water every single time. It's about that 'just baked' smell and taste, that's something you just can't get from the supermarket.
Control Over Ingredients and Flavors
Another great thing about making your own homemade french bread garlic bread is that you're the boss. You decide what goes into it. Want a ton of garlic? Go for it! Prefer a bit of extra herbs? No problem! You can customize your bread to match your specific taste. This flexibility is something you simply won’t find in a pre-made loaf. You are no longer at the mercy of someone else's recipe.
For example, maybe you love roasted garlic. You can roast some up and add it to your butter mixture for an extra layer of flavor. Or, perhaps you're a fan of fresh herbs; you can chop up some parsley, oregano, or thyme and sprinkle it on top. The possibilities are endless, and that’s part of the fun. It's your kitchen, your bread, your rules!
Homemade Garlic Bread | Store-Bought Garlic Bread |
|---|---|
Fresh, customizable ingredients | Often stale, generic ingredients |
Adjustable garlic and herb levels | Fixed, often weak flavor |
Superior texture and taste | Often disappointing texture |
Simple Steps for Perfect Garlic Bread Using French Bread
Simple Steps for Perfect Garlic Bread Using French Bread
Gather Your Ingredients and Tools
Okay, so you're ready to make some amazing garlic bread using french bread, right? First things first, let's get everything we need in one place. You'll want a nice loaf of french bread, not a baguette though, we want something soft. Grab some butter; real butter is key here, softened but not melted. Get some garlic, minced fresh, not from a jar, trust me on this one. Then a little bit of dried parsley, and a baking sheet, and you will be set! It’s like getting your art supplies ready, you wouldn't start painting without your brushes!
Now, let's talk about the bread itself. You can find a good loaf of french bread at most grocery stores, or even better, a bakery if you have one nearby. The key is to pick one that feels soft and not too dense. If it’s hard as a rock, it's going to make a tough garlic bread. Once you have your ingredients and equipment, you’re ready to roll, literally, onto the next step!
The Garlic Butter Magic
Next up, we’re making the magic sauce, the garlic butter. In a bowl, mix the softened butter, minced garlic, and dried parsley. If you are feeling fancy you can add some parmesan cheese! Mash it all together with a fork until it’s a nice, spreadable paste. The key here is to make sure the garlic is evenly mixed. This mixture is the flavor bomb that will turn your plain bread into a culinary masterpiece. This isn’t just about mixing stuff together; it’s about creating a flavor that’ll make you close your eyes and say “mmm”.
Don't be shy with the garlic, but if you are not a big fan of it, you can always adjust it to your liking. You can even add a pinch of salt or a dash of pepper to really make it pop. Think of this step as the heart of your garlic bread; it’s where all the flavor comes from. Once you've got your garlic butter ready, it’s time to move to the next step.
Step | Action | Why It Matters |
|---|---|---|
1 | Gather Ingredients | Ensures you have everything ready |
2 | Mix Garlic Butter | Creates the flavor base |
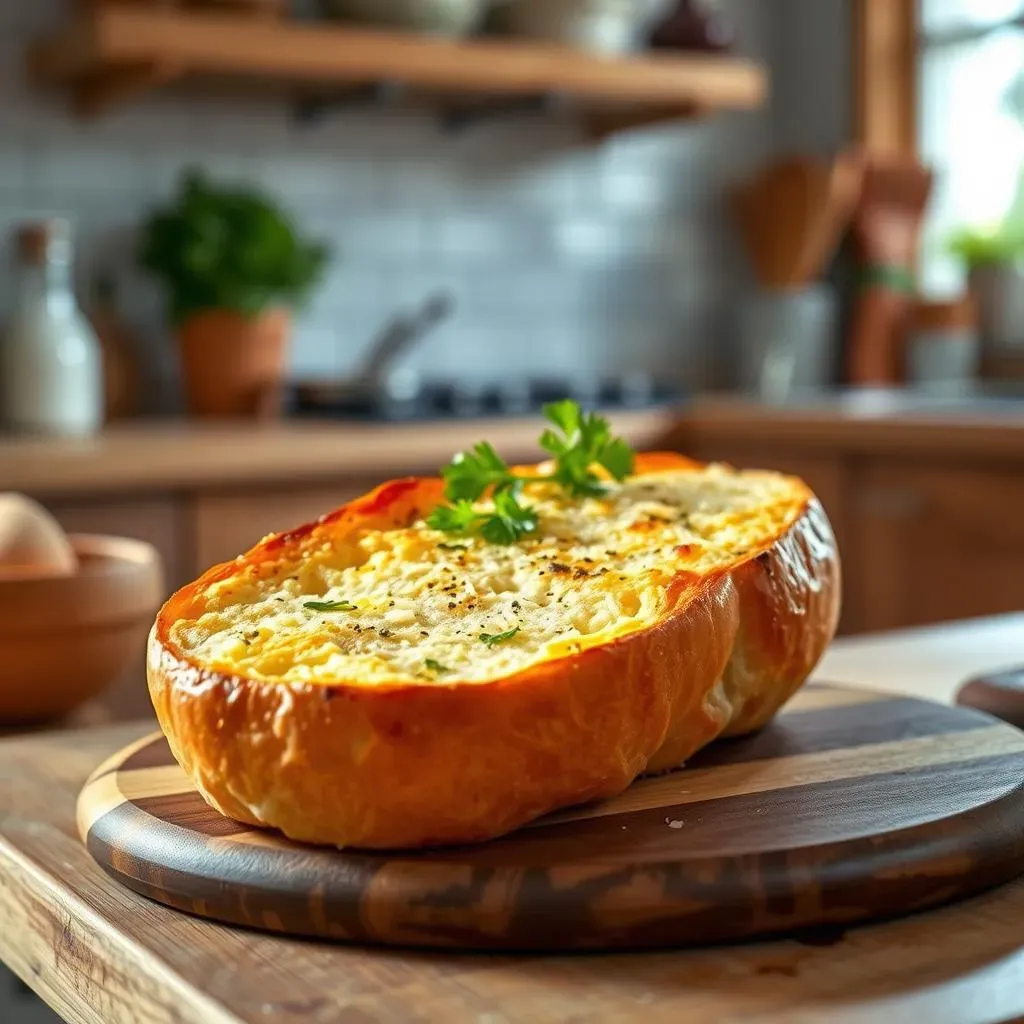
Preparing and Baking the Bread
Now, grab your french bread and slice it lengthwise. You will have two long halves. Lay them cut-side up on your baking sheet. Then, using a spoon or a butter knife, spread the garlic butter evenly over the cut surfaces. Make sure you get every nook and cranny. The more butter, the more flavor! You want to make sure that you don’t leave any dry spots, it is all about even coverage here.
Once your bread is slathered with the garlic butter, it’s time to bake. Pop it into a preheated oven at 425°F (220°C). Bake for about 12-15 minutes, or until the edges are golden brown and the garlic butter is sizzling. The goal is to get a nice crusty outside with a soft inside. Keep a close eye on it, because ovens can be tricky and you don't want to burn your precious creation. And there you have it, delicious homemade garlic bread!
“The secret ingredient is always love.” - Unknown
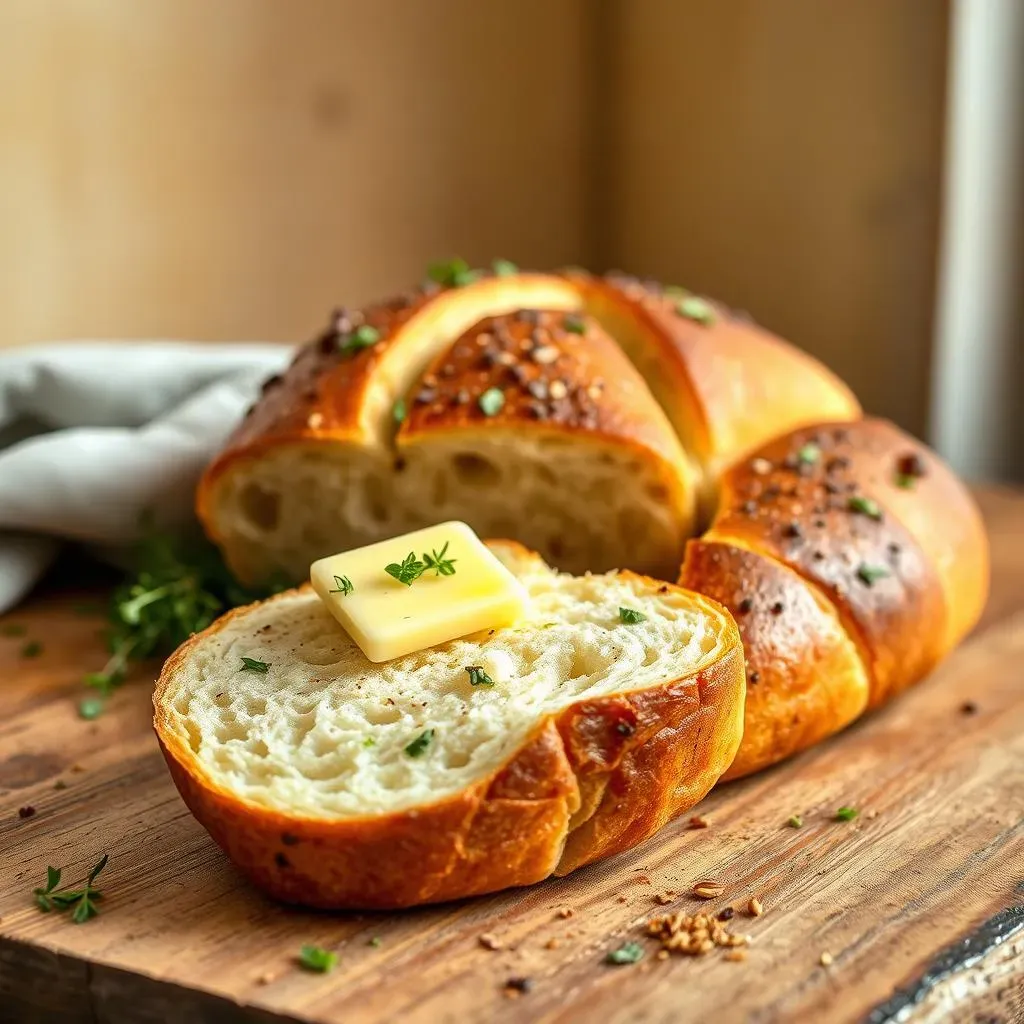
Homemade Garlic Bread: Recipe Variations to Try

Homemade Garlic Bread: Recipe Variations to Try
Cheesy Garlic Bread Bliss
Okay, so you've mastered the basic homemade garlic bread, but what if we added cheese? Oh yeah, it's a game-changer. For this variation, you’ll follow the same steps as before. But before you bake, sprinkle some shredded mozzarella, parmesan, or even a blend of your favorite cheeses over the garlic butter. The cheese melts into gooey, bubbly perfection in the oven, adding a salty, rich flavor that takes your garlic bread to another level. You can even add a bit of provolone for a nice, stringy texture. Trust me, once you go cheesy, you might never go back!
Think of it like adding a cozy blanket to your already warm bread. It gives you that extra layer of comfort and satisfaction. Feel free to experiment with different cheeses to find your favorite combo. A little bit of sharp cheddar can add a nice kick, while a sprinkle of asiago can give it a nutty flavor. The possibilities are endless, and it is all about what makes your taste buds happy. It's your bread, your cheese, your rules!
Herb-Infused Garlic Bread Magic
Want to kick up the flavor a bit more? Let's talk about herbs! Instead of just using dried parsley, try adding some fresh herbs to your garlic butter. Finely chopped rosemary, thyme, oregano, or basil can transform your homemade garlic bread into a fragrant, herby delight. The fresh herbs add a burst of aroma and flavor that is just incredible. It’s like taking a walk through a herb garden with every bite. They also add a touch of color that makes the bread look as good as it tastes!
Consider this; fresh herbs release their oils when heated, infusing the bread with their unique essence. You can even combine different herbs to create your own signature blend. A little bit of dill can add a fresh, citrusy note, while a touch of sage can give it a more earthy flavor. The goal here is to add complexity and depth to your garlic bread, making it a truly memorable experience. It is not just a side, it is a culinary adventure.
Variation | Key Ingredient | Flavor Profile |
|---|---|---|
Cheesy Garlic Bread | Shredded Cheese (Mozzarella, Parmesan, etc.) | Rich, salty, gooey |
Herb-Infused Garlic Bread | Fresh Herbs (Rosemary, Thyme, Basil, etc.) | Fragrant, fresh, complex |
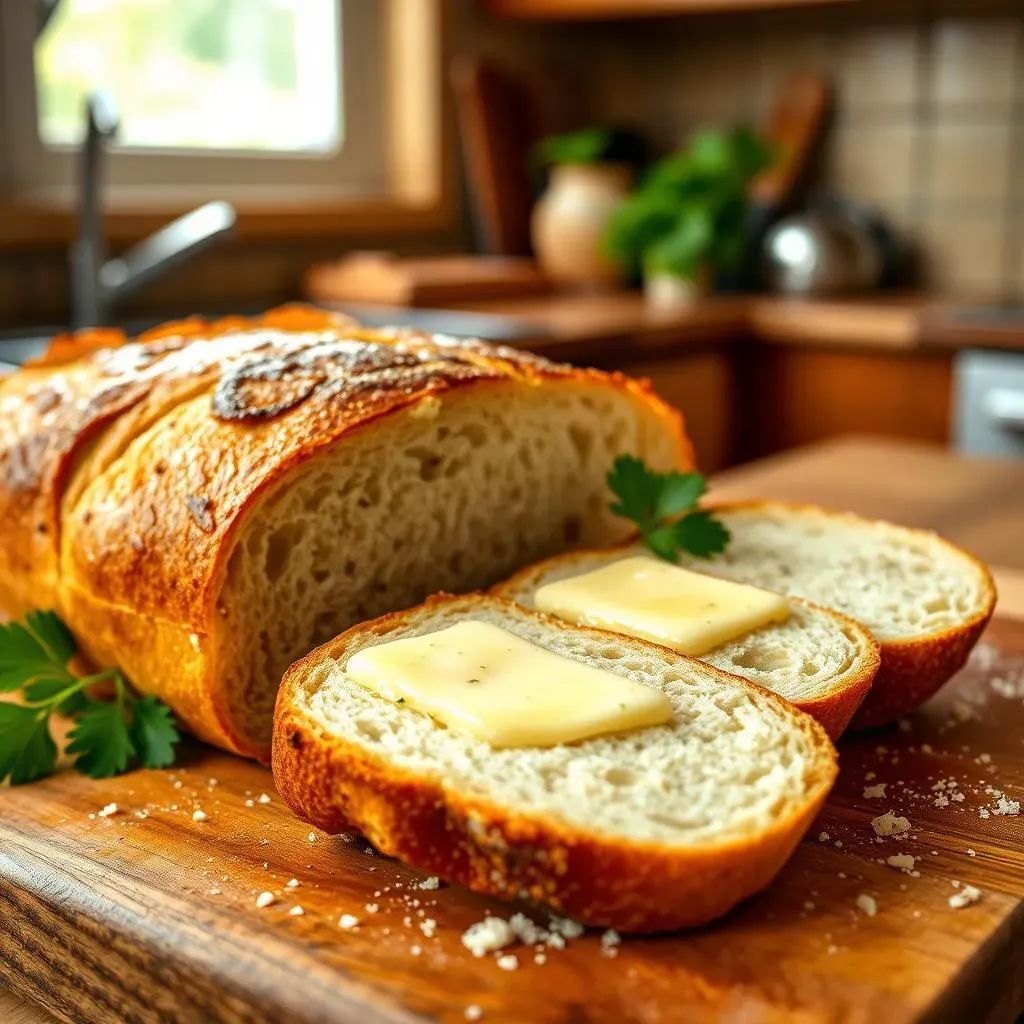
Serving and Storing Your Homemade French Bread Garlic Bread
Serving and Storing Your Homemade French Bread Garlic Bread
Perfect Pairings for Your Garlic Bread
Okay, so your homemade french bread garlic bread is out of the oven, smelling amazing, and you're ready to dig in, right? But what do you serve it with? Well, the possibilities are pretty vast! It’s a fantastic side for so many dishes. Think of it as the ultimate supporting actor, it enhances the main show. It pairs perfectly with Italian classics like lasagna, spaghetti, or any pasta dish really. The garlic and buttery flavor really complements the richness of tomato-based sauces. You can also serve it alongside a hearty salad or a bowl of soup for a complete and satisfying meal. Don’t be afraid to experiment and see what combinations you enjoy the most!
For example, imagine a warm slice of garlic bread next to a plate of chicken parmesan, or dipping it into a bowl of creamy tomato soup. It is the perfect addition to any meal that needs a little extra oomph. But, let's not limit ourselves to just Italian food, it also goes great with grilled meats, roasted vegetables, or even just as a snack on its own. The key here is to think about the flavors that complement the garlic and butter, and you’ll have a winning combination every time. It is the kind of side that just fits, no matter what.
Keeping Your Garlic Bread Fresh
Now, let’s talk about storing your homemade garlic bread, because sometimes you might have leftovers, or you want to make it ahead of time. If you're planning to eat it within a few hours, you can leave it at room temperature, wrapped in foil to keep it from drying out. But if you need to store it longer, the best bet is to wrap it tightly in foil, then place it in a zip-top bag and keep it in the fridge. This will keep it fresh for up to three days. When you are storing it, you want to make sure that it is completely cooled before wrapping it up, otherwise, it can get a little soggy.
Think of it like this; the foil is like a cozy blanket for your bread, keeping it safe and snug. The bag adds an extra layer of protection, preventing it from getting stale or absorbing other smells in the fridge. If you have pre-sliced garlic bread, you can also store them in an airtight container to keep them from drying out. The key is to keep it away from air, moisture, and strong odors. And remember, it is always better to store it earlier than later, to ensure the best quality when you are ready to use it. This way, you can enjoy your amazing garlic bread whenever you want.
Storage Method | Duration | Best Use |
|---|---|---|
Room Temperature (wrapped in foil) | Few Hours | Short-term storage |
Refrigerator (wrapped in foil and bag) | Up to 3 Days | Longer-term storage |
Reheating for Maximum Deliciousness
Okay, so you’ve stored your garlic bread using french bread and now you are ready to enjoy it again. The best way to reheat it is in the oven, it helps to keep it crispy. Preheat your oven to 350°F (175°C), place the garlic bread on a baking sheet, and bake for about 10-15 minutes, or until heated through. This method is the best for getting that original texture back. If you are in a rush, you can also reheat it in the microwave, but be warned, it can sometimes make it a bit soft. If you are using a microwave, heat it in short intervals and check it frequently to avoid making it soggy.
Think of reheating like bringing your garlic bread back to life. The oven method is like giving it a spa treatment, it allows it to regain its former glory. The microwave is like a quick fix, it gets the job done but it is not always the best option. You can also try toasting it in a toaster oven, if you have one. The key is to be patient and not overheat it. And if you are feeling fancy, you can brush it with a little extra melted butter before reheating it, to get extra flavor. With these tips, you can enjoy your homemade garlic bread even days after you first made it, it's like having a second chance at deliciousness.