
Table of Contents
Ever find yourself dreaming of that perfect, crispy, garlicky bite? You know, the kind that makes your taste buds sing? Well, you're in the right place. We’re about to embark on a journey to create the ultimate garlic toast french bread. Forget those sad, soggy imitations; we're talking about golden-brown perfection, infused with the rich, savory punch of garlic. This isn't just a recipe; it's a guide to mastering a kitchen staple that's sure to impress. We’ll start by exploring how to get that ideal balance of crispiness and tenderness. Then, we'll get into the nitty-gritty of the ingredients, showing you how to prep like a pro. Finally, we'll wrap things up with serving suggestions and smart storage solutions so you can enjoy your garlic toast french bread anytime. So, grab your apron, and let’s get started – this is going to be delicious.
Crafting the Ultimate Garlic Toast French Bread

Crafting the Ultimate Garlic Toast French Bread
Okay, so you want to make garlic toast french bread that’ll make people say "Wow!" right? It’s not rocket science, but there are a few tricks to nail that perfect balance. First, think about the bread itself. A good french baguette is key – not too soft, not too hard, just right. You want something that'll get crispy on the outside while staying fluffy on the inside. And the cut? Don’t just hack away at it. Slice it on a slight diagonal, about an inch thick. This gives you more surface area for that glorious garlic butter.
Next up, think about your oven. Preheating is crucial, so don't skip that step. You want a nice hot oven, around 400°F (200°C) usually does the trick. This ensures that the bread gets that golden-brown color and the crispy texture we're aiming for. The baking sheet matters too. Don’t just toss the slices onto a cold sheet, consider using a wire rack over a baking sheet. This allows air to circulate, helping the bottom of the bread crisp up nicely. It’s like giving your garlic toast french bread a little spa day.
Step | Action | Why it Matters |
|---|---|---|
1 | Choose the right bread | Ensures the right texture |
2 | Slice on a diagonal | Increases surface area |
3 | Preheat oven | Crispy, golden-brown bread |
4 | Use a wire rack | Even crisping |
The Magic Behind the Recipe: Ingredients and Preparation

The Magic Behind the Recipe: Ingredients and Preparation
Alright, let's talk about the real magic – the ingredients. It’s not just about throwing some stuff together, it’s about layering flavors. First, you need garlic, and lots of it. Fresh garlic is a must, don't even think about using the jarred stuff, it's just not the same. Four cloves should do it, but if you’re a garlic fiend like me, go for five or six. Mince it finely, or if you want that really intense flavor, grate it with a microplane. The finer the garlic, the more it will infuse the butter. Speaking of butter, unsalted is the way to go, so you can control the salt yourself. Half a cup should be enough for a standard baguette.
Now, for the herbs. Parsley is classic, adding a freshness that cuts through the richness of the garlic and butter. About a tablespoon of fresh parsley, finely chopped, will do the trick. If you don’t have fresh, dried will work in a pinch, but use about half the amount. And finally, a little bit of sea salt to bring all the flavors together, about an eighth of a teaspoon. Don't skip the salt, it is a flavor enhancer. This isn't just a recipe; it's a flavor symphony, and every ingredient plays its part.
Ingredient | Quantity | Why it's Important |
|---|---|---|
Fresh Garlic | 4-6 cloves | Provides the main flavor |
Unsalted Butter | 1/2 cup | Creates richness and texture |
Fresh Parsley | 1 tablespoon | Adds freshness and brightness |
Sea Salt | 1/8 teaspoon | Enhances all the flavors |
Okay, so you’ve got your ingredients, now what? It’s time to make that garlic butter. In a small bowl, take that softened butter and mash it with a fork. It needs to be soft enough to mix, but not melted. Add the minced garlic, chopped parsley, and sea salt. Mix it all together until it is well combined. You could even add a pinch of red pepper flakes if you want a little kick, or some parmesan cheese for extra flavor. The beauty of this recipe is how customizable it is. The key is to make sure everything is distributed evenly, so every bite is packed with flavor.
Once your garlic butter is ready, it is time to get it on the bread. Using a butter knife or a small spatula, spread that beautiful garlic butter over each slice of your diagonal-cut french bread. Don’t be shy with it, we are going for maximum flavor here. Make sure every nook and cranny is covered. Now that the bread is prepped, it’s ready to go into that preheated oven. This is where the magic really happens, and your kitchen will soon smell heavenly.
Garlic Toast French Bread: Serving Suggestions and Storage Tips
Garlic Toast French Bread: Serving Suggestions and Storage Tips
Serving Up Perfection
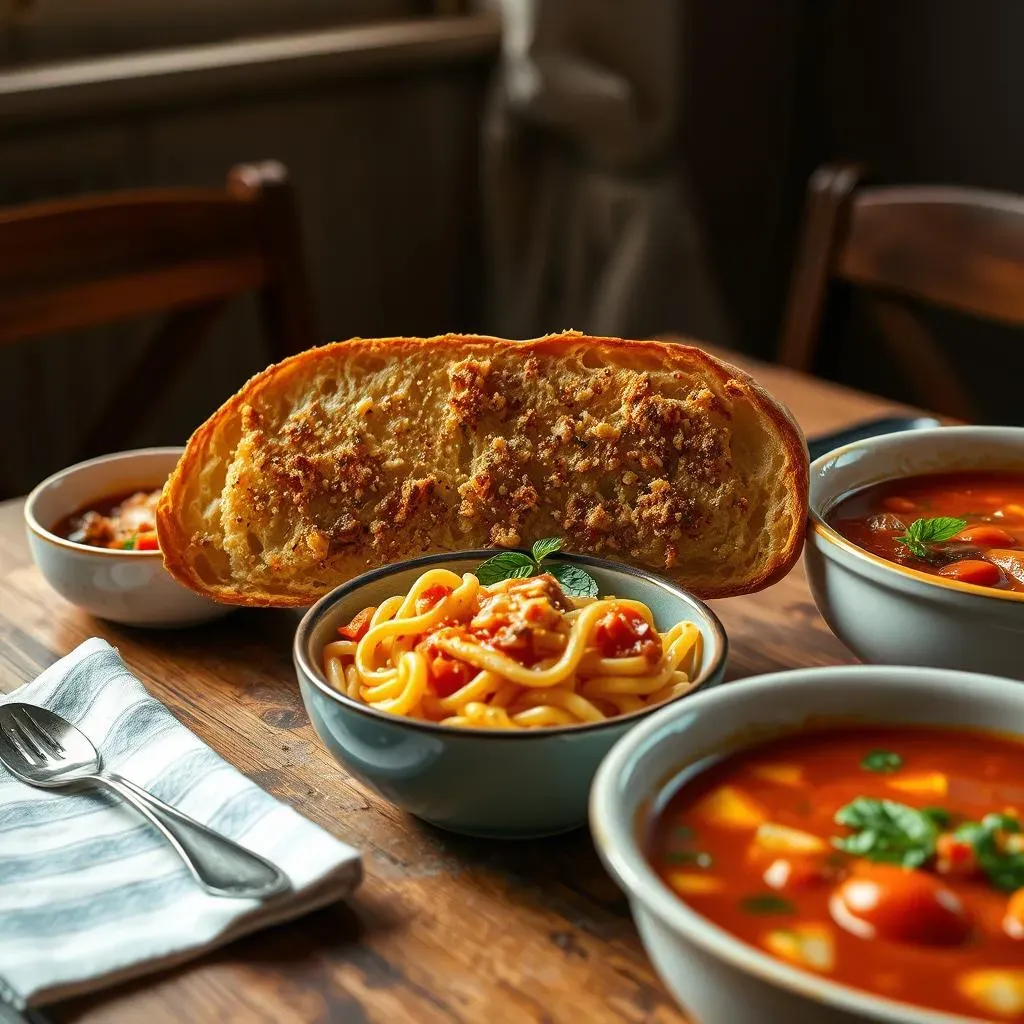
So, your garlic toast french bread is out of the oven, golden and fragrant. Now what? Well, it's time to think about serving it up! This isn't just a side dish; it's a flavor bomb that can elevate any meal. I love pairing it with a big bowl of pasta, especially something with a rich tomato sauce. The garlic butter on the bread soaks up the sauce, creating this incredible combination of textures and tastes. It's also fantastic alongside a hearty soup, like minestrone or even a creamy tomato soup. The crispiness of the bread is a great counterpoint to the warmth of the soup.
Don't limit yourself, though. Garlic toast french bread is perfect as an appetizer too. Cut it into smaller pieces, and you've got a great snack for parties or gatherings. You can even get creative and top it with some fresh tomato and basil for a bruschetta-style treat. Or, try it with some crumbled feta and a drizzle of olive oil for a Mediterranean twist. It is surprisingly versatile, and there are so many ways to enjoy it. It's all about finding what you love most.
Serving Idea | Why It Works |
|---|---|
With Pasta | Soaks up the sauce, adds flavor and texture |
With Soup | Crispy contrast to warm broth |
As an Appetizer | Easy to share, versatile toppings |
Keeping it Fresh
Now, what if you have some leftover garlic toast french bread? No worries, we've got you covered. If you're planning on eating it within a day or two, you can store it at room temperature in an airtight container. This will keep it from getting too dry. But for longer storage, freezing is the way to go. Let the garlic toast cool completely, then wrap it tightly in plastic wrap. You can also put it in a freezer bag for extra protection against freezer burn.
When you're ready to eat it, you can reheat it in the oven at 350°F (175°C) for about 5-10 minutes, or until it's warm and crispy again. If you're in a hurry, you can even microwave it, but it might lose some of its crispiness. A toaster oven works great too. Just keep an eye on it to make sure it doesn’t burn. Storing it properly will ensure you can enjoy your delicious garlic toast french bread whenever the craving hits. It is always good to have some on hand for those last-minute meals.
- Room Temperature: Up to 2 days in an airtight container.
- Freezer: Up to 3 months, wrapped tightly.
- Reheating: Oven at 350°F (175°C) for 5-10 minutes or microwave in short intervals.