Table of Contents
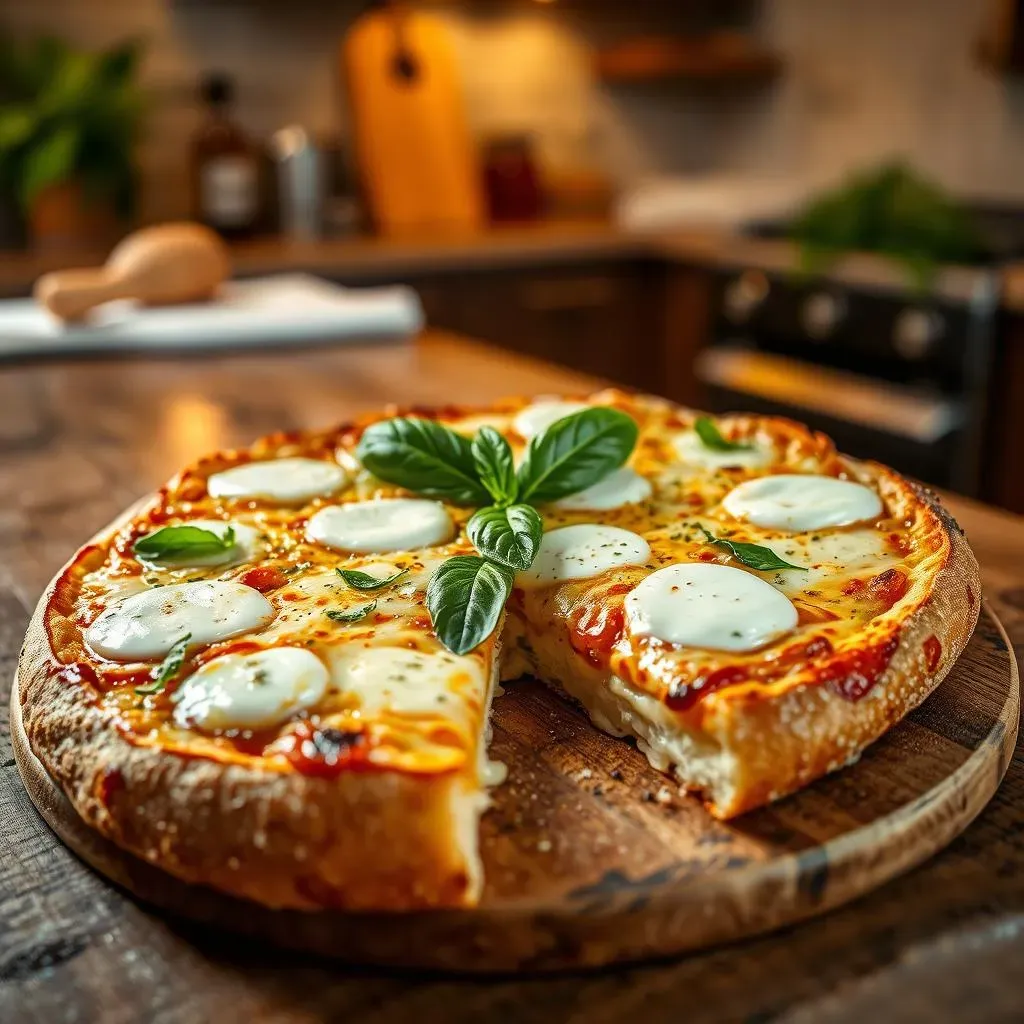
Ever have one of those days where you just need pizza, but the thought of making dough is, well, a lot? I feel you. That's where the magic of a garlic french bread pizza recipe comes in. It's like pizza's cool, laid-back cousin, ready to party in under 30 minutes. We're ditching the fussy dough and diving headfirst into a world of crispy bread, gooey cheese, and that irresistible garlic punch. This isn't just any pizza; it's a quick, customizable, and utterly delicious meal that’s perfect for a weeknight dinner, a movie night, or when you need to feed a hungry crowd without breaking a sweat. We’ll walk through creating the perfect garlic butter, assembling your pizza, and baking it to bubbly, golden perfection. Get ready to transform a simple loaf of french bread into a pizza masterpiece!
Garlic Bread Pizza Recipe: A Quick Start

Garlic Bread Pizza Recipe: A Quick Start
Why This Recipe Rocks
Okay, so you're craving pizza, but the thought of making dough from scratch makes you want to take a nap? I get it. That's the beauty of this garlic bread pizza recipe. It's a total game-changer. We’re talking minimal effort for maximum flavor. Forget kneading, rising, and all that jazz. We’re using a trusty loaf of French bread as our base which cuts prep time in half, and it gets that super satisfying crunch you just can't get with regular pizza dough. It's the perfect shortcut when you need pizza pronto.
This recipe is also super adaptable. Think of it like a blank canvas for your pizza dreams. Whether you're a pepperoni purist or a veggie enthusiast, you can load this bad boy up with whatever your heart desires. Plus, it's a fantastic way to use up any leftover veggies or meats lurking in your fridge. It's quick, it's easy, and it’s a crowd-pleaser. What more could you want? Seriously, this recipe is a lifesaver for busy weeknights or impromptu get-togethers.
Prep Time Hacks
Before we start slathering garlic butter everywhere, let's talk about prep. Honestly, there's not much to it. We're talking about a 10-minute prep situation here, tops. First things first, grab a decent loaf of French bread. Day-old bread works great, actually it will get crispier. Then, you'll need to decide on your garlic strategy – are you going the roasted route, or keeping it raw and punchy? Don’t stress, I’ll walk you through both. And of course, gather your favorite pizza toppings. I personally recommend some fresh mozzarella, marinara sauce, pepperoni, and sliced sweet peppers. But hey, it’s your pizza, so go wild!
The beauty of this recipe is that it's all about speed and simplicity. While your oven is preheating, you'll be prepping your garlic butter and getting your toppings ready. If you're using roasted garlic, it's the only part that needs some time, but hey, you can even do that ahead of time. The rest is just a matter of slicing, dicing, and getting ready to assemble your masterpiece. It’s so easy that even kids can help out, making it a fun family activity. So, let’s get that oven going and get ready to make some magic happen.
Prep Step | Time | Details |
|---|---|---|
Gather Ingredients | 5 minutes | French bread, garlic, butter, cheese, toppings |
Preheat Oven | 5 minutes | To 375°F (190°C) |
Prepare Garlic Butter | 5 minutes | Roast or mince garlic, mix with butter |
Making the Best Garlic Butter for Your Pizza

Making the Best Garlic Butter for Your Pizza
Roasted Garlic: The Flavor Bomb
Alright, let's talk garlic. We're not just slapping any old garlic on this pizza. We’re aiming for that deep, mellow, almost sweet flavor that only comes from roasting. It's like turning garlic from a feisty little thing into a smooth, sophisticated flavor bomb. To roast, grab a whole head of garlic, slice off the top, drizzle with a bit of olive oil, wrap it in foil, and toss it in the oven at 400°F (200°C) for about 45-60 minutes, or until it's soft and fragrant. The longer it roasts, the sweeter and more mellow it gets. Once it’s cool enough to handle, just squeeze those cloves out of their skins. You'll be amazed at how much the flavor changes.
Now, why go through all this trouble? Because roasted garlic isn't just about the taste; it's about the texture too. It becomes creamy and spreadable, perfect for mixing with butter. This isn’t a harsh, pungent garlic flavor; it's a gentle, nutty, almost caramelized taste that will elevate your pizza to a whole new level. Trust me on this, the extra time is totally worth it. You can even roast a few heads at a time and keep the extra in the fridge for future pizza adventures or any other dish that could use a garlic boost!
Garlic Confit: The Luxurious Option
Okay, so maybe you're feeling a bit fancy, or maybe you just roasted way too much garlic and need another way to use it. Enter garlic confit. It's basically garlic cloves simmered gently in oil until they're tender and infused with flavor. It's a bit more hands-on than roasting, but the results are incredible. To make it, peel a bunch of garlic cloves, place them in a small saucepan, cover them with olive oil, and simmer on the lowest heat for about 45 minutes to an hour, or until they're soft. It's important to keep the heat low to avoid burning the garlic. Once done, let it cool in the oil. The oil becomes garlic-infused too, so don't toss it! You can use it for cooking or drizzling over, well, anything really.
Garlic confit gives you super tender garlic cloves that are packed with flavor, but without the sharp bite of raw garlic. They're so soft that they practically melt into the butter, creating a super smooth and delicious spread. This option is great if you want that intense garlic flavor but without the texture of roasted garlic. It's also a fantastic way to make the most out of your garlic, using both the cloves and the infused oil. Seriously, once you try garlic confit, you might just find yourself putting it on everything. It's that good.
Garlic Prep | Flavor Profile | Texture | Effort Level |
|---|---|---|---|
Roasted Garlic | Sweet, mellow, nutty | Creamy, spreadable | Low |
Garlic Confit | Rich, infused, tender | Soft, melt-in-your-mouth | Medium |
Raw Garlic | Sharp, pungent, intense | Firm, crunchy | Very Low |
Raw Garlic: The Quick & Punchy Choice
Alright, let's keep it real. Sometimes, you just don't have time for roasting or confit. And that's okay! Raw garlic is a perfectly acceptable option, especially if you like a bit of a bite. Just mince a few cloves really finely, and mix it with your softened butter. The key here is to make sure the garlic is finely minced to avoid any overpowering chunks. If you’re using raw garlic, you’ll get a much sharper, more intense flavor. It’s great if you like that punchy, garlicky taste that hits you right away. I'd suggest starting with a smaller amount and adding more to taste, as raw garlic can be pretty potent.
Using raw garlic is the quickest and easiest way to make garlic butter, perfect for those nights where you need to get dinner on the table ASAP. It might not have the same depth of flavor as roasted or confit garlic, but it brings its own unique charm to the party. If you're a fan of that bold, fresh garlic flavor, then this is the method for you. It’s a no-fuss option that still delivers a delicious result. So, whether you're a roasted garlic aficionado, a confit connoisseur, or a raw garlic rebel, the choice is yours. Just make sure you’re using good quality butter. It will make all the difference.
Assembling Your Garlic French Bread Pizza
Assembling Your Garlic French Bread Pizza
The Base Layer: Garlic Butter Bliss
Alright, now for the fun part! We’re talking about transforming that plain ol’ French bread into a garlicky dream. Grab your loaf and slice it lengthwise, creating two long halves. Now, take that glorious garlic butter you’ve made – whether it’s roasted, confit, or raw – and spread it generously all over the cut sides of the bread. Don’t be shy! We want every nook and cranny coated in that buttery, garlicky goodness. This is what's going to give your pizza that amazing flavor and crispy crust. Think of it like painting a masterpiece, only this masterpiece is edible and incredibly delicious. Make sure you get right to the edges; we want every bite to be a flavor explosion. Once you've got your garlic butter base set, it's time to move on to the next layer of deliciousness.
If you're feeling extra fancy, you can even sprinkle a little bit of grated Parmesan cheese over the garlic butter before adding the other toppings. It adds a nice salty, savory kick that complements the garlic perfectly. The goal here is to create a solid foundation of flavor that will tie everything together. This isn’t just about slapping some butter on bread; it’s about building a flavor profile that will make your taste buds sing. So, take your time, be generous with that garlic butter, and get ready for the next step, which is all about layering on the goodness.
Layering the Good Stuff: Toppings Time
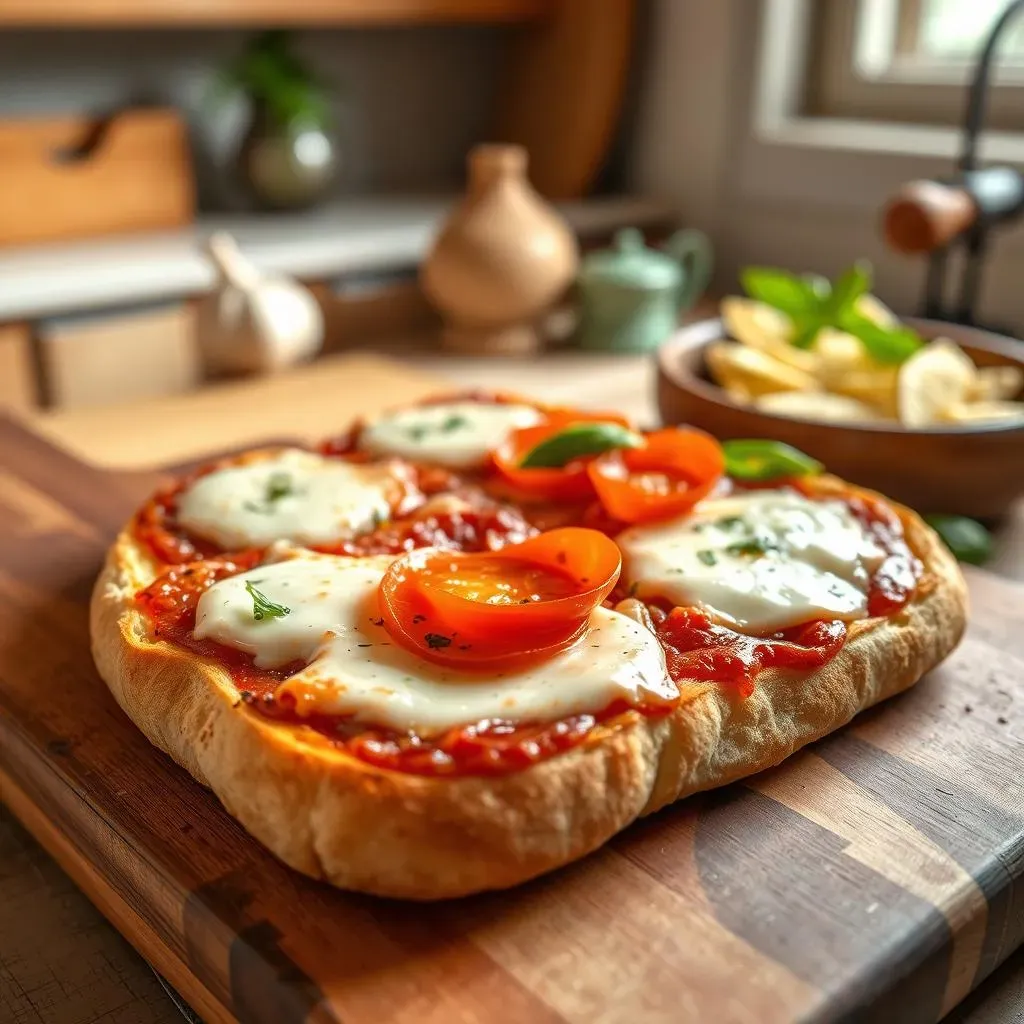
Now that your garlic bread is prepped and ready, it’s time to unleash your inner pizza artist! Start with a layer of your favorite pizza sauce. Marinara is always a classic, but you could also use pesto or even a white garlic sauce if you're feeling adventurous. Spread it evenly over the garlic buttered bread, making sure not to go overboard. You want enough sauce to add flavor and moisture, but not so much that it makes the bread soggy. Next, comes the cheese. Fresh mozzarella is my go-to, but you can use shredded mozzarella, provolone, or any cheese that melts well. Be generous with the cheese, because nobody likes a stingy pizza.
Finally, it’s time for the toppings. This is where you can really get creative. Pepperoni, sausage, mushrooms, onions, bell peppers, olives – the possibilities are endless. Arrange your toppings in a way that ensures every bite has a little bit of everything. Don’t just dump them all in the middle; spread them out evenly. Once you’ve layered all your toppings, your pizza is ready for the oven. Remember, this is your pizza, so don’t be afraid to experiment with different combinations. The key is to have fun and create something that you’ll absolutely love. Now, let’s get this masterpiece into the oven and watch the magic happen.
Layer | Purpose | Tips |
|---|---|---|
Garlic Butter | Flavor Base | Spread generously, get to the edges |
Pizza Sauce | Moisture and Flavor | Use enough, but don't overdo it |
Cheese | Melty Goodness | Be generous, use a good melting cheese |
Toppings | Customizable Flavor | Arrange evenly, be creative |
Baking Your Garlic Bread Pizza to Perfection
Baking Your Garlic Bread Pizza to Perfection
The Initial Bake: Melting the Butter and Crisp the Bread
Okay, so your pizza is all dressed up and ready to go. Now it's time to get it into the oven! We're going to start with an initial bake to melt that garlic butter and get the bread nice and crispy. Place your assembled pizza directly on the center rack of your preheated oven, set to 375°F (190°C). We're not going for a full cook just yet. This step is all about melting the butter into the bread and creating a solid base for the toppings. Let it bake for about 8-10 minutes, or until the edges of the bread start to turn a light golden brown and the garlic butter is bubbling. You'll know it's ready when your kitchen starts to smell like a garlic-lover's dream. This initial bake is crucial because it sets the stage for a crispy, not soggy pizza.
Keep a close eye on it during this phase. Ovens can be a bit temperamental, so you might need to adjust the time slightly. The goal is to get the bread nicely toasted and the garlic butter melted without burning the edges. Once you’ve achieved that perfect golden-brown hue, it’s time for the final bake. We’re not done yet! But this is the part where all your hard work comes together and we transform your garlic bread into a mouthwatering pizza. So, pull that beauty out of the oven and get ready for the next step, which is going to make your pizza the star of the show.
The Final Bake: Topping Perfection
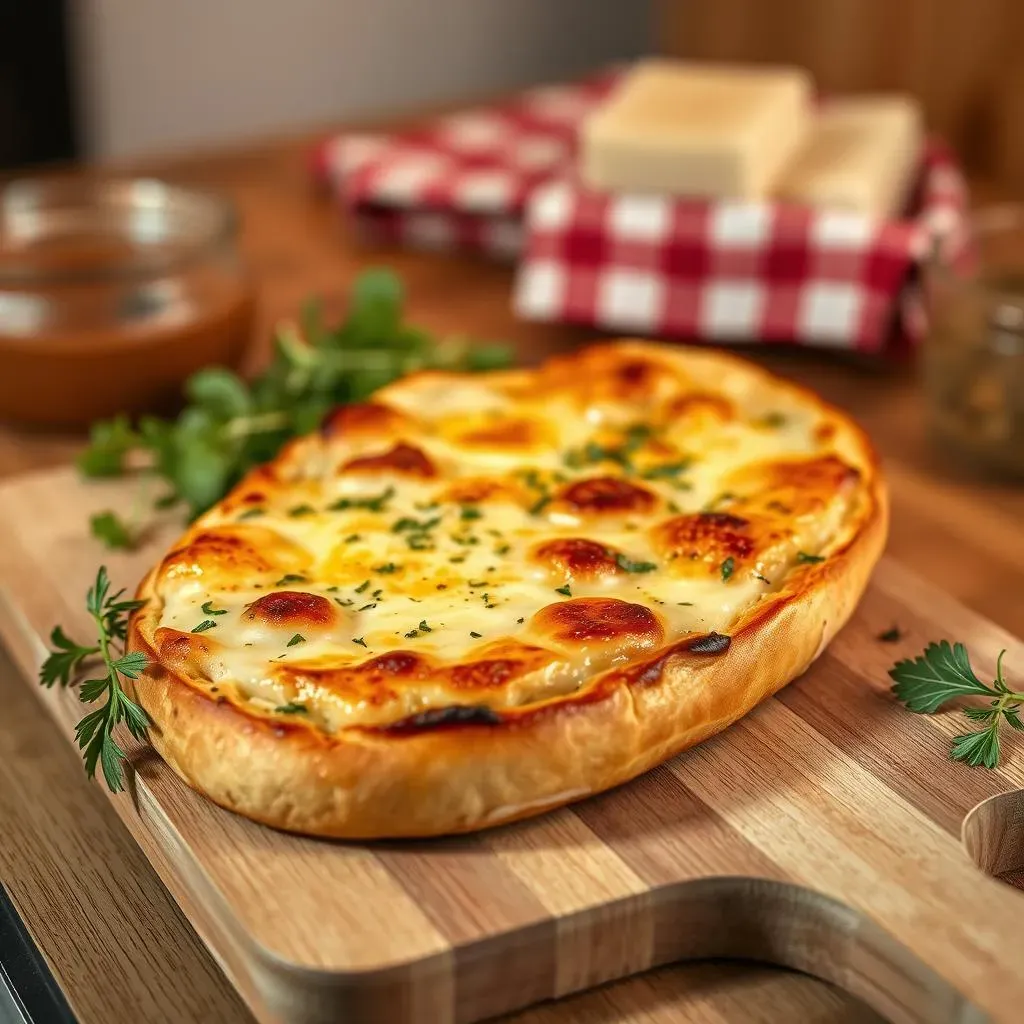
Now that your garlic bread has had its initial bake, it's time to fully cook the toppings and melt that cheese to gooey perfection. Pop that pizza back into the oven for another 12-15 minutes. This time, we're looking for the cheese to be completely melted, bubbly, and starting to brown in spots. The toppings should be cooked through, whether it’s pepperoni getting crispy or veggies becoming tender. Keep an eye on it, and if you notice the crust getting too dark, you can always loosely tent it with foil to prevent it from burning. The key here is to bake it until everything is cooked to your liking and the cheese is irresistibly gooey. This is where the magic really happens, and your pizza is transformed from something good to something utterly amazing.
Once the cheese is melted and bubbly and the toppings are cooked to perfection, pull your pizza out of the oven. Let it rest for a few minutes before slicing and serving. This allows the cheese to set up a little bit, making it easier to handle. The resting period also allows the flavors to meld together, creating a more cohesive and delicious pizza experience. And there you have it—a perfectly baked garlic french bread pizza, ready to be devoured! The combination of the crispy crust, the flavorful garlic butter, the gooey cheese, and the delicious toppings is truly irresistible. I mean, who can resist such a thing? Get ready to enjoy the fruits of your labor because this pizza is about to become your new favorite.
Baking Phase | Oven Temperature | Time | Goal |
|---|---|---|---|
Initial Bake | 375°F (190°C) | 8-10 minutes | Melt butter, crisp bread |
Final Bake | 375°F (190°C) | 12-15 minutes | Melt cheese, cook toppings |
Tips for a Perfect Bake
Alright, let’s talk about some pro tips to make sure your garlic french bread pizza is absolutely perfect. First up, always preheat your oven properly. It’s a simple step, but it makes a huge difference in how evenly your pizza cooks. Don't rush the preheating process, let it get to the right temperature before you put the pizza in. Second, if you're using a lot of toppings that release moisture, like fresh tomatoes or mushrooms, consider baking them separately for a bit or patting them dry before adding them to the pizza. This will prevent your pizza from getting soggy. Nobody wants a soggy pizza. Third, keep an eye on the crust. If it's browning too quickly, you can lower the oven temperature slightly or loosely cover the pizza with foil to prevent burning. The goal is a golden-brown, crispy crust, not a charred one.
Lastly, don't be afraid to experiment with different cheeses and toppings. This recipe is a great base to get creative with. Try using a combination of different cheeses, or add some heat with some red pepper flakes. And don't forget to let your pizza rest for a few minutes before slicing. This allows the cheese to set up and makes it much easier to handle. With these tips in mind, you’ll be making restaurant-quality garlic french bread pizza in no time. Remember, the key to a great pizza is patience, attention to detail, and a little bit of experimentation. So, go ahead, give it a try, and get ready to enjoy a homemade pizza that's sure to impress.
Garlic Bread Pizza: A Deliciously Easy Win
So there you have it, a garlic french bread pizza recipe that’s as simple as it is satisfying. From the garlicky, buttery base to the customizable toppings, it's a meal that's ready to adapt to whatever you're craving. This isn't just about a quick fix; it’s about enjoying a homemade meal without all the fuss. Whether you’re a seasoned chef or a kitchen newbie, this recipe is your ticket to a guaranteed crowd-pleaser. Now go forth, grab that loaf of French bread, and make some pizza magic happen!