Table of Contents
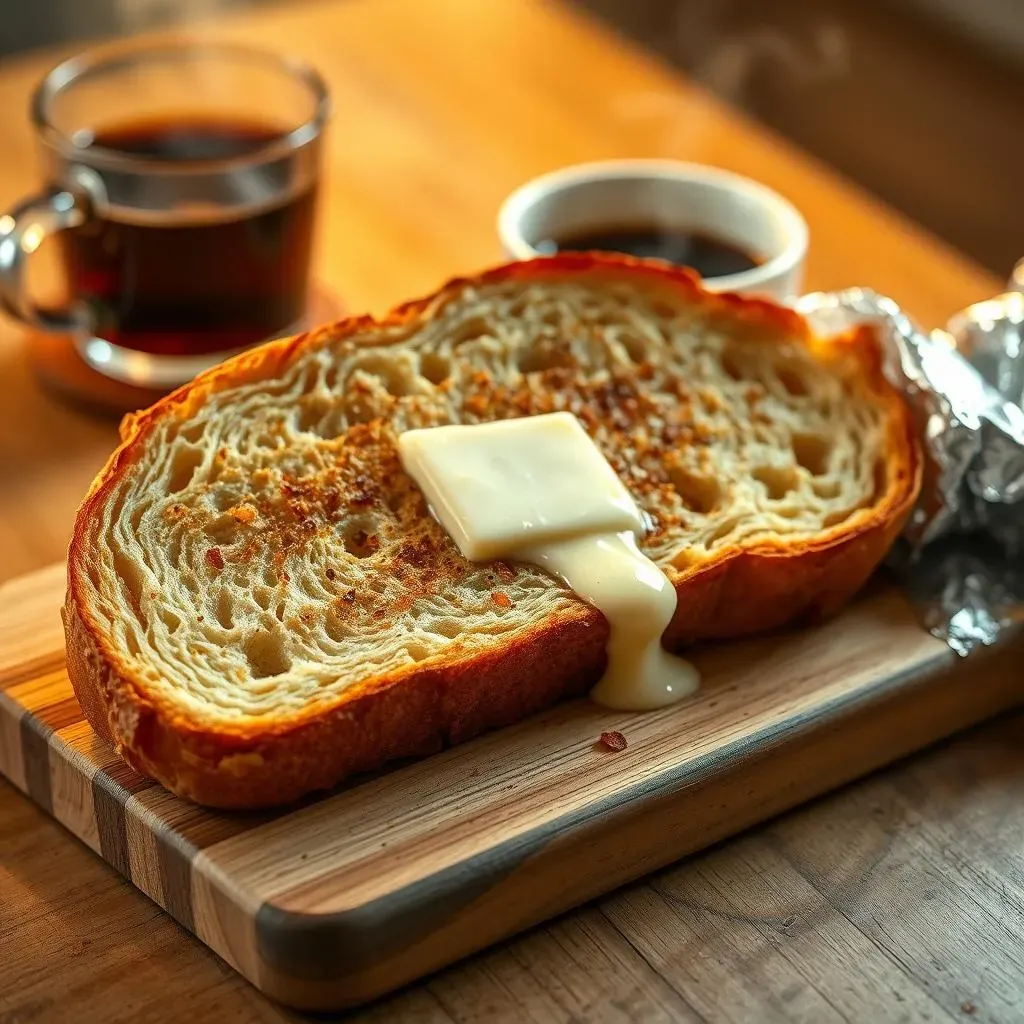
Ever crave that warm, garlicky goodness of restaurant-style bread without the fuss? I know I do! That's where this recipe for garlic french bread in foil comes in. It's ridiculously easy, requires minimal cleanup, and delivers maximum flavor every single time. Forget those complicated recipes that leave you with a mountain of dishes. This method uses foil to trap the heat and infuse the bread with all that delicious garlic butter. We’re talking soft, pillowy insides with a perfectly crisp crust. Whether you’re whipping up a quick side for dinner or need a crowd-pleaser for a party, this garlic french bread in foil is your answer. I'm going to walk you through exactly how to make it, from gathering your ingredients to enjoying that first, mouthwatering bite. We'll cover the simple ingredients, how to make the garlic butter, the easy baking process and some tips and tricks to take your foil-baked garlic bread to the next level. We will also talk about nutrition information. Get ready to become a garlic bread master!
Garlic French Bread in Foil: Ingredients & Utensils
Garlic French Bread in Foil: Ingredients & Utensils
The Bread Basics
Okay, let’s start with the star of the show: the bread. You'll want one loaf of French bread. Now, don't go grabbing any old loaf. Look for one that's nice and soft but has a good, sturdy crust. It should feel fresh, not like it's been sitting on the shelf for days, you know? You want a bread that's going to soak up all that garlic butter goodness but still hold its shape. Think of it as a blank canvas for our masterpiece. If you can’t find fresh French bread, a similar loaf like Italian bread will also work just fine.
For this recipe you want to get the best ingredients possible, this is not a time to save money, buy the good stuff.
Garlic Butter's Best Friends
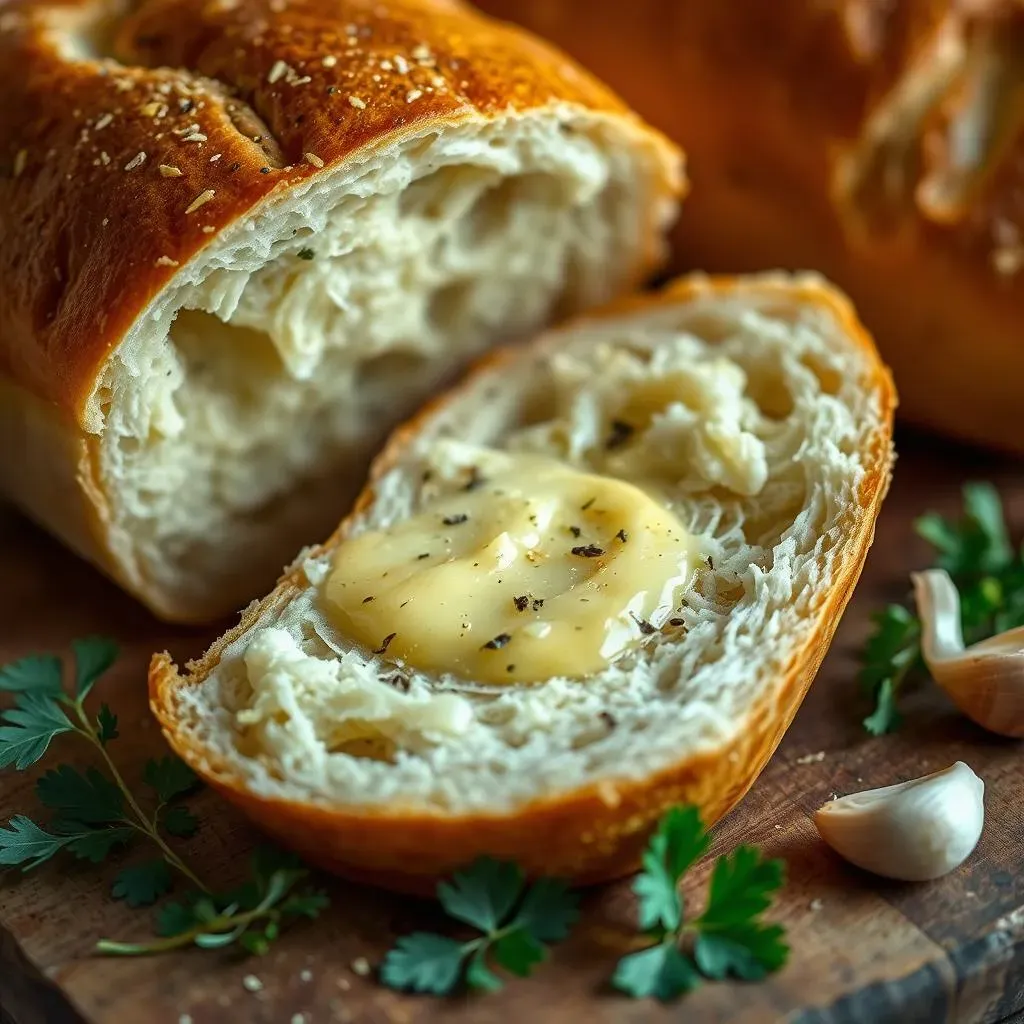
Next up, we need the flavor powerhouses: butter and garlic. For the butter, I always recommend using unsalted butter. This way, you have full control over the saltiness. You'll need about half a cup of it, and here's a little tip: make sure it’s softened. Don’t even think about using cold butter straight from the fridge, it won't mix well. As for the garlic, fresh is always best! I know, I know, the pre-minced stuff in a jar is convenient, but trust me, the flavor difference is night and day. We're talking about around 3-4 cloves, minced finely. This is what gives you that real, punchy garlic flavor. Oh, and don't forget a bit of fresh parsley, about 2 tablespoons chopped. It adds a nice pop of color and a little extra flavor. It’s like the finishing touch on a painting.
Ingredient | Amount | Notes |
|---|---|---|
French Bread | 1 Loaf | Fresh, soft with a sturdy crust |
Unsalted Butter | 1/2 cup | Softened |
Fresh Garlic | 3-4 Cloves | Minced finely |
Fresh Parsley | 2 tablespoons | Chopped |
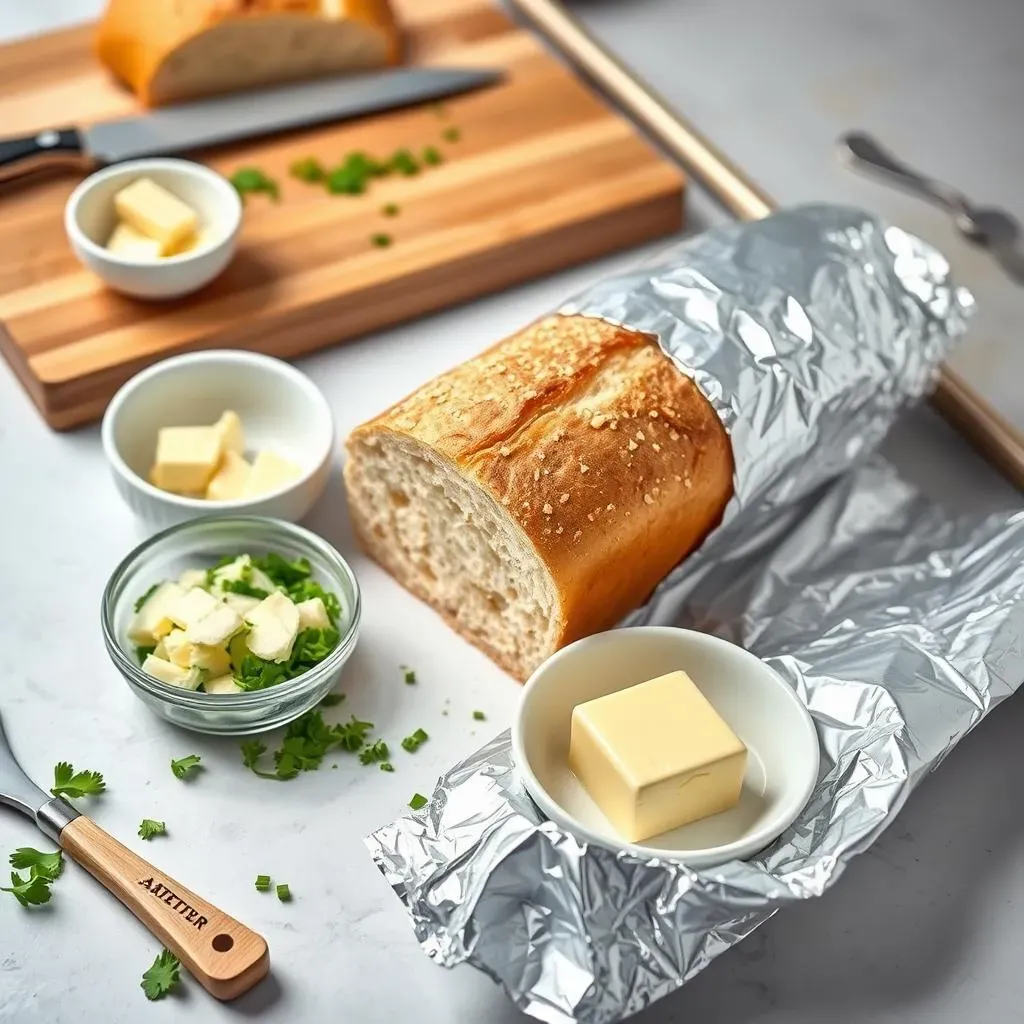
Essential Tools
Finally, let's talk about the tools of the trade. You don't need anything fancy here, thank goodness! You'll need some aluminum foil, enough to wrap the bread completely. A cutting board and a good knife are a must to slice the bread and mince the garlic. A small mixing bowl for the garlic butter will be helpful. A spoon or fork for mixing and spreading. And, of course, a baking sheet to bake the bread on. That’s it! Nothing too complicated, right? Now that we have all that covered, we can get to the fun part!
- Aluminum Foil
- Cutting Board
- Knife
- Small Mixing Bowl
- Spoon or Fork
- Baking Sheet
Making Garlic Butter for French Bread in Foil
Making Garlic Butter for French Bread in Foil
The Butter Base
Alright, let's get to the heart of the matter: that glorious garlic butter. First things first, grab that softened butter. It should be nice and pliable, not rock-hard from the fridge. Think of it like playdough, easy to squish and mold. If your butter is still a bit firm, you can give it a few seconds in the microwave, but be careful not to melt it. We just want it soft enough to work with. Place it in your small mixing bowl, and get ready to transform it into something magical.
Garlic Power
Now, for the garlic! This is where the magic really happens. Take those 3-4 cloves of fresh garlic and mince them as finely as you can. The smaller the pieces, the more evenly the garlic flavor will spread throughout the butter. I like to use a garlic press for this, but if you don't have one, a good sharp knife and some patience will do the trick. Be careful not to cut yourself! Once your garlic is minced, add it to the softened butter in the mixing bowl. Then, take your chopped parsley and throw that in as well. This is going to add a fresh, bright element to our butter. Now, you’ve got the foundation for the most amazing garlic butter ever.
Ingredient | Purpose |
|---|---|
Softened Butter | Base for the flavor |
Minced Garlic | Provides the key garlic flavor |
Chopped Parsley | Adds freshness and color |
Mixing it Up
Last step for our garlic butter, let’s mix everything together. Using your spoon or fork, mash the butter, garlic, and parsley together until they are well combined. You want to make sure that the garlic is evenly distributed throughout the butter, so don’t be shy about getting in there and mixing it all up. You will notice the garlic and parsley combining with the soft butter, creating a uniform paste. This is what's going to make our bread so darn good. Once you have a nice, even mixture, it’s time to move on to the next step. Get ready to slather this goodness on the bread!
StepbyStep: Baking Garlic French Bread in Foil
StepbyStep: Baking Garlic French Bread in Foil
Prepping the Bread
Okay, now that we have our amazing garlic butter, it's time to get this bread ready for its transformation. Take your loaf of French bread and, using a good knife, slice it lengthwise, so you have two long halves. Think of it like opening a book, you want to expose the inside of each half. Now, grab your bowl of garlic butter and, using a spoon or a butter knife, generously spread it all over the cut sides of the bread. Don't be shy here, you want every nook and cranny covered in that garlicky goodness. This is what's going to give us that incredible flavor. Make sure you spread it evenly, so you get a good amount of flavor in each bite.
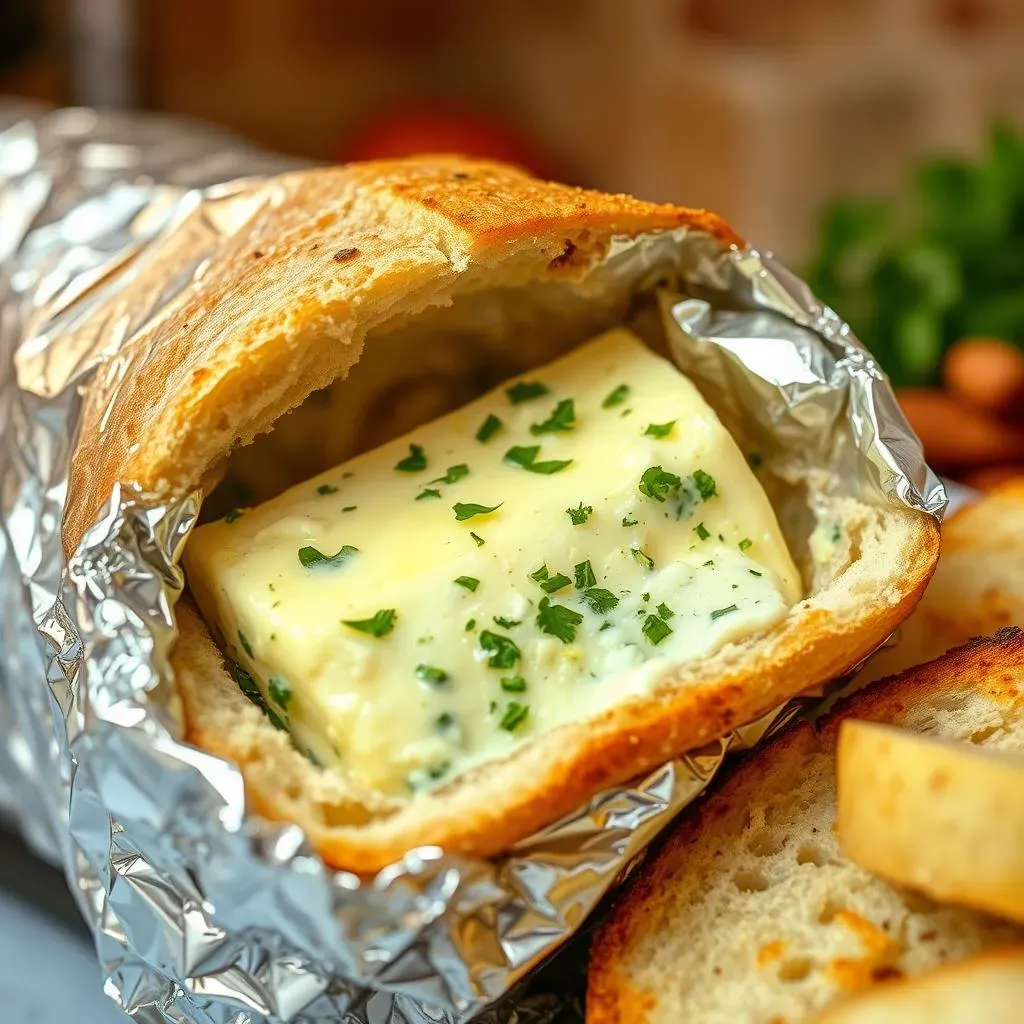
Wrapping it Up
Next, it’s time to wrap our bread. Take a large piece of aluminum foil, big enough to completely enclose both halves of the bread. Place one half of the bread onto the foil, spread-butter side up. Then, place the other half on top, like closing your book. Now, carefully fold the foil over the bread, creating a tight seal. You want to make sure that the foil is completely sealed, so the heat is trapped inside and the bread steams perfectly. This is key for that soft interior and crispy crust. Make sure you don't have any gaps in the seal, this will let the steam escape. This step is important because the foil helps to keep the bread soft and moist while it cooks. It's like giving it a warm hug while it bakes!
Step | Description |
|---|---|
Slice Bread | Cut the bread lengthwise into two halves. |
Apply Garlic Butter | Spread garlic butter generously on cut sides. |
Wrap in Foil | Enclose both halves tightly in aluminum foil. |
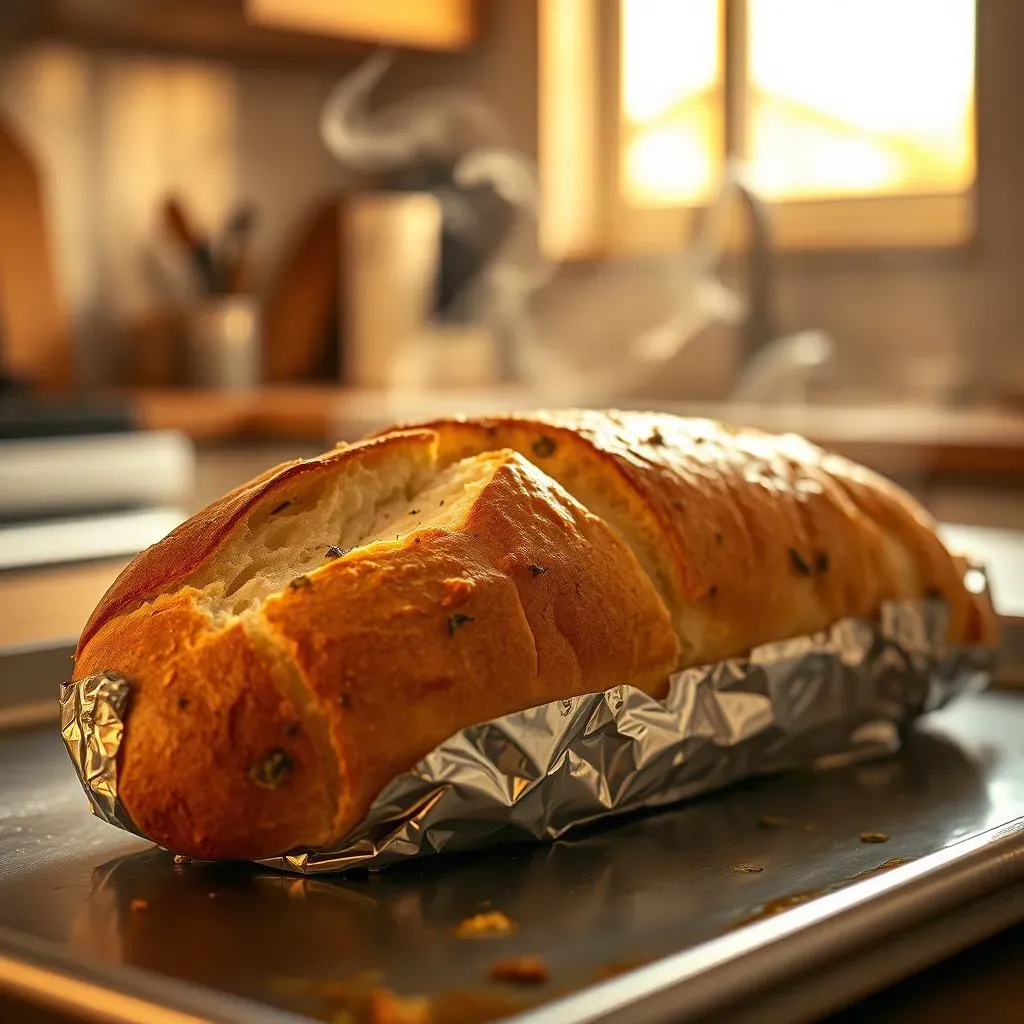
Baking to Perfection
Finally, it's time to bake our garlic bread. Preheat your oven to 325°F (160°C). Place the foil-wrapped bread onto a baking sheet. This is just to make it easier to handle and bake more evenly. Now, put the baking sheet in the preheated oven and let it bake for about 15 minutes. After 15 minutes, carefully open the foil, be careful of the steam! You'll see that the bread is soft and the edges are starting to get crispy. If you want it a little more golden brown, you can leave it open for 2-3 minutes longer. Keep a close eye on it, so it doesn't burn. Once it's golden brown and perfectly crispy, take it out of the oven and let it rest for a few minutes before serving. This is where all that hard work pays off. The aroma that comes out of the foil is just amazing. It's like a little piece of heaven in your kitchen!
Tips, Variations, and Nutrition for Garlic French Bread
Tips, Variations, and Nutrition for Garlic French Bread
Quick Tips for Garlic Bread Perfection
Okay, so you've got the basics down, but let's talk about some little things that can really elevate your garlic bread game. First off, don’t be afraid to experiment with the amount of garlic. Some people like it super garlicky, and others prefer a more subtle flavor. I say, go with what your heart desires! Also, when you're spreading the garlic butter, make sure you get it right to the edges. It’s the little things that make the biggest difference. Another thing, if you want a crisper crust, you can broil the bread for the last minute or two, just watch it carefully so it doesn't burn. And finally, if you have any leftover garlic butter, you can use it on other things. I like to put mine on roasted potatoes or even just mix it with some pasta. It’s like a little flavor bomb that keeps on giving.
Garlic Bread Variations to Try
Now, let’s get creative. This recipe is a great starting point, but there are so many ways to customize it. For a cheesy twist, sprinkle some shredded mozzarella or parmesan cheese on top of the garlic butter before baking. It's like a little cheesy hug for your bread. If you're feeling spicy, add a pinch of red pepper flakes to the garlic butter. It gives it a nice little kick. You can also add other herbs like oregano, thyme, or rosemary for different flavor profiles. And for something completely different, try using a different kind of bread. Focaccia, ciabatta, or even sourdough will all work great. The possibilities are endless! Don’t be afraid to try something new. You might just discover your new favorite version.
Variation | Description |
|---|---|
Cheesy Garlic Bread | Add shredded mozzarella or parmesan cheese before baking. |
Spicy Garlic Bread | Include a pinch of red pepper flakes in the garlic butter. |
Herbed Garlic Bread | Add other herbs like oregano, thyme, or rosemary. |
Different Bread | Try focaccia, ciabatta, or sourdough instead of French bread. |
A Quick Look at Nutrition
Okay, let's talk nutrition. I know, I know, it's not always the most exciting topic, but it’s good to know what we're eating. One serving of this garlic bread, which is about one slice, has approximately 158 calories. It also contains about 20 grams of carbohydrates, 7 grams of fat, and 3 grams of protein. Of course, these numbers can vary depending on the exact ingredients you use and the size of your slices. Keep in mind that these are estimates. This garlic bread is definitely a treat, so enjoy it in moderation. But hey, life is too short to not enjoy a good slice of garlicky goodness every now and then!
Wrapping Up: Your Perfect Garlic French Bread in Foil
So, there you have it – a foolproof method for making incredibly delicious garlic french bread in foil. It’s quick, easy, and always a crowd-pleaser. From the simple garlic butter to the foil-wrapped baking method, every step is designed for maximum flavor with minimal effort. Whether you’re a seasoned cook or just starting out, this recipe is a total win. Don't be afraid to experiment with different herbs or cheeses to make it your own. Now go ahead, bake up a loaf and enjoy the garlicky, buttery goodness. Trust me, your taste buds will thank you, and you’ll be making this garlic french bread in foil again and again.