Table of Contents
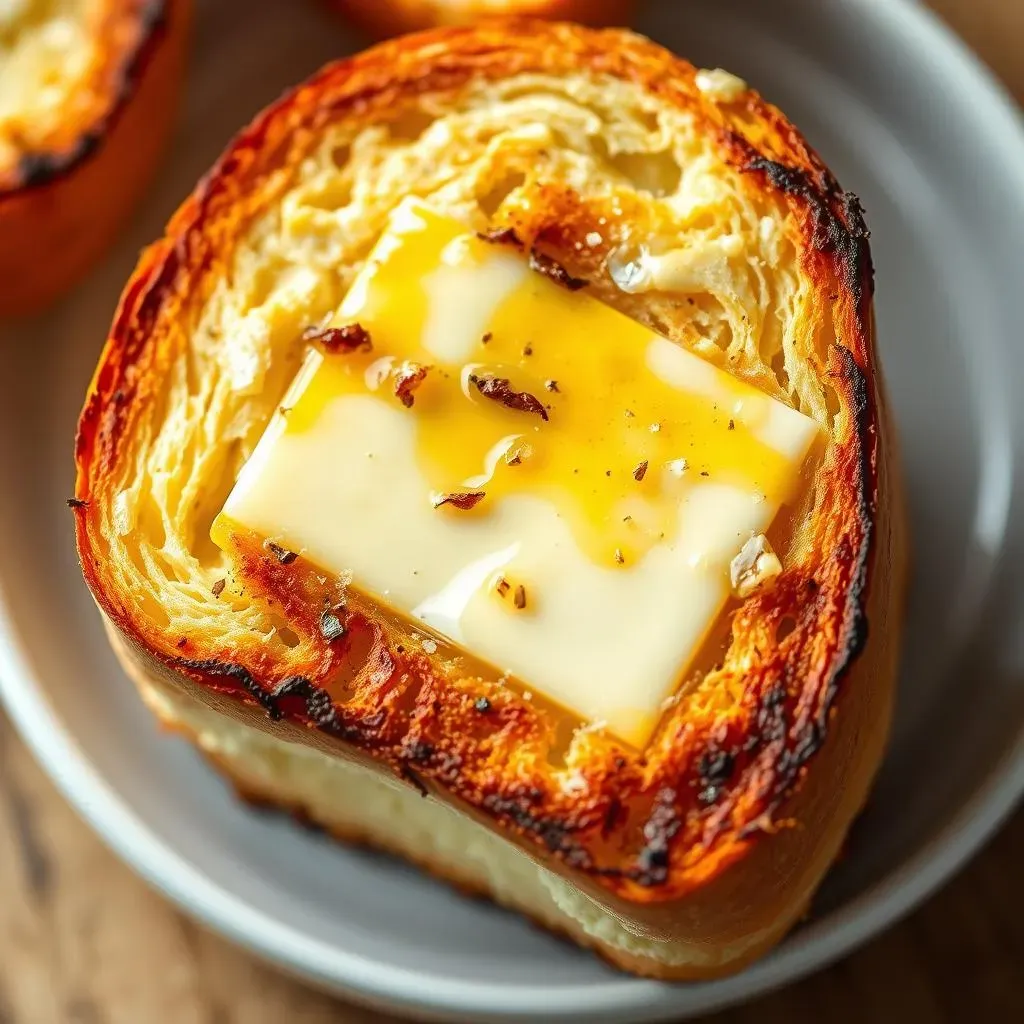
Ever dream of that perfect, crispy-on-the-outside, soft-on-the-inside garlic bread? I have, and I'm here to tell you, it's totally achievable at home. We're not talking about some sad, store-bought imitation. No, we're diving into the world of homemade garlic butter toasted french bread, the kind that makes your kitchen smell amazing and your taste buds sing. This isn't just about slapping some butter and garlic on bread; it's about understanding the science of toasting, the magic of a good garlic butter, and how to get that perfect texture every single time. Get ready to learn the secrets to creating an irresistible side dish or a satisfying snack. I'll walk you through the must-have ingredients, the crucial baking steps, and even how to serve this golden goodness. By the end of this, you'll be the master of your own garlic butter toasted french bread domain, and trust me, your friends and family will thank you for it. So, let's get started and transform some bread into a masterpiece!
The Magic of Garlic Butter: Ingredients and Preparation
The Magic of Garlic Butter: Ingredients and Preparation
The Core Components
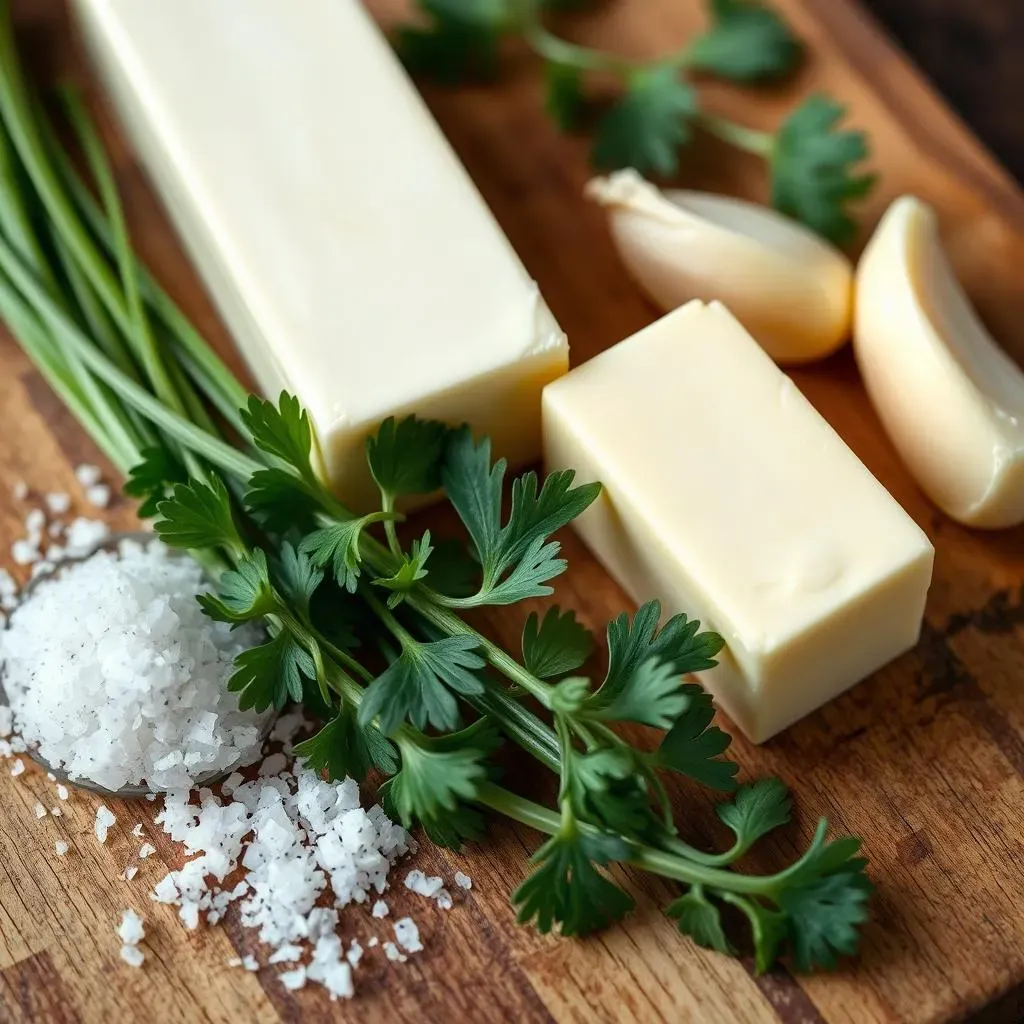
Okay, so let's talk garlic butter, the soul of our toasted french bread. It's not just thrown together; it's a carefully considered blend of flavors. We're after a buttery base that's rich and smooth, and garlic that's bold but not overpowering. Think of it like painting; you need the right colors to create the masterpiece. For the butter, I always go with unsalted. This lets us control the saltiness later and avoids any weird, overly-salty surprises. And for the garlic, fresh cloves are the absolute best. Forget the jarred stuff, it just doesn't have that same zing. We want that potent, aromatic kick that only freshly minced garlic can deliver.
Next up, a little bit of flavor boost. I'm a big fan of adding some fresh parsley, not just for the pretty green flecks, but it adds a subtle freshness that cuts through the richness of the butter and garlic. It makes the bread feel lighter and less heavy. Don't skip this step, it's more important than you think! Also, I love adding a pinch of sea salt. It's got a slightly different flavor profile than regular table salt and it helps bring out all the other flavors. We aren’t just making garlic bread, we're crafting an experience, and the right ingredients are the first step.
Ingredient | Why It's Important |
|---|---|
Unsalted Butter | Allows salt control, pure buttery flavor |
Fresh Garlic Cloves | Stronger, more aromatic flavor than jarred |
Fresh Parsley | Adds freshness, cuts through richness |
Sea Salt | Enhances flavors, adds a unique saltiness |
Crafting the Garlic Butter
Now, for the fun part: making the actual garlic butter. It’s super simple, but there’s a little technique to it. First, make sure your butter is nice and soft, like, really soft, but not melted. I usually leave it out on the counter for a bit. If it’s too hard, you’ll have a hard time mixing everything together. Once it's soft enough, throw it into a bowl. Next, add your minced fresh garlic. Don't be shy with the garlic, but don't go overboard either. You want a good punch, not a garlic bomb. Now, mix it all together with a fork until everything is well combined. You should have a smooth, creamy, and fragrant mixture.
Finally, toss in your chopped fresh parsley and a pinch of sea salt. Mix it all up one last time. And there you have it: the most magical garlic butter you've ever seen, ready to be slathered on some french bread. At this stage, I'd suggest you take a little smell of your creation, it is amazing! The aroma should be intoxicating. It should make you want to use it on everything. The key here is to not rush, take your time, and enjoy the process. It’s all about creating layers of flavor, and the best garlic butter is the one that's made with care.
- Soften the butter well before mixing.
- Use fresh, minced garlic for best flavor.
- Mix thoroughly until creamy and smooth.
- Add fresh parsley and sea salt at the end.
Perfecting the Toast: Baking Tips for Garlic Butter French Bread

Perfecting the Toast: Baking Tips for Garlic Butter French Bread
Prepping the Bread
Alright, now that we have our magical garlic butter, let's talk bread. We're using French bread, right? It's got that perfect crust and soft inside that's just begging for garlic butter. The key here is to slice it correctly. We're going lengthwise, cutting the loaf in half, like opening a book. This gives us two big, flat surfaces to work with. Now, don't just toss the bread on a baking sheet; we need to prep it a bit. I like to use parchment paper or aluminum foil, it prevents sticking and makes cleanup a breeze. It's all about making your life easier. Place your bread halves cut-side up on the baking sheet, ready for the next step: the slathering!
Before you even think about the oven, take a good look at your bread. Make sure it's not too dense or too airy. You want a good balance so the bread can soak up the garlic butter without getting soggy. If your loaf is too thick, you might want to slice it into slightly thinner pieces. This will help it toast evenly. You don’t want a burnt crust and a doughy middle! Getting the bread ready is just as important as the garlic butter itself. It's the foundation of our masterpiece, so don't skip over the details.
The Art of the Slather
Now, for the fun part: slathering that glorious garlic butter onto the bread. Don't be shy! Use a spoon or a small spatula to evenly spread the garlic butter all over the cut side of the bread. Make sure every nook and cranny is covered. We want every bite to be bursting with flavor. Try to create a nice, even layer, not too thick, not too thin. You want it to melt into the bread as it bakes, creating a beautiful, golden crust. It's like giving your bread a luxurious spa treatment.
After you’ve applied the garlic butter, you have the option to add some cheese. This is totally optional, but if you’re a cheese lover like me, you won’t skip this step. A sprinkle of Parmesan or mozzarella can take your garlic bread to the next level. It adds a salty, gooey element that complements the garlic and butter perfectly. If you’re using cheese, do not use too much, you want to enhance, not overpower the flavors. Remember, the key is to make sure the garlic butter is evenly spread before adding any extras. This ensures that every bite is an explosion of flavor.
Step | Key Detail |
|---|---|
Slice Bread | Lengthwise, cut side up |
Prep Baking Sheet | Use parchment paper or foil |
Apply Garlic Butter | Evenly, covering all surfaces |
Add Cheese | Optional, sprinkle lightly |
Baking to Perfection
Okay, the bread is prepped, the garlic butter is slathered, and cheese is sprinkled, now it’s time for the oven. Preheat your oven to 400 degrees Fahrenheit (200 degrees Celsius). This temperature is perfect for getting that golden, crispy crust without burning the bread. Place the baking sheet with your garlic bread in the preheated oven. Now, this is where you need to keep a close eye on things. Baking times can vary depending on your oven and the thickness of your bread. But generally, you’re looking at about 8-12 minutes. You want the bread to be golden brown and crispy, and the garlic butter to be bubbly and fragrant.
The key is to watch the bread carefully. Don’t just set it and forget it. Check on it every few minutes. If you start to see the edges getting too dark, you can lower the oven temperature slightly or move the baking sheet to a lower rack. Once it's ready, pull it out of the oven and let it cool for a minute or two. This allows the bread to firm up a bit and the flavors to meld together. And there you have it, perfectly toasted garlic butter french bread, ready to be enjoyed. The smell alone should be enough to make your mouth water!
- Preheat oven to 400°F (200°C).
- Bake for 8-12 minutes.
- Watch carefully to prevent burning.
- Let cool slightly before serving.
Serving and Enjoying Your Garlic Butter Toasted French Bread
Serving and Enjoying Your Garlic Butter Toasted French Bread
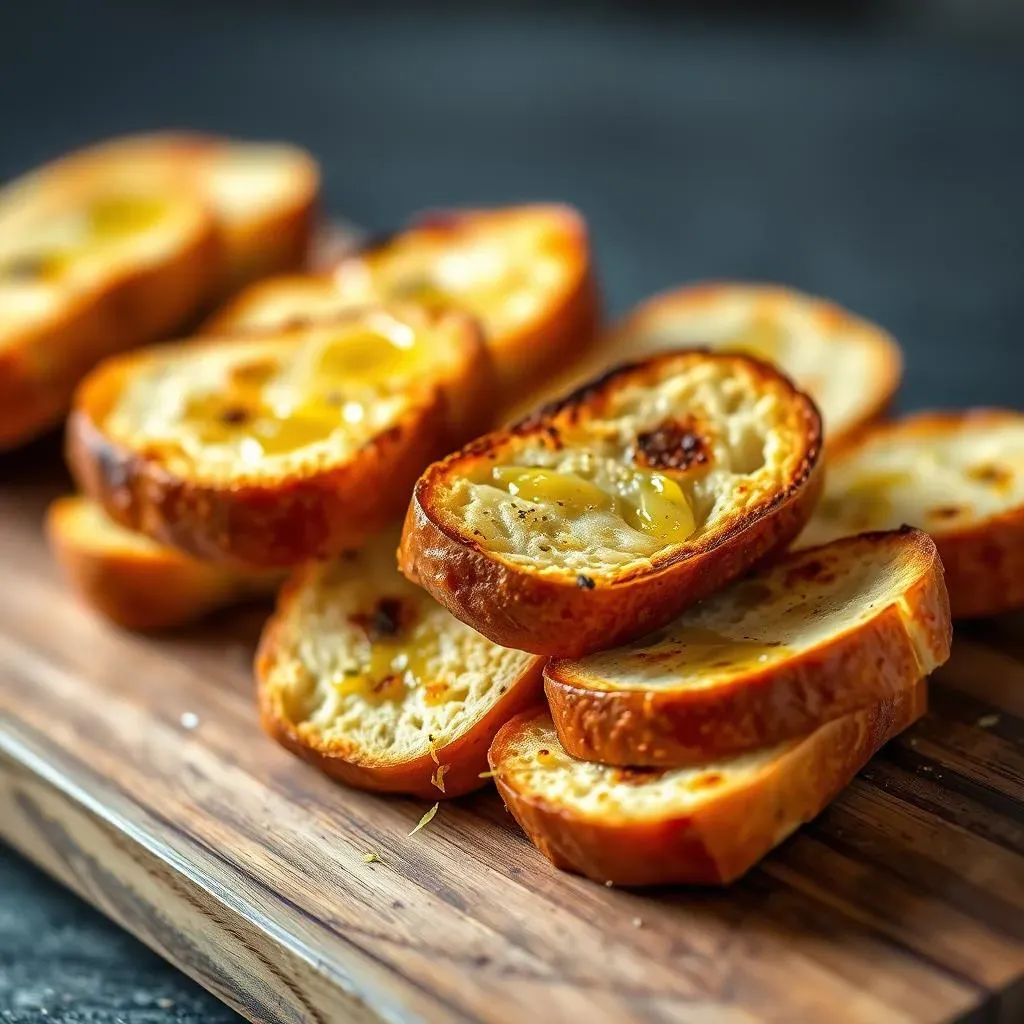
Okay, so you've pulled that gorgeous, golden-brown garlic butter toasted french bread out of the oven, and the aroma is making everyone's stomach rumble. What's next? Well, the serving part is almost as important as the baking. First off, let it cool for a couple of minutes. I know it's tempting to dive right in, but trust me, a little cooling time makes it easier to handle and the flavors meld together even more. I usually slice it into smaller, more manageable pieces. This makes it easier to grab and also helps you control your portion size (not that I'm ever too concerned about that!). A serrated knife works best for this, so you don't squish the bread. And now, the best part: eating it! This garlic bread is so versatile, it goes with just about anything.
Personally, I love it alongside a big bowl of pasta. It's perfect for soaking up all that delicious sauce. But it's equally amazing with a simple salad or as a side for grilled chicken or steak. And honestly, sometimes I just eat it as a snack all on its own. It's that good! If you're having a party, this is a guaranteed crowd-pleaser. You can even get creative with it. Try topping it with some fresh herbs or a sprinkle of red pepper flakes for a little kick. The possibilities are endless. The best part about this bread is that it’s made with love, and it shows in every single bite. It's all about enjoying the fruits of your labor and sharing that joy with others.
Serving Tip | Why It Works |
|---|---|
Cool Slightly | Easier to handle, flavors meld |
Slice with Serrated Knife | Prevents squishing, clean cuts |
Pair with Pasta | Soaks up delicious sauce |
Serve as a Snack | Delicious on its own |
The Final Toast: Mastering Garlic Butter French Bread
So there you have it, the path to truly amazing garlic butter toasted french bread. We've walked through creating the perfect garlic butter, learned how to get that perfect toast, and even touched on serving suggestions. It's not just about following a recipe, it's about understanding the process and making it your own. The next time you're looking to elevate a simple meal or impress your guests, remember the magic of a good loaf of french bread, some quality butter, and plenty of garlic. With a little practice, you'll be turning out golden, garlicky slices of heaven every time. Now go forth, toast some bread, and enjoy the delicious results of your newfound skills!