Table of Contents
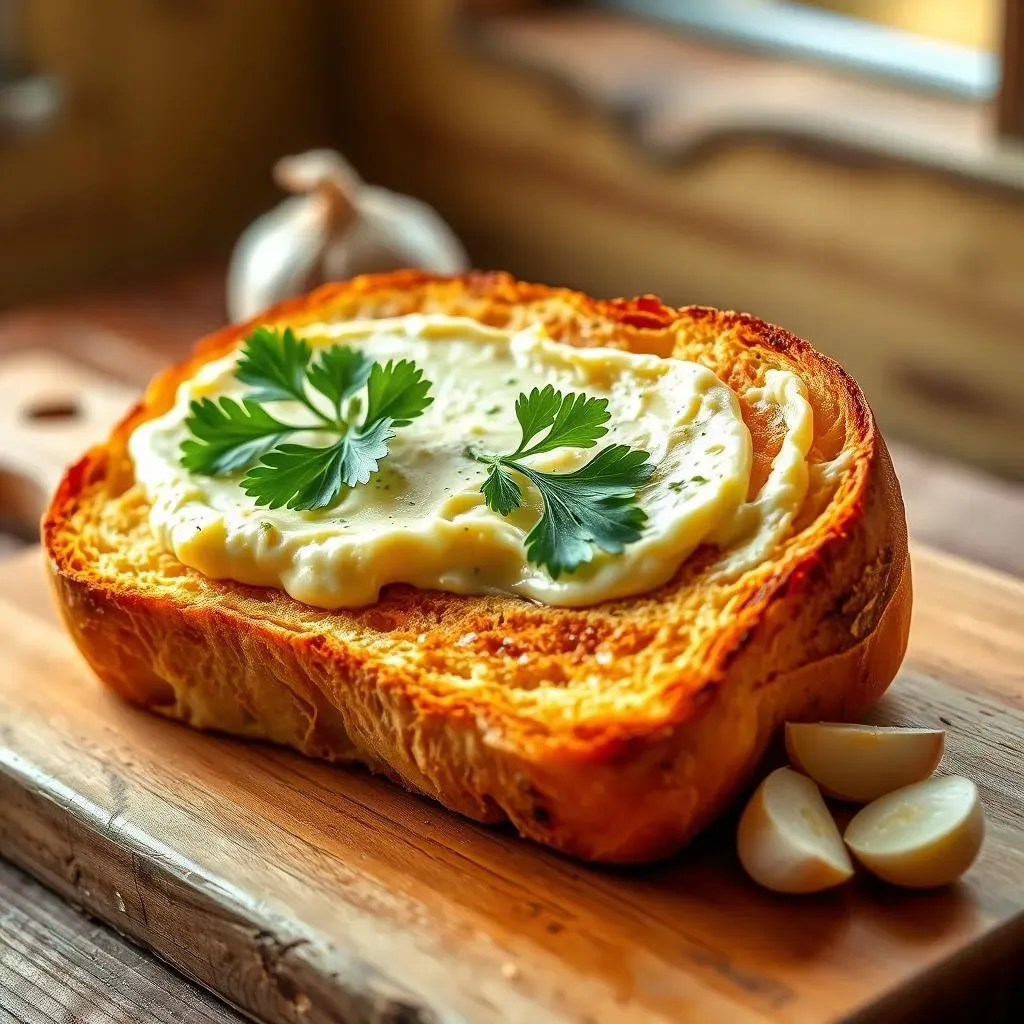
Ever wondered how to make your kitchen smell like an Italian restaurant? The secret is simpler than you think: a fantastic garlic butter spread for french bread. I'm not talking about that store-bought stuff; I mean the real deal, the kind that makes your taste buds sing. We're going on a delicious adventure to create the most amazing garlic butter spread, and then slather it all over some warm, crusty french bread. This isn't just about following a recipe; it's about understanding what makes the perfect spread, from the freshest ingredients to the best techniques. In this article, we'll explore the key components of a great garlic butter spread, the step-by-step process for making it, and some handy tips to ensure you get the most flavorful garlic bread ever. So, grab your apron, let’s get started and transform some ordinary bread into something truly extraordinary with this garlic butter spread for french bread!
What Makes a Great Garlic Butter Spread for French Bread

What Makes a Great Garlic Butter Spread for French Bread
The Foundation: Flavorful Fat
Okay, let's be real, the base of any amazing garlic butter spread is the butter itself. It's not just about any old butter; we're aiming for that rich, creamy, melt-in-your-mouth goodness. Think of it as the canvas for our masterpiece. The quality of your butter will directly impact the final flavor. So, go for the good stuff, the kind that makes you want to sneak a little taste straight from the stick. I prefer unsalted butter because it lets me control the saltiness of the spread later on. But if you only have salted butter, no worries, just adjust the amount of salt you add.
A great garlic butter spread should also have a beautiful balance of flavors. It shouldn't be all butter and garlic, even though those are the stars of the show. We need to think about depth, about layers of taste. The butter provides that creamy richness, while the garlic gives it that pungent, savory kick. It’s about creating a flavor that builds with each bite, something that’s both comforting and exciting. That's what separates a good garlic bread from a truly great one.
The Star of the Show: Garlic Done Right
Now, let's talk about garlic, the true hero of our garlic butter spread. I'm a firm believer that fresh garlic is the way to go. Forget the jarred stuff; it just doesn't have the same zing. You want to use real garlic cloves, minced finely so that they release all their aromatic oils. The way you prepare the garlic will also affect the final taste; raw garlic will give you a sharper, more intense flavor, while sautéing it briefly will mellow it out and create a sweeter, nuttier taste. I like to use a combination of both: a bit of raw for that punch and some sautéed for a more rounded flavor.
It’s not only about the type of garlic you use, but also about how much of it you use. Some people like a subtle hint of garlic, while others want to be hit with a garlic bomb. Find your personal preference and don’t be afraid to experiment. The key is to start with less and then add more until you get that perfect balance. Remember, you can always add more garlic, but you can’t take it away.
Ingredient | Impact on Flavor |
|---|---|
High-Quality Butter | Richness and Creaminess |
Fresh Garlic (Minced) | Pungent and Savory Kick |
Salt | Enhances Flavors |
Fresh Herbs | Adds complexity and freshness |
The Essential Ingredients for the Best Garlic Butter Spread
The Essential Ingredients for the Best Garlic Butter Spread
The Supporting Cast: Herbs and Spices
Okay, so we've got our butter and garlic, but don't think that's all there is to it. The supporting cast of herbs and spices is what takes our garlic butter spread from good to "OMG, this is amazing!" I like to think of herbs as the little flavor ninjas, sneaking in and adding layers of complexity. Fresh herbs are always my first choice, because they bring a brighter, more vibrant taste. Parsley is a classic choice, adding a nice freshness, but don't be afraid to experiment with others like chives, oregano, or even a little bit of thyme. Dried herbs will work in a pinch, but you'll use less since their flavor is more concentrated.
And let's not forget about salt and pepper, the power couple of the spice world. Salt is crucial for enhancing all the other flavors, making them pop. Don't be shy with it, but also don't overdo it. Start with a little and add more to taste. Black pepper adds a touch of warmth and subtle spice, giving the garlic butter spread a little edge. A pinch of red pepper flakes can be a great addition if you like a little heat. The key is to find your perfect balance, creating a flavor profile that is both comforting and exciting.
The Optional Extras: Cheese and More
Now, here’s where we can get a little fancy and add some optional extras. Cheese, oh glorious cheese, can really elevate your garlic butter spread. Parmesan is a classic choice, adding a salty, nutty flavor that pairs perfectly with garlic. A little bit of grated Pecorino Romano is another good option for a sharper taste. You can also experiment with other cheeses, such as mozzarella or even a touch of Gruyere, if you are feeling adventurous.
But wait, there’s more! A squeeze of lemon juice can add a touch of acidity, brightening up the flavors. A little bit of onion powder or shallots can also add some extra depth. And if you want a touch of sweetness, a tiny pinch of sugar can work wonders. These are all optional, of course, but they can take your garlic butter spread to the next level, making it truly unique and unforgettable.
Ingredient | Flavor Contribution |
|---|---|
Fresh Parsley | Freshness and Brightness |
Salt | Enhances All Flavors |
Black Pepper | Warmth and Subtle Spice |
Parmesan Cheese | Salty and Nutty Notes |
Lemon Juice | Acidity and Brightness |
StepbyStep: Creating Your Own Garlic Butter Spread for French Bread
StepbyStep: Creating Your Own Garlic Butter Spread for French Bread
Getting Started: The Prep Work
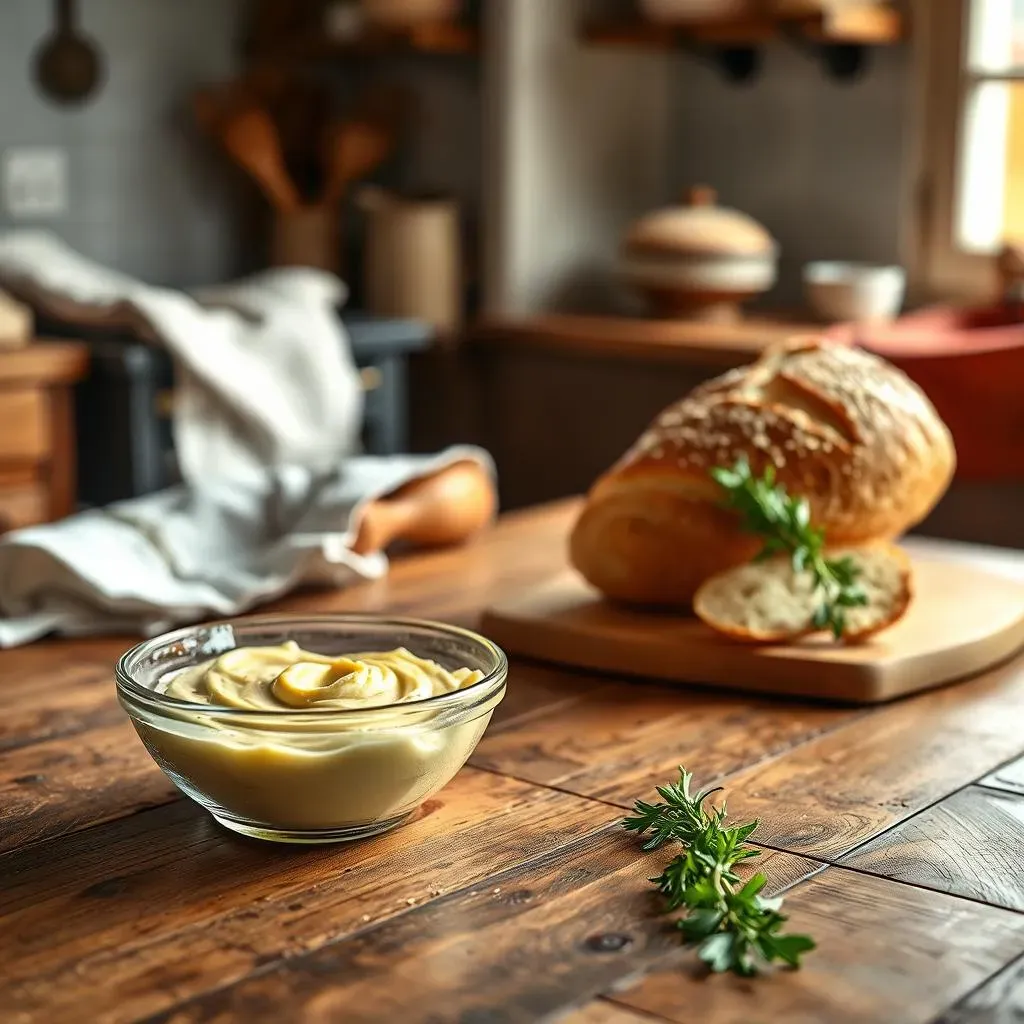
Alright, let’s get down to business. Before we even think about mixing, we need to get all our ingredients prepped. First, take your butter and let it soften at room temperature. I know, I know, patience is a virtue, but trust me, it makes a world of difference. You want it to be soft enough to easily mix, but not melted. While the butter is softening, let's tackle the garlic. Grab those cloves and mince them finely. If you're using fresh herbs, chop them up as well. It's like getting your paint palette ready before you start creating a masterpiece. Having everything prepped and ready to go makes the whole process smoother and more enjoyable. No one wants to be scrambling for ingredients while the butter is melting away.
Next, if you're going for the sautéed garlic route, grab a small pan and melt a little bit of extra butter over low heat. Add your minced garlic and cook it gently for a few minutes, stirring often, until it becomes fragrant and slightly golden. Be careful not to burn it, because that will give you a bitter taste. Once the garlic is ready, set it aside to cool down. Now, with all our ingredients prepped, we're ready to move on to the next step. It's all about organization, my friend. Trust me, your future self will thank you for taking the time to do this right. Think of it as laying the groundwork for the flavor explosion that's about to happen.
Mixing It All Together
Now for the fun part: combining all of our ingredients to create that magical garlic butter spread. Take your softened butter and place it in a medium-sized bowl. Add the minced raw garlic, the sautéed garlic (if you chose to use it), your chopped fresh herbs, salt, pepper, and any other spices you're using. If you're adding cheese, toss that in now too. Grab a fork or a small whisk and start mixing everything together until it's well combined. You want all those flavors to be friends, creating a beautiful, harmonious blend. Don't be afraid to get your hands dirty here; sometimes, using your fingers is the best way to get everything mixed in properly.
Keep mixing until the spread is smooth and creamy. Taste it as you go and adjust any seasonings to your liking. Remember, this is your creation, so make it your own. If you feel like it needs more garlic, add more. If it needs more salt, add more. Don't be shy! This is where your personal preference comes into play. Once you are happy with the taste, you are ready to go. Now, let's take a look at the next step: putting this delicious spread onto your bread. It's about to get real good.
Step | Action |
|---|---|
1 | Soften butter at room temperature |
2 | Mince garlic and chop fresh herbs |
3 | Sauté garlic (optional) |
4 | Combine all ingredients in a bowl |
5 | Mix until smooth and creamy |
6 | Taste and adjust seasonings |
Tips and Tricks for Perfect Garlic Butter French Bread
Tips and Tricks for Perfect Garlic Butter French Bread
Bread Basics: Choosing the Right Loaf
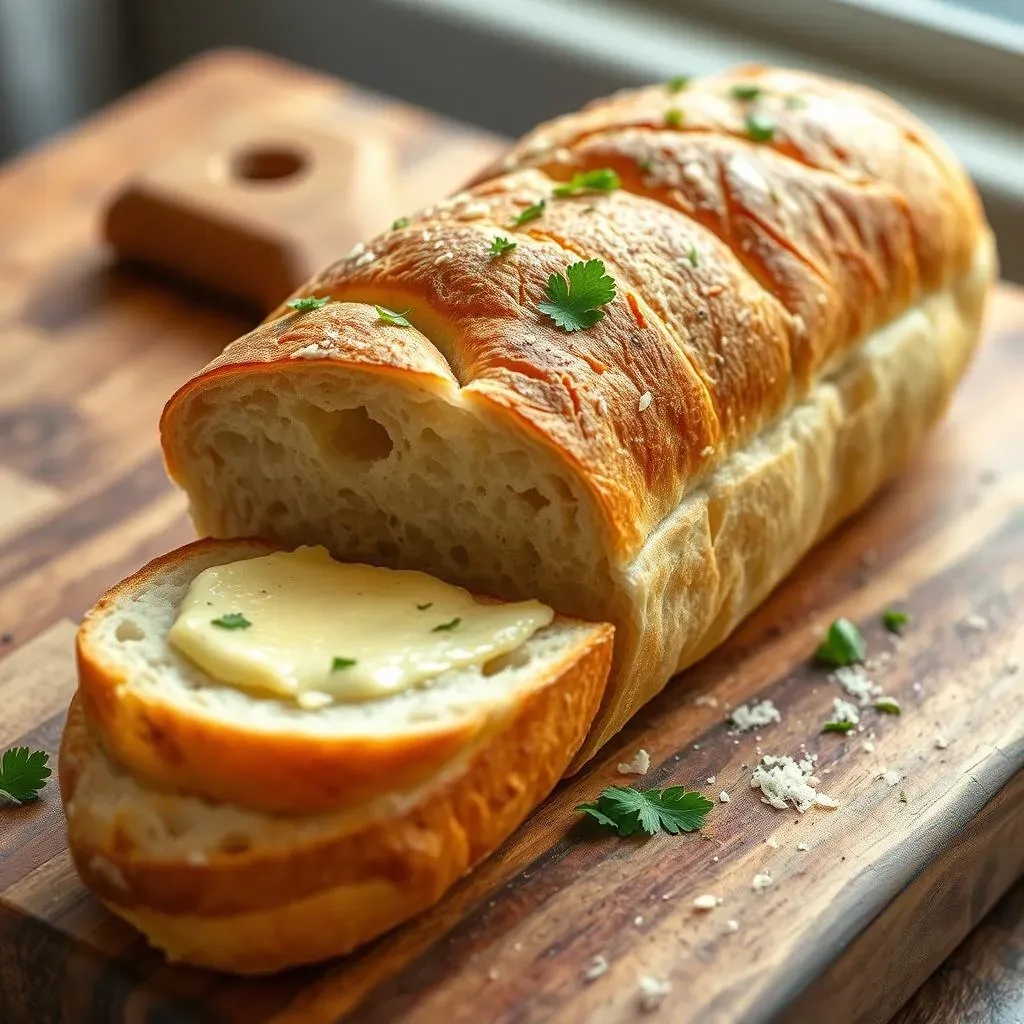
Alright, before we even think about spreading that glorious garlic butter, let’s talk bread. Not all loaves are created equal, my friend. For the best garlic bread, you want a good quality French baguette or Italian loaf. Look for a loaf that's crusty on the outside and soft on the inside. A good crust will give you that satisfying crunch, while the soft interior will soak up all that delicious garlic butter goodness. Avoid loaves that are too dense, as they won't absorb the butter as well. And, it should be fresh; day-old bread just doesn't cut it for garlic bread. It's like building a house, you gotta start with a good foundation. The bread is half the battle, so choose wisely!
Once you've got your perfect loaf, the way you slice it is also important. You wanna cut it lengthwise, so you have two long halves. This gives you a lot of surface area to spread that garlic butter, ensuring every bite is bursting with flavor. You can also cut it into individual slices, but I find that the lengthwise method gives you the best results, especially when you're baking it. Now, some people like to score the bread before spreading the butter, which creates little pockets for the butter to melt into. This is a great trick if you are looking for extra buttery goodness. Trust me, a little attention to detail goes a long way when it comes to making the perfect garlic bread. It’s all about creating that optimal texture and flavor combination, and it all starts with the right loaf and the right cut.
Bread Type | Best For |
|---|---|
French Baguette | Classic Garlic Bread, good crust |
Italian Loaf | Softer Texture, great for absorbing butter |
Sourdough | Tangy flavor, good for a twist |
Ciabatta | Rustic look and texture, more airy |
The Art of Spreading: Getting it Just Right
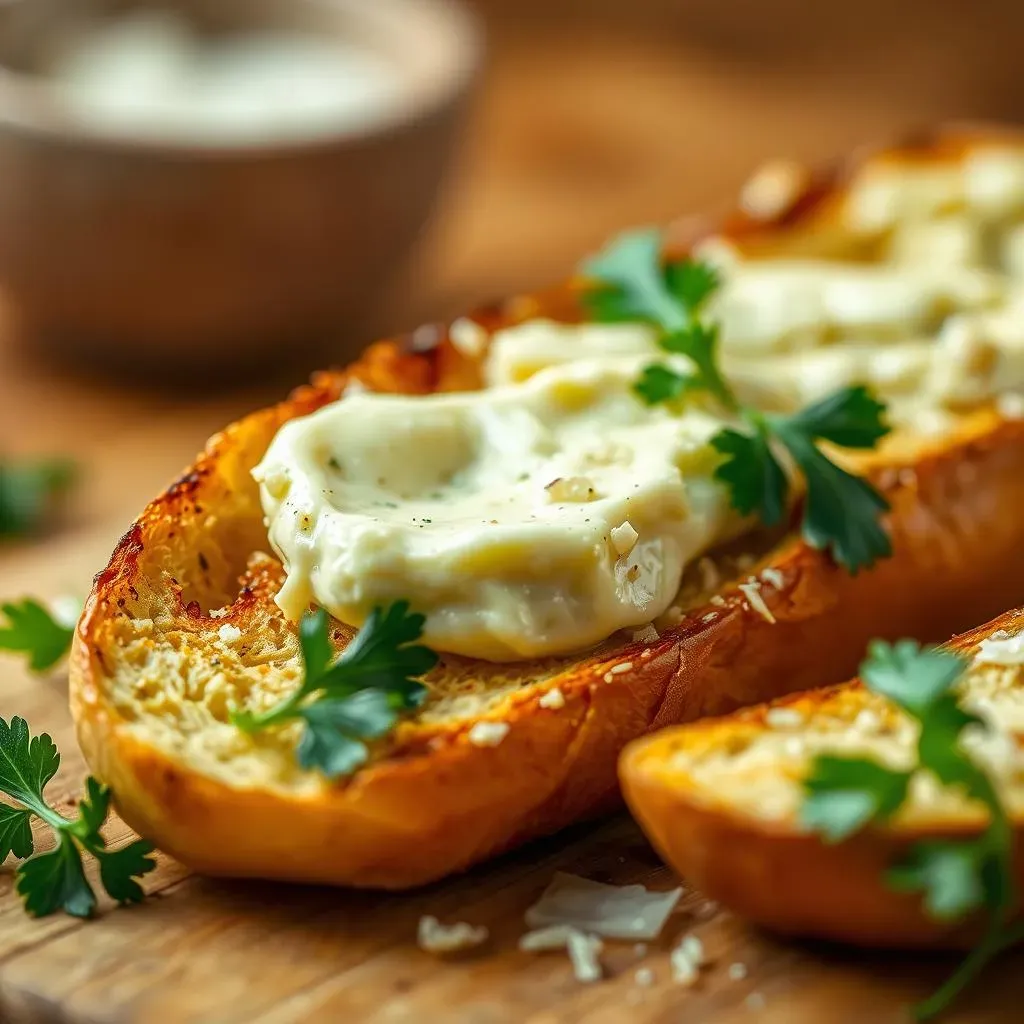
Okay, now for the moment we've all been waiting for: spreading that amazing garlic butter. Don't be shy, my friend, be generous! You want to cover every nook and cranny of that bread with the garlic butter mixture. I like to use a spatula or a butter knife to spread it evenly. Make sure you get all the way to the edges. This is not the time for restraint, you want every bite to be packed with flavor. If you're using a brush, be careful not to apply too much pressure, or you could tear the bread. The key is to be thorough, but gentle.
After you've spread the butter, if you're feeling extra fancy, you can sprinkle a little bit more grated Parmesan cheese on top. This adds an extra layer of salty, nutty goodness. Some people also like to add a little bit of fresh parsley for a pop of color and freshness. It’s these little touches that can really make a difference. And remember, the goal is to make it look as good as it tastes. So, take your time, be generous, and make sure that garlic butter is evenly distributed all over that bread. It’s all about that perfect balance, my friend, and it’s totally worth the effort.
Baking to Perfection: Achieving the Golden Brown
Now that your bread is slathered in that amazing garlic butter spread, it's time to bake it to golden perfection. Preheat your oven to 375°F (190°C). Place the bread on a baking sheet, cut-side up, and bake it for about 10-15 minutes, or until the bread is golden brown and the garlic butter is bubbling. Keep an eye on it, because ovens can vary. You don't want the bread to burn, but you also want it to get nice and crispy. The goal is to have a perfect balance of soft and crunchy textures, with the garlic butter melted into every crevice.
Once the garlic bread is golden brown, take it out of the oven and let it cool slightly before serving. Be careful, it will be hot! And there you have it, my friend, the perfect garlic butter french bread, ready to be devoured. The aroma alone is enough to make anyone hungry. So, gather your friends and family, and get ready to enjoy the fruits of your labor. This is not just a meal; it’s an experience, a moment of pure culinary joy. And it all started with a simple garlic butter spread and a little bit of love.
Baking Aspect | Tip |
|---|---|
Oven Temperature | 375°F (190°C) is ideal |
Baking Time | 10-15 minutes, or until golden brown |
Placement | Cut-side up on a baking sheet |
Monitoring | Keep a close eye to avoid burning |