Table of Contents
Okay, let's be real, who doesn't love garlic bread? I mean, that warm, buttery, garlicky goodness is just irresistible. But what if I told you that you can make garlic bread that's not just good, but *amazing*? I'm talking about the kind that makes you want to skip the main course and just devour the whole loaf. That's what this article is all about: mastering the art of garlic butter french bread. We’ll explore the magic of combining fresh garlic and butter, slathered on a crispy french bread. I’ll guide you step-by-step, turning you into a garlic bread pro. We will cover everything from the basic recipe to fun variations, including tips to make it extra special. So, if you're ready to elevate your garlic bread game, let's get started on this delicious journey to the best garlic butter french bread you’ve ever tasted!
The Magic of Garlic Butter on French Bread
The Magic of Garlic Butter on French Bread
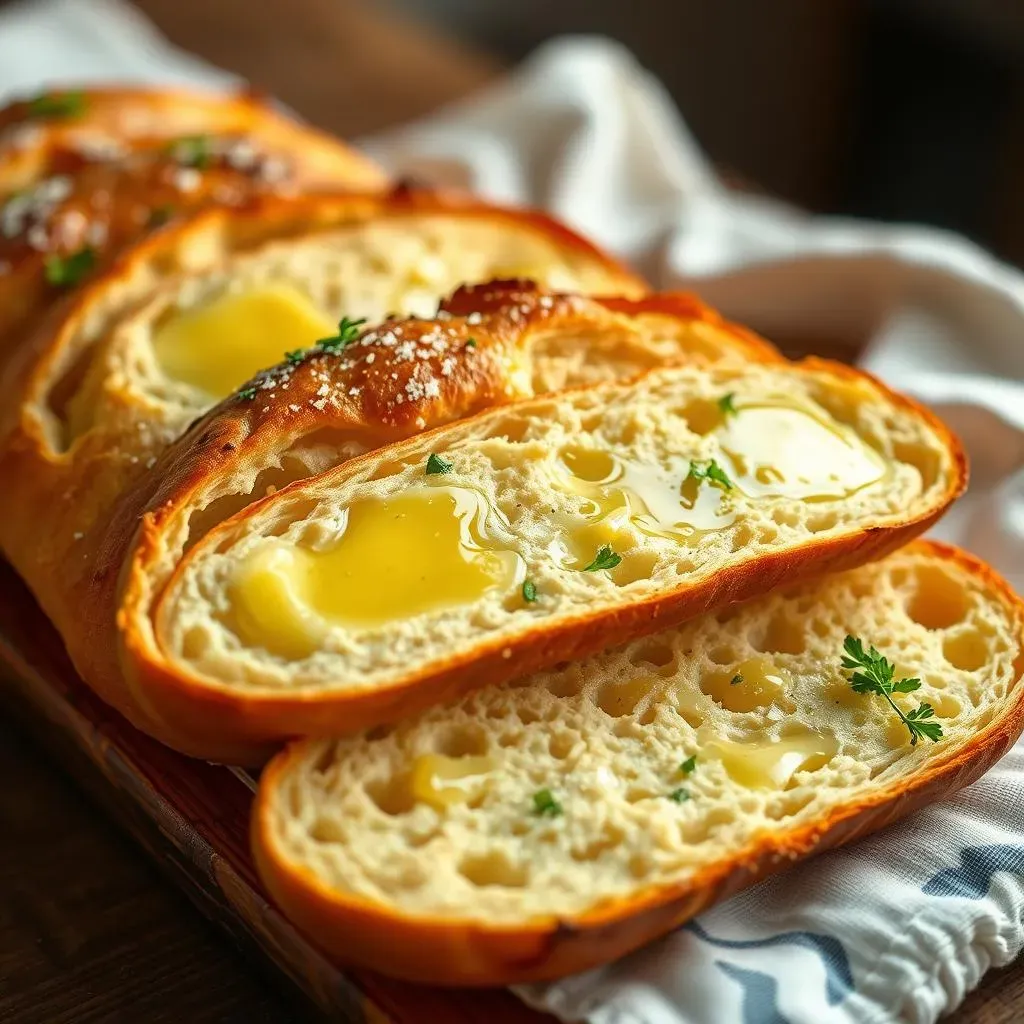
Alright, let's get into why garlic butter on french bread is such a game-changer. It's not just about slapping some butter and garlic on bread, it's about creating a symphony of flavors and textures. Think about it: the slightly crusty exterior of a good french loaf, giving way to a soft, airy inside. Then, that rich, savory garlic butter seeps into every nook and cranny. It's a simple combination, sure, but the magic is in the details. The warmth of the butter helps the garlic release its pungent aroma, while the salt enhances all the flavors. It’s like a flavor explosion in your mouth, and it’s surprisingly easy to achieve.
What makes this combination so appealing? Well, it’s the perfect balance of contrasts. The crispiness of the bread against the creamy butter, the sharp garlic against the soft bread. It’s a sensory experience, not just a snack. Plus, the simplicity of it means that you can make it anytime. It doesn't require fancy ingredients or complicated techniques. And let’s be honest, the aroma alone is enough to make anyone’s mouth water. It's the kind of smell that brings people to the table, eager to dig in. This isn't just food, it's an experience.
Flavor Component | Sensory Experience | Why It Works |
|---|---|---|
Garlic | Pungent, savory | Adds depth and aroma |
Butter | Rich, creamy | Carries flavor and moistens bread |
French Bread | Crusty, soft | Provides textural contrast |
Making Your Own Amazing Garlic Butter French Bread

Making Your Own Amazing Garlic Butter French Bread
Gathering Your Ingredients
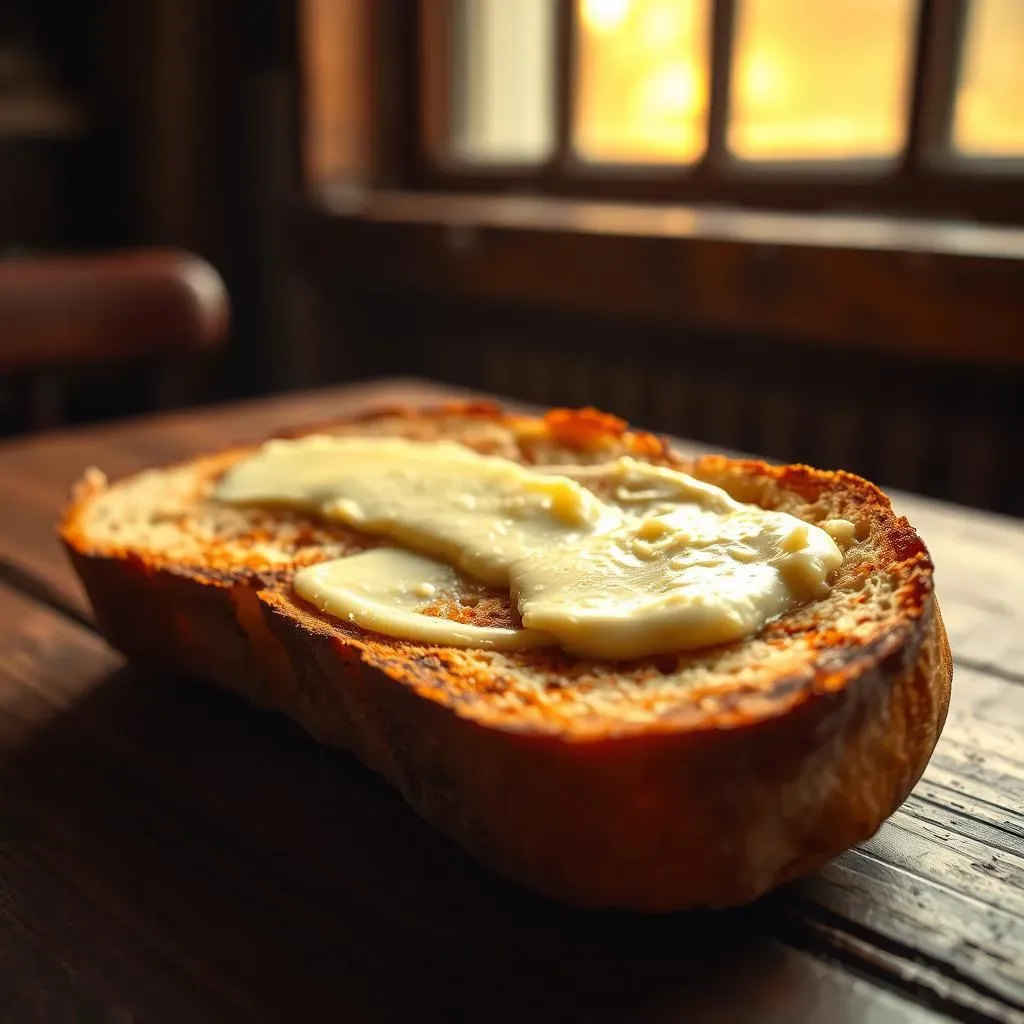
Alright, let's talk ingredients. You don't need a ton of fancy stuff to make truly incredible garlic butter french bread, but quality matters. Start with a good loaf of French bread – not the super soft, squishy kind, but one with a nice crust and a slightly chewy interior. Then, you’ll need butter, and I’m talking real butter, not margarine. Next up is garlic, and fresh minced garlic is the way to go. You can use garlic powder in a pinch, but it won't give you that fresh, zesty punch. And finally, a little salt is necessary to bring all the flavors together, plus some fresh parsley for a touch of color and extra flavor. Simple, right?
The key here is not to skimp on the garlic. I'm serious, don't be shy! It’s the star of this show. And make sure your butter is softened, this will make it much easier to mix with the other ingredients and spread on the bread. I mean, have you ever tried to spread cold butter on a soft loaf of bread? It's a disaster. So, take your butter out of the fridge beforehand and let it get nice and soft. Trust me, you'll thank me later.
The Art of Garlic Butter
Okay, now for the fun part: making the garlic butter. It's super easy, I promise. In a small bowl, mix that softened butter with the minced garlic, salt, and chopped parsley. I like to use a fork to mash it all together until it’s nice and creamy. You want the garlic to be evenly distributed throughout the butter, so don't rush this step. And if you’re feeling fancy, a little bit of garlic powder can add some extra oomph, but it’s totally optional. Some people like to melt the butter first, but I find that softened butter works just as well and saves you a step. It's all about personal preference, so feel free to experiment and see what works best for you.
Once you have your garlic butter mixture, taste it! Yes, taste it. If it needs a little more garlic, add it. If it needs a touch more salt, go for it. This is your creation, so don't be afraid to adjust it to your liking. Remember, the better the garlic butter tastes on its own, the better your garlic bread will be. This step is often overlooked, but it’s essential to achieving the perfect flavor. So, take your time and make sure it’s exactly how you like it.
Assembling and Baking
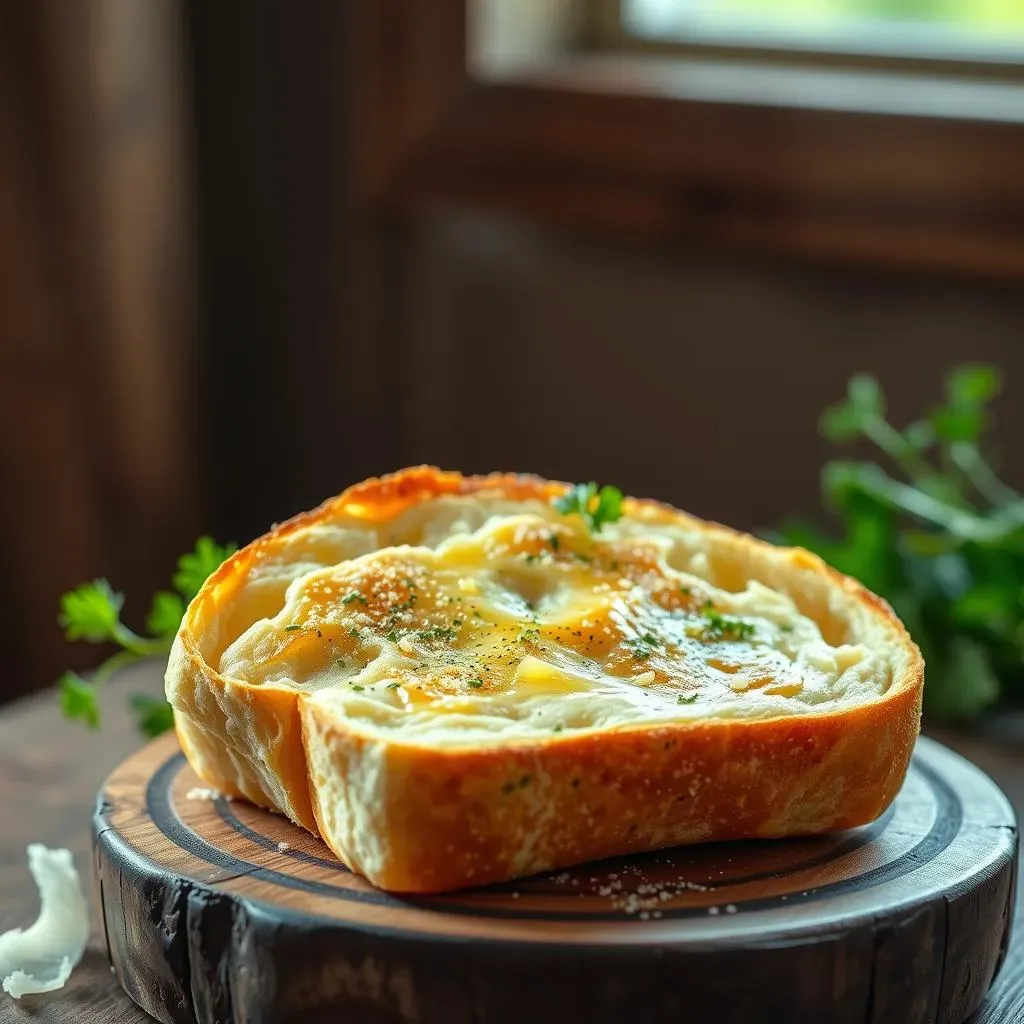
Alright, let's get this bread ready to bake. Cut your French loaf in half lengthwise. You want two long halves, ready for their buttery makeover. Now, take your garlic butter and spread it evenly over the cut sides of the bread. Don’t be shy, make sure every single nook and cranny is covered. The more butter, the more flavor, right? If you’re adding cheese, and trust me, you should, now is the time. Sprinkle some shredded Parmesan or mozzarella over the top of the garlic butter. Or both! A little bit of both never hurt anyone.
Finally, pop your garlic bread into a preheated oven at 400 degrees Fahrenheit (200 degrees Celsius). Bake for about 10 to 15 minutes, or until the bread is golden brown and the cheese is melted and bubbly. Keep an eye on it so it doesn’t burn. When it's done, take it out of the oven and let it cool for a few minutes before slicing and serving. And there you have it, your own amazing garlic butter french bread. It's that easy!
Step | Action |
|---|---|
1 | Cut the French bread in half lengthwise |
2 | Spread garlic butter evenly on each half |
3 | Add cheese (optional) |
4 | Bake at 400°F (200°C) for 10-15 minutes |
Garlic Butter French Bread: Tips, Tricks and Serving Ideas
Garlic Butter French Bread: Tips, Tricks and Serving Ideas
Level Up Your Garlic Bread
Okay, so you've mastered the basic garlic butter french bread, congrats! But, let's be honest, there's always room for improvement, right? Here’s where we get into some fun tricks to really make your garlic bread stand out. First off, consider adding roasted garlic to your butter mixture instead of just minced garlic. Roasting the garlic mellows out the sharp flavor and gives it a sweeter, almost nutty taste. It's a game changer, trust me. Another great tip is to infuse the butter with herbs. Thyme, rosemary, or even a little oregano can add a whole new layer of flavor. Just melt the butter with the herbs and let it sit for a bit before mixing in the garlic. This lets the butter absorb all those delicious flavors. It's all about experimenting and finding what you like best.
And don't forget about the bread! While a classic French loaf is great, you can also use other types of bread for a different experience. Sourdough gives a nice tang, while a crusty Italian loaf will offer a more rustic feel. Even ciabatta works well. The key is to choose a bread that's sturdy enough to hold up to the butter and garlic. You can also try cutting the bread into different shapes. Instead of just slicing it lengthwise, try making diagonal cuts or even little breadsticks for dipping. It’s all about making it fun and interesting. The key is not to be afraid to try new things.
Serving Suggestions and Pairings
Now that you've got your amazing garlic bread, it's time to think about how to serve it. Garlic butter french bread is incredibly versatile and pairs well with so many dishes. Of course, it's a classic alongside pasta dishes, like spaghetti or lasagna. But it's also fantastic with soups, salads, or even as a side for grilled meats. I mean, who doesn't love a good garlic bread with a juicy steak? For a casual get-together, you can even serve it as an appetizer with some dips. Think marinara sauce, pesto, or even a creamy cheese dip. It's always a crowd-pleaser, no matter how you serve it.
If you’re planning a bigger meal, consider making a garlic bread bar. Set out different kinds of bread, various flavored butters, and an array of toppings like cheese, herbs, and even some roasted vegetables. Let your guests create their own custom garlic bread. It’s a fun and interactive way to get everyone involved. And don’t forget, garlic bread is also great on its own. Sometimes, all you need is a warm piece of garlic bread to satisfy that craving. Serve it with a glass of wine, and you’ve got yourself a perfect snack or light meal.
And if you happen to have any leftovers, don't throw them away! Garlic bread is actually great the next day. You can reheat it in the oven or even in a toaster oven. Or you can turn it into croutons for a salad. There’s just so many ways to enjoy it. Just remember, garlic bread is not just a side dish, it's an experience. So, have fun with it and make it your own!
Storing and Reheating Tips
Okay, let’s talk about what to do with your garlic bread if you don't eat it all at once, which, let's be real, is unlikely. But, if you do have leftovers, you want to make sure you store it properly to keep it fresh. The best way to store garlic bread is to wrap it tightly in aluminum foil or plastic wrap and keep it in the fridge. This will help prevent it from drying out. It’s important to make sure it’s completely cool before you wrap it up. If it’s still warm, the condensation can make it soggy. No one wants soggy garlic bread, right? So, patience is key here.
When you’re ready to reheat your garlic bread, the oven is your best bet. Preheat it to 350 degrees Fahrenheit (175 degrees Celsius) and bake for about 5 to 10 minutes, or until it's warmed through. This will help maintain the crispiness of the bread. If you’re in a rush, a toaster oven works too. Just keep a close eye on it so it doesn't burn. You can also reheat it in a skillet on the stovetop. Just add a little bit of butter to the pan and heat the bread over medium heat until it’s warmed through and crispy. Avoid the microwave though, unless you are going for a soggy result. And if you want to be extra prepared, you can even freeze your garlic bread. Just wrap it tightly in foil and store it in the freezer. When you’re ready to eat it, you can reheat it directly from frozen. It’s like having fresh garlic bread on demand!
Storage Method | Reheating Method |
|---|---|
Wrap tightly in foil or plastic wrap | Oven at 350°F (175°C) for 5-10 minutes |
Store in the fridge | Toaster oven until warmed through |
Freeze for longer storage | Skillet on stovetop with butter until crispy |