Table of Contents
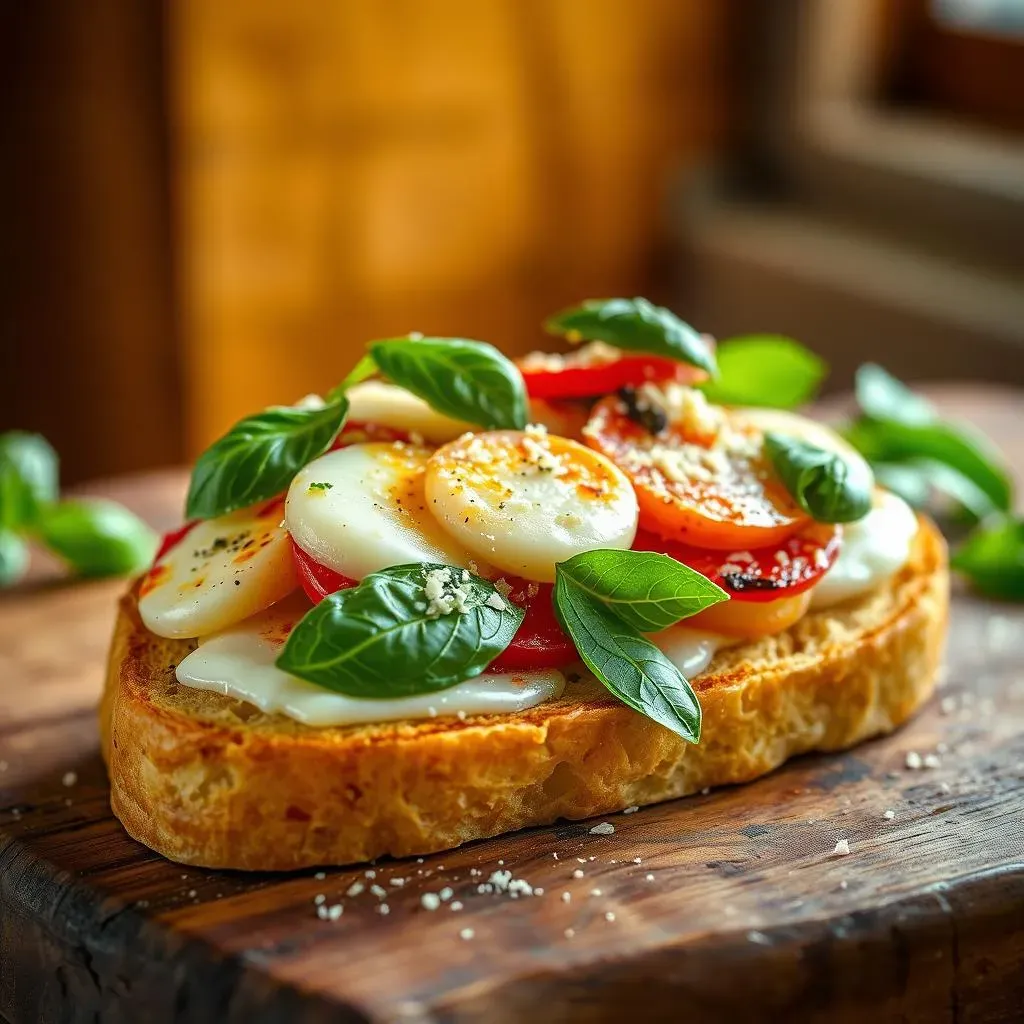
Let's be real, is there anything more comforting than the smell of warm, garlicky bread wafting from the oven? I think not. Today, we're talking about the king of all comfort carbs: garlic bread, specifically, how to make the absolute best version using French bread. This isn't just any old garlic bread recipe; we're going to explore why French bread is the superior choice, how to whip up a garlic butter that'll make your taste buds sing, and the secrets to baking it to crispy, golden perfection. We'll also uncover fun variations, perfect pairings, and even how to store leftovers (if there are any!). So, if you're ready to elevate your garlic bread game, grab a loaf of French bread, and let's get started. This guide will walk you through everything you need to know about making amazing garlic bread French bread, from the basic recipe to some fun, flavor-packed twists. Get ready for a carb-filled adventure that'll leave you hungry for more!
Why French Bread is the Best for Garlic Bread
Why French Bread is the Best for Garlic Bread
The Perfect Texture
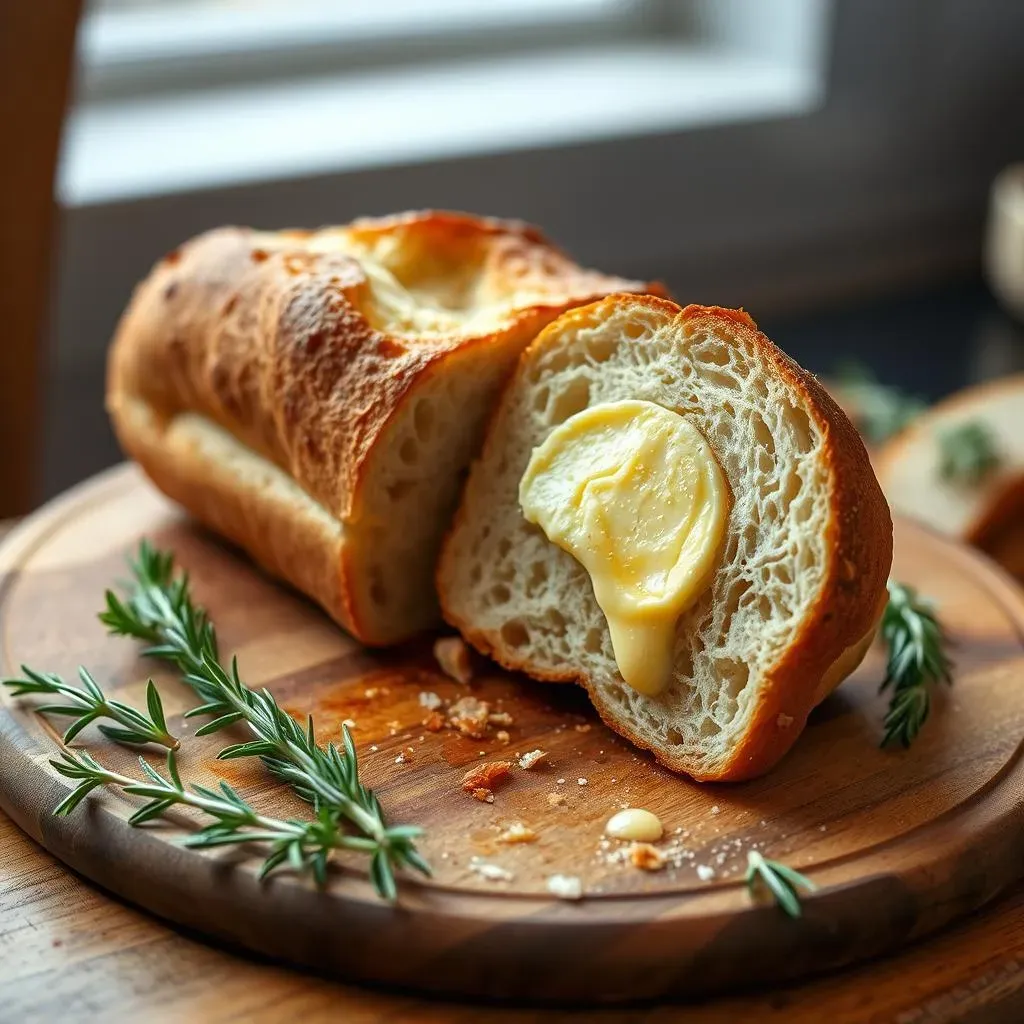
Okay, so you're probably wondering why I'm so obsessed with French bread for garlic bread. It's not just any bread, you know? The magic is all in the texture. French bread has this incredible crust that gets super crispy when you bake it. But here's the kicker: the inside is soft and airy, like a fluffy cloud just waiting to soak up all that delicious garlic butter. It's like a sponge for flavor, which is exactly what we want when making garlic bread. Other breads might be too dense or too soft, but French bread is like Goldilocks, it's just right.
Think of it like this, if you are trying to make a pizza, you need a good base right? French bread is the perfect base for garlic bread. It gives you a nice crunch on the outside, and a soft inside. This gives a great texture contrast that makes you want to eat more and more.
The Ideal Shape and Size
And it's not just about texture, it’s also about the shape and size. French bread usually comes in long loaves, which are perfect for slicing into those nice, big pieces we all love for garlic bread. It's like they were made for it! The wide surface area means you can get more of that garlicky goodness on each slice. You're not stuck with tiny pieces that barely hold any flavor. Plus, those long slices are great for sharing (or not, I won't judge!). It's a win-win situation. This shape makes it easier to spread the garlic butter evenly, ensuring every bite is packed with flavor.
Other bread options might be too small, too round, or just not the right shape to create a proper piece of garlic bread. French bread, with its long, slender form, is like the runway model of the bread world, perfectly designed for its purpose.
Feature | French Bread | Other Breads |
|---|---|---|
Crust | Crispy | Varies |
Inside | Soft and Airy | Dense or Too Soft |
Shape | Long and Wide | Various |
Size | Large Slices | Small or Irregular |
Garlic Butter Absorption | Excellent | May Vary |
Making the Perfect Garlic Butter for Your French Bread
Making the Perfect Garlic Butter for Your French Bread
Alright, now that we've established French bread as the ultimate garlic bread vessel, it's time to talk about the star of the show: the garlic butter. This isn't just melted butter with some garlic thrown in, oh no. This is where the magic truly happens. We're aiming for a buttery, garlicky concoction that's so good, you might just want to eat it with a spoon. And trust me, I've seen people do it! The key to a great garlic butter is using the right ingredients and getting the proportions just right, it's all about creating a flavor bomb that will make your garlic bread unforgettable.
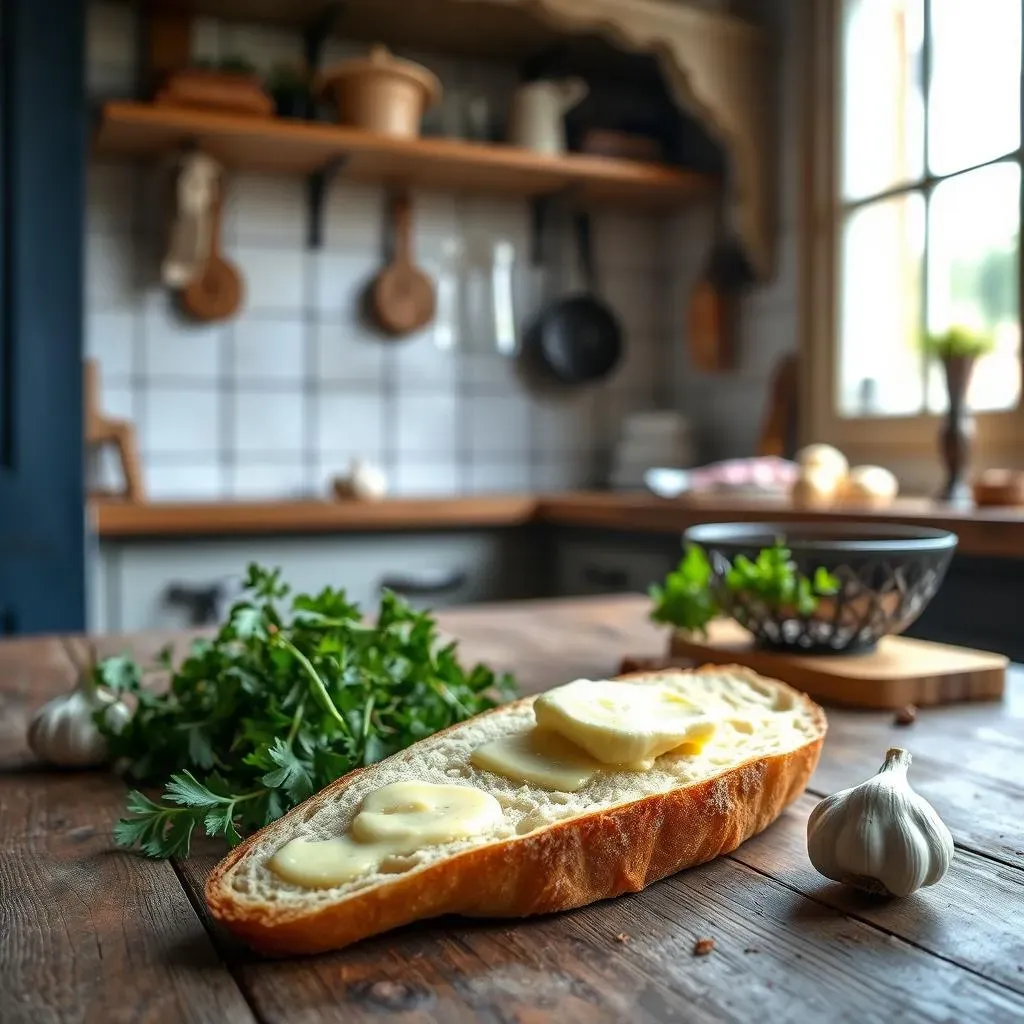
First things first, you need good butter. Don't skimp on this, go for the real stuff. I prefer unsalted butter so I can control the amount of salt, but salted will work too if that's all you have. Next, we need garlic, and lots of it. Fresh garlic is a must, minced finely so it really infuses the butter with its pungent flavor. Garlic powder is an option, but it's like using a toy car instead of a real car, you know what I mean? The fresh stuff has a punch that the powder just can't match. Finally, a touch of salt and maybe some herbs if you're feeling fancy. Parsley is a classic, but oregano or thyme can be great additions as well. Remember, it's your garlic butter, so feel free to experiment and find your perfect combination.
Ingredient | Why It Matters |
|---|---|
Unsalted Butter | Provides a rich base and allows salt control |
Fresh Garlic (minced) | Delivers a robust, pungent flavor |
Salt | Enhances the flavors and balances the richness |
Fresh Herbs (Optional) | Adds an aromatic layer of flavor |
Now, how do you actually make this magical butter? It’s simple. Start by softening your butter. You can leave it out at room temp for a bit, or if you're impatient like me, a few seconds in the microwave will do the trick. Just be careful not to melt it completely. Once the butter is soft, add in your minced garlic, salt, and any herbs you're using. Mix it all together until everything is well combined. You want the garlic to be evenly distributed throughout the butter. And that's it! Your garlic butter is ready to go. It's amazing how something so simple can be so incredibly delicious. This is the foundation of your amazing garlic bread, so take your time and enjoy the process.
You can even make your garlic butter ahead of time! Just pop it in an airtight container and keep it in the fridge, it'll last for a few days. When you're ready to make your garlic bread, just take it out and let it soften up a bit before spreading it on your French bread. This make-ahead option is a lifesaver when you are planning a dinner party, or just want to make your life a little easier. You can focus on other things while your garlic butter is waiting patiently in the fridge for its moment to shine.
"The secret to great garlic bread is not just about the bread, but the garlic butter. It's the soul of the dish." - Some random chef I made up
Baking Your Garlic French Bread to Golden Perfection
Baking Your Garlic French Bread to Golden Perfection
Prepping Your Bread
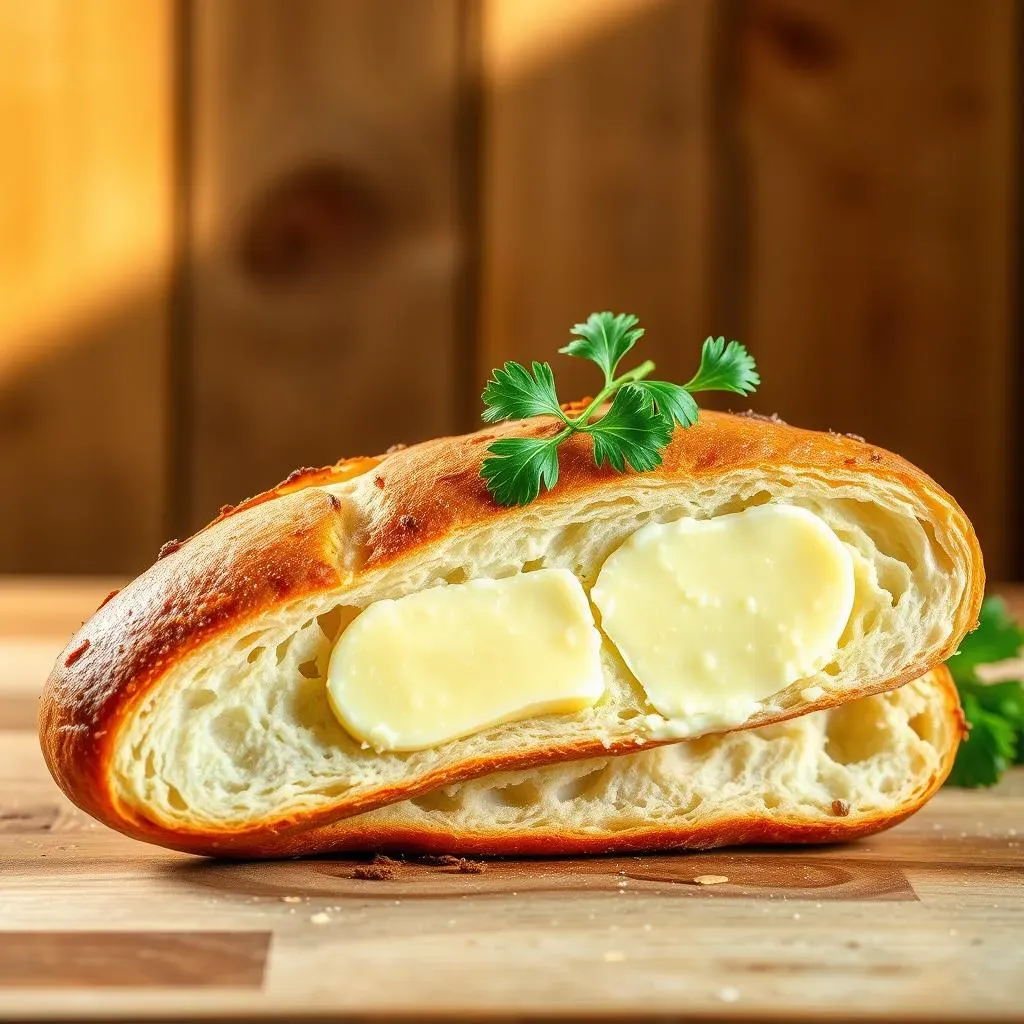
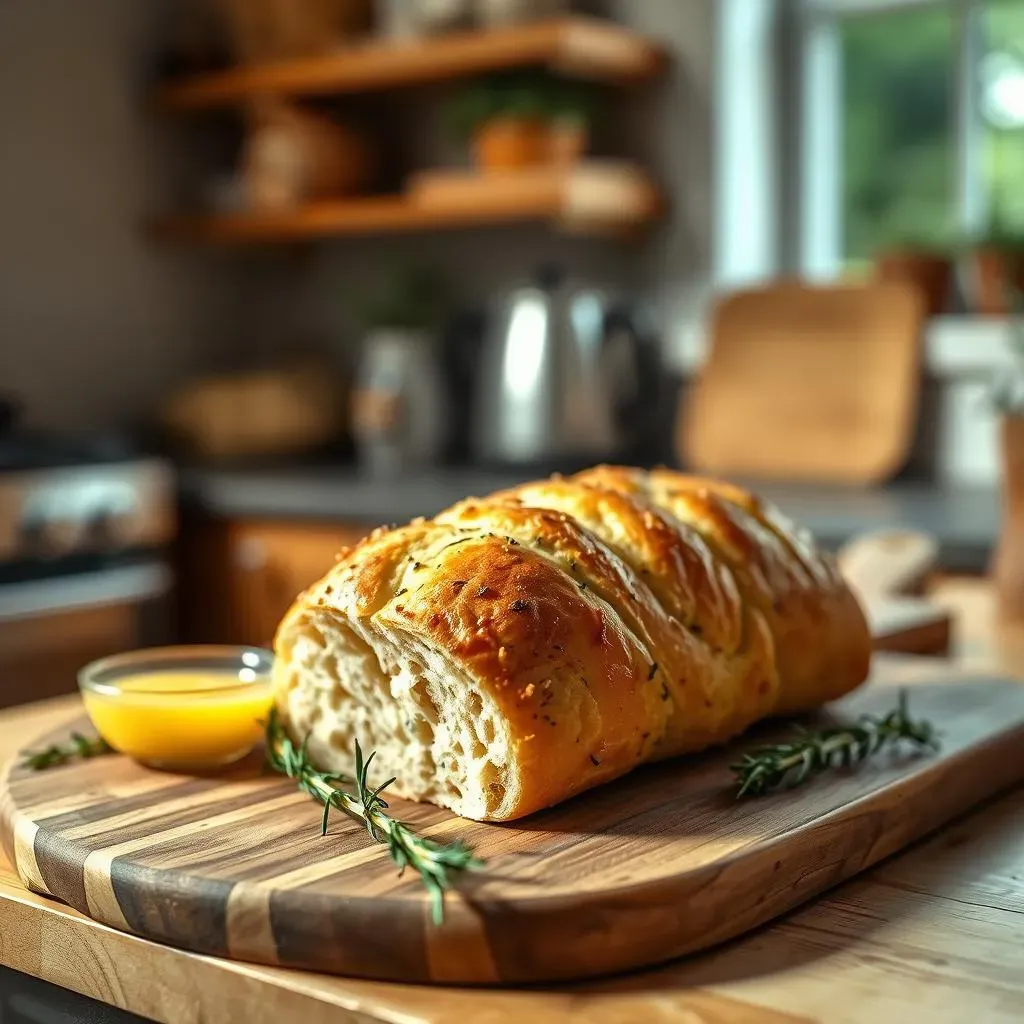
Alright, so you've got your French bread and your amazing garlic butter, now it's time to bring it all together. First things first, preheat that oven! We're aiming for a nice 400°F (200°C) to get that bread golden brown and crispy. While the oven is heating up, let's prep our bread. Take your loaf of French bread and slice it lengthwise. You want to end up with two long halves, kind of like opening a book. This will give us two big surfaces to slather with our garlic butter. Now, don't be shy with the butter. Spread it generously over each half, making sure to get into all the nooks and crannies. Remember, every bite should be a garlic explosion!
Pro tip: If you want to make it easier to clean up later, you can line your baking sheet with parchment paper. It is a real life saver. It will also help prevent the bottom of the bread from getting too dark. Once you have spread that garlic butter all over the bread, we are ready to bake our golden masterpiece.
Baking to Perfection
Now that your bread is all buttered up, it's time to bake! Place those garlic-covered French bread halves on a baking sheet and pop them into the preheated oven. The baking time can vary a little bit depending on your oven, but we're generally looking at about 10-15 minutes. You want the edges to be a beautiful golden brown, and the garlic to be fragrant and slightly toasted. Keep a close eye on it, and don't be afraid to peek! You might need to rotate the baking sheet halfway through to ensure even browning. The goal is crispy edges, a soft, chewy inside, and that irresistible garlic aroma filling your kitchen. Once it's done, take it out of the oven and let it rest for a couple of minutes before slicing. This will help the bread set up a bit, and make it easier to cut.
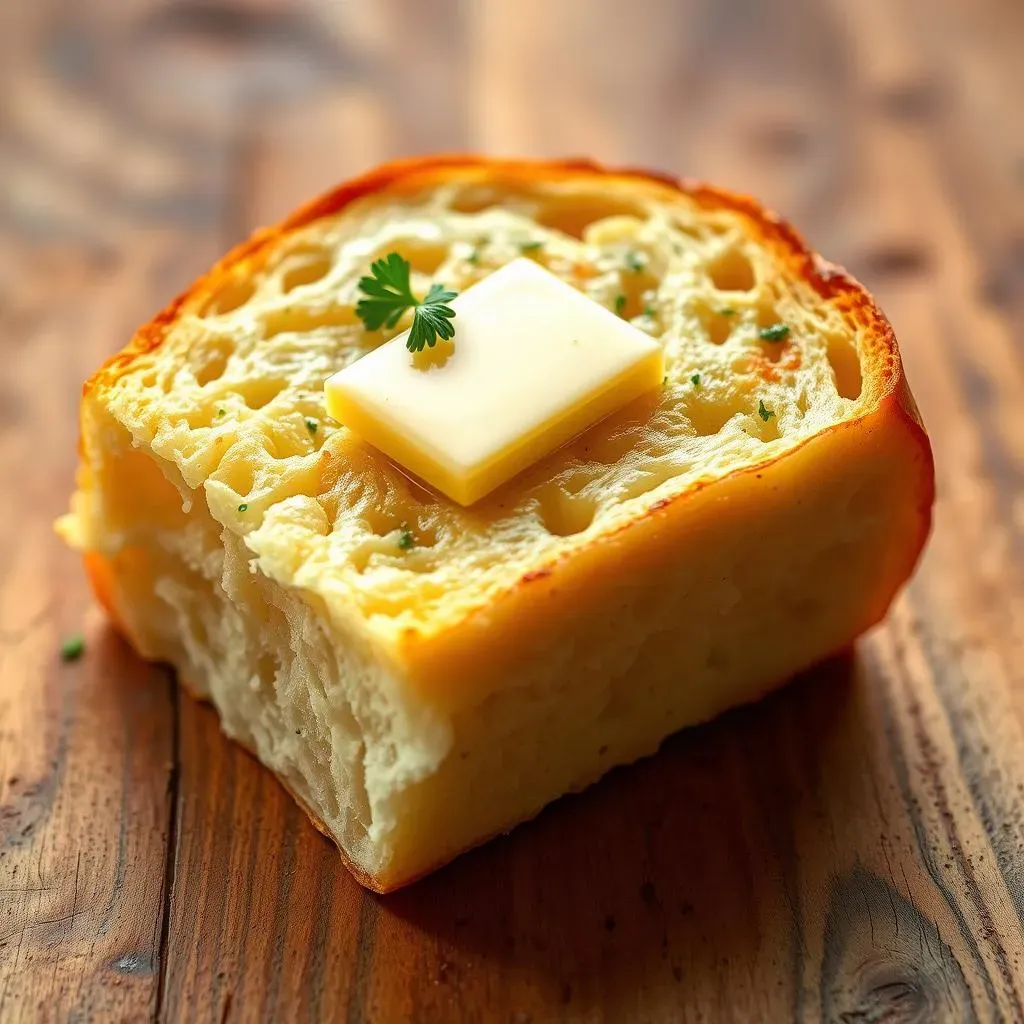
If you want to be extra fancy, you can also sprinkle some grated Parmesan cheese over the bread during the last few minutes of baking. It adds a salty, cheesy layer that takes the garlic bread to a whole new level. But even without the cheese, it will be a delicious piece of garlic bread. Don't worry about making it perfect, just enjoy the process, and the smell that’s filling up your house!
Step | Action | Why It Matters |
|---|---|---|
1 | Preheat oven to 400°F (200°C) | Ensures even baking and crispiness |
2 | Slice French bread lengthwise | Creates larger surface for garlic butter |
3 | Spread garlic butter generously | Guarantees maximum flavor |
4 | Bake for 10-15 minutes | Achieves golden brown and crispy texture |
5 | Rest before slicing | Allows bread to set and makes slicing easier |
Garlic Bread French Bread Recipe Variations to Try

Garlic Bread French Bread Recipe Variations to Try
Cheesy Garlic Bread
Okay, so you've mastered the classic garlic bread, but what if you want to kick things up a notch? Let's talk cheese! Adding cheese to your garlic bread is like adding a superhero to your favorite movie—it just makes everything better. For cheesy garlic bread, you've got options. You can sprinkle some shredded mozzarella over the garlic butter before baking for a melty, gooey experience. Or, if you're feeling fancy, a mix of Parmesan and Gruyere will give you a more complex, nutty flavor. The cheese melts into the nooks and crannies of the bread, creating little pockets of cheesy goodness that are just irresistible. It's like a pizza and garlic bread had a delicious baby.
Don't be afraid to experiment with different types of cheese. A little bit of sharp cheddar will add a tangy kick, while provolone will give you a creamy, mild flavor. You can even try a mix of several cheeses to create your own unique blend. Just make sure to add the cheese during the last few minutes of baking, so it melts nicely without burning. And if you're feeling extra adventurous, add a sprinkle of red pepper flakes for a little heat. This simple addition will elevate your garlic bread and add a whole new level of flavor. It's all about finding your perfect cheese-to-garlic ratio!
Cheese Type | Flavor Profile | Best Use |
|---|---|---|
Mozzarella | Mild and Melty | Classic Cheesy Garlic Bread |
Parmesan | Salty and Nutty | Adds depth and flavor |
Gruyere | Complex and Nutty | Sophisticated cheesy flavor |
Cheddar | Sharp and Tangy | Adds a bit of a kick |
Provolone | Creamy and Mild | Smooth, melty texture |
Herb-Infused Garlic Bread
If you're looking to add a bit more freshness and aroma to your garlic bread, consider infusing your garlic butter with herbs. This is where you can really let your creativity shine. Instead of just using plain parsley, try mixing in some fresh rosemary, thyme, or oregano. The herbs will not only add a burst of flavor but also make your kitchen smell absolutely incredible. The key is to use fresh herbs whenever possible, as they have a much more vibrant flavor than dried ones. But if you only have dried herbs, that's okay too! Just use a bit less, as their flavor is more concentrated.
To make herb-infused garlic butter, simply chop your fresh herbs finely and mix them into the softened butter along with the garlic and salt. Let the mixture sit for a few minutes to allow the flavors to meld together before spreading it on your French bread. You can also experiment with different herb combinations to find your favorite. A mix of rosemary and thyme is great for a more earthy, savory flavor, while basil and oregano will give you a more Italian-inspired taste. The possibilities are endless! It's a simple way to make your garlic bread feel a bit more special and gourmet.
"Variety is the spice of life, and that goes for garlic bread too!" - Some random author I made up
Extra-Crispy Garlic Bread
Some people like their garlic bread soft and chewy, but others (like me!) prefer it extra crispy. If you're in the latter camp, here's how to achieve that perfect crunch. The key is to use a slightly higher oven temperature and bake the bread for a little longer. Instead of 400°F (200°C), try baking at 425°F (220°C) for about 12-18 minutes. Keep a close eye on the bread to make sure it doesn't burn, but that extra heat will help to get the crust super crispy while the inside remains nice and soft. Another trick is to broil the bread for the last minute or two, but watch it like a hawk to make sure it doesn’t burn!
Another way to get extra crispy garlic bread is to cut the French bread into smaller slices, instead of leaving it in halves. This allows more surface area to be exposed to the heat, resulting in a crispier texture. You can also try brushing the bread with a little bit of olive oil before adding the garlic butter. The oil will help to crisp up the bread and add a bit of extra flavor. And if you're really serious about crispiness, try using a baking stone or a pizza steel, it will help with even heat distribution and ensure a perfectly crispy crust. It's all about experimenting to find your perfect level of crunch!
Serving Suggestions and What to Pair With Your Garlic Bread
Serving Suggestions and What to Pair With Your Garlic Bread
The Perfect Side Dish
Okay, so you’ve got this amazing garlic bread, but what do you even eat it with? Well, the beauty of garlic bread is that it goes with pretty much everything. Seriously, try me! It's the ultimate side dish, the best friend of countless meals. It’s like that one person who gets along with everyone. For starters, it's a classic with any Italian dish. Think spaghetti and meatballs, lasagna, or chicken parmesan. The garlicky goodness pairs perfectly with the rich flavors of tomato sauce and pasta. It's the kind of combo that just makes you want to curl up on the couch with a big plate of food, you know?
But don't limit yourself to just Italian food. Garlic bread is also amazing with soups and stews. Imagine dipping a piece of crispy garlic bread into a warm bowl of tomato soup or a hearty beef stew. It's like a little hug for your tummy. It also pairs well with grilled meats, salads, and even seafood. The possibilities are endless. It's like a culinary chameleon that can adapt to any situation. The key is to think about how the flavors will complement each other. And when in doubt, just add more garlic bread!
Beyond the Basics
Now, let’s get a little more adventurous. Garlic bread isn't just a side dish, it can also be the star of the show! Think about using it as the base for an open-faced sandwich. Top it with some roasted vegetables, grilled chicken, or even some sliced avocado for a light and tasty meal. You can also use it to make mini pizzas. Just add some tomato sauce, cheese, and your favorite toppings, and pop it back in the oven until the cheese is melted and bubbly. It's a fun and easy way to use up leftover garlic bread, not that you'll have any leftovers if you are like me!
And if you're feeling really creative, you can even use garlic bread to make croutons for your salads. Just cut it into small cubes, toss it with a little olive oil and some herbs, and bake until they are golden brown and crispy. They'll add a delicious garlicky crunch to your salads. You can also use garlic bread to make a bread pudding, or even as a base for a breakfast casserole. The possibilities are truly endless. It's all about thinking outside the box and having fun in the kitchen. Garlic bread is not just a side dish, it's a canvas for your culinary creativity!
Dish Type | Pairing Suggestions |
|---|---|
Italian | Pasta, lasagna, chicken parmesan |
Soups and Stews | Tomato soup, beef stew |
Grilled Meats | Steak, chicken, burgers |
Salads | Croutons, side dish |
Seafood | Shrimp scampi, grilled fish |
Tips for Storing and Reheating Garlic French Bread
Tips for Storing and Reheating Garlic French Bread
Storing Your Leftover Garlic Bread
Okay, so you've made a big batch of garlic bread, and somehow you have some leftovers. First of all, I'm impressed! But no worries, we can totally save it for later. The key to storing garlic bread is to keep it from getting soggy. Nobody likes soggy garlic bread, it is a crime against humanity! The best way to do this is to let it cool completely before wrapping it up. Once it's cooled down, wrap it tightly in aluminum foil or plastic wrap. You can also put it in an airtight container if you have one. This will help to keep it fresh and prevent it from drying out.
You can keep your garlic bread in the fridge for up to three days. But if you need to store it for longer, the freezer is your best friend. To freeze garlic bread, wrap it tightly in foil or plastic wrap, and then put it in a freezer bag. It can be stored in the freezer for up to three months. Just make sure to label it so you know when you made it. When you're ready to reheat it, you can take it straight from the freezer to the oven, no thawing required. It's like magic, you have garlic bread ready to eat whenever you want!
Reheating for Maximum Deliciousness
Now, let's talk about reheating. We want to get that garlic bread back to its original glory, crispy on the outside, soft on the inside. The best way to reheat garlic bread is in the oven. Preheat your oven to 350°F (175°C), and place the garlic bread on a baking sheet. If it's frozen, you might want to add an extra 5 minutes to the reheating time. Bake it for about 10-15 minutes, or until it's heated through and the crust is crispy again. Keep an eye on it to make sure it doesn't burn. If you're in a hurry, you can also reheat it in a toaster oven, but it might not get as crispy as it would in a regular oven.
Microwaving is an option, but it's not my favorite method. It can make the bread a little bit soggy, which is not what we want. If you absolutely must use the microwave, try wrapping the bread in a paper towel to absorb some of the moisture, and heat it in short intervals, checking it frequently to make sure it doesn't get too soft. But really, the oven is the way to go for that perfect crispy texture. It's worth the extra time, trust me. It is like giving your garlic bread a second chance to shine!
Storage Method | Duration | Tips |
|---|---|---|
Fridge | Up to 3 days | Wrap tightly in foil or plastic wrap |
Freezer | Up to 3 months | Wrap tightly, place in freezer bag |
Reheating Method | Temperature | Time | Notes |
|---|---|---|---|
Oven | 350°F (175°C) | 10-15 minutes | Best for crispiness |
Toaster Oven | 350°F (175°C) | 5-10 minutes | Good for smaller portions |
Microwave | High | Short intervals | Can make bread soggy |