Table of Contents
Ever dream of biting into a perfectly crusty French roll, the kind that makes you close your eyes and sigh? What if I told you that you can achieve that level of bakery perfection right in your own kitchen, with the help of your trusty bread machine? Forget complicated kneading and endless waiting; making delicious french rolls bread machine style is surprisingly simple. This article will be your guide, showing you why this method is a total game-changer, walking you through each step of the process, and sharing some pro tips to guarantee that every batch is a winner. Get ready to ditch store-bought bread and embrace the joy of homemade goodness. We'll cover everything from the essential ingredients to shaping the dough, and even tackle those common questions that might be swirling around in your head. By the end, you'll be a french rolls bread machine master, ready to wow your family and friends with your amazing creations.
Why Bread Machine French Rolls Are a Game Changer
Why Bread Machine French Rolls Are a Game Changer
Effortless Dough, Maximum Flavor
Let's be real, who has time to spend hours kneading dough? I know I don't. That's where the magic of a bread machine comes in. It takes all the hard work out of making dough. It's like having a tiny, tireless baker in your kitchen. You just toss in the ingredients, press a button, and BAM! Perfect dough is ready, waiting for you to shape it into those amazing rolls. It's not cheating, it's being smart. Plus, the consistent mixing and proofing the machine provides ensures that the dough develops a beautiful flavor and texture every single time.
The best part? You can walk away and do other things while it does its job. Imagine: you start the dough, go for a walk, and come back to a perfectly prepared base for your rolls. No more sticky hands or sore arms! I used to avoid bread making, thinking it was too much work, but this method changed everything. It's seriously a game-changer.
Consistent Results, Every Single Time
One of the biggest challenges with baking is consistency. Sometimes the dough rises perfectly, other times it's a flat mess. A bread machine eliminates this headache. It controls temperature and timing so your dough rises consistently, producing the same great result every time. I've tried making dough by hand, and the results were always a bit of a gamble. With my bread machine, I can rely on the process. This means no more guessing games, just consistently delicious French rolls.
Think about it: you can finally perfect your signature French rolls without constantly worrying about the dough. This consistency is not just convenient; it's also confidence-boosting. You know every time that you'll get those beautiful, light, and airy rolls that everyone will love. This makes bread making more enjoyable and less stressful.
Benefit | Why it Matters |
|---|---|
Hands-Off Dough Making | Saves time and effort |
Consistent Results | No more baking guesswork |
Perfect Texture | Light, airy, and delicious rolls every time |
From Simple to Spectacular
Okay, so you've got perfect dough, but what about the rolls themselves? With the bread machine doing all the hard work, you can focus on the fun part: shaping and baking. It's like having a blank canvas to create your masterpiece. You can make classic baguette-style rolls or get creative with twists and knots. The possibilities are endless. I love to experiment with different shapes and sizes. It turns bread making into an activity, not just a chore.
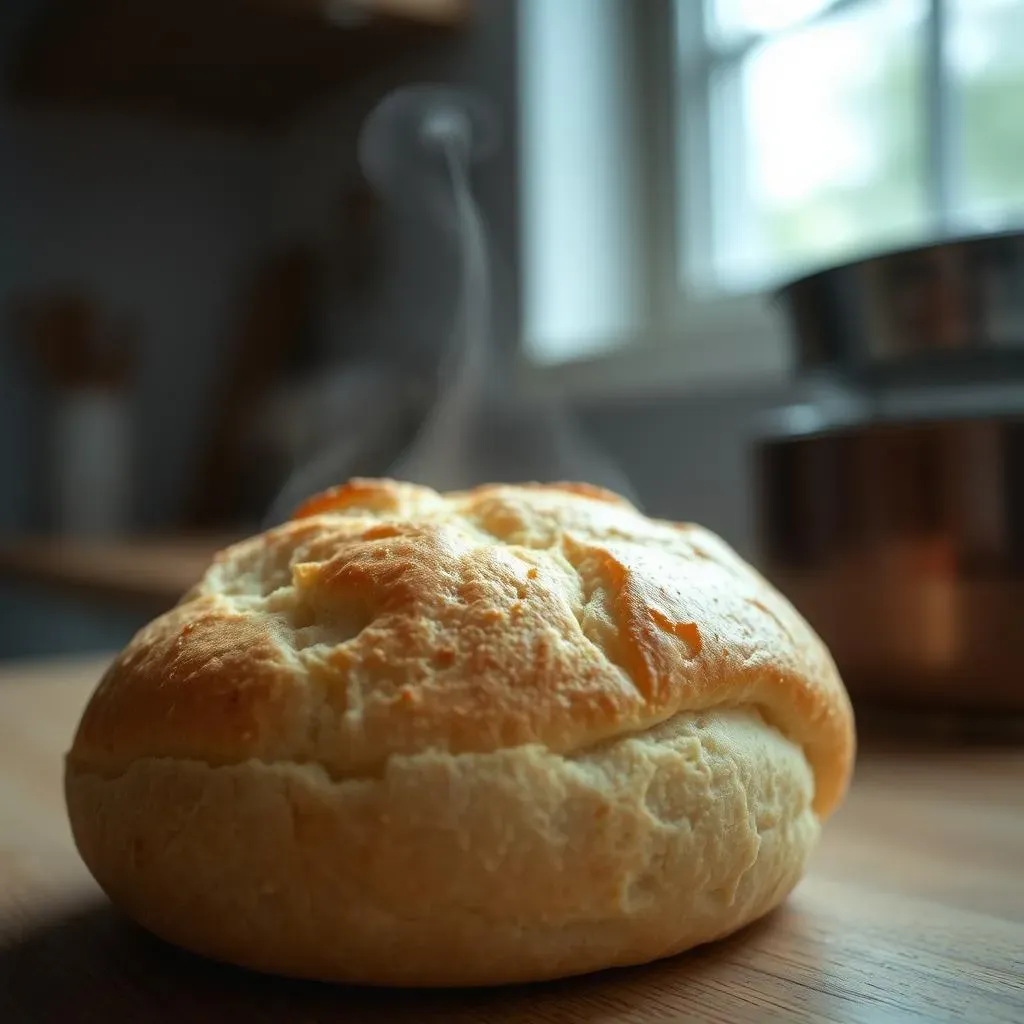
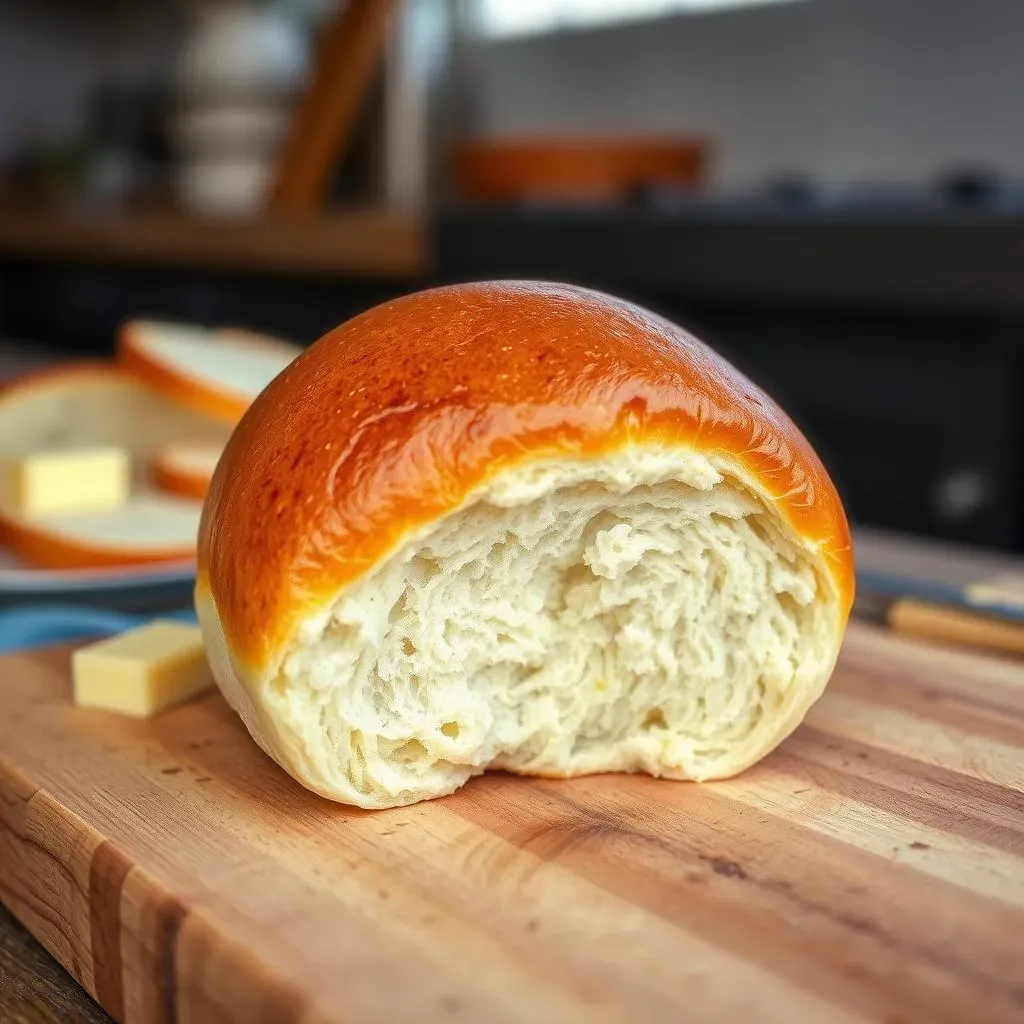
And the results? Oh, the results are spectacular. Those beautiful crusty rolls, with their soft, airy interior, are worth every bit of effort. They're perfect for breakfast sandwiches, dinner sides, or just enjoying with a pat of butter. I mean, who doesn't love a warm, fresh roll? The smell alone is enough to make anyone's day better. This recipe elevates your home cooking game without requiring you to spend all day in the kitchen. It's a win-win!
Making the Perfect French Rolls in Your Bread Machine: StepbyStep
Making the Perfect French Rolls in Your Bread Machine: StepbyStep
The Essential Ingredients: Simple but Crucial
Okay, let's talk ingredients. This isn't rocket science, but using the right stuff makes all the difference. For amazing french rolls bread machine style, you'll need bread flour, not all-purpose. Bread flour has more protein, which gives the rolls that perfect chewy texture. You'll also need filtered water – tap water can sometimes mess with the yeast. Don't skip the salt; it's not just for flavor, it controls the yeast. A touch of sugar feeds the yeast and helps with browning. And finally, your yeast - I prefer instant or bread machine yeast, they're reliable. These five things are your foundation for deliciousness. I always measure my ingredients precisely, it makes a huge difference.
Think of it like building a house; you need a solid foundation. These ingredients are the foundation for your rolls. Using good quality ingredients is like giving your dough a head start. I've tried cutting corners before, and it just doesn't work as well. Trust me on this one; the better the ingredients, the better the rolls. It's really that straightforward.
Dough Prep: Let the Machine Do Its Thing
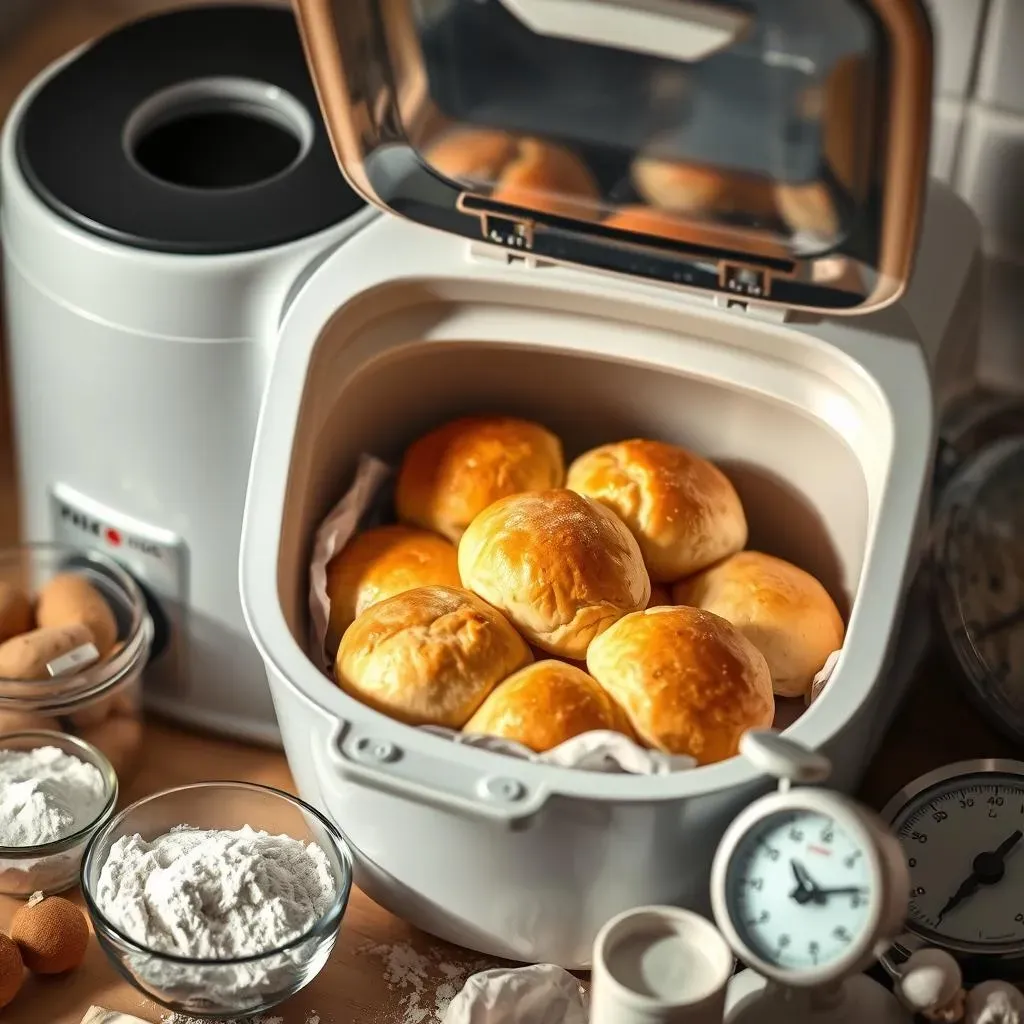
Now, for the fun part, or the not-so-fun part, depending on how you feel about measuring. Add the water, salt, sugar, flour, and yeast to your bread machine pan, following the order recommended by your bread machine's manual. It usually goes liquids first, then dry ingredients, with yeast on top, away from the liquid. Then, select the dough cycle. This is where the magic happens! The machine mixes and kneads the dough for you. I love this part. You can just set it and forget it.
Once the dough cycle is complete, it's time to remove the dough. It should be smooth and elastic. If it's too sticky, add a little flour, but not too much. Now, gently place the dough on a lightly floured surface. You can use a pastry scraper to help get it out of the machine. It’s like watching a little dough baby grow up. It's so satisfying to see it all come together. This step is where you start to see the potential of those ingredients.
Ingredient | Why It's Important | Measurement Note |
|---|---|---|
Bread Flour | Provides structure and chew | Use a kitchen scale for accuracy |
Filtered Water | Hydrates the dough | Lukewarm is best |
Salt | Controls yeast, adds flavor | Don't skip it! |
Sugar | Feeds yeast, aids browning | A little goes a long way |
Instant or Bread Machine Yeast | Leavening agent | Check expiration date |
Shaping and Baking: The Final Touches
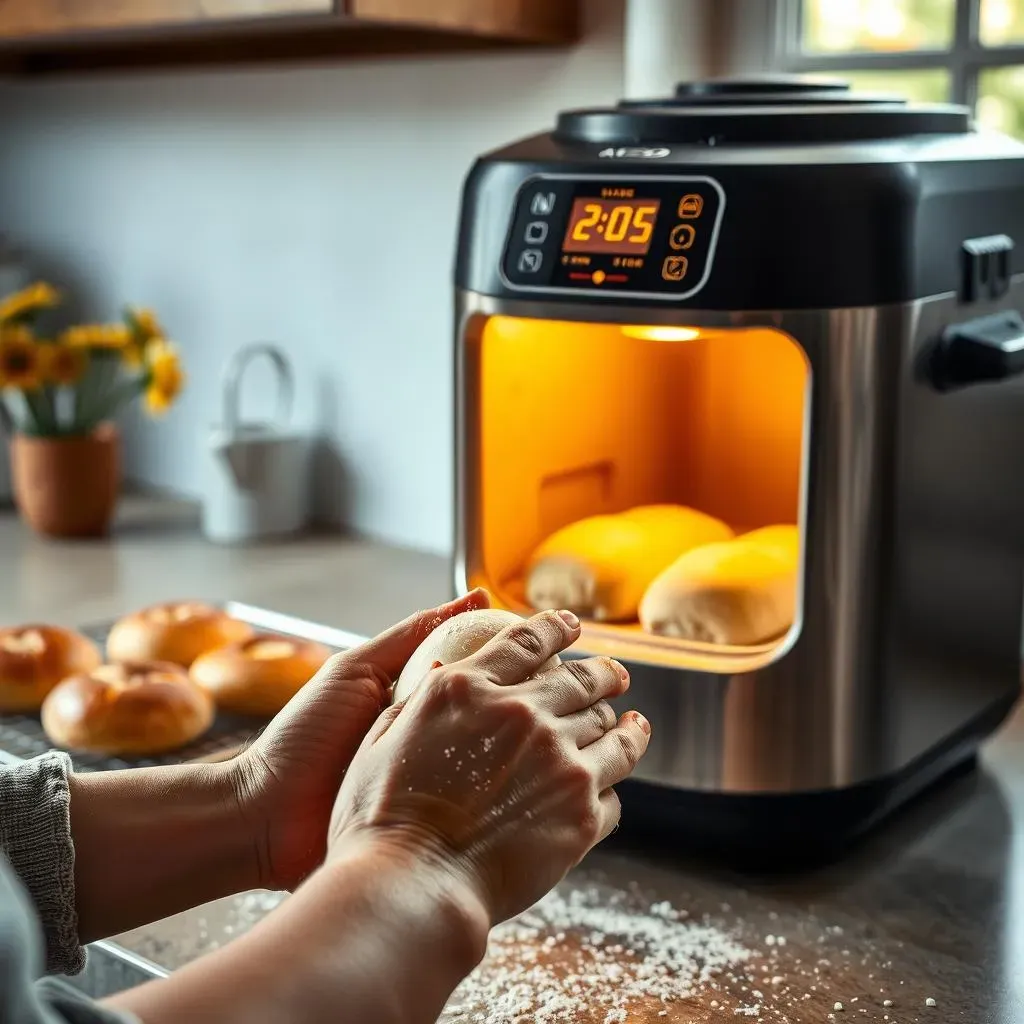
Okay, dough is ready, now what? Divide the dough into 12 equal pieces. I use a bench scraper for this, it's a lifesaver. Then, shape each piece into a ball by gently tucking the edges under. You’re not trying to make perfect spheres, just nice, round-ish shapes. Place the dough balls on a baking sheet lined with parchment paper, leaving a little space between each one. Cover them lightly and let them rise in a warm place for about 30-45 minutes. This is where the magic really happens. They should puff up nicely.
Preheat your oven to 400°F (200°C). Once the rolls have risen, bake them for about 20 minutes, or until they are golden brown and sound hollow when tapped on the bottom. Let them cool on a wire rack before digging in. I know it's hard to wait, but it makes all the difference. The smell is incredible, it's so tempting to just tear into one right away. This is when all your hard work comes to fruition. You’ve made it!
“The secret to great baking is not just in the recipe, but in the love and care you put into each step.” - Some wise baker, probably.
Troubleshooting and Tips for Amazing Bread Machine French Rolls
Troubleshooting and Tips for Amazing Bread Machine French Rolls
Why Isn't My Dough Rising?
Okay, so you've followed the recipe, but your dough isn't puffing up like it should. Don't panic! First, check your yeast. Is it fresh? Expired yeast is a common culprit. Also, make sure your water isn't too hot or too cold; lukewarm is the sweet spot. Sometimes, even the weather can affect the rise; a cold kitchen can slow things down. Try placing the dough in a slightly warmer place, but not too hot – you don't want to cook it. I once had a batch that refused to rise because my kitchen was freezing. Moving it to a slightly warmer spot made all the difference. It's all about creating the right environment for your yeast to thrive.
Also, make sure you are measuring your ingredients correctly. Too much salt can inhibit the yeast, and not enough water makes for a dry dough that won't rise. I know it seems like a small detail, but it really does matter. And if you're using a bread machine, make sure it's set to the right cycle. I’ve accidentally hit the wrong button more times than I care to admit. It's always a good idea to double-check everything before you start. It’s like a little detective work for your dough!
Problem | Possible Solution |
|---|---|
Dough not rising | Check yeast freshness, water temperature, kitchen temperature |
Dough too sticky | Add a little flour, one tablespoon at a time |
Dough too dry | Add a little water, one teaspoon at a time |
My Rolls Are Too Dense!
If your rolls are coming out dense and heavy, it's likely a problem with your flour or your kneading. Remember, bread flour is crucial for that light, airy texture. Using all-purpose flour just won't cut it. Also, even though the bread machine does most of the work, sometimes the dough needs a little extra kneading. If it looks a bit rough after the dough cycle, give it a few extra minutes of kneading by hand on a floured surface. It can make a surprisingly big difference. I once made a batch with all-purpose flour, and they were like little hockey pucks, lesson learned.
Over-proofing can also lead to dense rolls. Don't let the dough rise for too long, especially in a warm environment. You're aiming for a nice, puffy dough, but not one that is collapsing or deflated. The dough should have doubled, not tripled. Keep an eye on it, and don’t let it go too far. Baking is like a science experiment; you have to observe the results and adjust accordingly. It’s a fine balance, but you’ll get the hang of it.
Getting That Perfect Crust
A good crust is the hallmark of a great French roll. For a nice, crispy crust, don't skip preheating your oven properly. A hot oven is essential for that initial burst of heat that sets the crust. Also, try placing a baking pan filled with water on the bottom rack of the oven during baking. The steam helps create a wonderfully crisp crust. I learned this trick from an old cookbook and it's a game changer. It’s like creating your own little bakery environment in your oven.
Another tip is to lightly brush the rolls with water before baking. This helps the crust become nice and golden brown. And remember, patience is key! Don’t take the rolls out of the oven too soon; they need that full baking time to develop their flavor and texture. It’s tempting to peek, but resist. Trust me; that perfect crust is worth the wait. It’s the final touch that elevates your homemade rolls from good to amazing.
“The best bakers aren’t afraid to experiment and learn from their mistakes. It’s all part of the journey.” - Me, right now.