Table of Contents
Ever bite into a sandwich where the bread just steals the show? That’s the magic of a great french roll sandwich bread. It's not just a vessel for fillings; it's a key part of the experience. I've been on a quest to nail this seemingly simple bread, and let me tell you, it's been a journey of floury highs and a few flat lows. We'll explore what makes a truly great french roll sandwich bread, from the ideal crust that doesn't crumble to a soft interior perfect for soaking up all those delicious flavors. We will be covering the essential recipe, techniques, and tips to get it right every time. We're not just aiming for "good enough" here; we're going for sandwich perfection. So, whether you're a seasoned baker or just starting out, prepare to transform your sandwich game with the power of homemade french roll sandwich bread.
The Anatomy of a Perfect French Roll Sandwich Bread
The Anatomy of a Perfect French Roll Sandwich Bread
The Crust: Not Too Tough, Not Too Soft
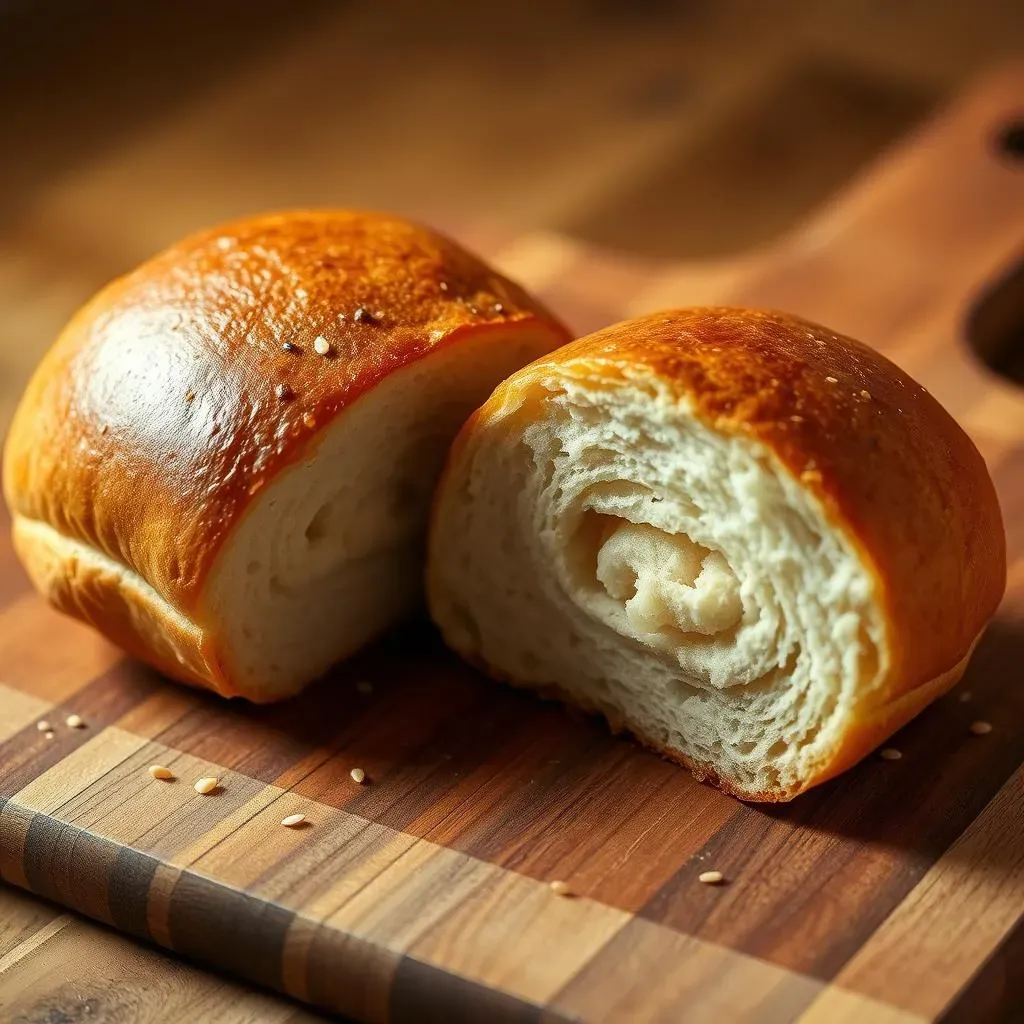
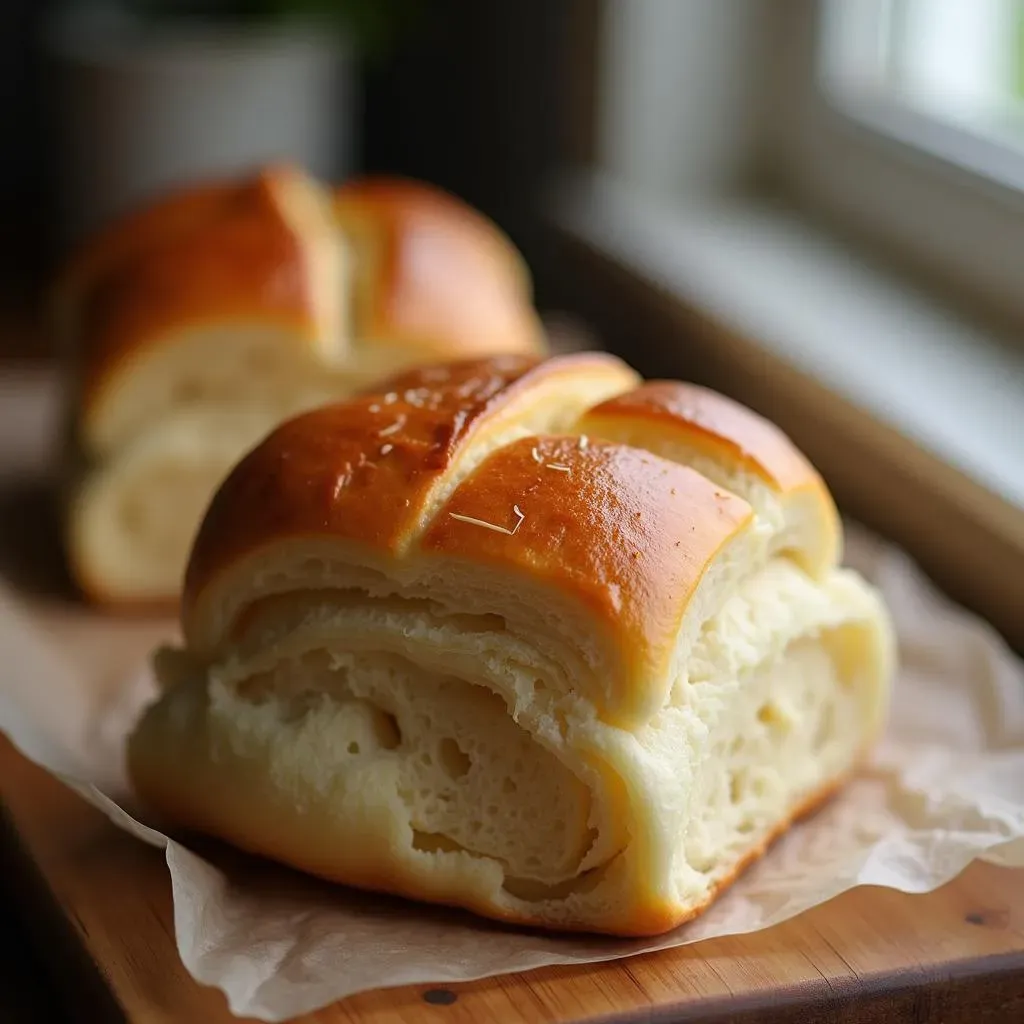
Okay, so let's talk crust. We're not after a jaw-breaker, right? The crust of a perfect french roll sandwich bread should have a bit of a snap, a delicate crispness that gives way easily. It shouldn't be so tough that it threatens to dislocate your jaw with each bite. Think of it like a perfectly toasted marshmallow – a slight crunch on the outside, but soft and yielding within. It's all about that initial textural contrast, a gentle resistance that makes the soft interior feel even more inviting. Achieving this comes down to a delicate dance of oven temperature, steam, and baking time, which we'll get into later.
The Interior: Light, Airy, and Absorbent
Next up, the inside – the crumb. This is where the magic happens. A top-notch french roll sandwich bread boasts an interior that's light, airy, and full of those beautiful irregular holes that bakers call "alveoli." It shouldn't be dense or doughy, but rather porous and fluffy, like a cloud. This airy structure is crucial because it allows the bread to soak up all the delicious juices and sauces from your sandwich fillings. A dense crumb, on the other hand, just leads to a dry, lackluster experience. We want a bread that's a flavor sponge, ready to embrace every last drop of goodness.
Feature | Perfect French Roll | Imperfect French Roll |
|---|---|---|
Crust | Crisp, Delicate | Tough, Hard |
Interior | Light, Airy, Porous | Dense, Doughy |
Flavor | Slightly Tangy, Subtle | Bland, Yeasty |
Flavor Profile: Subtly Tangy and Not Overpowering
Finally, let's talk flavor. While the bread shouldn't be the star of the show in terms of overpowering taste, it still needs to bring something to the table. A great french roll sandwich bread should have a subtle tang, a slight fermentation note that comes from a good long rise. This adds depth and complexity without being overwhelming. The bread should complement the fillings, not compete with them. It should be a subtle, yet essential partner in crime. Think of it as the quiet, dependable friend who always makes everything just a little bit better.
Crafting Your Own French Roll Sandwich Bread: Recipes and Techniques
Crafting Your Own French Roll Sandwich Bread: Recipes and Techniques
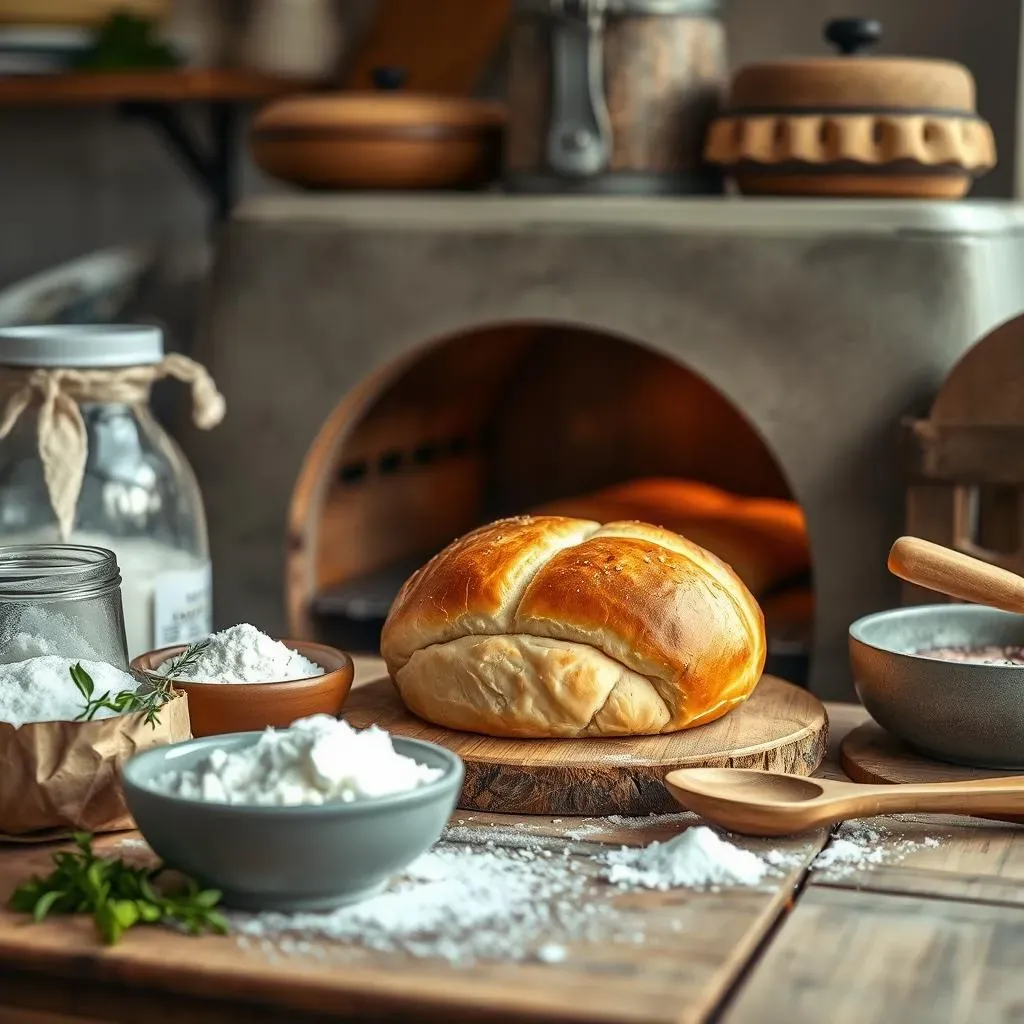
Alright, so you're ready to roll up your sleeves and actually make some french roll sandwich bread, huh? It's not as scary as it sounds, I promise. We're going to break it down into manageable steps, from gathering your ingredients to that satisfying moment when you pull a perfectly golden loaf out of the oven. First things first, let's talk ingredients. You'll need the basics: flour, water, yeast, and salt. I like to use bread flour for that extra chew, but all-purpose will work in a pinch. Don't skimp on the salt; it's not just about flavor, but it also controls the yeast. Then there is the yeast, fresh or active dry, either will do. I often use active dry because it's what I have on hand, but if you got fresh yeast, go for it. Remember, the quality of your ingredients can affect the final product, so try to go for the best you can.
Now, let's get to the fun part: the actual process. It all starts with mixing the dough, which will feel like wet and sticky. Don't panic. This is where patience is key. After a bit of mixing, we'll knead it until it turns into a smooth, elastic dough. Kneading is like a workout for your dough, developing the gluten that gives the bread its structure. Once the dough is smooth, it's time for its first rise, which is where it grows in size. I like to let my dough rise in a warm place until it's doubled in size. After that, we'll shape the dough into rolls, let them rise again, and then bake them until they're golden brown. It's a process, sure, but each step is important. Trust me, the smell of fresh bread baking in your oven is worth every bit of effort.
Ingredient | Purpose |
|---|---|
Bread Flour | Provides structure and chewiness |
Water | Hydrates the flour and activates yeast |
Yeast | Leavens the dough, making it rise |
Salt | Controls yeast activity and adds flavor |
Ok, so you got the basic recipe down, but let's talk about some essential techniques that can make all the difference. First, the knead. Don't be afraid to get in there with your hands. Kneading develops the gluten, which is essential for that airy texture. It might seem like a lot of work, but it's worth it. Also, the temperature of your water is crucial. You want it lukewarm, not too hot, not too cold. If it's too hot, it can kill the yeast, and if it's too cold, the yeast will be sluggish. I always aim for about 100-110°F. Another important factor is the rise. Don't rush it. A good, slow rise allows the flavors to develop. If you're in a hurry, you can use the rapid rise yeast, but for the best flavor, I suggest letting it rise slowly.
Finally, let's talk about baking. I like to bake my rolls with steam, as it helps create a crispy crust. You can do this by putting a baking pan filled with water at the bottom of your oven, or by spritzing the oven with water right before you put the bread in. The baking time can vary depending on your oven, so keep an eye on the rolls. You want them to be golden brown and sound hollow when you tap them on the bottom. Once they're done, let them cool on a wire rack before slicing into them. This prevents them from getting soggy. And there you have it, your own homemade french roll sandwich bread. It's a labor of love, but I think you'll find it's well worth the effort.
"The secret of getting ahead is getting started." - Mark Twain
Troubleshooting and Tips for French Roll Sandwich Bread Success
Troubleshooting and Tips for French Roll Sandwich Bread Success
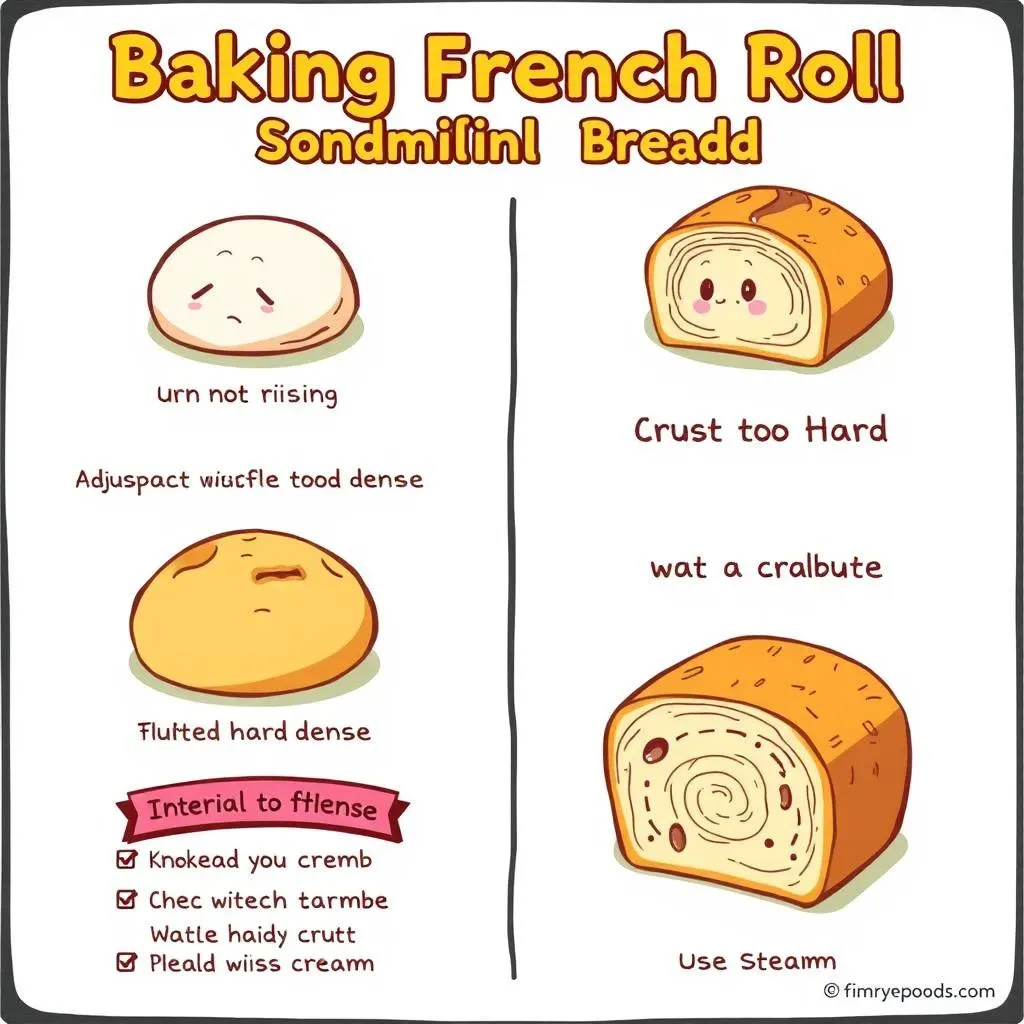
Why Isn't My Dough Rising?
Okay, so you've mixed your dough, and it's just sitting there, stubbornly refusing to puff up. Frustrating, right? This is a common hiccup, but usually, there's a simple explanation. The most likely culprit is your yeast. First, make sure it's not expired. I've been there, using yeast that's been lurking in the back of my cupboard for who-knows-how-long, and it just won't do the trick. If your yeast is good, the water temperature is another thing to consider. Water that's too hot will kill the yeast, while water that's too cold will make it sluggish. You're aiming for that lukewarm zone, around 100-110°F. Also, make sure you're giving your dough enough time. Sometimes it just needs a bit longer to rise, especially if your kitchen is cold. Patience is key here, my friend.
Another thing to keep in mind is salt. While salt is essential for flavor, too much of it can inhibit yeast activity. Make sure you're measuring your salt correctly. If you've checked all those things and your dough is still not rising, there might be a problem with your flour. If you are using old flour, it might be the reason. Always store your flour in a cool, dry place to avoid this problem. So, before you throw in the towel, double-check your yeast, water, salt, and flour, and give it a little more time to work its magic. Sometimes all it needs is a gentle nudge and some patience.
Problem | Possible Solution |
|---|---|
Dough not rising | Check yeast freshness, water temp, salt, and give it more time |
Crust too hard | Add steam, lower baking temperature |
Interior too dense | Knead more, longer rise |
My Crust is Too Tough, What Can I Do?
A tough crust is no fun for anyone. It's like trying to bite through a rock, which is definitely not the goal. The main reason for a tough crust is a lack of moisture during baking. This is where steam comes to the rescue. If you're not already using steam in your baking process, start now. I like to throw a pan of hot water at the bottom of my oven. This creates that steamy environment that keeps the crust soft in the beginning and allows it to get crispy later. If you don’t have a pan, you can use a spray bottle to mist the oven with water a few times during the first part of baking. The steam will help the crust get that perfect balance of crispness and chewiness we're looking for.
Another thing to check is your oven temperature. If your oven is too hot, the crust will harden too quickly. Try lowering your oven temperature slightly and see if that helps. Also, avoid overbaking the rolls, as this can also lead to a tough crust. Keep an eye on them, and pull them out when they're golden brown and sound hollow when tapped. Remember, baking is a science, and it might take a few tries to get the perfect crust, so don't give up after the first attempt. Just keep tweaking it until you get the results you want. I have burned my fair share of rolls before I got it right.
How Can I Get That Light and Airy Interior?
That light and airy interior is the holy grail of french roll sandwich bread. It's what separates the good from the great. The key here is gluten development, which is achieved through proper kneading. If you are not kneading enough, you won't get the structure needed for those beautiful, irregular holes. Don't be afraid to knead for a good 7-10 minutes, until the dough is smooth and elastic. Also, a good, slow rise is super important. It allows the yeast to do its thing and create those airy pockets we love. Don’t rush the rise. It's worth the wait.
Another factor is the hydration level of your dough. A dough that's too dry will result in a dense crumb, so make sure you're using the right amount of water. The dough should be slightly sticky, but not too wet. If the dough is too wet, it might be hard to handle, and if it's too dry, it won't be airy. It’s all about finding the right balance. And finally, make sure you are not punching the air out of your dough when shaping. Be gentle, and you'll be rewarded with a light and airy interior that's perfect for soaking up all those sandwich fillings. Always remember that baking is a journey, so don't be discouraged if it takes a few tries to get it just right. Keep practicing, and you will get there.
“The best way to learn is by doing.” - Richard Branson