Table of Contents
Ever dream of sinking your teeth into a warm, crusty roll, the kind that makes every meal feel like a special occasion? Well, stop dreaming and start baking! This isn't just any bread recipe; it's your guide to mastering the perfect french roll bread recipe at home. Forget those store-bought imposters that are all air and no flavor. We’re talking about rolls with a satisfyingly crisp exterior that gives way to a soft, fluffy interior. This recipe is so straightforward, even if you’re a beginner, you can achieve bakery-quality results. We’ll walk you through each step, from mixing the dough to shaping the rolls, and even share some secret tips to make your french roll bread recipe a guaranteed success. Get ready to transform your kitchen into a mini-bakery; you'll be amazed at how easy it is to create these delightful rolls. By the end of this article, you’ll be equipped to bake these for your family, friends, or just for yourself because you deserve it.
Making the Perfect French Roll Bread Recipe
Making the Perfect French Roll Bread Recipe
Okay, so you're ready to bake some truly amazing French rolls? Fantastic! It all starts with the basics, and getting these right is key to a successful bake. First, you need good quality flour – unbleached all-purpose works great, but if you have bread flour, even better, it will give you that extra chewiness we all love. Then, you'll need some warm water, not too hot, not too cold, think bathwater temperature. This activates the yeast, which is what makes your rolls rise and gives them that lovely airy texture. A touch of sugar feeds the yeast and a bit of salt controls the flavor and the rise. Don’t skip the salt, it’s more important than you might think. It's like the unsung hero of bread baking, without it, your rolls will taste flat and boring. Finally, a little bit of oil or melted butter adds tenderness. This isn't a complicated science; it's about understanding how these simple ingredients work together to create something magical.
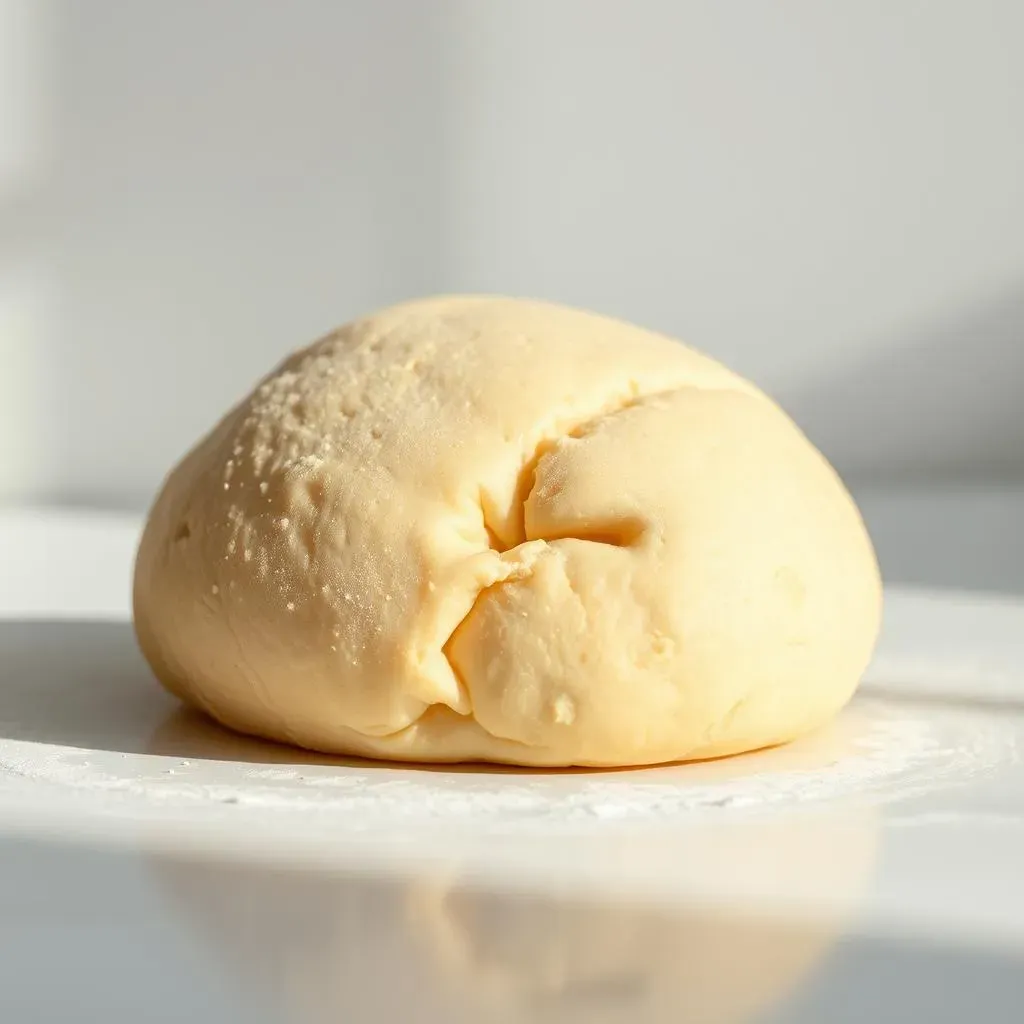
Now, let’s talk about mixing. You can use a stand mixer, a bread machine, or even your own two hands. I actually enjoy kneading by hand; it's therapeutic, but it does take some time and effort. If using a mixer, let it do its thing until the dough is smooth and elastic. If you’re kneading by hand, aim for about 8-10 minutes of good, solid work. The dough should be slightly tacky but not sticky. This is where you might need to add a little more flour, a tablespoon at a time, until you reach the right consistency. Don’t overdo it though, too much flour will make your rolls dense and dry. The key here is patience and practice. Once the dough is ready, place it in a greased bowl, cover it, and let it rise in a warm place until it’s doubled in size. This usually takes about an hour or two, depending on the temperature of your kitchen. It's like watching a little miracle happen right before your eyes.
Ingredient | Purpose |
|---|---|
Flour | Provides structure |
Warm Water | Activates yeast |
Yeast | Makes the dough rise |
Sugar | Feeds the yeast |
Salt | Controls flavor and rise |
Oil/Butter | Adds tenderness |
Tips for a Flawless French Roll Bread Recipe Dough
Tips for a Flawless French Roll Bread Recipe Dough
Alright, let's talk about the real secrets to getting that dough just right. It's not always as straightforward as the recipe makes it sound, and that’s okay. First, the yeast. It's a living thing, so treat it with respect. Make sure your water isn't too hot, or you'll kill it; lukewarm is the magic word. If the yeast doesn’t get foamy after a few minutes, it's probably dead, and you’ll need to start over. Nobody wants a flat, sad roll. Another key tip is to add the flour gradually. Don't dump it all in at once. This will help you control the consistency of the dough. You might need a little more or a little less than the recipe calls for, depending on the humidity in your kitchen. This is not a science, it is an art, don't worry if the amount is not perfect, you will get better with practice. You want a dough that is soft, smooth, and slightly tacky, not sticky. It should pull away from the sides of the bowl but still be a little bit clingy.
Now, let’s talk about the rise, the most important part of the process. Find a warm place for your dough to do its thing; a slightly warm oven (turned off!) or a sunny spot works wonders. Cover the bowl with a damp cloth or plastic wrap to prevent the dough from drying out. Patience is key here; don't rush it. Let the dough double in size. This can take anywhere from one to two hours, or sometimes even longer, depending on the temperature of your kitchen. If the dough doesn’t double in size, it might be a sign that your yeast is old, or that the temperature is not right. If you’re in a rush, you can try the "warm oven" trick, but be careful not to overheat it. Once the dough has doubled, it’s time to punch it down and shape those rolls. It’s like deflating a balloon, but it's necessary to get rid of any big air pockets and prepare the dough for shaping. We're almost there, I promise!
Tip | Why it Matters |
|---|---|
Use lukewarm water for yeast | Activates yeast properly |
Add flour gradually | Controls dough consistency |
Don't rush the rise | Ensures proper dough development |
Punch down dough after first rise | Removes air pockets |
Baking Your French Roll Bread Recipe to Golden Perfection
Baking Your French Roll Bread Recipe to Golden Perfection
Shaping Your Rolls
Okay, so your dough has doubled in size, and you've punched it down like a pro. Now comes the fun part: shaping those rolls! Gently turn the dough out onto a lightly floured surface. Don't manhandle it; be gentle. Divide the dough into equal portions. I usually go for about 8 to 12 rolls, depending on how big I want them. You can use a scale for perfect uniformity, but I prefer the "eyeball it" method. It's more fun that way! Next, shape each portion into a smooth ball. This is where your inner baker shines. Cup your hands around the dough and roll it in a circular motion on the counter. You'll start to feel the dough tighten up and form a nice, round shape. It takes a bit of practice, but you'll get the hang of it. You can also shape them into classic oblong rolls, if you prefer. The important thing is to make them all about the same size, so they bake evenly.
Once you've shaped your rolls, place them on a baking sheet lined with parchment paper. This prevents them from sticking and makes cleanup a breeze. Leave a bit of space between each roll, so they have room to expand during the second rise. Now, it's time for the final rise. Cover the rolls loosely with plastic wrap or a damp cloth and let them rest in a warm place for another 30 to 45 minutes. They won't double in size this time, but they will puff up a bit. While they are rising, preheat your oven to 400°F (200°C). This is the sweet spot for baking these rolls. Don't put them in a cold oven; they need that initial burst of heat to get that perfect crust. And here's a little secret: right before you pop them in the oven, brush them with a bit of melted butter or an egg wash. This will give them a beautiful golden-brown color.
Shaping Step | Why It Matters |
|---|---|
Divide dough evenly | Ensures uniform baking |
Shape into smooth balls | Creates a nice roll shape |
Space rolls on baking sheet | Allows for expansion |
Final rise before baking | Ensures light and airy texture |
The Baking Process
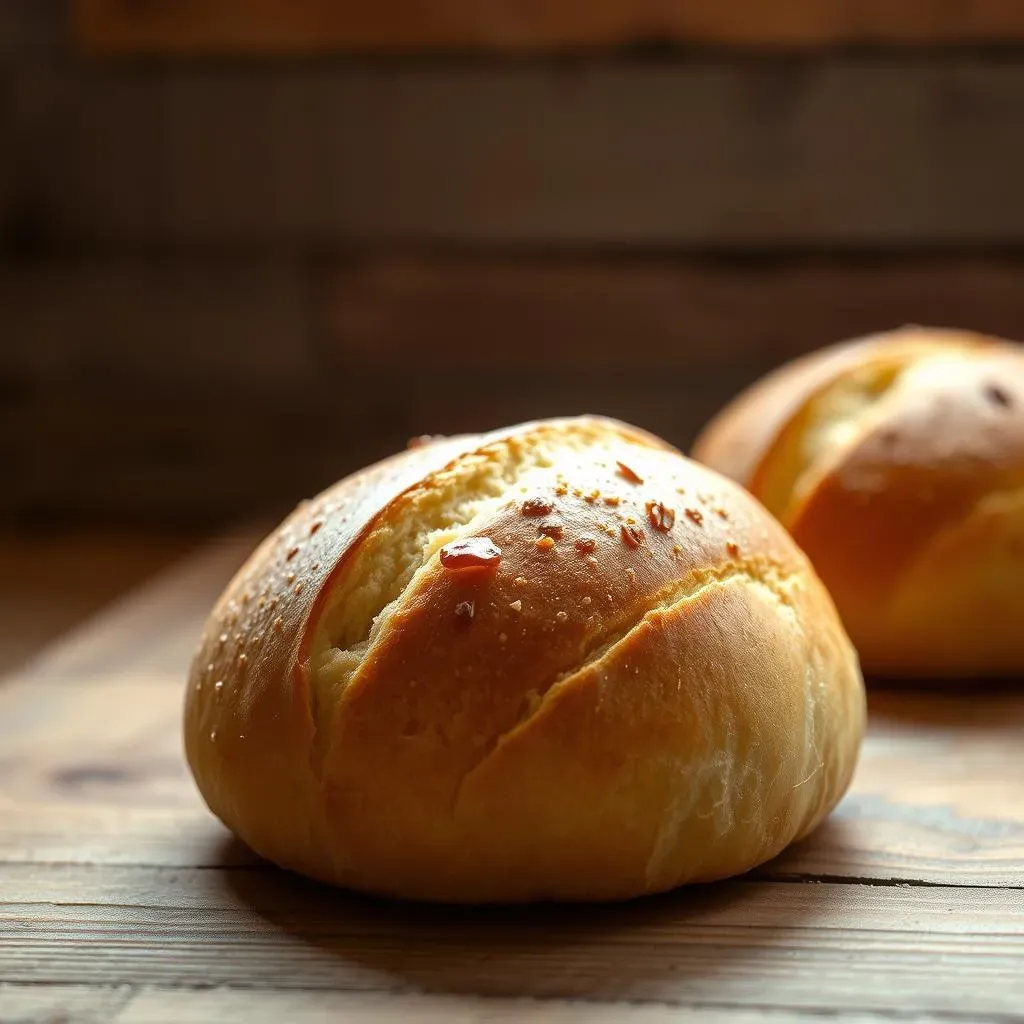
Alright, your oven is preheated, and your rolls are looking puffy and ready to go. It's time to bake! Carefully place the baking sheet in the center of the oven. Set a timer for 15 to 20 minutes. The baking time can vary slightly depending on your oven, so keep an eye on them. You're looking for a deep golden-brown color and a hollow sound when you tap the bottom of the roll. If they are browning too quickly, you can lower the oven temperature by 25°F (15°C) or cover them loosely with foil. Don't open the oven too often; you don't want to let all the heat out. Once they are golden and gorgeous, carefully remove them from the oven and place them on a wire rack to cool. I know it's tempting to eat them right away, but let them cool for at least 10 minutes. This will allow the interior to set and the crust to crisp up a bit more.
And now, the best part, the smell! The aroma of freshly baked bread wafting through your kitchen is simply heavenly. It's the reward for all your hard work. But don’t just stop at baking; there’s one more step that makes a big difference. While the rolls are still warm, brush them with some melted butter. This adds a beautiful shine and a touch of extra flavor. It's like giving your rolls a final spa treatment before they are devoured. The butter will melt into the crust and create a delicious, buttery flavor that's simply irresistible. This is not just about making bread; it’s about creating an experience. The combination of the smell, the taste, and the texture is what makes homemade bread so special.
Cooling and Finishing Touches
So, your rolls are out of the oven, smelling amazing, and have that perfect golden-brown hue. Now, let's talk about cooling and those final touches. As I mentioned before, letting them cool on a wire rack is essential. This allows air to circulate around the rolls, preventing the bottoms from getting soggy. It might be hard, but try not to cut into them while they are still piping hot. This can make the interior gummy. Give them at least 10 minutes to cool down. The waiting is the hardest part, I know. Once they've cooled slightly, go ahead and brush them with that melted butter. This step is optional but highly recommended. The butter adds a touch of richness and a beautiful shine, making them look even more tempting. It's like a little extra love for your homemade rolls.
Finally, it's time to enjoy the fruits of your labor. These rolls are perfect for sandwiches, subs, or just as a side with your favorite meal. You can even slice them and use them as a base for mini pizzas or garlic bread. The possibilities are endless! And if you happen to have any leftovers (which is unlikely), store them in an airtight container at room temperature for a day or two, or freeze them for later use. To reheat them, simply pop them in the oven for a few minutes or toast them lightly. They will taste just as delicious as the day they were baked. Baking bread is a journey, and these rolls are a delicious destination. So, take a moment to savor the moment and enjoy your homemade French rolls. You earned it!
Serving and Storing Your Homemade French Rolls
Serving and Storing Your Homemade French Rolls
Serving Suggestions
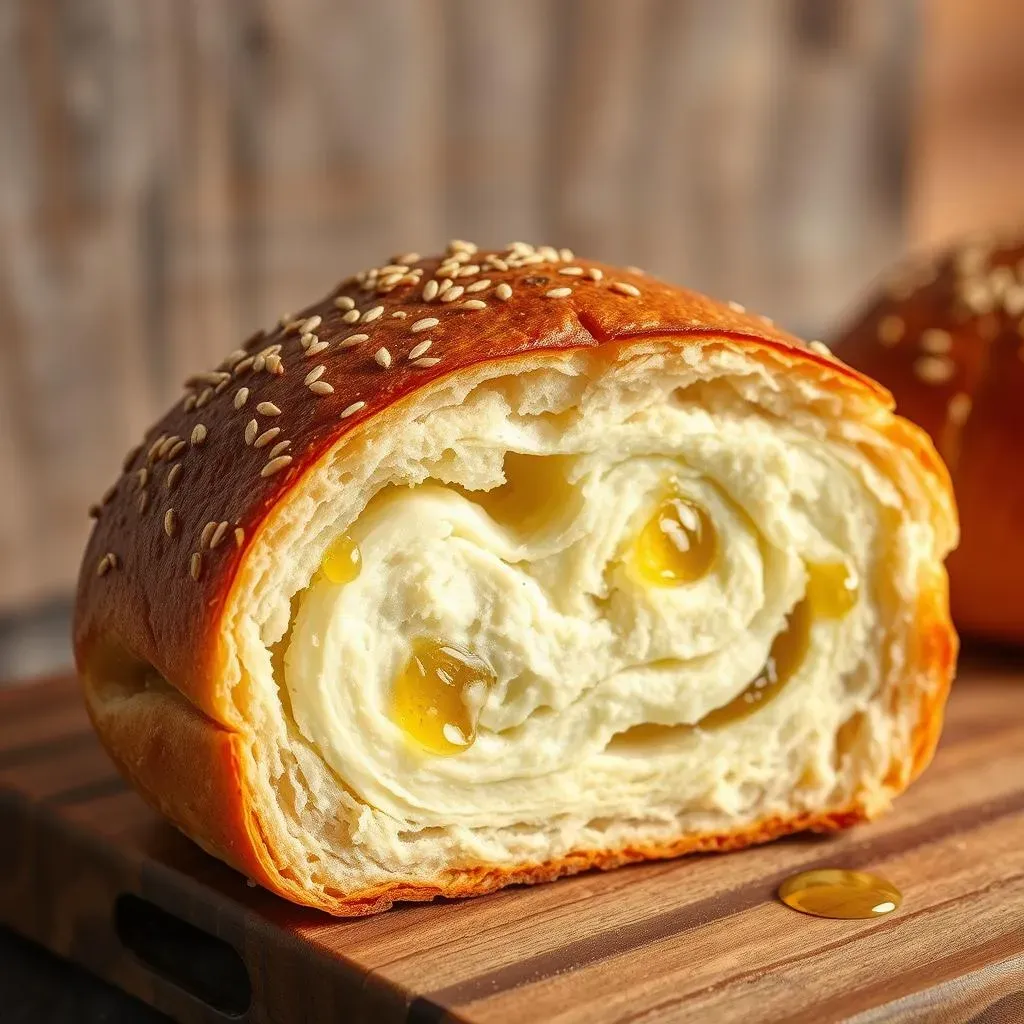
Alright, your French rolls are baked, cooled, and looking absolutely irresistible. Now, how do you make the most of these little beauties? Well, the possibilities are endless! These rolls are incredibly versatile, and that’s one of the things I love most about them. They're fantastic as a simple side to any meal. Think a cozy bowl of soup, a hearty salad, or a flavorful pasta dish. Just slice them open, add a pat of butter, and you're good to go. But why stop there? These rolls are also the perfect foundation for sandwiches and subs. Pile them high with your favorite deli meats, cheeses, veggies, and sauces for a truly epic lunch. And don't forget breakfast! These rolls are amazing toasted with some jam or a fried egg. You can even use them to make mini breakfast sandwiches. Seriously, the sky's the limit. I once used them as a base for a mini pizza, and it was a total hit! So, don’t be afraid to get creative and experiment with different ways to enjoy your homemade rolls.
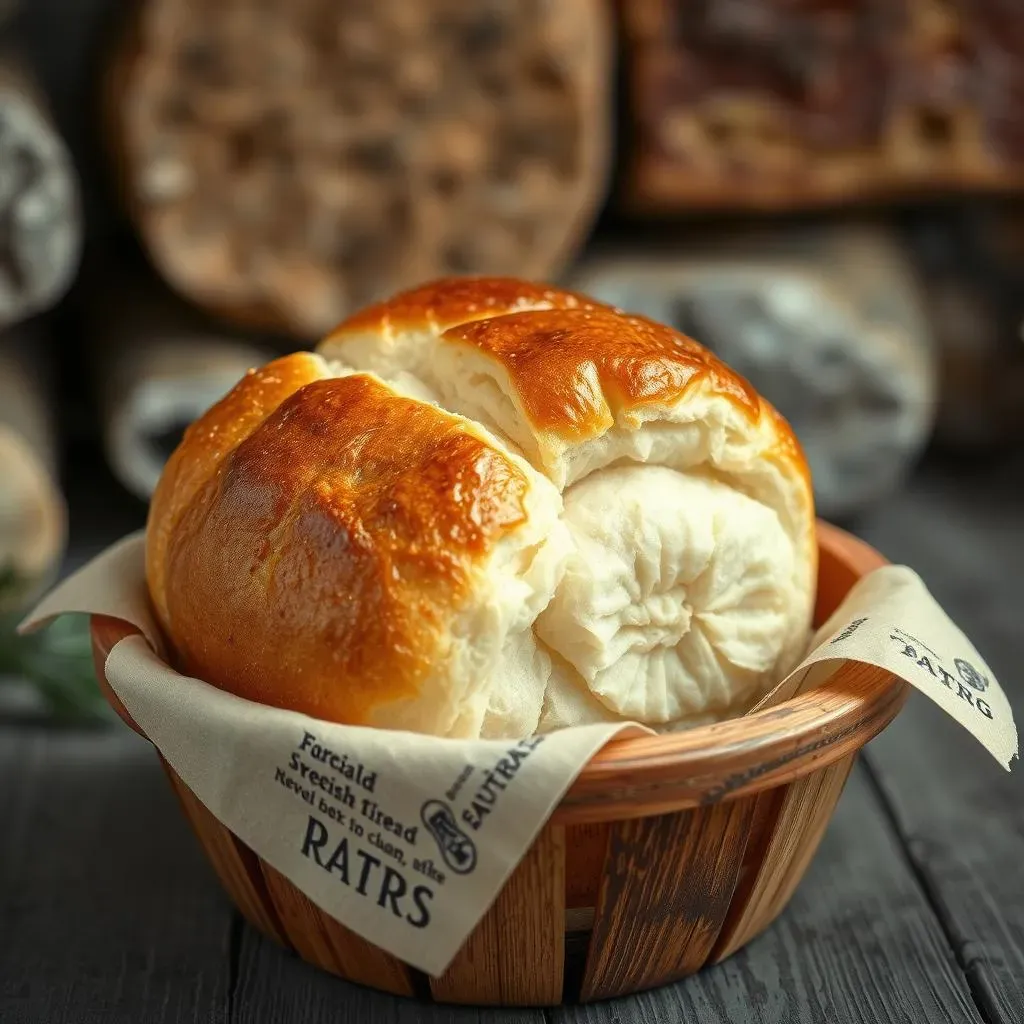
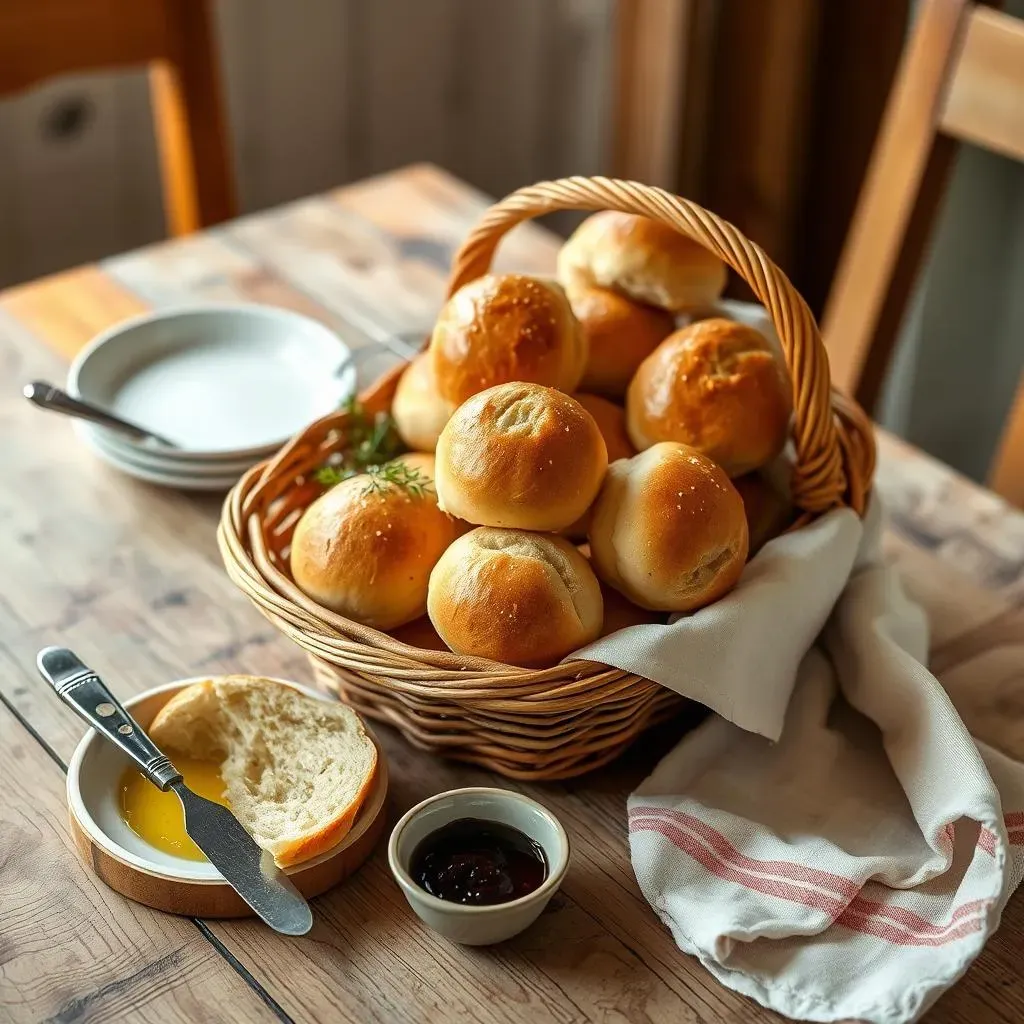
And let's talk about presentation. A basket of warm, freshly baked rolls is a crowd-pleaser at any gathering. Whether it's a casual family dinner or a fancy holiday feast, these rolls are sure to impress. Arrange them in a pretty basket or on a wooden board, and watch them disappear. You can also serve them with a variety of toppings, like flavored butters, olive oil with herbs, or even a little balsamic glaze. It's all about adding those little extra touches that make your meal feel special. So, go ahead and show off your baking skills. Your friends and family will thank you for it. I have a friend that always asks me to bring these rolls to her potlucks. They are always the first thing to disappear.
Storing Your French Rolls
Okay, so maybe you didn’t eat all your rolls in one sitting (though I wouldn’t blame you if you did!). It’s time to talk about storage. The good news is that these French rolls store surprisingly well. For short-term storage, simply keep them in an airtight container at room temperature. They should stay fresh for a day or two. If you want them to last a little longer, you can store them in the fridge, but they might lose some of their softness. The best option for long-term storage is the freezer. Once they have cooled completely, pop them into a freezer-safe bag or container. They can stay frozen for up to a month, and when you are ready to enjoy them, you can just thaw them at room temperature for a few hours or reheat them in the oven or microwave. They will taste just as good as the day you baked them. It's like having a stash of fresh rolls ready whenever you need them.
When freezing, it is important to cool the rolls completely. If they still have some warmth in them, they will create condensation, which may make the crust soggy. To reheat them, you can use a conventional oven, a toaster oven, or even a microwave. I prefer the oven because it gives the rolls a nice crispness again, but if you are in a rush, the microwave will work fine. Just be careful not to overdo it, or they can become tough. A quick zap for 30 seconds to a minute is usually enough. And there you have it, all the secrets to keeping your homemade French rolls fresh and delicious. So, whether you're serving them right away or saving them for later, you can be sure that they will always taste like they just came out of the oven.
Storage Method | Duration | Notes |
|---|---|---|
Room Temperature | 1-2 days | Airtight container |
Refrigerator | 3-4 days | May lose some softness |
Freezer | Up to 1 month | Freeze in a freezer bag |
Reheating Tips
So you've stored your rolls, and now you're ready to enjoy them again. Reheating is key to bringing them back to their fresh-baked glory. For the best results, I recommend using your oven. Preheat it to 350°F (175°C) and place the rolls directly on the rack or on a baking sheet. Bake them for about 5-10 minutes, or until they are heated through and the crust is crisp. This method is great for bringing back that perfect texture. If you are in a hurry, a toaster oven also works wonders. Just keep an eye on them, as they tend to heat up quickly. You can also use a microwave, but it can make the rolls a bit soft. If you go this route, try wrapping them in a damp paper towel to keep them moist. Heat them in short bursts, about 15-30 seconds at a time, until warmed through.
And here’s a pro tip: after reheating, give your rolls a quick brush with melted butter again. This will not only add a touch of flavor but also make them look extra appealing. It's like a little refresh for your rolls. And there you have it! All the tips and tricks for serving and storing your homemade French rolls. So, go ahead and bake a big batch of these delightful rolls, and share the joy with your family and friends. They are guaranteed to be a hit. And don’t forget to pat yourself on the back for making such a delicious treat. Baking bread is a labor of love, and the results are always worth it. I hope you enjoy every single bite!