Table of Contents
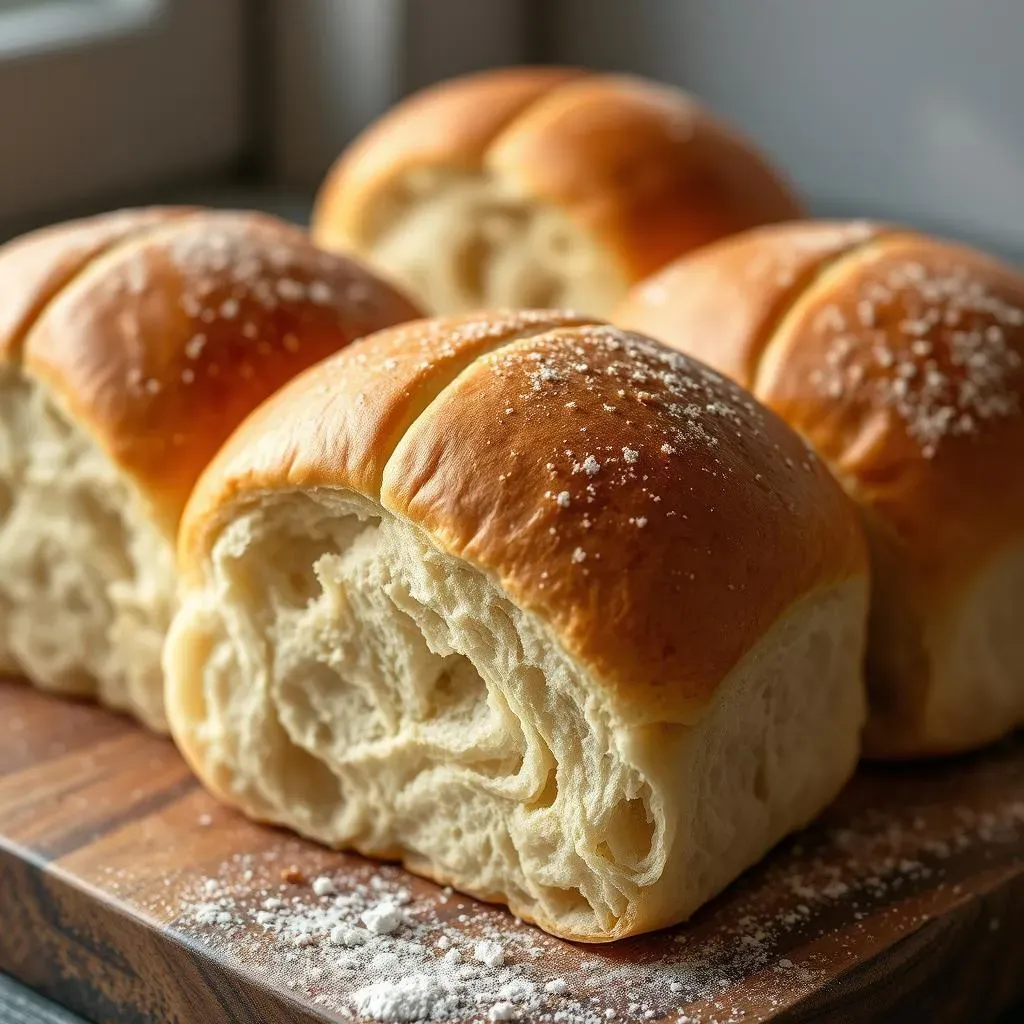
Ever dream of biting into a crusty, yet fluffy, french roll bread that you made yourself? It’s not as hard as you might think! This isn't just another bread recipe; it's your ticket to homemade bread bliss. Forget those store-bought rolls that taste like cardboard. We're diving into the world of easy, delicious french roll bread, and I promise, you'll be amazed at how simple it can be. This article breaks down everything you need to know, from mixing the dough to achieving that perfect golden crust. We'll start with the essential ingredients and how to bring them together. Then, you'll learn the secrets of shaping your rolls like a pro, followed by baking tips that'll make your kitchen smell incredible. Finally, we'll talk about how to serve, store, and even switch things up with variations. So, if you're ready to bake some seriously good french roll bread, let's get started!
The Magic Behind French Roll Bread: Ingredients and Dough Prep
The Magic Behind French Roll Bread: Ingredients and Dough Prep
The Simple Stars of the Show
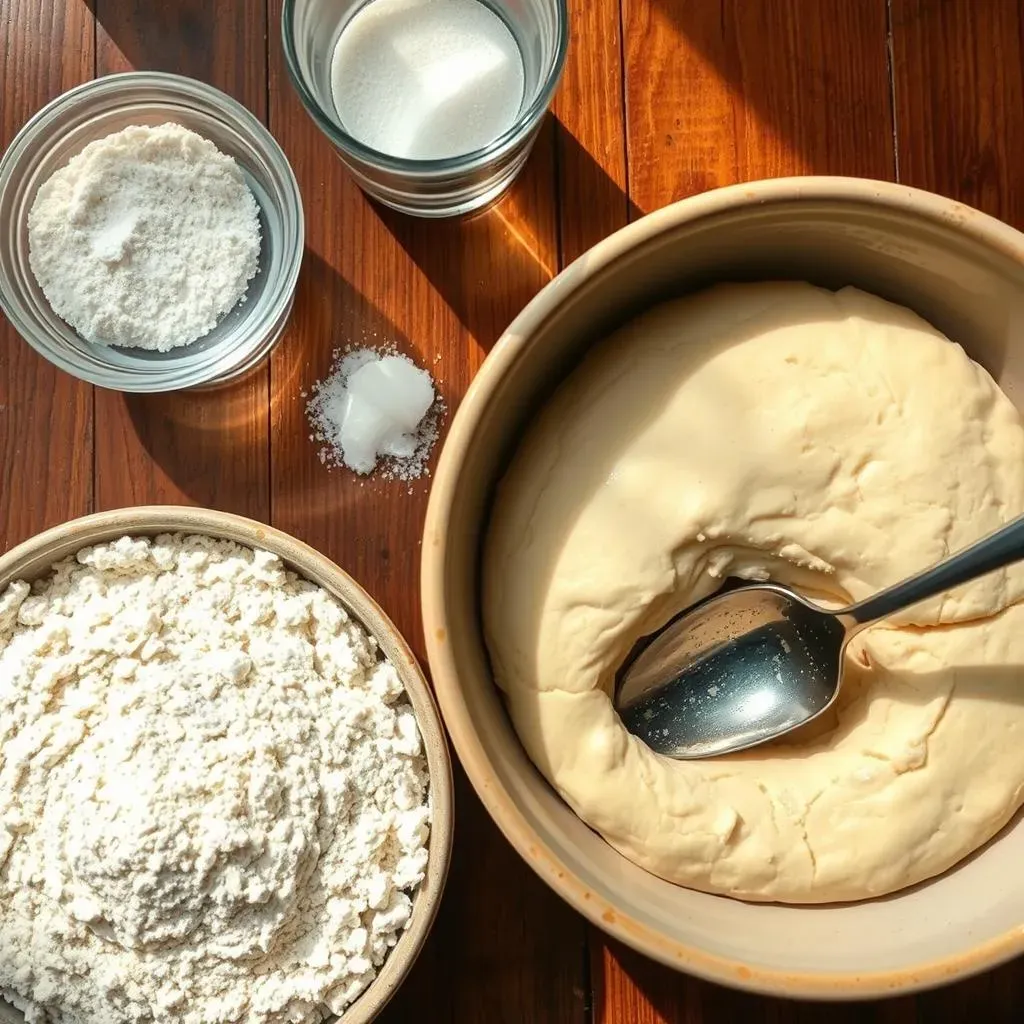
Let's talk ingredients, shall we? You don't need a fancy pantry for amazing french roll bread. We're talking flour, water, yeast, salt, and maybe a touch of sugar. That's it! It's like a magic trick with just a few simple elements. The flour is your base, the water is the binder, the yeast is the tiny engine that makes it rise, and salt adds a bit of flavor. Sugar, if you choose to use it, just gives the yeast a little snack to get started. Don’t overthink it; these ingredients are like a trusty team, ready to transform into something extraordinary.
It's really about the quality of the ingredients. Using good quality flour makes a big difference in the final product. Think of it like building a house; you need good bricks to start with, right? Same with bread.
I remember when I first started, I was so worried about getting the right kind of flour. Now I know, just a good all purpose flour works wonders.
Mixing the Dough: The First Step
Now, for the fun part – mixing! You can use a stand mixer, a bread machine, or even your own two hands. It's all about combining the ingredients until a dough forms. The water activates the yeast, and the yeast starts to make gas, which is what makes the bread fluffy. I like to add the water to the yeast first, giving it a few minutes to get bubbly before adding the flour. It’s like waking them up for the workout.
Don't worry if the dough feels a bit sticky at first. That's totally normal. As you mix it, it will start to come together. The key is to mix it until it's smooth and elastic. Think of it like playing with playdough, but this playdough is going to become delicious bread.
The whole process is very therapeutic. There's something very satisfying about watching those simple ingredients turn into a living, breathing dough.
Ingredient | Purpose | Notes |
|---|---|---|
Flour | Structure | All-purpose works great |
Water | Hydration | Lukewarm is best |
Yeast | Leavening | Active dry or instant |
Salt | Flavor | Don't skip it! |
Sugar (optional) | Yeast food | Just a pinch |
The Art of the First Rise
Once your dough is mixed, it needs to rest and rise. This is where the magic really happens. You'll put the dough in a lightly oiled bowl, cover it, and let it sit in a warm place. The yeast will work its magic, making the dough double in size. It's like a little science experiment happening right in your kitchen.
Patience is key here. Don't rush it! The longer the dough rises, the more flavorful the bread will be. It’s like letting a good wine age; it gets better with time.
I remember one time, I tried to rush the rise and the bread was flat and dense. Lesson learned! Now, I always let it rise properly and the result is always worth the wait.
Shaping, Baking, and Achieving the Perfect French Roll Bread

Shaping, Baking, and Achieving the Perfect French Roll Bread
Shaping Your Rolls: A Gentle Touch
Okay, so your dough has doubled – it's puffy and ready for action! Now comes the shaping part, which might seem tricky, but trust me, it's more about being gentle than being perfect. You'll want to punch down the dough to release the air, then gently divide it into equal pieces. Think of it like dividing a ball of playdough into smaller balls. For standard rolls, I aim for about 8-10 pieces. Then, take each piece and roll it into a small, oblong shape. You can make them round, oval, or even a little pointy, it's totally up to you! The key is to handle the dough with care. Don’t squish it too much or you’ll push out all that lovely air. It’s like handling a little cloud; you want to keep it light and fluffy.
I remember the first time I tried to shape rolls, they looked like they'd been through a war - all lumpy and uneven. But with a little practice, I got the hang of it. It's like anything, the more you do it, the better you get. Don't stress about perfection; even imperfect rolls taste amazing when they come fresh out of the oven.
Baking to Golden Perfection
Now for the baking part – the moment of truth! Preheat your oven to 400°F (200°C). While the oven is heating, place the shaped rolls on a baking sheet lined with parchment paper. This helps to prevent sticking and makes cleanup easier, which is always a win! Before they go in, you can brush the tops with a bit of water or an egg wash for a nice golden sheen. This step is optional, but it does make your rolls look extra professional. Then, pop them into the oven for about 15-20 minutes, or until they are golden brown and sound hollow when you tap the bottom. Keep an eye on them; every oven is different. The baking time can vary a little. It’s like watching a sunset, you want to catch it at the perfect time.
The smell that will fill your kitchen as they bake is just heavenly. It's one of my favorite parts of the whole process. I usually set a timer for 15 minutes, and then check them every couple of minutes until they are just right. It’s always worth it.
Step | Action | Tips |
|---|---|---|
Divide Dough | Gently separate into equal pieces | Aim for 8-10 rolls |
Shape Rolls | Form oblong or round shapes | Handle gently, don't squish |
Prepare for Baking | Place on parchment-lined baking sheet | Optional: brush with water or egg wash |
Bake | 400°F (200°C) for 15-20 minutes | Check for golden brown color |
The Cool Down: Patience is Key
Once your rolls are baked to golden perfection, take them out of the oven and let them cool on a wire rack. This is important! If you leave them on the hot baking sheet, they will continue to cook and might end up a bit too hard. The cooling rack allows air to circulate around the rolls, ensuring they cool evenly. I know it's tempting to dive right in, but trust me, letting them cool down a bit will make them taste even better. It's like letting a cake set before you frost it; it’s worth the wait.
I once tried to eat a roll straight from the oven, and it was so hot I burned my tongue! Now I always let them cool down for at least 10-15 minutes before I take a bite. Lesson learned! It's all about enjoying the moment, and that includes waiting just a little bit.
Serving, Storing, and Variations of Your Homemade French Roll Bread
Serving, Storing, and Variations of Your Homemade French Roll Bread
Serving Suggestions: Let's Get Creative
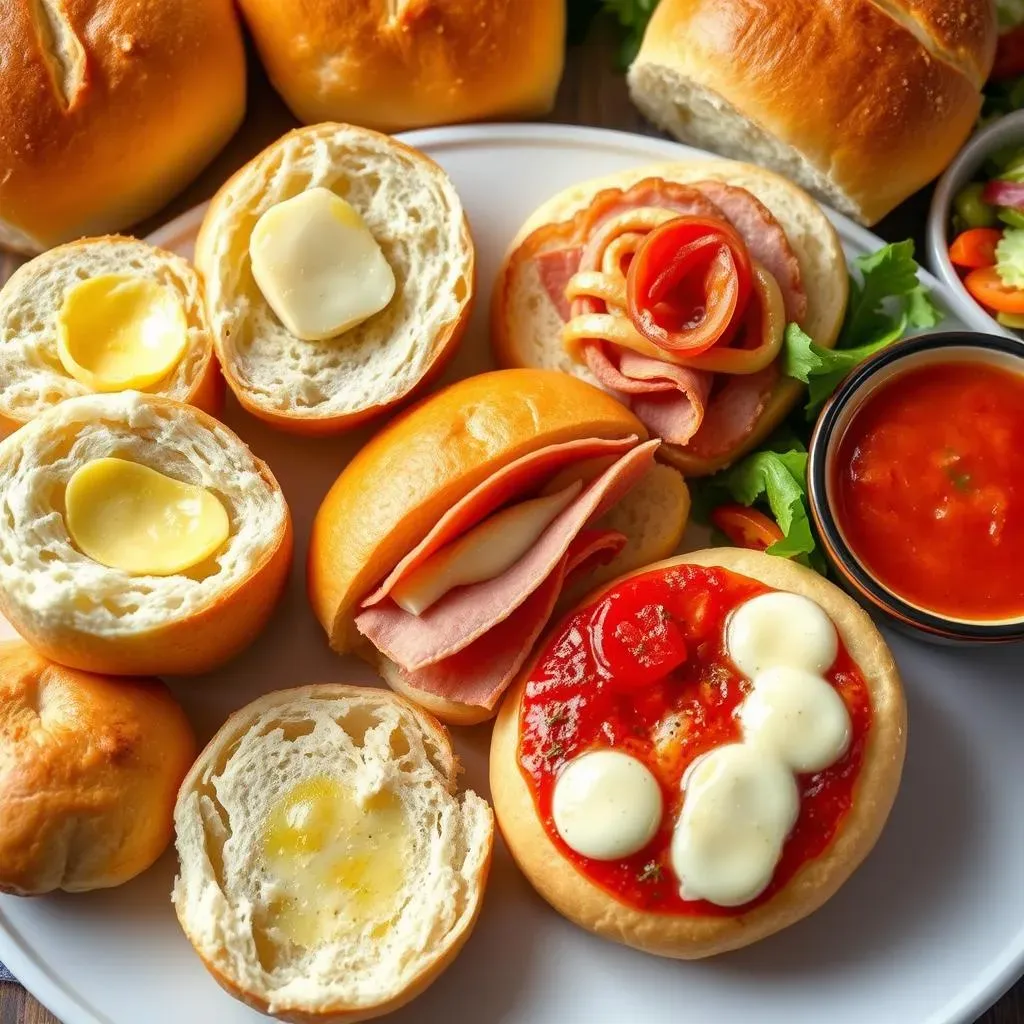
Okay, your french roll bread is out of the oven, cooled, and ready to be devoured. Now what? Well, the possibilities are endless! These rolls are fantastic on their own, maybe with a smear of butter or a drizzle of olive oil. But don't stop there! They're perfect for sandwiches – think classic deli meats, gooey grilled cheese, or even a simple tomato and basil combo. You can also use them for mini subs, sliders, or even as a side to your favorite soup or salad. I love to slice them in half, lightly toast them, and serve them with some homemade garlic butter. It's like a little taste of heaven. The best part is that they are a blank canvas for your culinary creativity.
I remember one time I used these rolls to make mini pizzas for a party, and they were a huge hit! The crispy crust and soft interior were perfect for supporting the toppings. Don't be afraid to experiment; you might just discover your new favorite way to enjoy them.
Storing Your Rolls: Keeping the Freshness
So, you've baked more rolls than you can eat in one sitting? No problem! These rolls store well, so you can enjoy them later. For short-term storage, just pop them into a bread bag or an airtight container at room temperature. They'll stay fresh for a day or two. If you want to keep them longer, you can freeze them. Just wrap them individually in plastic wrap and then place them in a freezer bag. They’ll be good for up to a month in the freezer. When you're ready to eat them, just let them thaw at room temperature or pop them in the oven for a few minutes to crisp them up. It's like having freshly baked bread whenever you want, which is always a win in my book.
I always make a big batch of rolls and freeze half for later. It's so convenient to be able to pull out a few rolls whenever I need them. It's like having a secret stash of deliciousness ready for any occasion.
Storage Method | Duration | Tips |
|---|---|---|
Room Temperature | 1-2 days | Store in bread bag or airtight container |
Freezer | Up to 1 month | Wrap individually, then place in freezer bag |
Variations: Let's Get Creative in the Kitchen
Want to mix things up a bit? There are tons of ways you can modify this recipe to create different flavors and textures. For a heartier roll, try using half whole wheat flour instead of all-purpose. You can also add herbs like rosemary or thyme to the dough for an extra savory taste. If you're feeling adventurous, add some cheese, olives, or sun-dried tomatoes to the dough before shaping. It's like creating your own signature bread! You could also experiment with different toppings before baking, like sesame seeds, poppy seeds, or even some coarse salt. Each variation adds a new layer of flavour and texture to the bread.
I once made a batch with some roasted garlic added in, and it was absolutely amazing. The possibilities are truly endless, and it’s all about discovering what you love. So, don't be afraid to experiment and have some fun with it!
Final Thoughts: Enjoy Your Homemade Bread!
Making french roll bread at home is such a rewarding experience. It's not just about the delicious bread you get at the end, it's about the process of creating something from scratch. It's about the smell of fresh bread filling your kitchen, and the joy of sharing it with your friends and family. So, go ahead, bake a batch of these rolls and enjoy the fruits of your labor. You deserve it! And remember, even if your first attempt isn't perfect, keep practicing. It's all part of the learning process, and each time you’ll get a little bit better.
I hope this article has inspired you to try baking your own french roll bread. It's easier than you might think, and the results are definitely worth it. So, grab your ingredients, put on some music, and let's get baking!
"The smell of good bread baking, like the sound of lightly flowing water, is indescribable in its evocation of innocence and delight." - M.F.K. Fisher