Table of Contents
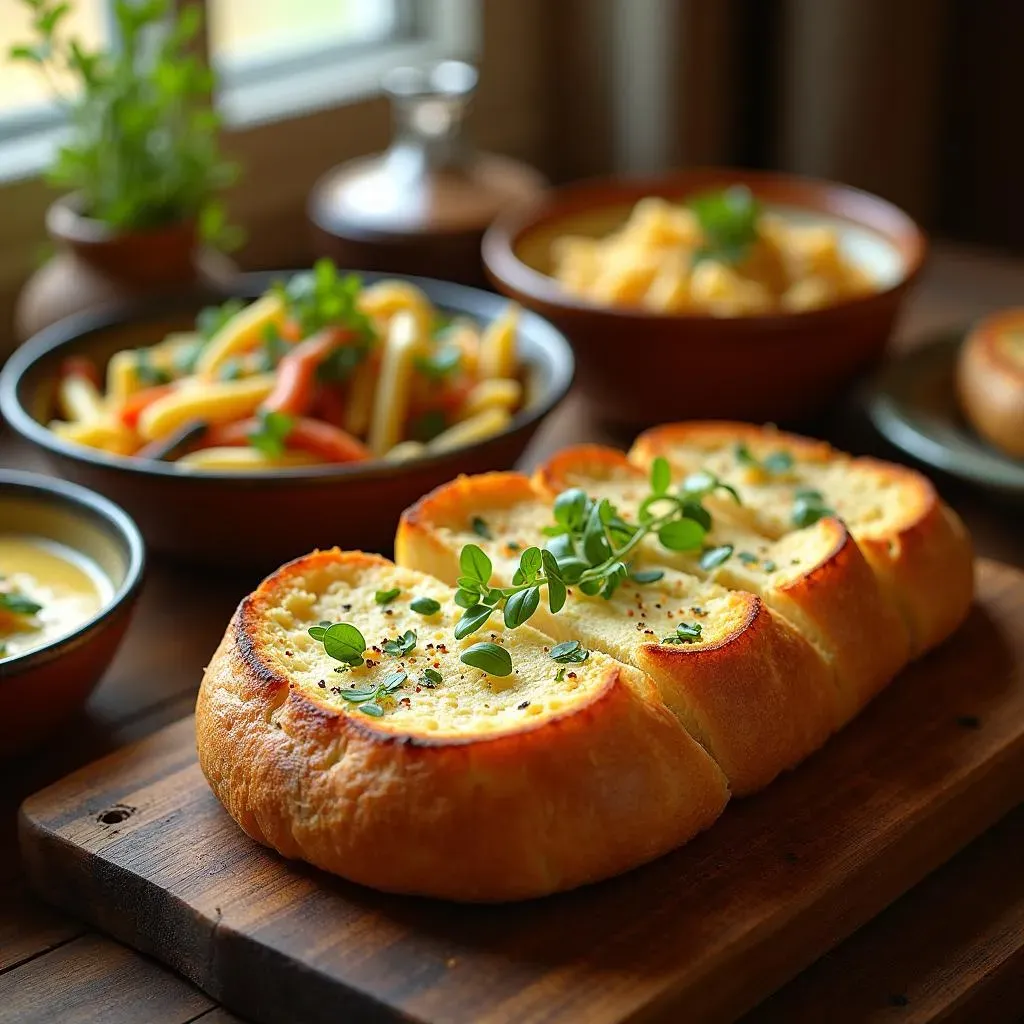
Ever dream of that perfect, golden-brown, garlicky bread that makes your taste buds sing? You know, the kind that's crispy on the outside and soft on the inside? Well, you're in luck! This isn't just any garlic bread recipe; we're talking about achieving restaurant-quality French garlic bread right in your own oven. Forget those sad, store-bought loaves. We're going to show you how to create a masterpiece with minimal effort and maximum flavor. We'll kick things off with a list of the simple ingredients, then walk you through the easy steps for baking your own loaf. We'll also cover some secret tips for getting that extra-crispy crust that everyone loves. Finally, we'll talk about how to serve it up and even store leftovers (if there are any!). So, get ready to transform your kitchen into a garlic bread haven, because this French garlic bread oven recipe is about to become your new best friend. Let's get started!
Simple Ingredients for Amazing French Garlic Bread
Simple Ingredients for Amazing French Garlic Bread
The Bread: Your Foundation
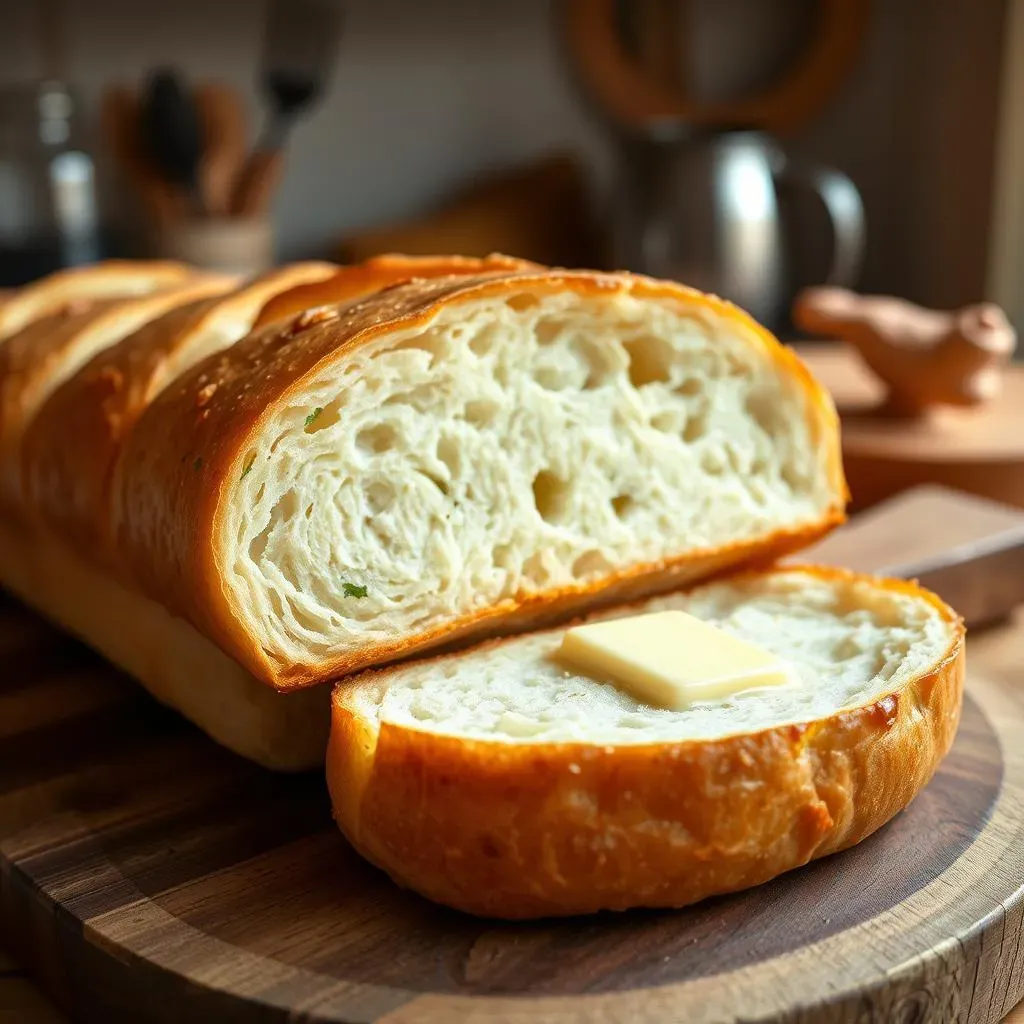
Okay, so first things first, you need a good loaf of bread. I'm not talking about that squishy stuff in plastic bags. We're going for a real, honest-to-goodness French baguette. Think crusty, with a soft, airy inside. It's the perfect canvas for all the garlicky goodness we're about to add. You can usually find these at most grocery stores or your local bakery. If you can't find a baguette, a similar loaf of Italian bread will also work well. Just make sure it’s not too dense, you need those lovely air pockets to soak up all the flavor.
The Star: Garlic, Glorious Garlic
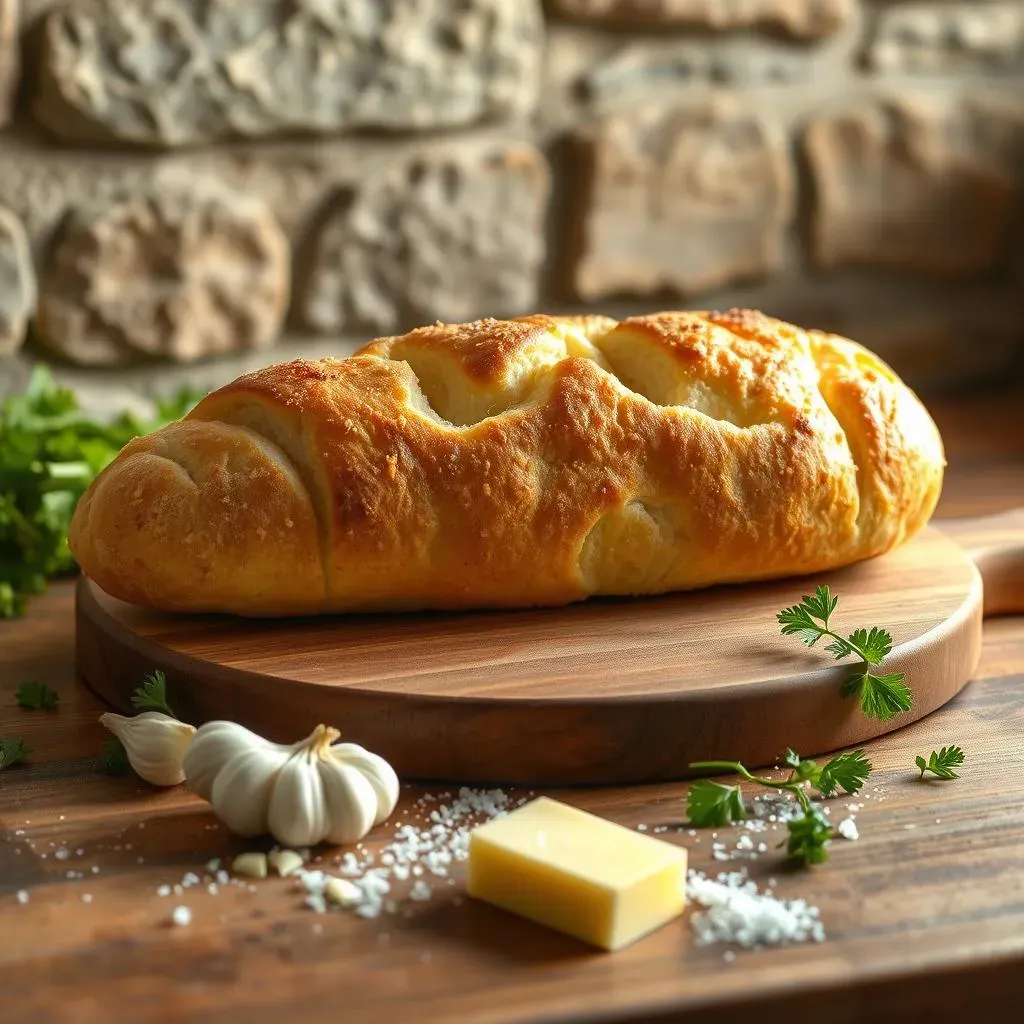
Now, for the main event: garlic! And listen, we are not skimping here. Fresh garlic is a must. None of that pre-minced stuff in a jar, okay? Get yourself a head of garlic, maybe even two if you're feeling extra garlic-y. You'll want to mince it finely, or even better, grate it with a microplane. This creates a super fine paste that really infuses the butter. I like to think of garlic as the soul of this bread. The more the merrier, I always say!
Ingredient | Why it's Important |
|---|---|
French Baguette | Provides the perfect texture: crusty outside, soft inside. |
Fresh Garlic | Key for that strong, pungent garlic flavor. |
Butter | Adds richness and helps the garlic spread evenly. |
Fresh Parsley | Adds color and a touch of freshness. |
Sea Salt | Enhances the flavors of all the other ingredients. |
Butter, Parsley, and a Pinch of Salt
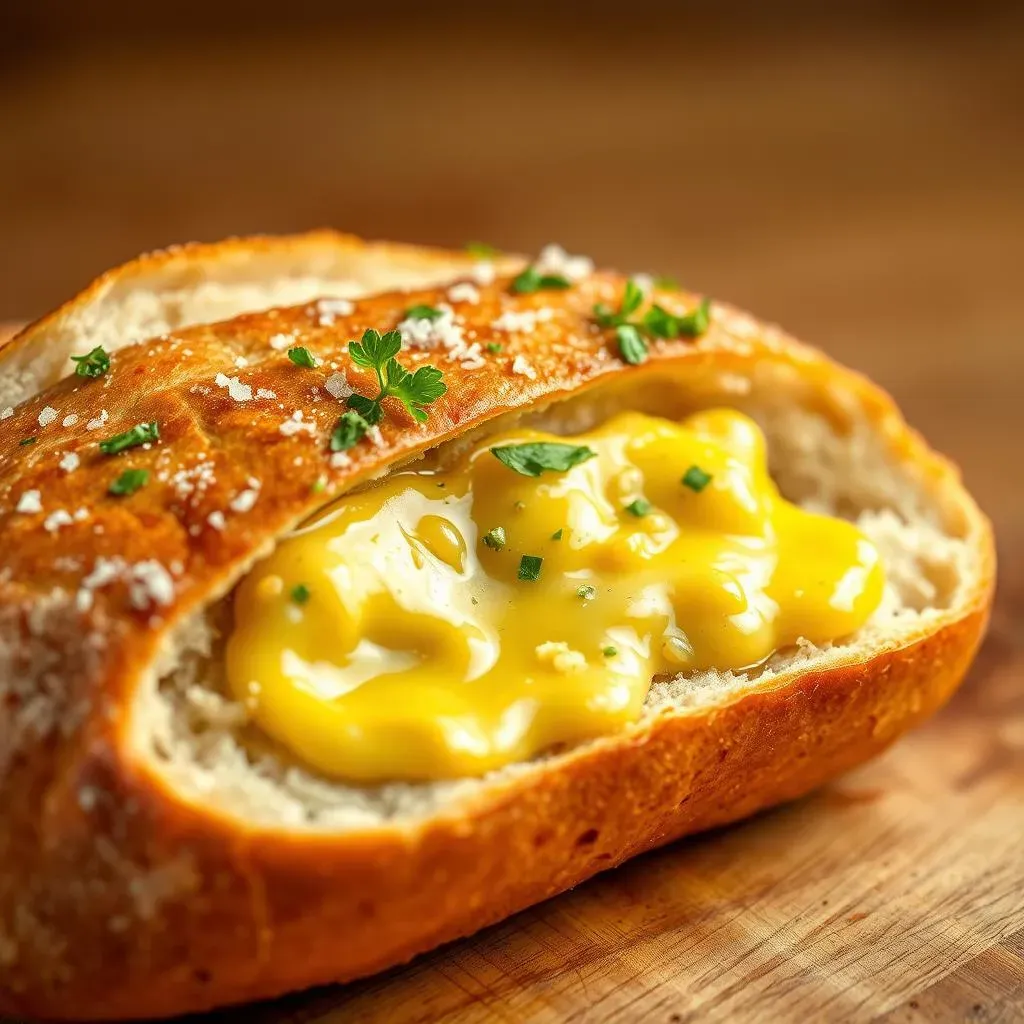
Last but not least, we need some good quality butter. Not margarine, not some weird spread, but real butter! It acts like a flavor carrier and helps the garlic to spread evenly over the bread. We're also going to add some fresh parsley for a bit of color and freshness. If you're not a parsley fan, you can skip it or use another herb like oregano or thyme. Finally, a little sprinkle of sea salt will bring all the flavors together. That's it, folks! Simple, right? Now that we've got our ingredients, let's get cooking!
StepbyStep: Making the Perfect French Garlic Bread in Your Oven
StepbyStep: Making the Perfect French Garlic Bread in Your Oven
Prepping the Bread and Garlic Butter
Alright, let's get started! First, preheat your oven to 400°F (200°C). While that's heating up, take your French baguette and slice it in half lengthwise. Now, in a small bowl, combine that minced (or grated) garlic with the softened butter. Make sure the butter is nice and soft so it's easy to mix. Add your chopped fresh parsley and a good pinch of sea salt. Mix it all together until it's a beautiful, fragrant paste. I like to use a fork to really mash the garlic into the butter. This ensures that the garlic flavor is evenly distributed and it's not just clumps of garlic on your bread.
Spreading and Baking
Now, grab your bread halves and spread that glorious garlic butter mixture evenly over the cut sides. Don't be shy! Make sure you get every nook and cranny. The more garlic butter, the more flavor, right? Place the buttered bread halves on a baking sheet, cut-side up. I like to line my baking sheet with parchment paper for easy clean-up, but you don't have to. Pop that baking sheet into the preheated oven and bake for about 10-15 minutes. Keep an eye on it; you want the edges to be slightly golden brown and the garlic to be fragrant and slightly toasted. It's like the bread is sunbathing and getting a nice tan.
Step | Action |
|---|---|
1 | Preheat oven to 400°F (200°C). |
2 | Slice the baguette lengthwise. |
3 | Mix garlic, butter, parsley, and salt. |
4 | Spread mixture on bread. |
5 | Bake for 10-15 minutes. |
The Final Touch
Once the bread is golden brown and smells amazing, carefully take it out of the oven. Now, this is optional, but for an extra crispy crust, you can broil it for a minute or two. But watch it like a hawk! Broiling can go from perfect to burnt in seconds. Trust me, I've learned the hard way. The key is to keep an eye on it, and don't walk away. Once it's reached your desired level of crispiness, take it out and let it cool for a minute or two before slicing and serving. You've just created some seriously delicious homemade French garlic bread!
Tips for Extra Crispy French Garlic Bread
Tips for Extra Crispy French Garlic Bread
The Secret is in the Butter
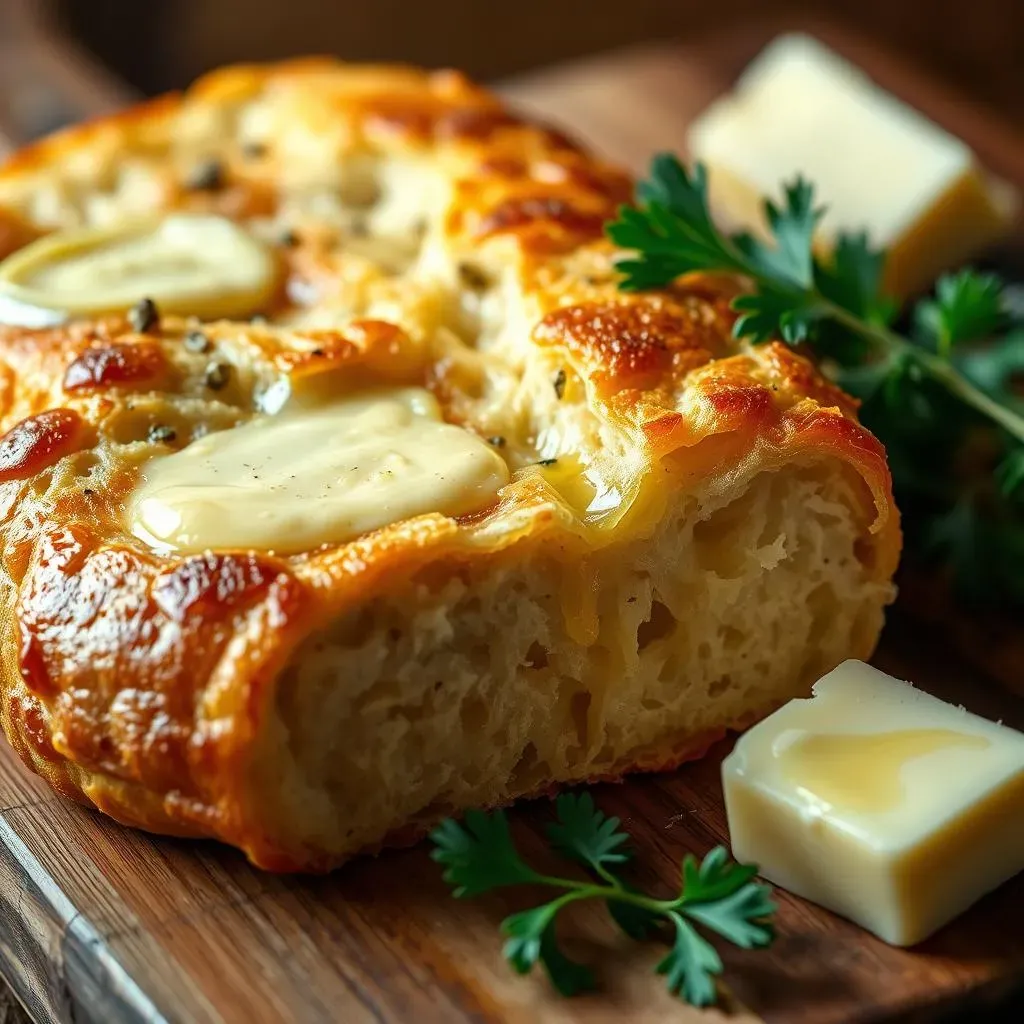
Okay, so you want that satisfying crunch when you bite into your garlic bread? The real secret is in how you handle the butter. Make sure it's softened, not melted. If it's too runny, it'll just soak into the bread instead of creating that crispy layer we're after. Also, consider using clarified butter. This is butter that has had the milk solids removed. This gives it a higher smoke point and helps it get crispier without burning. It's a little more work, but trust me, it's worth it if you're aiming for that next-level crisp.
Another trick? Don't be shy with the garlic butter. I know we already said that, but seriously, a generous layer will help create that golden, crunchy crust. Think of it like a protective shield for the bread. And make sure you spread it all the way to the edges. Those crispy, buttery edges are the best part, aren't they?
Oven Tricks and Broiling
The oven itself plays a big role in achieving that perfect crisp. Make sure your oven is preheated properly. A hot oven will help the bread crisp up quickly. Also, try placing your baking sheet in the middle rack of the oven for even heat distribution. Now, for the real game-changer: broiling. This is where you get that restaurant-quality, bubbly, golden crust. But be careful! Broiling is a delicate dance. You need to watch it like a hawk, because it can go from perfect to burnt in seconds. I usually broil for about 1-2 minutes, just until the top is nicely browned and crispy. Keep a close eye on it.
If you're feeling adventurous, try placing a pizza stone or baking steel in your oven. The stone will retain heat and help create a crispier crust on the bottom of the bread. It's like giving your garlic bread a mini spa day, where it comes out looking and feeling its absolute best.
- Use softened, not melted, butter.
- Consider clarified butter for extra crispiness.
- Don't skimp on the garlic butter layer.
- Make sure your oven is properly preheated.
- Use the middle rack for even heat distribution.
- Broil for 1-2 minutes for a bubbly, golden crust, and watch carefully.
- Try using a pizza stone for extra bottom crispiness.
Serving and Storing Your Homemade French Garlic Bread
Serving and Storing Your Homemade French Garlic Bread
Serving Suggestions: The Perfect Pairings
Alright, you've just pulled that amazing French garlic bread out of the oven, and it smells divine. Now what? Well, this bread is incredibly versatile and pairs well with so many dishes. I personally love it alongside a big bowl of pasta, especially spaghetti with marinara sauce. The garlic butter from the bread just soaks up all that delicious sauce. It's also fantastic with soups and stews. Think a hearty tomato soup or a rich beef stew. The bread is perfect for dipping and soaking up all the flavors. And let's not forget about salads; a slice of warm, garlicky bread makes any salad feel like a complete meal.
Storing Leftovers: Keeping it Fresh
Okay, let's be real, sometimes you end up with leftover garlic bread. And while it's best served fresh, you can certainly store it for later. The key is to keep it from getting soggy. Once the bread has cooled completely, wrap it tightly in aluminum foil or plastic wrap. You can also place it in a freezer-safe bag. This will help prevent it from drying out. You can store it at room temperature for a day or two, but if you want it to last longer, pop it in the fridge for up to a week. If you are planning to keep it longer than that, freezing is the way to go.
Serving Idea | Why it Works |
|---|---|
Pasta dishes | Soaks up sauces beautifully. |
Soups and stews | Perfect for dipping. |
Salads | Adds substance and flavor. |
On its own | A great snack! |
Reheating and Reviving
So, you've got some stored garlic bread and you're ready to enjoy it again. No problem! If you've stored it at room temperature or in the fridge, simply pop it back in the oven at 350°F (175°C) for about 5-10 minutes. This will help it crisp up again. If you've frozen it, there's no need to thaw it first. Just place it directly on a baking sheet and bake at the same temperature, but add a few extra minutes to the baking time. You can also use a toaster oven for smaller portions. And if you're really in a rush, microwaving it for a few seconds will do the trick, but be warned, it won't be as crispy. No matter how you choose to reheat it, that delicious garlic flavor will still be there, ready to be devoured. Enjoy!
The Final Slice: Your French Garlic Bread Triumph
So there you have it, your very own, incredibly delicious, homemade French garlic bread, fresh from the oven. It's amazing how a few simple ingredients and a bit of oven time can create something so satisfying. This isn't just about making garlic bread; it's about enjoying the process and sharing something special with friends and family. Whether you’re serving it alongside a big plate of pasta or just enjoying a slice as a snack, that homemade touch makes all the difference. Now that you’ve mastered this recipe, don’t be afraid to experiment with different herbs or cheeses to make it your own. Happy baking, and even happier eating!