Table of Contents
Ever dreamt of crafting that perfect, crusty French baguette, bursting with flavor and boasting a satisfyingly chewy interior? This article is your passport to that dream, guiding you through the delightful process of making exceptional French bread using sourdough starter. We'll explore the magic behind sourdough starters, explaining how to cultivate a thriving culture and why it's the key to unlocking unparalleled flavor in your bread. From there, we'll walk you through a simple, step-by-step recipe for french bread using sourdough starter, providing clear instructions and helpful tips to ensure your baking success. But we won't stop there! We'll also share expert advice and insider tricks to elevate your baking game, covering everything from achieving the perfect oven spring to mastering the art of scoring your loaves for that signature rustic look. Get ready to transform your kitchen into a Parisian boulangerie – let's embark on this delicious journey together, mastering the art of french bread using sourdough starter!
The Allure of French Bread Using Sourdough Starter
The Allure of French Bread Using Sourdough Starter
The Unique Flavor Profile
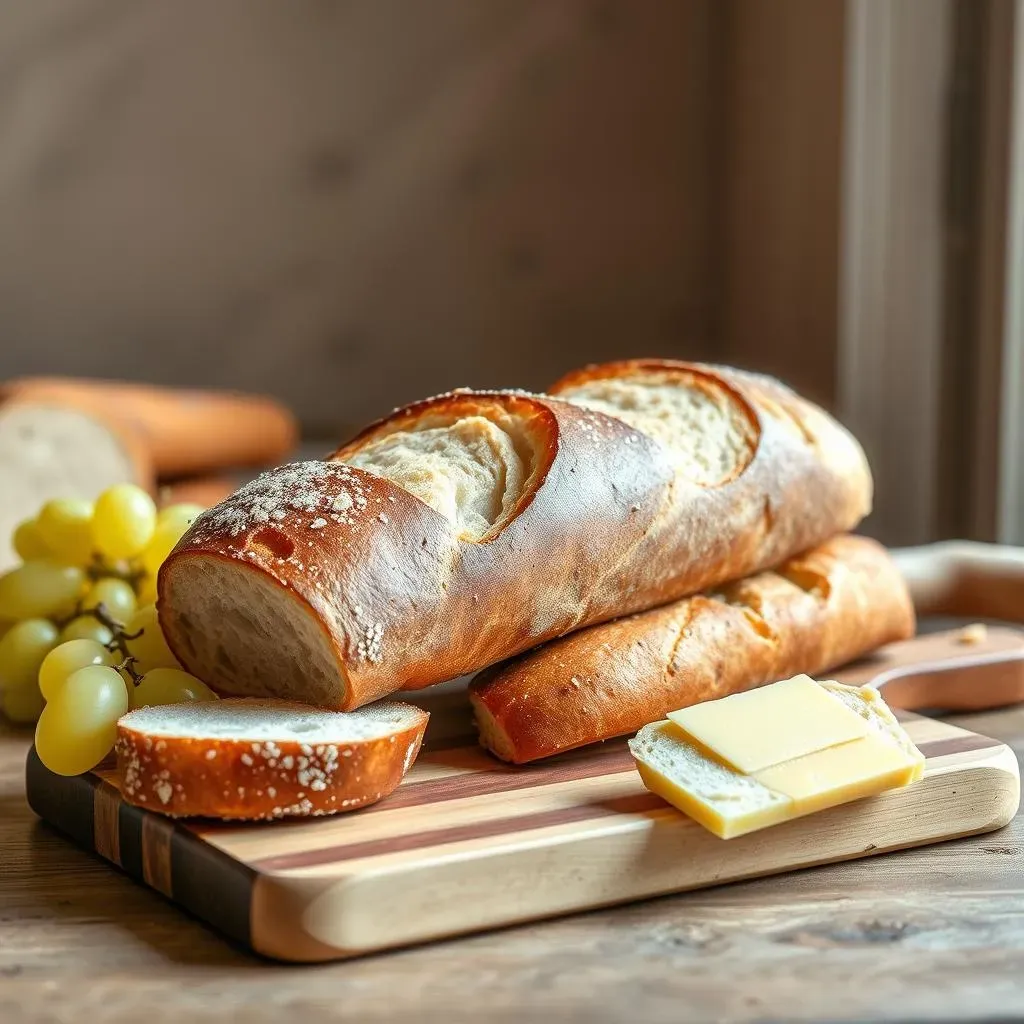
There's something undeniably magical about the aroma of freshly baked bread, and sourdough French bread takes that magic to a whole new level. The tangy, slightly sour notes from the sourdough starter create a depth of flavor that you simply can't achieve with commercial yeast. This complexity is what makes sourdough French bread so captivating – it’s not just bread; it’s an experience for the palate. The subtle acidity cuts through richness, making it a perfect companion to hearty soups, cheeses, or even a simple smear of butter. It’s a taste that's both familiar and utterly unique.
The beauty of sourdough French bread lies in its versatility. Want a rustic, crusty loaf perfect for dipping in olive oil? Check out our amazing 2-loaf sourdough recipe. Or perhaps you prefer a softer, more delicate crumb for sandwiches? Our 6-hour sourdough bread recipe might be just what you're looking for. The possibilities are endless, and that's part of what makes it so alluring. Each loaf is a testament to the artistry of baking and a reflection of the baker's skill and passion.
Bread Type | Crumb Texture | Best Use |
|---|---|---|
Rustic Loaf | Chewy, slightly dense | Dipping, soups |
Delicate Loaf | Soft, airy | Sandwiches, French toast |
The Textural Delight
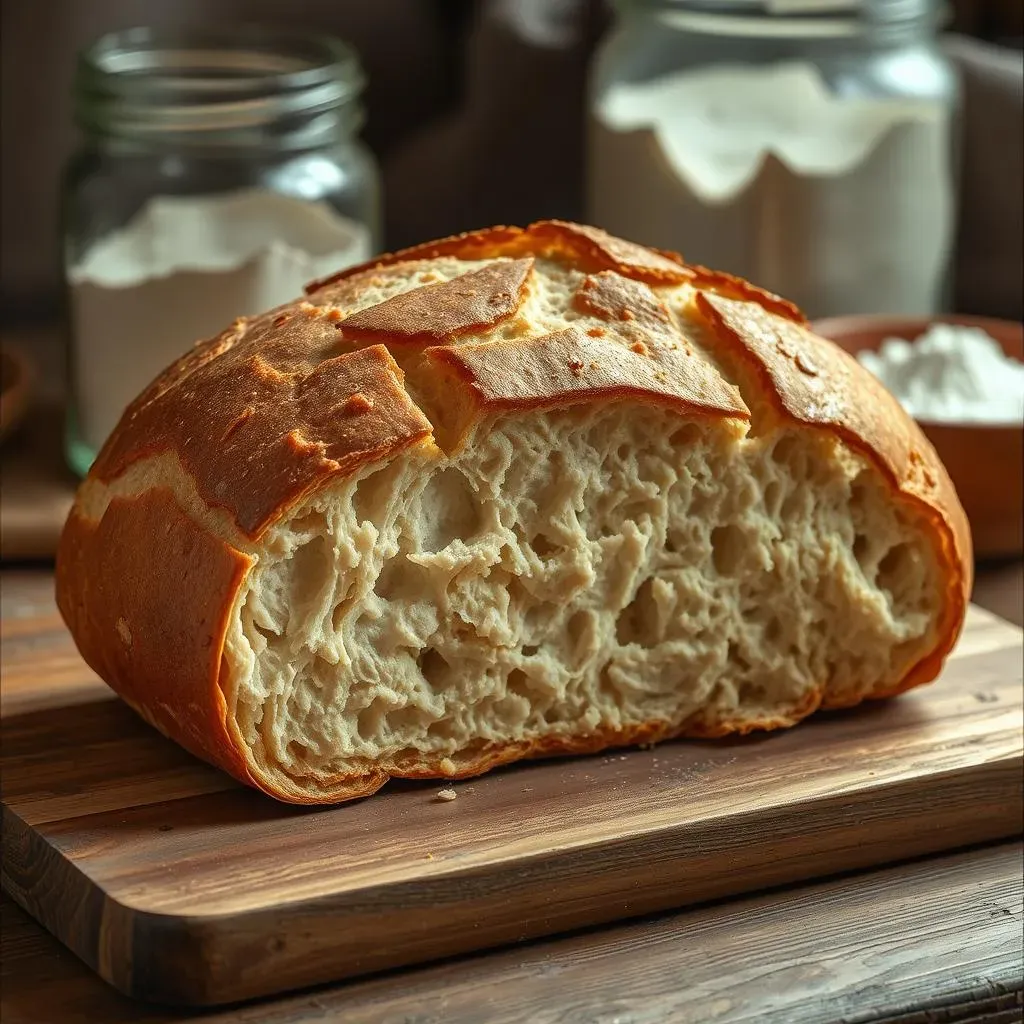
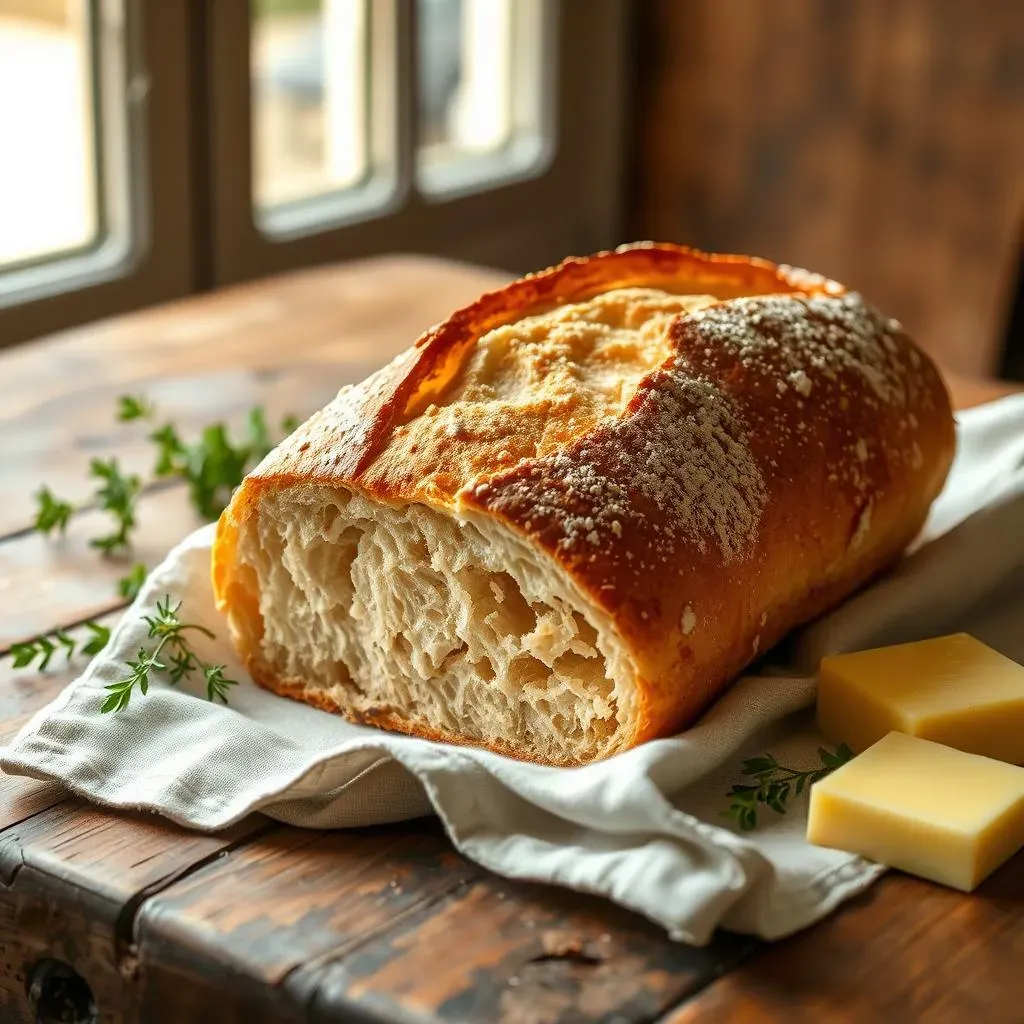
Beyond its incredible flavor, the texture of sourdough French bread is what truly sets it apart. That satisfying crackle of the crust as you tear into it is a sensory experience in itself. The contrast between the crisp, golden-brown exterior and the soft, pillowy interior is simply delightful. This textural interplay is a key element of the bread's allure – it's a dance between textures that keeps you coming back for more. Whether you prefer a slightly chewy crumb or a more airy one, sourdough allows for remarkable control over texture.
Imagine the satisfying crunch of the crust giving way to the soft, yielding interior. It’s a beautiful combination of textures that’s both comforting and exciting. This duality is what makes sourdough French bread so irresistible. For an even crispier crust, consider using our crusty sourdough French bread recipe; it’s a guaranteed crowd-pleaser. The texture is also a great reason why this bread is so great for French toast. Looking for a different twist on this classic? Check out our amazing sourdough French toast recipe.
- Crisp Crust
- Soft Crumb
- Chewy Interior
The Artisan Appeal
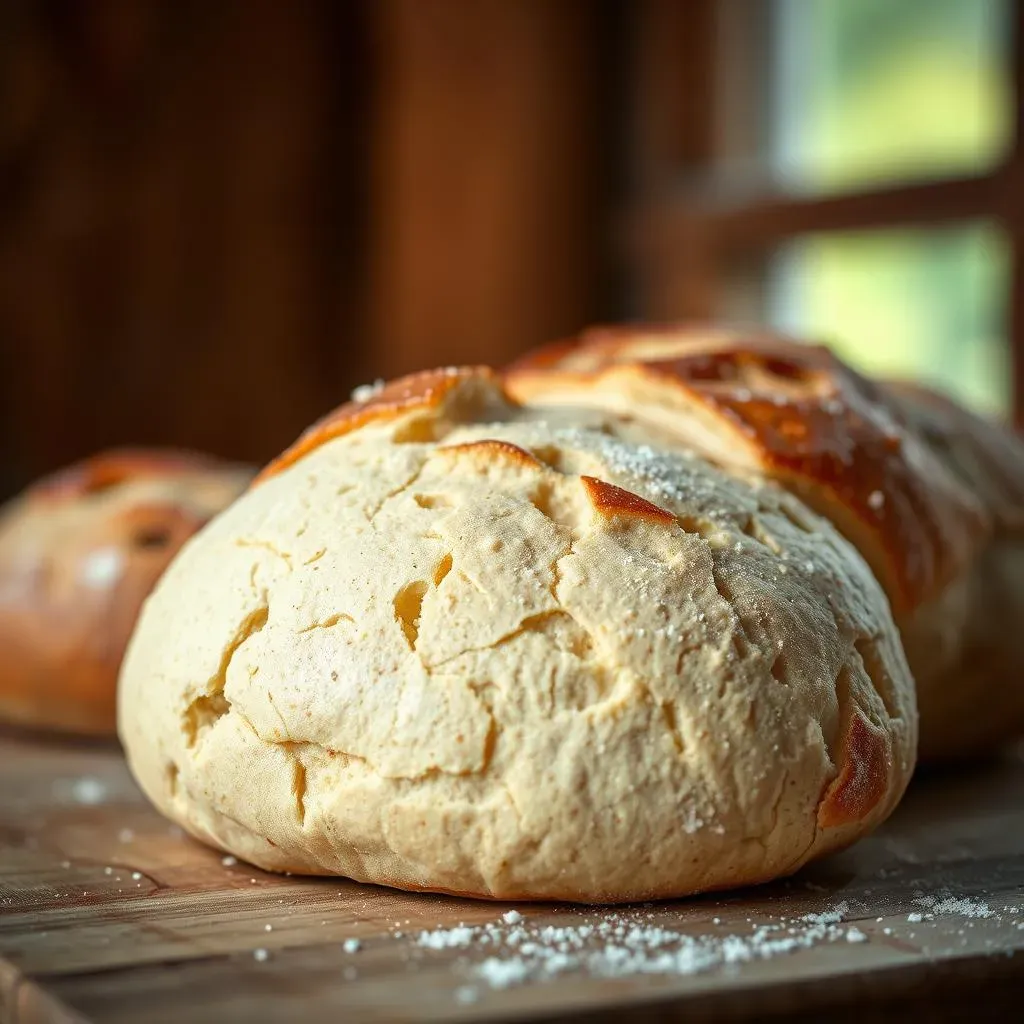
There’s a certain pride that comes with making your own bread, especially when it's as delicious and impressive as sourdough French bread. It's a testament to your patience, skill, and dedication. The process itself is inherently rewarding, from nurturing your sourdough starter to shaping the dough and finally witnessing the transformation in the oven. It's a connection to a time-honored tradition, a tangible link to generations of bakers who've come before us.
The process of making sourdough French bread is almost as satisfying as eating it. The slow fermentation, the careful kneading, the anticipation as it rises in the oven – each step is a part of the journey. And the end result? A beautiful, handcrafted loaf of bread that you can proudly share with friends and family. It’s more than just a meal; it’s a statement of your culinary skill and creativity. For a simpler approach, try our amazing easy sourdough French bread recipe.
Crafting the Perfect Sourdough Starter for French Bread
Crafting the Perfect Sourdough Starter for French Bread
Understanding Your Starter
The foundation of any great sourdough bread, including our amazing French bread, is a robust and active starter. Think of your starter as a tiny ecosystem teeming with wild yeasts and bacteria – these microorganisms are the secret to that signature tangy flavor and airy texture. A healthy starter will be bubbly and slightly more than doubled in size after feeding, indicating that it's happily munching on its flour and water meal and ready to work its magic in your dough. If your starter is sluggish, don't worry! Our recipe is perfect for using up even a less active starter. Before you begin your French bread journey, make sure your starter is happy and healthy.
The key is consistency. Regular feeding is crucial for maintaining a happy starter. Aim for a consistent feeding schedule, whether it’s daily or every other day, depending on your starter's activity level. You'll quickly get a feel for its rhythm. Pay attention to its appearance – a bubbly, slightly acidic aroma is a sign of a healthy starter, ready to work its magic in your dough. Remember, patience is key; nurturing a thriving starter takes time, but the results are well worth the effort! For a quick and easy recipe, try our .
- Bubbly appearance
- Slightly acidic aroma
- Doubles in size after feeding
Feeding and Maintaining Your Starter
Feeding your sourdough starter is a simple yet essential ritual. The process involves discarding a portion of the starter and then replenishing it with fresh flour and water. This provides the microorganisms with fresh nutrients to continue their fermentation process. The ratio of flour to water can vary depending on your flour and your starter’s personality, but a common ratio is 1:1, meaning equal parts flour and water by weight. Experiment to find the perfect balance for your starter. Over time, you'll develop an intuitive understanding of its needs, becoming a true sourdough whisperer.
Regular feeding ensures that your starter remains active and full of life, ready to leaven your bread. The frequency of feeding depends on several factors, including the temperature of your environment and the type of flour you're using. A warmer environment generally requires more frequent feedings. Keep a close eye on your starter’s activity – if it’s not showing good signs of fermentation, adjust your feeding schedule accordingly. A well-maintained starter is the cornerstone of successful sourdough baking, and it’s the secret ingredient in our .
Flour Type | Water Ratio | Feeding Frequency |
|---|---|---|
All-purpose | 1:1 | Daily or every other day |
Bread flour | 1:1 | Every other day |
Troubleshooting Common Starter Issues
Even the most experienced sourdough bakers encounter occasional setbacks. Sometimes, your starter might become sluggish or even develop a foul odor. Don’t panic! These issues are often easily resolved with a bit of troubleshooting. If your starter seems sluggish, try increasing the feeding frequency or adjusting the water-to-flour ratio. If you notice an unpleasant odor, it could indicate contamination – in this case, it’s best to start fresh with a new starter. This is a good reminder that creating a sourdough starter is a journey, not a destination!
Remember, a healthy starter is essential for delicious sourdough bread. If your starter is consistently underperforming, don’t hesitate to seek advice from experienced bakers. Online forums and communities are excellent resources for troubleshooting and sharing tips. Our is a great option for those who want to test their starter's activity level before starting any more complex recipes. With a little patience and attention, you'll soon become a sourdough pro!
StepbyStep Guide: Baking Delicious French Bread Using Sourdough Starter
StepbyStep Guide: Baking Delicious French Bread Using Sourdough Starter
Mixing the Dough
Let's get our hands dirty! Start by gently combining your active sourdough starter (remember, a bubbly, happy starter is key!), flour, water, and a touch of salt and sugar in a large bowl. Mix thoroughly until a shaggy dough forms – don't worry about perfection at this stage. Then, it’s time for the kneading! This is where the magic happens – the kneading develops gluten, which gives your bread that wonderful structure and chew. You can knead by hand (a great arm workout!) or use a stand mixer for a more effortless approach. Knead until the dough is smooth and elastic, about 8-10 minutes. For a simpler, no-knead option, check out our amazing 2-ingredient sourdough bread recipe.
Once your dough is properly kneaded, let it rest in a lightly oiled bowl, covered with plastic wrap or a damp cloth. This is the first rise, or bulk fermentation, and it's where the magic of sourdough really shines. The wild yeasts and bacteria in your starter work their magic, creating delicious flavor and a beautiful airy texture. Let the dough rise in a warm place for several hours, or until it has almost doubled in size. Patience is key here; the longer fermentation time contributes to the unique depth of flavor in your sourdough French bread. If you are short on time, you might want to consider our amazing 3-hour sourdough bread quick recipe.
- Combine ingredients
- Knead thoroughly
- Bulk fermentation
Shaping and Baking
After the first rise, gently punch down the dough to release the trapped gases. Now comes the fun part – shaping! Divide the dough into portions, depending on the size of loaves you desire. Gently shape each portion into a long oval, or baguette shape. Place the loaves on a baking sheet lined with parchment paper, seam-side down. Let them rest for another 30-60 minutes, allowing for a final proof. This second rise will give your bread a beautiful oven spring – that dramatic rise that occurs during baking. For a more detailed guide, take a look at our amazing farmhouse-on-boone sourdough French bread.
Preheat your oven to 450°F (232°C). Before baking, use a sharp knife or lame to score the loaves – this creates those beautiful, signature slashes that allow the bread to expand during baking. Place the loaves in the preheated oven and bake for 25-30 minutes, or until they are deeply golden brown and sound hollow when tapped on the bottom. The aroma of freshly baked sourdough French bread will fill your kitchen, promising a delicious reward for your efforts. For a truly crusty loaf, consider using our crusty sourdough French bread recipe. Once baked, let the bread cool completely on a wire rack before slicing and enjoying. For a unique twist, try our amazing sourdough French toast recipe!
Step | Description | Time |
|---|---|---|
Shape loaves | Form into ovals | 30-60 min |
Score loaves | Make diagonal slashes | 5 min |
Bake | 450°F (232°C) for 25-30 min | 25-30 min |
Tips and Tricks for the Best French Bread Using Sourdough Starter
Tips and Tricks for the Best French Bread Using Sourdough Starter
Mastering the Oven Spring
That dramatic rise your loaf experiences in the oven, known as oven spring, is crucial for achieving a light and airy crumb. Several factors influence oven spring. A properly proofed dough is key – it should be almost doubled in size and feel light and airy. Also, ensure your oven is adequately preheated to the correct temperature. A sudden temperature shock can hinder oven spring, so let the oven reach its target temperature before introducing your loaves. Finally, scoring your loaves correctly allows for expansion. Shallow, precise cuts allow the dough to expand in controlled manner.
For maximum oven spring, consider using a baking stone or steel. These materials retain heat exceptionally well, creating a consistent baking environment. A dutch oven is another excellent option; it traps steam, contributing to a crispier crust and a more open crumb. Experiment to find what works best for you and your oven. If you’re looking for a more consistent result, our is designed to minimize variables and provide a consistently great rise. Remember, the key to mastering oven spring is attention to detail and a bit of experimentation. Happy baking!
- Properly proofed dough
- Preheat oven thoroughly
- Correct scoring technique
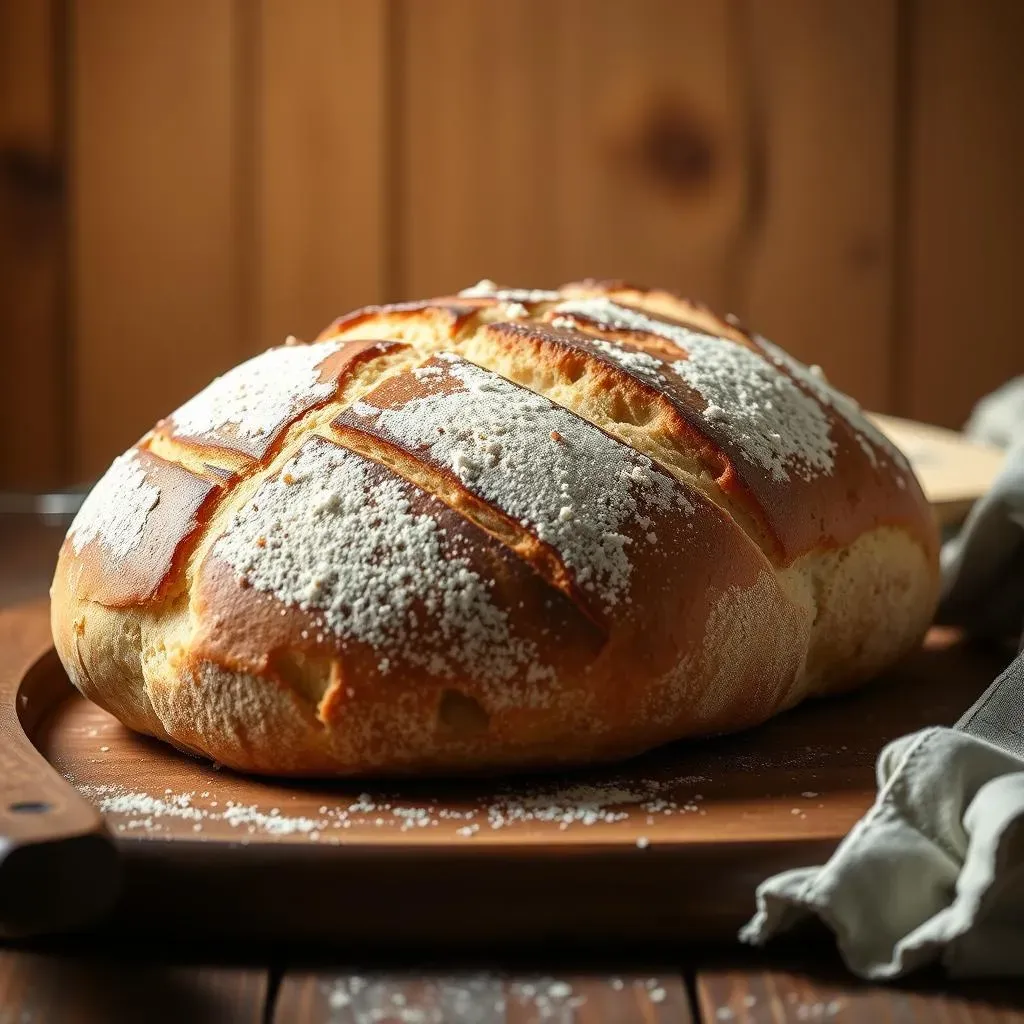
Achieving the Perfect Crust
The crust is what truly elevates a sourdough French loaf from good to exceptional. A deeply golden-brown crust, with a satisfying crackle, adds both visual appeal and textural delight. Several factors contribute to a perfect crust. High oven temperature is key – aim for at least 450°F (232°C). Steam is also crucial; it creates a crisp exterior while preventing the interior from drying out. You can achieve this by spritzing water into the oven during the initial baking minutes. Another approach is to place a pan of water on the bottom rack of your oven. For a super crispy crust, consider using our .
Beyond steam, the type of flour you use can impact the crust. Bread flour, with its higher protein content, generally yields a chewier, more robust crust. The final bake time plays a critical role. Bake until the bread is deeply golden and sounds hollow when tapped. Don't be afraid to experiment with different baking times and techniques to achieve your ideal crust. If you're after a more rustic, less refined crust, our might be your perfect fit. It's all about finding the right balance and embracing the journey of experimentation.
Factor | Impact on Crust |
|---|---|
Oven Temperature | Higher temp = crispier crust |
Steam | Crispier and less dry |
Flour Type | Bread flour = chewier crust |