Table of Contents
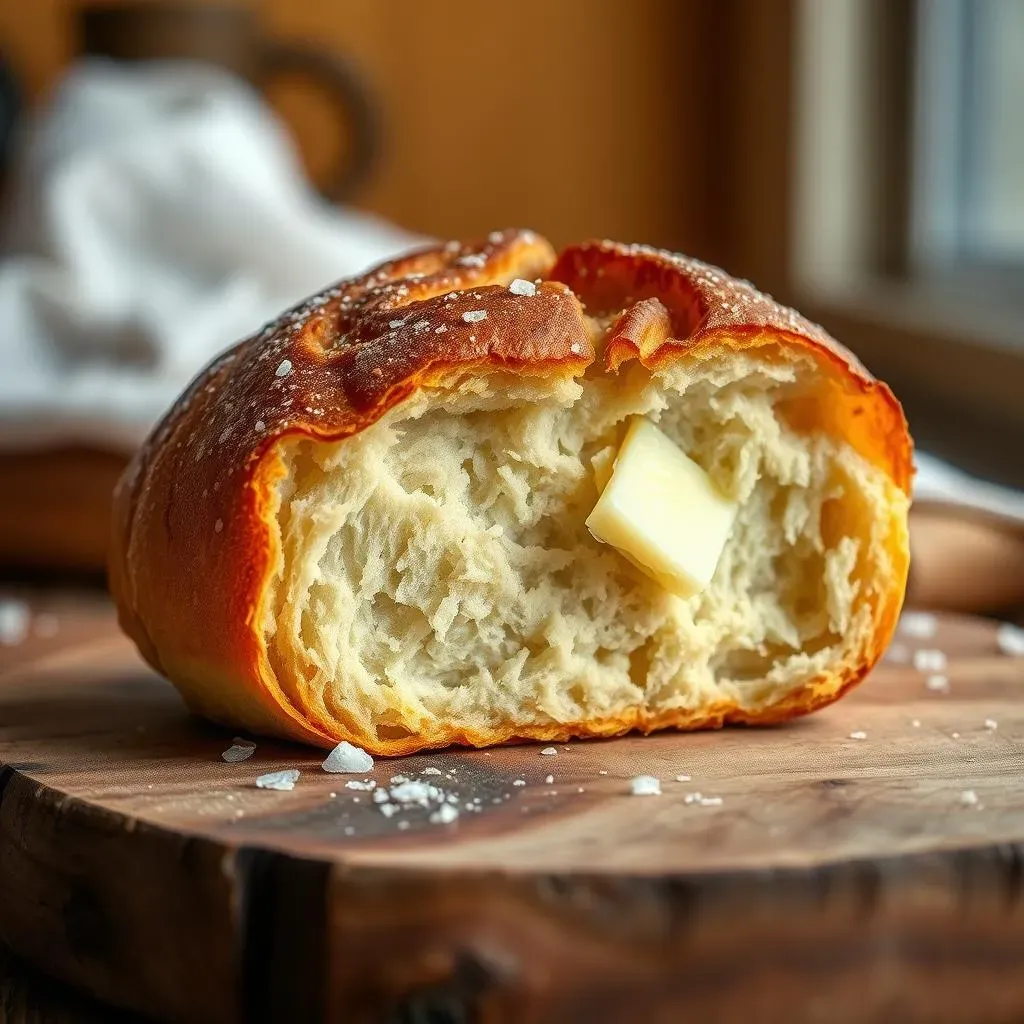
Ever dream of sinking your teeth into a french bread roll that's just… perfect? I'm talking about that heavenly combination of a shatteringly crisp crust and a soft, chewy interior. Forget those sad, store-bought imitations. We're diving into the world of "french bread rolls to die for," the kind that'll have your family begging for more. This isn't some complicated, chef-level recipe, though. It's surprisingly simple, whether you're a seasoned baker or just starting out. We'll walk through each step, from mixing the dough to that golden-brown moment when they come out of the oven. You'll learn the secrets behind that amazing texture, and I’ll share tips for making these rolls the star of any meal. Ready to bake some magic? Get your aprons on, because we're about to make some truly unforgettable french bread rolls.
The Secret to Perfect French Bread Rolls
The Secret to Perfect French Bread Rolls
Okay, so you want to know the real secret to perfect french bread rolls? It's not some magical ingredient or a fancy technique that only professional bakers know. It’s all about understanding a few key things, and paying attention to the details. First off, the quality of your flour matters. Don’t skimp on the good stuff; bread flour will give you that lovely structure and chewiness. Then there’s the yeast – fresh is best, but if you're using dry, make sure it's active. And water temperature? Warm, but not hot, think baby bath warm. It's a Goldilocks situation. Finally, don’t rush the process. Let the dough do its thing, give it the time it needs to rise. Patience, my friend, is the real secret ingredient.
Making French Bread Rolls: A StepbyStep Guide
Making French Bread Rolls: A StepbyStep Guide
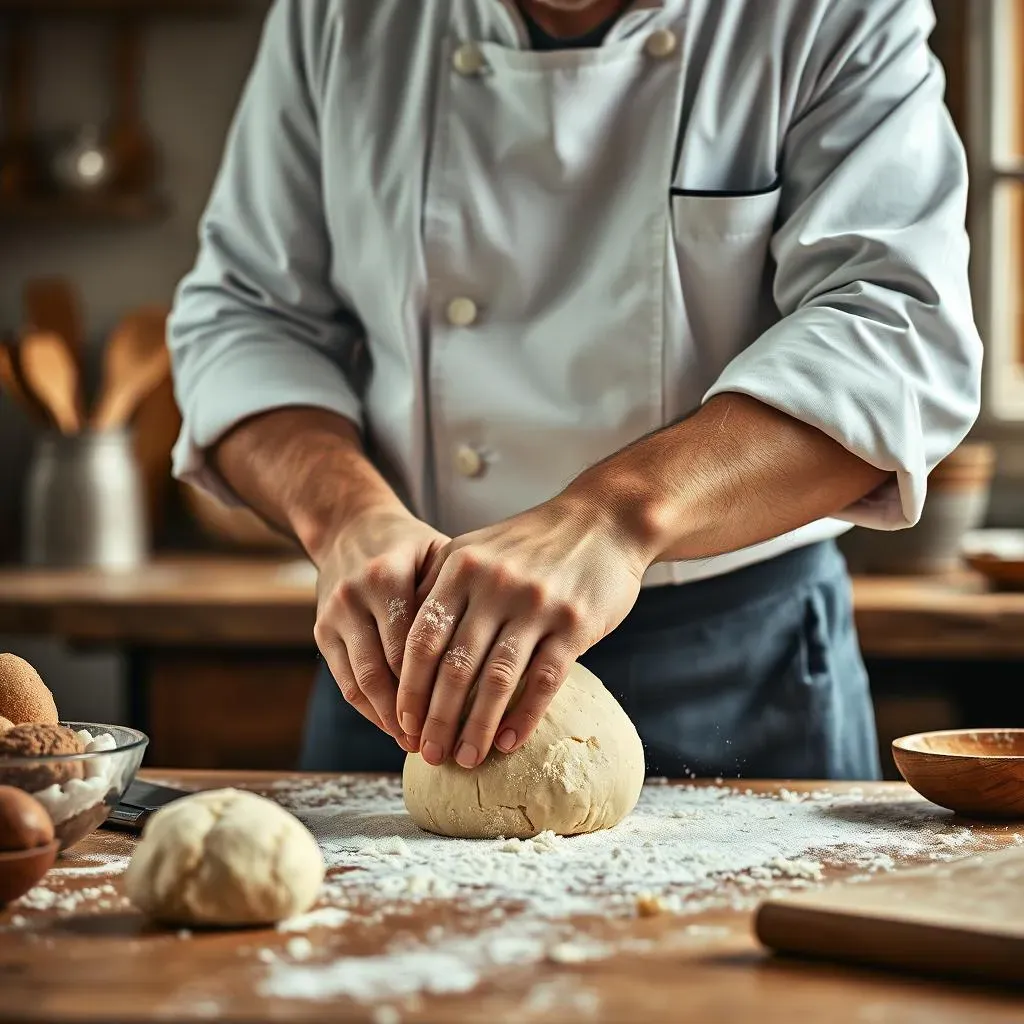
Mixing the Dough
Alright, let's get our hands dirty! First, you'll need a big bowl. Pour in that warm water, sprinkle the sugar, and then add the yeast. Give it a little stir and let it sit for about 5-10 minutes until it gets all foamy. That means the yeast is alive and ready to party. Next, add your flour and salt. If you have a stand mixer, now's the time to let it do the heavy lifting. Otherwise, use a sturdy spoon and get mixing until it forms a shaggy dough. Don't worry if it's not perfectly smooth, we'll get there. Now, this is where the magic happens, you'll knead it for about 8-10 minutes until you have a smooth, elastic dough. It should feel nice and soft, not too sticky.
First Rise and Shaping
Now that you've kneaded your dough, form it into a ball and place it in a lightly oiled bowl, turning it to coat. Cover it with a towel or plastic wrap and let it rise in a warm place for about an hour, or until it has doubled in size. It's like watching a little doughy balloon inflate. Once it's doubled, gently punch it down to release the air. Turn the dough out onto a lightly floured surface and divide it into 16 equal pieces. Now, shape each piece into a small roll. It's okay if they're not perfect, rustic is charming, right? Place the shaped rolls on a baking sheet lined with parchment paper, leaving a bit of space between them.
Step | Description |
|---|---|
1 | Mix warm water, sugar, and yeast. Let sit until foamy. |
2 | Add flour and salt. Mix into shaggy dough. |
3 | Knead for 8-10 minutes until smooth. |
4 | Let dough rise in oiled bowl for 1 hour. |
5 | Punch down dough, divide into 16 pieces. |
6 | Shape each piece into a roll. |
Baking and Final Touches
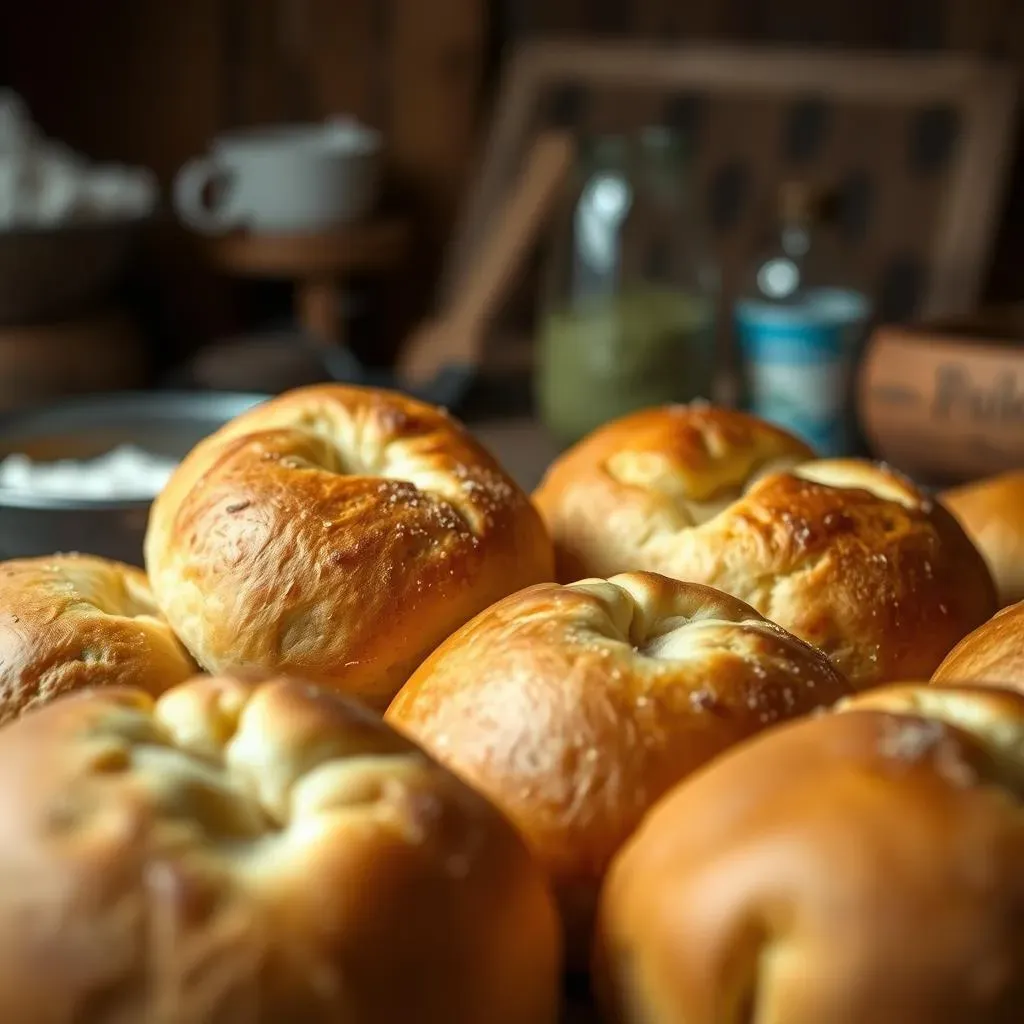
Okay, these little guys are almost ready for their close-up. Preheat your oven to 400 degrees F (200 degrees C). While the oven heats, let the rolls rise a little more, about 20-30 minutes. This is their last chance to puff up. Just before baking, whip an egg white with a tablespoon of water and brush it lightly over each roll. This will give them a lovely shine. Now, bake them in the preheated oven for about 18-20 minutes, or until they are golden brown and sound hollow when you tap them on the bottom. Let them cool on a wire rack before you dive in. I know it’s hard to wait, but trust me, it's worth it. Now, enjoy your homemade, amazing french bread rolls!
Serving and Storing Your French Bread Rolls

Serving and Storing Your French Bread Rolls
Alright, you've baked these incredible "french bread rolls to die for," now what? Well, first off, they are amazing fresh out of the oven, maybe with a little butter or olive oil. But they're also super versatile. Think about using them for sandwiches, sliders, or even as a side with your favorite soup or stew. They're fantastic for soaking up sauces. If you have any left over, and that's a big "if" in my house, make sure to store them properly. The best way to keep them fresh is to wrap them tightly in plastic wrap or put them in an airtight container at room temperature. They will stay good for a few days like this. For longer storage, you can freeze them. Just wrap them individually in plastic wrap, then put them into a freezer bag. When you're ready to use them, let them thaw at room temperature and then pop them in a warm oven for a few minutes to freshen them up. They'll taste almost as good as the day you baked them.
Serving Ideas | Storage Tips |
|---|---|
With butter or olive oil | Wrap tightly in plastic wrap |
For sandwiches and sliders | Store in airtight container |
With soups and stews | Freeze individually in freezer bags |