
Table of Contents
Ever dreamt of that perfect, crusty-on-the-outside, soft-on-the-inside bread roll? Well, stop dreaming and start baking! This isn't just any bread roll recipe; it's *the* French bread rolls recipe that's been a staple in my kitchen for years. I'm talking about the kind of recipe that even a total beginner can nail, but also one that seasoned bakers will appreciate. Forget those store-bought rolls that taste like cardboard; we're making real, honest-to-goodness French bread rolls right here. I'll walk you through each step, from mixing the dough to achieving that golden-brown crust. We'll cover how to get the dough just right, the best way to shape these beauties, and some insider tips for baking them to perfection. Whether you're planning a fancy dinner or just want a tasty snack, these french bread rolls will be a hit. So, grab your apron, and let's get baking!
Mixing the Dough for French Bread Rolls
Mixing the Dough for French Bread Rolls
The Warm Up: Activating the Yeast
Okay, so first things first, let's talk about yeast. It's the tiny engine that makes our bread rise, and we need to wake it up. Grab some warm water, like bathwater warm, not too hot, not too cold. Think about a baby's bath, that's the temperature we want. We're not trying to give the yeast a spa day, just a little warmth to get them going. Add a pinch of sugar, it's their fuel, and then sprinkle in your yeast. Let it sit for about ten minutes, and you'll see it getting all foamy and bubbly. That's how you know it's alive and ready to work its magic. If it doesn't get foamy, it might be old, and you'll need to start with some fresh yeast.
It's like waking up a sleepy bear, gently does it. Once you've got that frothy mix, you are ready to get your dough started. This is where the fun begins, trust me.
Combining the Ingredients
Now, let's get to the main event. In a big bowl, or your stand mixer if you're fancy, pour in your bubbly yeast mixture. Add some oil, just a little, and then start adding your flour and salt. Don't dump it all in at once, add a bit at a time. It's like building a sandcastle, you layer it up. Mix it all together until it starts to form a dough. It’ll start looking shaggy and a bit messy, that's totally normal. It's not a beauty contest; it's a bread-making process. What's important is that it starts to come together.
If you are using a stand mixer, use the dough hook attachment, it will make your life easier, I promise. If you are doing it by hand, well, you are going to get a good workout. This is where you get to know the dough, feel it, understand it. I know it sounds like I am talking about a pet, but it is kind of true, you have to feel it out.
Ingredient | Amount | Purpose |
|---|---|---|
Warm Water | 1 ½ cups | Activates the yeast |
Active Dry Yeast | 1 tablespoon | Makes the dough rise |
Sugar | 2 tablespoons | Feeds the yeast and adds flavor |
Vegetable Oil | 2 tablespoons | Adds moisture and softness |
Bread Flour | 4 cups | Provides structure to the dough |
Salt | 1 teaspoon | Enhances flavor and controls yeast |
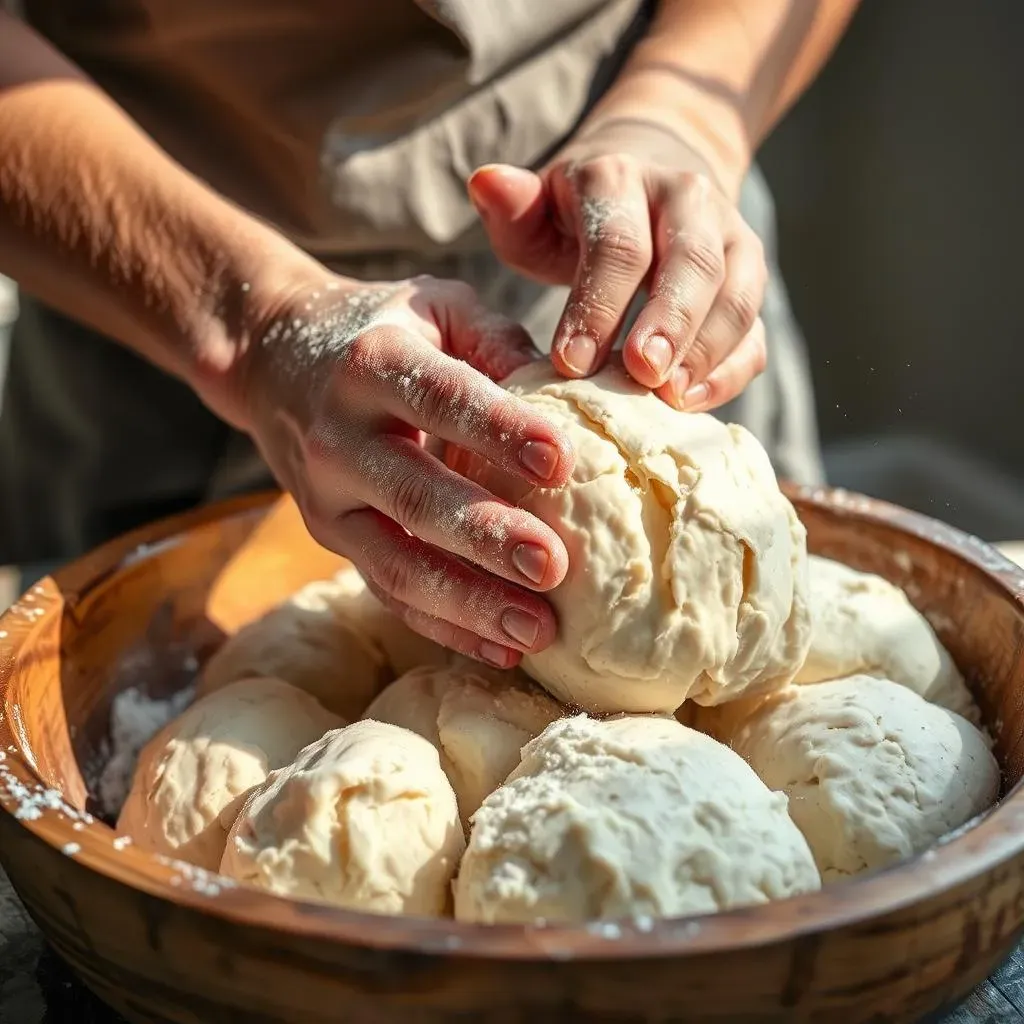
Kneading and the Dough's Personality
Once the dough comes together, it's time to knead. This is where you turn that shaggy mess into a smooth, elastic ball. If you have a stand mixer, let it go for about 5-7 minutes, if you're doing it by hand, get ready to work those arm muscles for about 8-10 minutes. You'll know it's ready when the dough is smooth and bounces back when you poke it. It's like a stress ball, but for baking. The dough will feel alive, and you'll start to understand its personality. It's not just flour and water; it's a living thing, at least for a few hours.
Don't be afraid to get your hands dirty; this is where you really feel like a baker. If the dough is too sticky add a bit more flour, if it's too dry, add a bit more water. It's all about finding that perfect balance. Remember, we are not trying to make a brick here, it should be soft and elastic.
Shaping and Baking Your French Bread Rolls
Shaping and Baking Your French Bread Rolls
First Rise: Letting the Dough Rest
Alright, so we've got our beautiful, kneaded dough. Now, it's time for a little rest and relaxation. Place that dough ball in a lightly oiled bowl, turning it around to make sure it's all coated. Cover the bowl with plastic wrap or a damp cloth. Think of it as tucking the dough into bed. We want it to rise in a warm place for about an hour, or until it's doubled in size. This is where the magic happens, the yeast is working hard, and the dough is getting all light and airy. It's like watching a balloon inflate, but way more delicious. Be patient; this step is crucial for those perfect rolls.
Don't try to rush it, if it takes a bit longer, don't worry, it will get there. It's like waiting for your favorite TV show to start, the anticipation is part of the fun. Once that dough has doubled, you will know it's ready. You will be able to see the difference, it will be all puffy and soft. It's a beautiful thing to see.
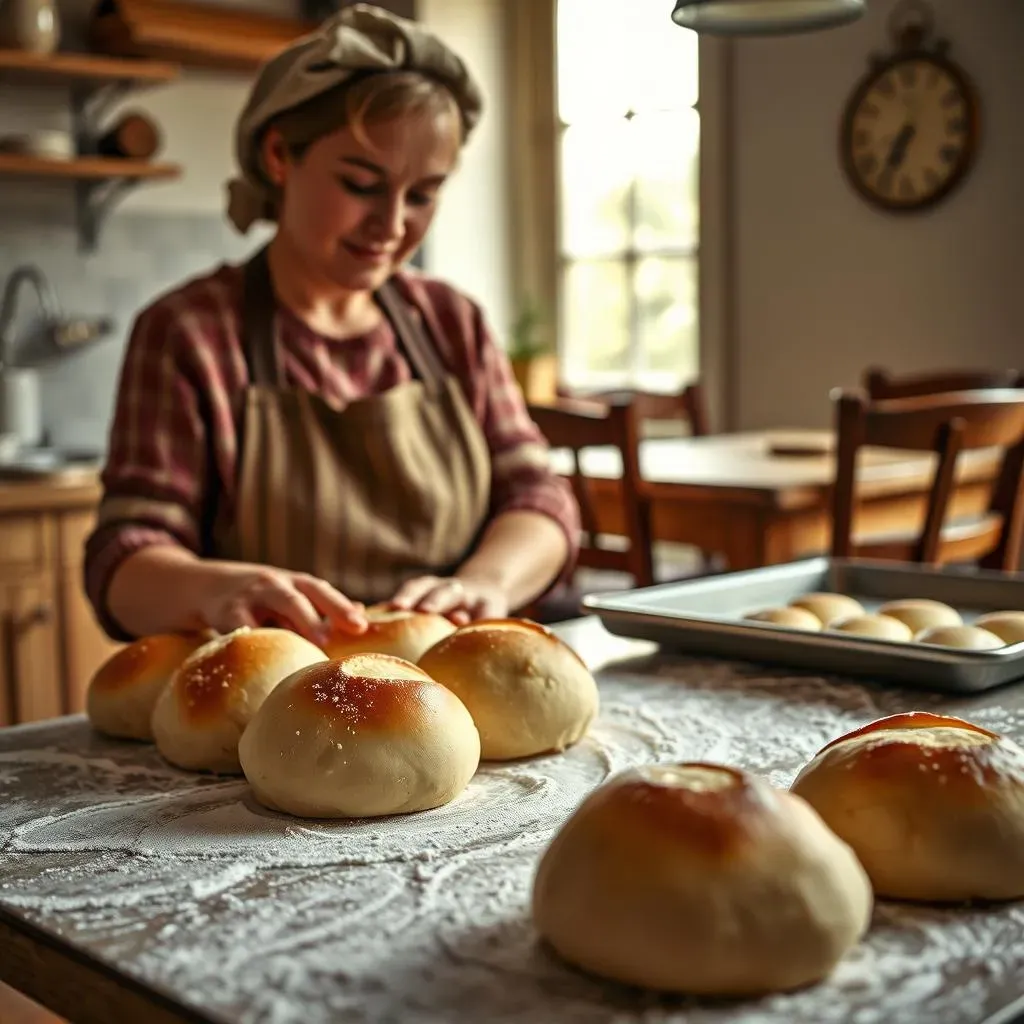
Shaping the Rolls
Now, for the fun part: shaping those rolls! Gently punch down the dough to release the air, it feels good, like popping bubble wrap. Turn it out onto a lightly floured surface. Divide the dough into equal portions, about 6 to 8 pieces, depending on how big you want your rolls. I like to think of it as cutting a pizza, but for bread. Take each piece and gently form it into a ball by tucking the edges underneath. It's like folding a napkin, but you are doing it with dough. Don't overwork it, just a few gentle folds will do the trick.
Place the shaped rolls on a baking sheet lined with parchment paper. This will prevent the rolls from sticking to the pan. Give them a little space between them, they will grow a little while baking. It's like giving them room to dance. Now, cover the rolls lightly, and let them rest for another 30 minutes. This second rise makes them extra light and fluffy. Patience, my friend, patience is the key to great bread.
Baking to Golden Perfection
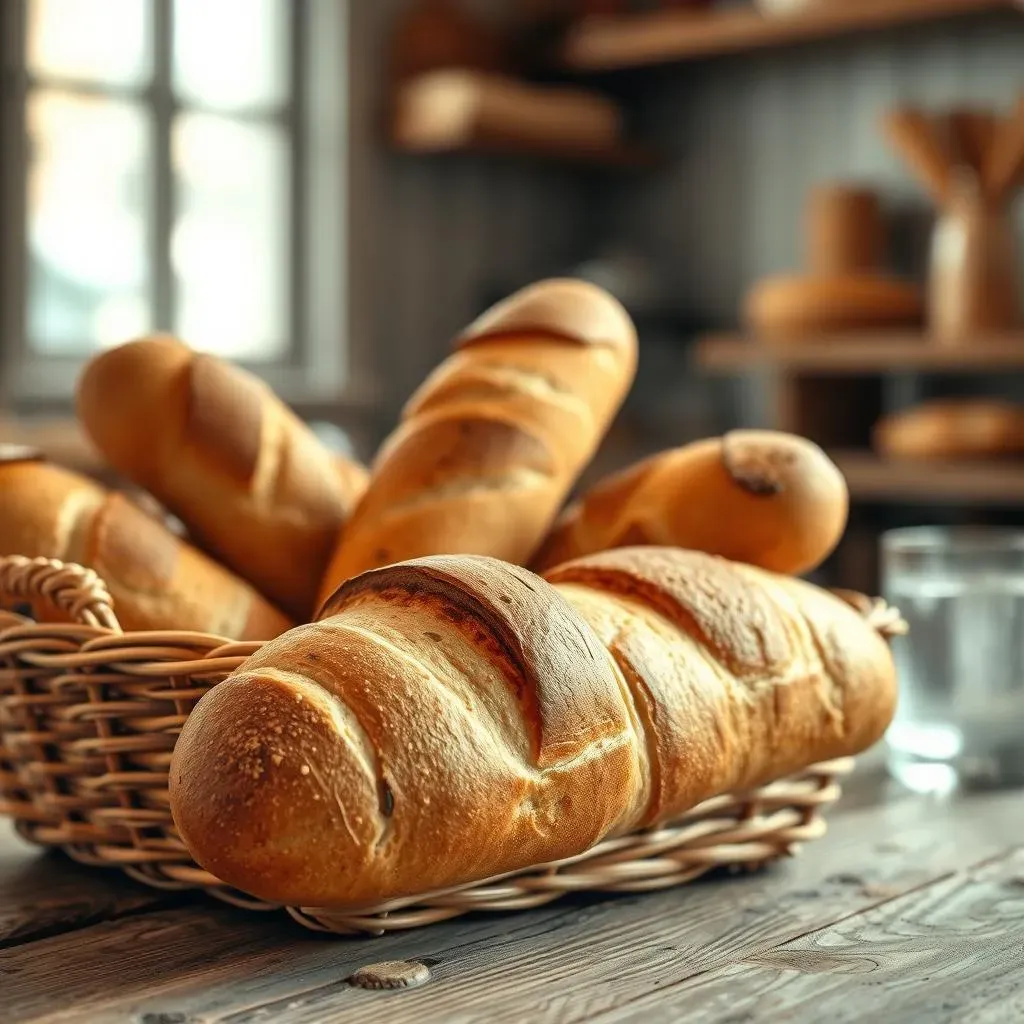
Okay, preheat your oven to 400°F (200°C). While the oven is heating, take a sharp knife or a lame (a special bread-making razor), and make a few shallow slashes on top of each roll. This helps them expand in the oven. It's like giving them a little breathing room. If you don't have a fancy blade, a sharp knife will work just fine. Don't worry about making it perfect; rustic is beautiful too.
Place the baking sheet into the oven and bake for about 20-25 minutes, or until the rolls are golden brown and sound hollow when you tap the bottom. It's like listening for a heartbeat, but for bread. Keep an eye on them, every oven is different. You might need to add a few more minutes, or take them out a bit earlier. The key is to look for that golden color and listen for that hollow sound. Once they are done, take them out, and let them cool a bit on a wire rack. And there you have it, perfect french bread rolls.
Step | Time |
|---|---|
First Rise | 1 hour (or until doubled) |
Second Rise | 30 minutes |
Baking Time | 20-25 minutes |
Tips and Tricks for Perfect French Bread Rolls
Tips and Tricks for Perfect French Bread Rolls
The Water Temperature Tango
Alright, let's talk water temperature. It’s not just about warm water; it's about the right kind of warm water. Too hot, and you’ll kill your yeast; too cold, and they won't wake up. Think of it like a baby's bath – comfortably warm to the touch, around 105°F to 115°F (40°C to 46°C). If you don’t have a thermometer, use your finger. It should feel warm, not hot. If it's too hot, let it cool down a bit before adding the yeast. It’s like Goldilocks and the Three Bears, you need to find the just right temperature. Getting this step right will ensure your yeast is happy and ready to do its job.
Also, don't use tap water. Tap water has chlorine, which is bad for yeast. Use filtered water, or let tap water sit for 30 minutes, the chlorine will evaporate. It's a small thing, but it makes a big difference. Remember, happy yeast means happy bread. If you are not sure about your water, just boil it and let it cool down, it always works for me.
The Art of the Dough
Now, let's talk about the dough. It should be soft and slightly sticky, but not so sticky that it sticks to your hands like glue. The key is to add flour gradually. Don't dump it all in at once. Add a bit, mix, and then add some more. It’s like adding salt to your food, a little at a time. The dough should be smooth and elastic. It should bounce back when you poke it. If it’s too sticky, add a tablespoon of flour at a time. If it's too dry, add a tablespoon of water at a time. It’s all about finding the right balance. Remember, the dough is your friend, not your enemy. Take your time, feel it, get to know it. This is where your intuition as a baker comes in.
Also, don't over-knead it. Over-kneading can make your rolls tough. Knead it until it's smooth and elastic, but no more. It’s like a good massage, you want to knead it enough to make it happy, but not too much that you hurt it. If you are using a stand mixer, keep an eye on it. It can easily over-knead the dough, especially if you are not paying attention. Trust me, I've done it. And it's not fun to eat a tough bread roll.
- Water Temperature: 105°F - 115°F (40°C - 46°C)
- Dough Consistency: Soft, slightly sticky, elastic
- Kneading Time: 5-7 minutes (mixer), 8-10 minutes (by hand)
- Flour Addition: Gradually, as needed