Table of Contents
Ever dream of biting into a perfectly crusty, yet soft-on-the-inside French bread roll? Now, imagine making those at home, without the fuss. That’s right, we're talking about using your trusty bread machine to whip up amazing french bread rolls. Forget kneading marathons and complicated steps; your bread machine is about to become your new best friend. In this article, we'll walk you through why using a bread machine for french bread rolls is a total game-changer, the simple ingredients you'll need, and all the easy steps to baking these golden beauties. Get ready to impress yourself (and maybe your friends) with homemade rolls that are way better than store-bought. We'll cover everything from mixing the dough to getting that perfect crust, ensuring you can enjoy warm, fresh french bread rolls anytime. So, let’s get started and turn your kitchen into a mini French bakery!
Why Bake French Bread Rolls in a Bread Machine?
Why Bake French Bread Rolls in a Bread Machine?
Time Saver and Effortless Dough
Let’s be real, making bread from scratch can feel like a huge undertaking. You’ve got the kneading, the rising, the watching – it's a whole thing! But with a bread machine, you just toss in the ingredients, press a button, and boom, your dough is ready. It’s like having a tiny, tireless baker in your kitchen. This frees you up to do other things, like binge-watching your favorite show or finally tackling that pile of laundry.
Plus, using a bread machine takes the guesswork out of the process. No more wondering if you've kneaded enough, or if the dough is rising properly. The machine does all the hard work for you, ensuring consistent results every single time. I remember the first time I tried making bread by hand; it was a sticky, floury mess, and the bread tasted like a brick. The bread machine changed everything for me.
Consistent Results, Every Single Time
Have you ever had a bread recipe that works perfectly one day and then fails miserably the next? It can be so frustrating! The beauty of a bread machine is its consistency. It controls the temperature, kneading time, and rising environment, which means you get the same fantastic results, time after time. This is especially great for beginners who are still learning the ropes of baking, or for anyone who just wants a reliable, no-fail method.
Think of it like this: your bread machine is a precision instrument, ensuring that each batch of dough is exactly how it should be. It takes the variables out of the equation, so you can focus on enjoying the process and the delicious end result. It’s not about being lazy; it's about being smart and efficient. And who doesn't want that?
Benefit | Description |
|---|---|
Time Saving | Reduces active baking time significantly. |
Effortless Dough | Eliminates the need for manual kneading. |
Consistent Results | Ensures the same high-quality dough every time. |
Beginner-Friendly | Perfect for those new to baking. |
Making the Dough: Ingredients & Bread Machine Steps
Making the Dough: Ingredients & Bread Machine Steps
The Magic Five: Your Essential Ingredients
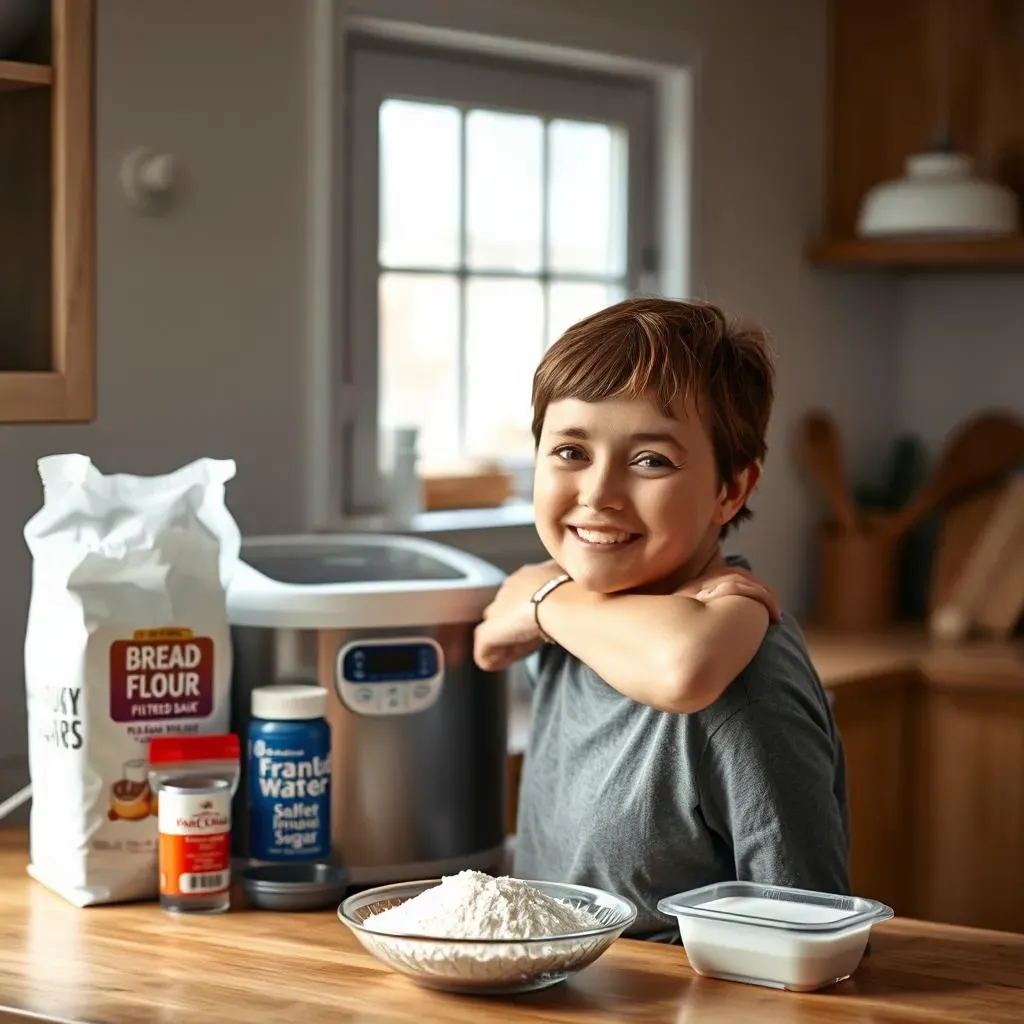
Alright, so you're ready to make some dough, literally! For these amazing French bread rolls, you only need five simple ingredients. It's almost unbelievable how something so delicious can come from such a short list. We're talking about bread flour, not all-purpose, because that extra protein is what gives us that lovely chewy texture. Then, you'll need filtered water; tap water can sometimes mess with the yeast. Next up is kosher salt, which is way better than regular table salt for flavor. A little bit of granulated sugar is next, which feeds the yeast and helps with browning. And finally, instant or bread machine yeast – the stuff that makes it all rise. That’s it – five basic things, and you're on your way to bread heaven. I always make sure to measure everything precisely; it makes a huge difference, trust me.
Now, let’s talk about why each ingredient is important. Bread flour is key for that structure. The filtered water helps the yeast activate properly. The salt controls the yeast’s activity and enhances the flavor. The sugar gives the yeast a little snack, and the yeast is the one that makes the dough rise. It’s like a little dance of ingredients, each with its own important role. Think of it as a tiny, well-organized team; each member has their job, and when they all work together, you get something amazing.
Bread Machine Basics: The Dough Cycle
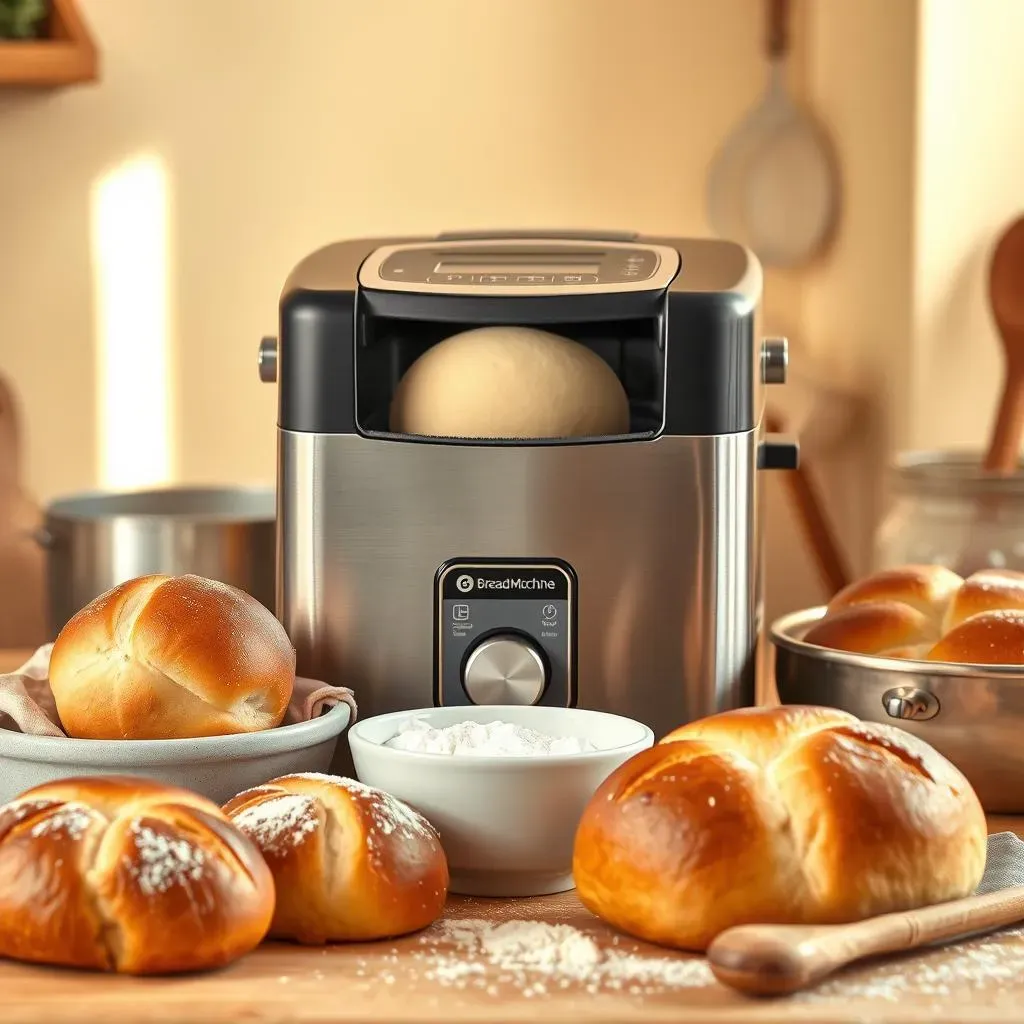
Okay, so you’ve got your five ingredients, now it’s time to let the bread machine do its thing. First, you’ll want to add all the ingredients to the bread machine pan, following the order recommended by your machine’s manufacturer. Usually, it’s liquids first, followed by the dry ingredients, and then the yeast on top. This helps the yeast stay away from the liquid until the mixing starts. Set your bread machine to the dough cycle. This is usually a mix, knead, and rise program that takes about 90 minutes. Now, this is the hardest part: you wait! It feels like forever, but trust me, it's worth it. I usually use this time to catch up on emails or start planning my next baking adventure. It’s like a little break for you and a workout for the machine.
During the dough cycle, the machine will mix the ingredients, knead the dough, and then let it rise. You should see the dough start to form a smooth ball and pull away cleanly from the sides of the pan. If the dough seems too sticky, you can add a tablespoon of flour, but it's very rare that I need to do that. Just let the machine do its magic, and before you know it, you'll have a beautiful ball of dough ready to be shaped. It’s almost like watching a magic trick, seeing those simple ingredients come together to form something so amazing. It just makes me excited for the next steps.
Ingredient | Purpose |
|---|---|
Bread Flour | Provides structure and chewiness. |
Filtered Water | Activates the yeast and forms the dough. |
Kosher Salt | Enhances flavor and controls yeast. |
Granulated Sugar | Feeds the yeast and aids browning. |
Instant/Bread Machine Yeast | Makes the dough rise. |
From Machine to Roll: Shaping and Rising
Once the dough cycle is done, carefully take the dough out of the machine. It should be nice and puffy. Place it on a lightly floured surface. Now, it’s time to shape the dough into rolls. Gently press the dough down a bit to release some air. Then, divide it into 12 equal pieces. I like using a bench scraper for this, it makes things much easier. Roll each piece into a smooth ball, tucking the edges underneath. Now, place the dough balls on a baking sheet lined with parchment paper, making sure they have enough room to expand. Cover them with a towel and place them in a warm, draft-free location for about 30 to 40 minutes, or until they almost double in size. This is where the magic really happens; you'll see those little dough balls transform into plump, beautiful rolls.
While you wait for the rolls to rise, preheat your oven to 400°F (200°C). This ensures the oven is nice and hot when the rolls are ready to bake. I always use parchment paper because it makes clean-up so much easier, plus, the rolls don't stick. You'll notice the rolls will become noticeably bigger and puffier, that's when you know they're ready for baking. It’s like watching little doughy creatures come to life. It's such a fun part of the process, and the anticipation of those fresh-baked rolls is almost unbearable!
Baking and Enjoying Your Homemade French Bread Rolls

Baking and Enjoying Your Homemade French Bread Rolls
The Final Stretch: Baking to Golden Perfection
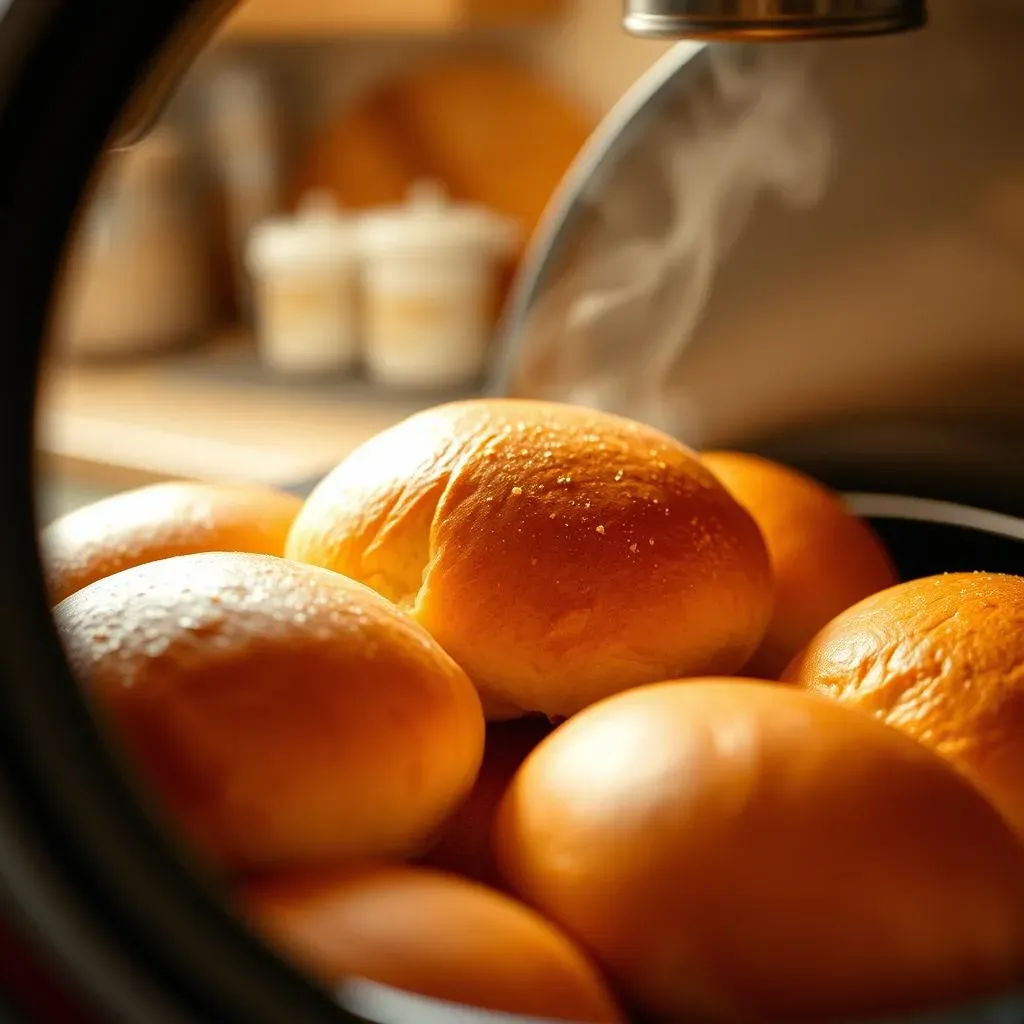
Alright, the rolls are puffed up and ready for their close-up! Carefully place the baking sheet with the risen rolls into your preheated 400°F (200°C) oven. Now, this is important: you're going to bake them for about 20 minutes, or until they are a beautiful golden brown. Keep an eye on them because oven temperatures can vary, and you want them perfectly golden, not burnt. The smell will be amazing, like a real bakery is in your kitchen. I sometimes rotate the baking sheet halfway through to ensure even baking, but this isn't always necessary. The key is to watch them and trust your instincts. When they're done, the crust should be firm, and the inside should be soft. You might even hear a little crackling sound as they cool—that's the sound of success!
Once baked, take them out of the oven and let them cool on a wire rack. This is important because it allows air to circulate around the rolls, preventing them from getting soggy on the bottom. Don't be tempted to cut into them right away; they need a little time to cool and set. It’s tough, I know, but patience is part of the baking game. I like to use this time to prepare some butter or maybe some olive oil for dipping. The wait is worth it, I promise; the aroma alone is enough to make your mouth water!
Serving Suggestions: From Simple to Spectacular
Okay, now for the fun part: eating these beauties! These French bread rolls are incredibly versatile. You can keep it simple with some butter or olive oil, or you can get creative. They're perfect for breakfast sandwiches with eggs and bacon or as a side dish with a hearty soup or salad. I love using them for mini-burgers or sliders; they're the perfect size. You can also use them to make garlic bread by brushing them with garlic butter and baking them for a few more minutes. The possibilities are truly endless. These rolls are not just bread; they are a blank canvas for your culinary creativity. I’ve even used them for bread pudding, and they were amazing!
Don't be afraid to experiment and try different things. These rolls are so good that they will elevate any meal. I always make a double batch because they disappear so fast. I also love to share them with friends and family, it's such a great way to bring people together. The best thing about homemade bread is that you know exactly what's in it, and you can adjust it to your taste. It’s a labor of love, and the results are always worth it. These rolls are a little bit of happiness in every bite.
Serving Idea | Description |
|---|---|
Breakfast Sandwiches | Use with eggs, bacon, or cheese. |
Soup or Salad Side | Perfect for dipping and soaking up flavors. |
Mini Burgers/Sliders | Ideal size for small sandwiches. |
Garlic Bread | Brush with garlic butter and bake. |
Bread Pudding | Use as the base for a delicious dessert. |
Storing Your Rolls: Keeping Freshness Alive
If, by some miracle, you have any rolls left over (which is rare in my house), it's important to store them correctly to keep them fresh. Once they are completely cooled, you can store them in a bread bag or an airtight container at room temperature for a couple of days. If you need to keep them longer, you can freeze them. Just wrap them tightly in plastic wrap and then put them in a freezer bag. When you're ready to use them, just let them thaw at room temperature and then warm them in the oven for a few minutes to bring back that fresh-baked taste. It's like a little time capsule of deliciousness!
I’ve found that freezing the rolls right after they cool keeps them the freshest. If you don't have much time, you can also just pop them in the microwave for a few seconds, but the oven method is the best for reheating. Remember, homemade bread doesn’t have all the preservatives that store-bought bread does, so it won’t last as long. However, with proper storage, you can enjoy your homemade rolls for days. It's always a good idea to make a big batch and store some for later; that way, you'll always have fresh bread at your fingertips. It's like having a secret stash of deliciousness, ready whenever you need it!