
Table of Contents
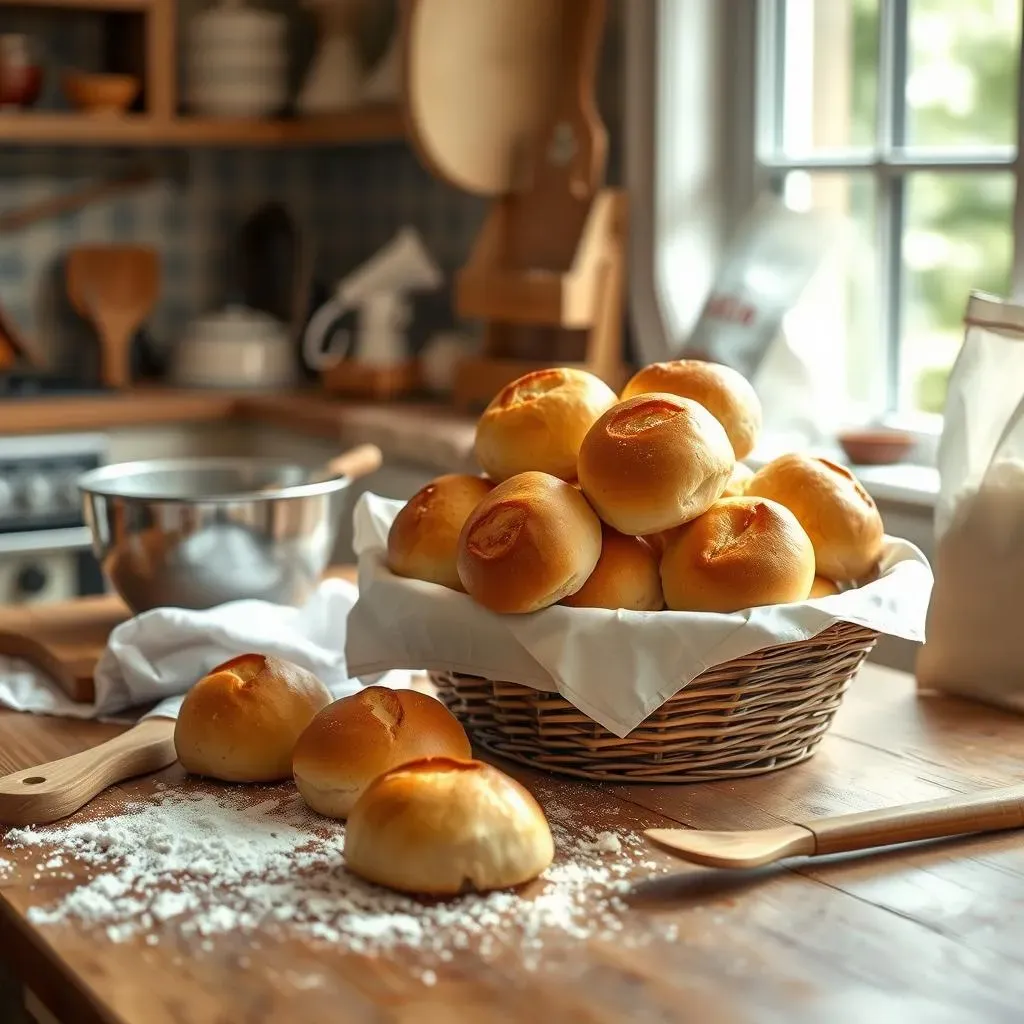
Ever dreamt of biting into a perfectly crusty, yet soft and fluffy french bread roll? The kind that makes you close your eyes and savor every morsel? Well, you're in luck! This isn't some fancy bakery secret; it’s totally achievable in your own kitchen. This step-by-step guide will walk you through creating amazing french bread rolls, even if you’ve never baked bread before. We'll start with the basics, ensuring you grasp each stage, from mixing the dough to that golden-brown finish. We will cover all the necessary steps to make your own, from the mixing process to the perfect baking time. Then, we'll move on to helpful tips that can elevate your baking game, including variations and common pitfalls to avoid. Finally, we'll explore how to best enjoy and preserve your freshly baked rolls, ensuring they remain delicious for days to come. So, grab your apron and let's get baking these delightful french bread rolls!
Making the Perfect French Bread Rolls: A StepbyStep Guide

Making the Perfect French Bread Rolls: A StepbyStep Guide
The Foundation: Mixing Your Dough
Alright, let's get our hands a little floury! First, you'll need to gather your ingredients. Think of it like assembling a team for the best bread roll ever. We are talking about flour, water, yeast, a touch of sugar, some salt, and a bit of oil. It is the simple stuff that makes the difference. Now, you can use a stand mixer if you have one, or you can just get in there with your hands, it is up to you. I personally prefer using a mixer because it is less messy. The goal is to create a smooth dough, so we need to mix everything together, and then knead it until it forms a smooth ball. It’s like giving your dough a good massage – it needs to relax and come together. This kneading process is super important because it develops the gluten, which will give our rolls that amazing, chewy texture.
Shaping Your Rolls: From Dough Ball to Perfect Form
Once your dough has risen, it's time for the fun part: shaping the rolls. Gently deflate your dough – it's like letting the air out of a balloon, but way more satisfying. Divide the dough into equal portions, like creating mini-dough-soldiers ready for battle. Next, you can shape them into either oval or round rolls. You can play around with this part, as this is where you can get creative. The key is to have consistent shapes for even baking, but don't stress too much about perfection, it's all about having fun and enjoying the process. Place your shaped rolls on a baking tray lined with parchment paper, giving them some room to grow. They need their personal space, just like we all do.
Step | Action | Why it matters |
|---|---|---|
1 | Mix dry ingredients | Even distribution of ingredients |
2 | Add wet ingredients | Starts the dough formation |
3 | Knead the dough | Develops gluten for chewy texture |
4 | First rise | Dough doubles in size |
Baking to Golden Perfection
Now, for the grand finale, it's time to bake. Preheat your oven to the correct temperature, and then place your tray of rolls inside. Baking time can vary, so keep a close eye on them. The goal is to achieve a beautiful golden-brown crust, which is when you know they're ready. You'll see them puff up, and they will smell amazing. Once they're out of the oven, let them cool on a wire rack. Patience is key here, as you want them to be cool enough to handle but still warm enough to enjoy. The cooling process is just as important as the baking, it allows the inside of the roll to set to the perfect texture. Once cooled, you can enjoy your hard work.
Tips and Tricks for French Bread Rolls Success
Tips and Tricks for French Bread Rolls Success
Alright, so you've got the basic recipe down, but let's talk about taking your french bread rolls to the next level. It's all about those little tweaks that can make a big difference. First off, let's talk about flour. Bread flour is your best friend here, it has a higher protein content, which leads to a chewier and more satisfying roll. But, if you're in a pinch, all-purpose flour will do, just know that the texture might be a bit different. Secondly, the water temperature is super important. You don't want it too hot, as that can kill the yeast, and you don't want it too cold as the yeast won't do its job. Lukewarm water is the sweet spot, think baby bath temperature. These little things make a world of difference.
- Use bread flour for a chewier texture.
- Lukewarm water is best for activating yeast.
- Don't over-knead your dough.
- Proof your dough in a warm place.
Now, let's get into some more detailed tips. Proofing is essential. You want your dough to double in size before baking. The best place is a warm, humid spot. If your kitchen is chilly, try placing the dough in a slightly warm oven with the door ajar. Also, don't be shy with the salt. It's not just for flavor, it also controls the yeast activity. A little bit of olive oil in the dough is also a good idea for a softer crumb. And, when you're baking, a little trick is to create some steam in your oven. This helps achieve that beautiful crust. You can do this by adding a pan of hot water to the bottom rack of the oven, or spraying the oven with water a few times during the first few minutes of baking. And finally, remember that practice makes perfect, so don't worry if your first few batches aren't perfect, just keep trying and you'll get there.
Tip | Why it works |
|---|---|
Steam in the oven | Creates a crispy crust |
Don't over bake | Avoids dry rolls |
Use a thermometer | Ensures perfect doneness |
Serving and Storing Your Homemade French Bread Rolls
Serving and Storing Your Homemade French Bread Rolls
The Best Ways to Serve Your Rolls
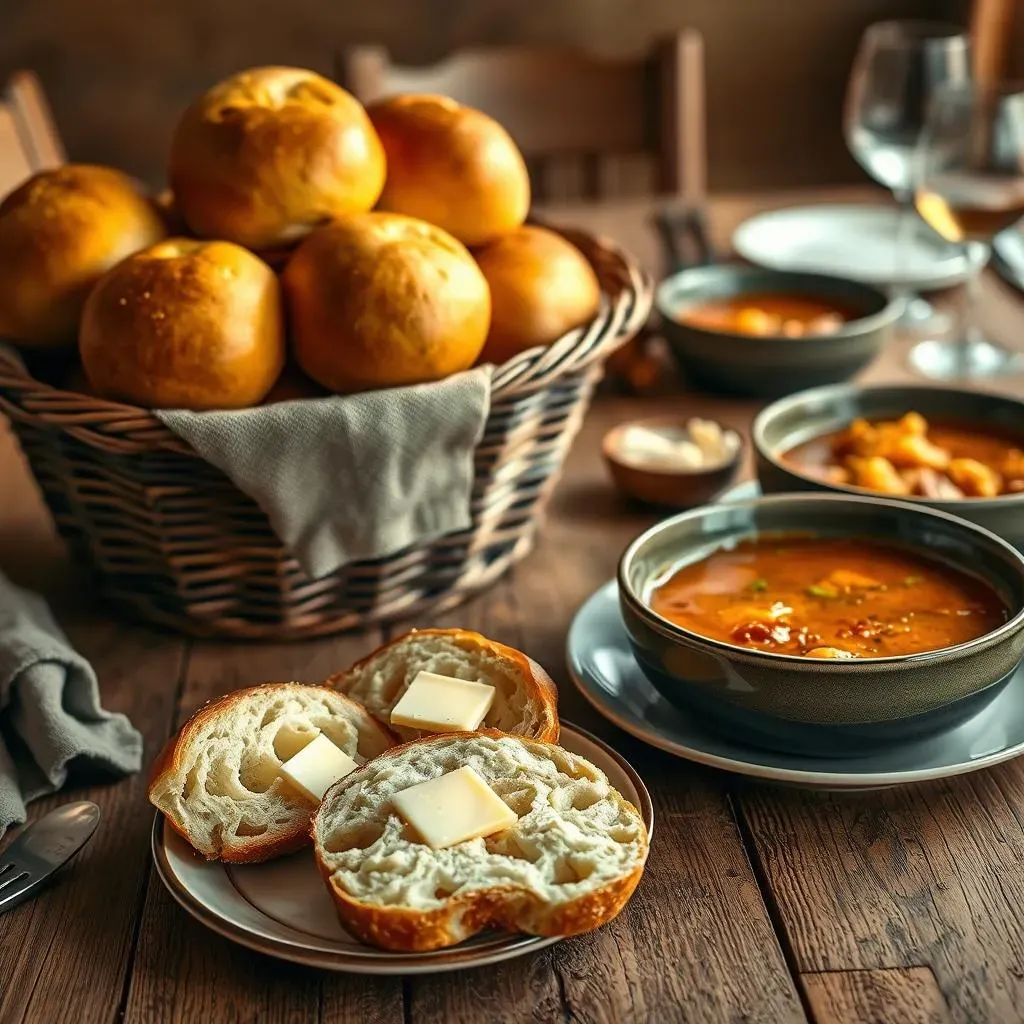
Okay, so you've baked these beautiful french bread rolls, and now you're probably wondering, "How do I best enjoy these?". Well, the possibilities are endless! First off, warm rolls with butter are a classic for a reason. They're simple, comforting, and undeniably delicious. But don't stop there! These rolls are fantastic for sandwiches, they can hold anything from a simple ham and cheese to a gourmet masterpiece. They are also great as a side to your favorite soups or stews, perfect for soaking up all that delicious broth. And let's not forget about using them for mini pizzas, or garlic bread, the options are unlimited. The key is to serve them while they are still slightly warm, that's when they are the most enjoyable.
Storing Your Rolls for Later
Now, what if you have some leftover rolls? Don't worry, they can be stored and enjoyed later. The best way to keep them fresh is to let them cool completely, then wrap them tightly in plastic wrap or foil. This will prevent them from drying out. You can store them at room temperature for a day or two. But, if you want to keep them longer, freezing is the way to go. To freeze, wrap them tightly and place them in a freezer-safe bag. When you're ready to enjoy them, just let them thaw at room temperature or heat them up in the oven until warm. Just remember, the longer they are stored the more their texture will change, so consume them as soon as you can.
Storage Method | Duration | Best Use |
|---|---|---|
Room Temperature | 1-2 days | Short-term storage |
Freezer | Up to 3 months | Long-term storage |
Reheating and Reviving Your Rolls
So, you’ve pulled your frozen rolls out, or maybe your day-old rolls are a little less soft than you remember. No problem! There are simple ways to bring them back to their former glory. The oven is your best friend here, a quick reheat at 350°F (175°C) for about 5-10 minutes will do the trick. If you're in a hurry, a microwave can work, but be careful not to overdo it, as they can get a little chewy. A good trick is to spritz them with a little water before reheating in the oven, this will help crisp up the crust. And, if you're feeling creative, try slicing them open and toasting them for a new dimension of flavor and texture. Remember, the goal is to enjoy these rolls to the fullest, no matter what their age.