Table of Contents
Ever dreamt of crafting that perfect, crusty French baguette at home? The kind that boasts a gloriously crisp exterior and a soft, airy interior? Well, get ready to ditch those store-bought loaves because today, we're unlocking the secrets to baking incredible French bread using a sourdough starter. This isn't just another recipe; it's a journey into the heart of artisanal bread making. We'll walk you through understanding the nuances of your sourdough starter – the very soul of this delicious bread. Then, we'll dive into a detailed, easy-to-follow french bread recipe using sourdough starter. Along the way, we'll share expert tips and tricks to ensure your bread rises beautifully and bakes to perfection, plus troubleshoot those common baking mishaps. By the end, you'll be confidently whipping up restaurant-quality loaves, impressing your friends and family (and yourself!). So, let's embark on this delicious adventure together and discover the joy of homemade sourdough French bread.
The Magic of Sourdough: Understanding Your Starter
The Magic of Sourdough: Understanding Your Starter
What is a Sourdough Starter?
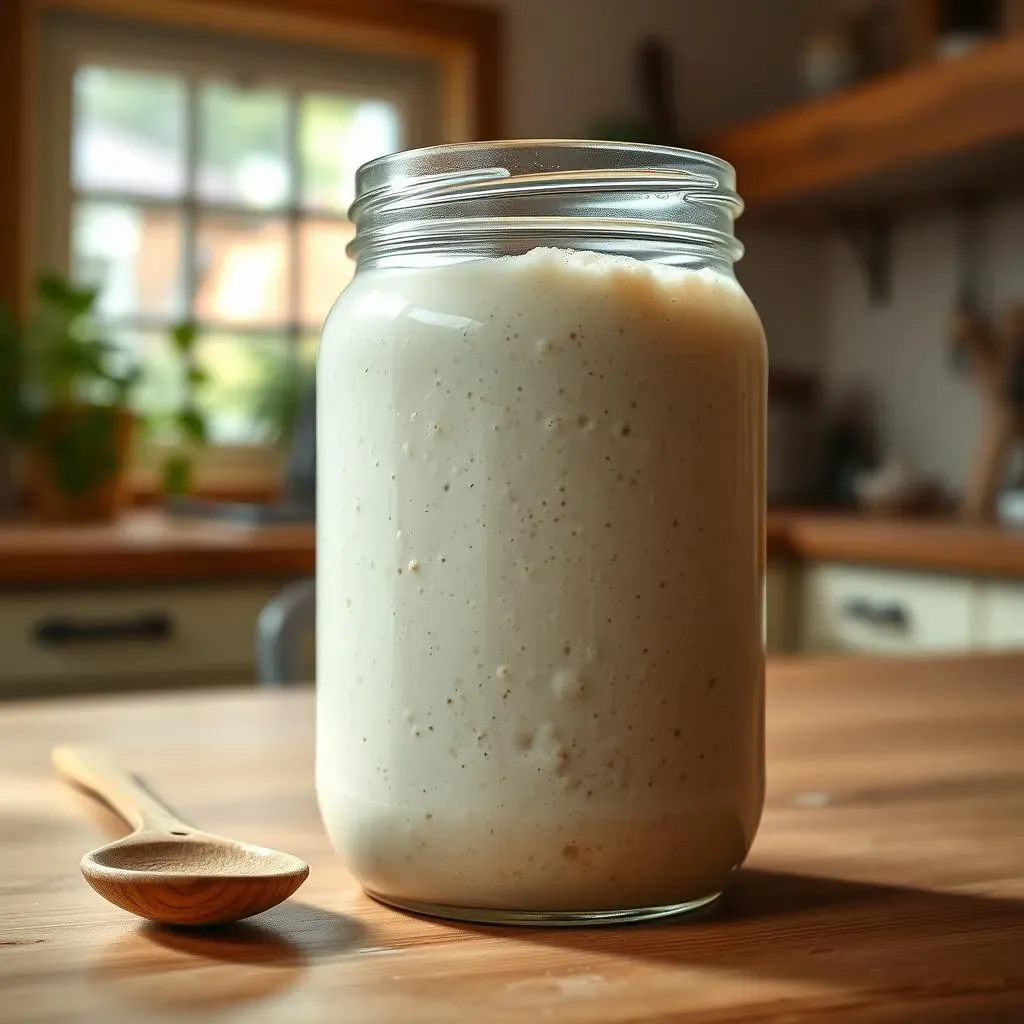
So, you're diving into the world of sourdough? Awesome! Think of your sourdough starter as a tiny, bubbly ecosystem. It's a mixture of flour and water, where wild yeasts and bacteria happily coexist. These microorganisms are naturally present in the flour and air, and they ferment the flour, creating the signature tangy flavor and unique texture we all love in sourdough bread. It's basically a living, breathing ingredient, and caring for it is part of the fun!
Maintaining a healthy starter is key. You'll need to feed it regularly (usually once or twice a day) with fresh flour and water. This process revitalizes the yeast and bacteria, keeping them active and ready for baking. Over time, you’ll notice your starter develop a characteristic aroma and texture, signaling its readiness. You might even find yourself chatting with your starter, like a quirky pet! Don't worry, it's perfectly normal.
Feeding Your Starter: A Simple Guide
Feeding your starter is like giving your little microbial friends a delicious meal. You'll typically discard about half of your starter before adding fresh flour and water. The ratio is usually 1:1:1 (starter:flour:water), but this can vary slightly depending on your flour type and climate. As you feed your starter, you’ll see it bubble and rise, a clear sign of happy, active microbes. This bubbly activity indicates fermentation is happening, which is exactly what you want! This is the magic that will later transform plain flour and water into a wonderfully textured loaf.
There are many different ways to maintain a sourdough starter, and it’s all about finding a routine that works for you and your lifestyle. Some people feed their starters once a day, while others do it twice a day. Check out our guide on to find out more and see what might be best for your schedule.
- Discard about half of your starter
- Add equal parts fresh flour and water
- Mix well and let it rise
Troubleshooting Common Starter Issues
Sometimes, even with the best intentions, your starter might act up. Don't panic! A sluggish starter could be due to several factors, including using old flour, incorrect water temperature, or simply not feeding it often enough. A starter that's too liquidy might need more flour, while a thick, gummy starter might need more water. Pay close attention to its consistency and smell—a pleasant, slightly sour aroma is a good sign. If your starter seems to be struggling, don't hesitate to research online or ask for advice from experienced sourdough bakers. Many online communities are dedicated to sourdough, and they are a great source of support and encouragement!
Remember, patience is key. It takes time and practice to master the art of sourdough. Don't get discouraged if your first attempts aren't perfect. Keep experimenting, keep learning, and most importantly, keep having fun! Making your own sourdough starter is a rewarding experience, and the delicious bread you'll create is well worth the effort. For more tips and tricks, check out our post on for a comprehensive guide.
Problem | Solution |
|---|---|
Sluggish starter | Feed more often; check flour freshness |
Too liquidy | Add more flour |
Too thick | Add more water |
French Bread Recipe Using Sourdough Starter: A StepbyStep Guide
French Bread Recipe Using Sourdough Starter: A StepbyStep Guide
Preparing the Dough
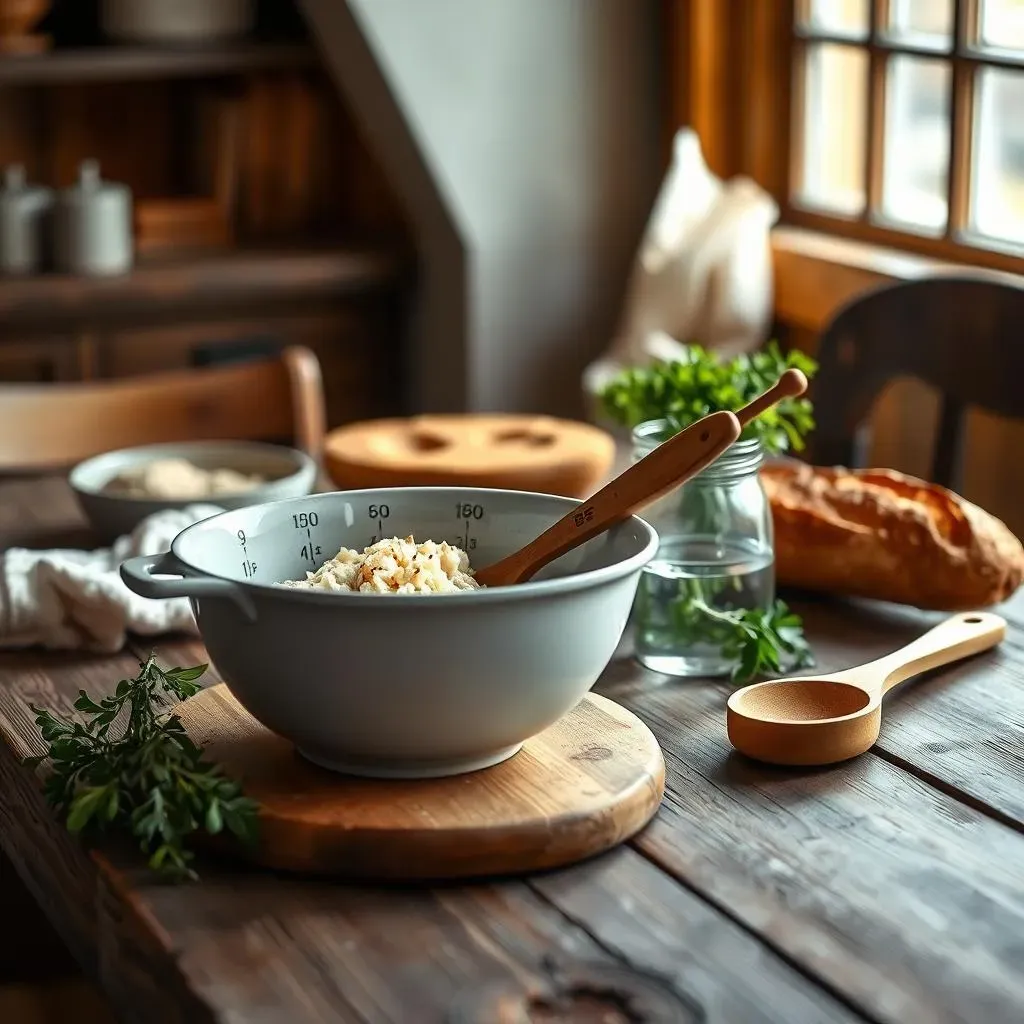
Let's get baking! Start by mixing your activated sourdough starter with lukewarm water. The exact amount will depend on the activity of your starter and the recipe you're using (check out our for more details!). Then, gradually add your flour, mixing until a shaggy dough forms. This is where the magic begins; the flour and water come together with the power of your starter to create a beautiful dough.
Next, you’ll knead the dough. This develops the gluten, which gives your bread its structure. Kneading can be done by hand or with a stand mixer. If you're kneading by hand, aim for about 10-15 minutes of vigorous kneading. With a stand mixer, it might take a bit less time. The goal is to achieve a smooth, elastic dough that passes the "windowpane test" (you should be able to stretch a small piece of dough thinly enough to see light through it without tearing).
- Mix starter and water
- Add flour gradually
- Knead until smooth and elastic
Bulk Fermentation and Shaping
After kneading, let the dough rise in a warm place for several hours. This is called bulk fermentation. During this time, the yeast and bacteria in your starter will work their magic, producing gases that give your bread its airy texture. You'll notice the dough increase in volume significantly. The exact fermentation time will vary depending on the temperature and your starter's activity. Patience is key here!
Once the dough has doubled or even tripled in size, it's time to shape it. Gently deflate the dough and divide it into the desired number of loaves. Shape each loaf into a long, oval baguette. This step requires a little practice, but don't worry if your first attempts aren't perfect. There are plenty of videos and tutorials online that can guide you.
Stage | Description |
|---|---|
Bulk Fermentation | Allow dough to rise in a warm place |
Shaping | Form dough into baguettes |
Proofing and Baking
Place the shaped baguettes on a baking sheet lined with parchment paper. Cover them loosely and let them proof for another hour or two. During proofing, the dough will undergo a final rise, developing even more flavor and texture. You might want to check out this for some extra tips!
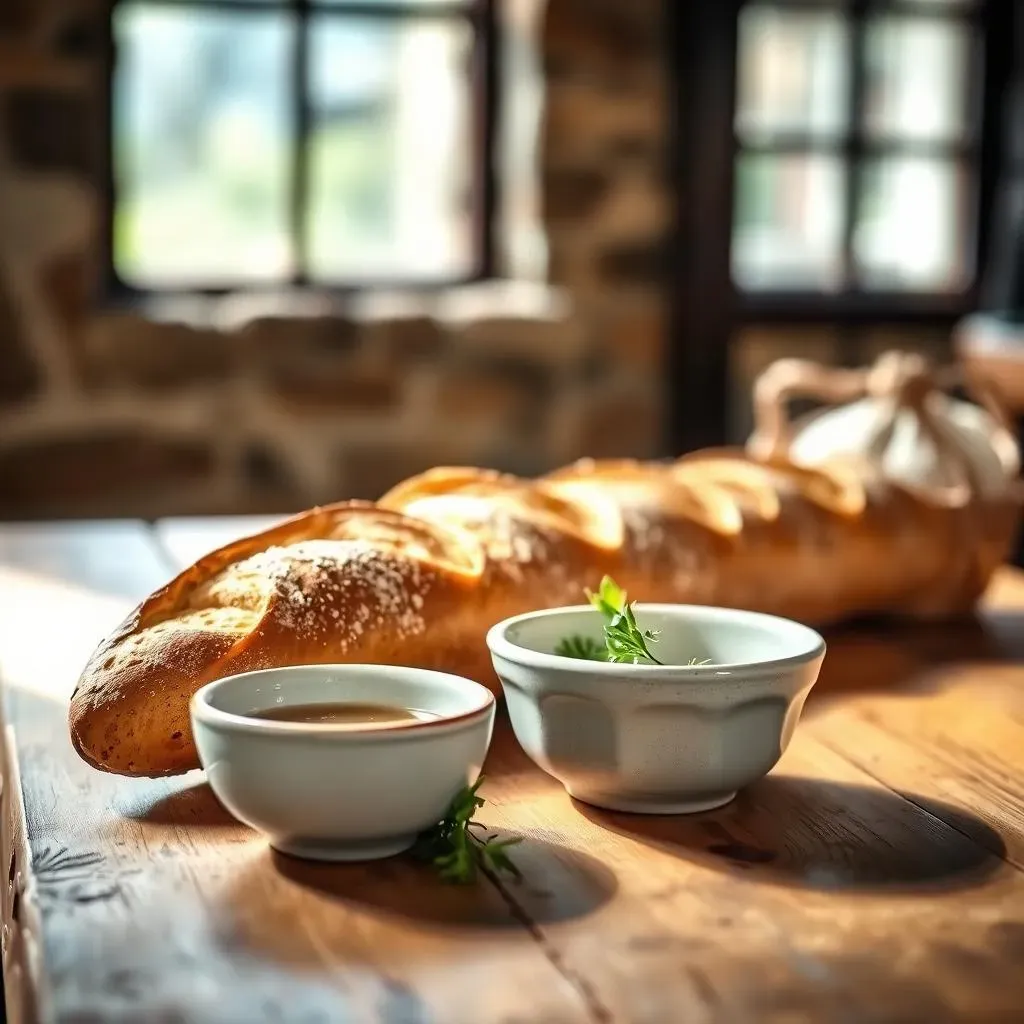
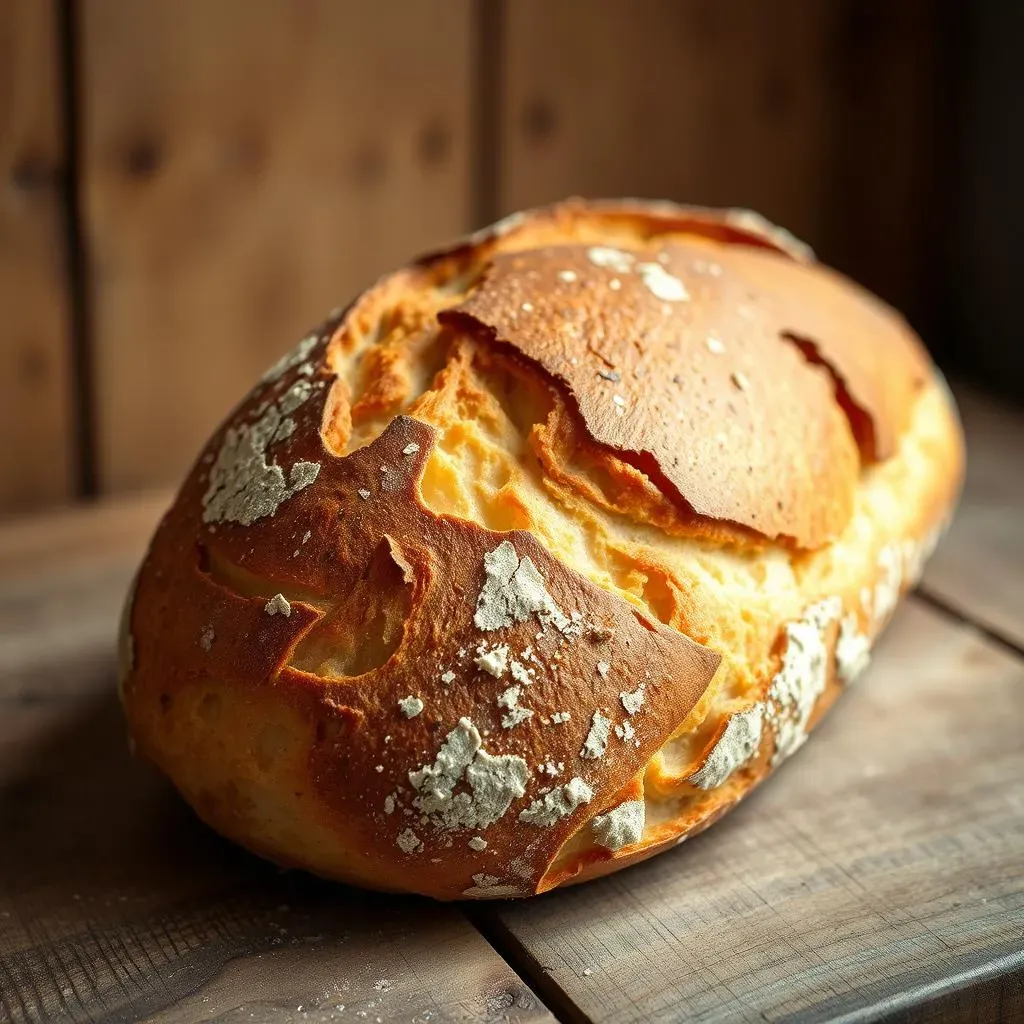
Finally, it's time to bake! Preheat your oven to a high temperature (around 450°F or 232°C), preferably with a baking stone for extra crispiness. Score the baguettes with a sharp knife or lame before baking to control the expansion during baking. This also gives them that classic, rustic look. Bake until golden brown and the internal temperature reaches 200-210°F (93-99°C). Let the bread cool completely on a wire rack before slicing and enjoying.
And there you have it! Your own homemade sourdough French bread. Enjoy the fruits of your labor.
Tips and Tricks for Perfect French Bread with Sourdough
Tips and Tricks for Perfect French Bread with Sourdough
Flour Power: Choosing the Right Flour
The type of flour you use significantly impacts your bread's texture and flavor. A strong bread flour, with its high protein content, is ideal for creating a chewy crumb and a robust crust. Avoid using all-purpose flour, as it lacks the necessary protein for proper gluten development. For a unique twist, experiment with different types of flour, like whole wheat or rye, to add depth and complexity to your loaf. Remember, the right flour is the foundation of a fantastic French bread.
Don't underestimate the importance of proper hydration. The water content in your dough directly influences its texture and rise. Too little water, and your bread will be dense and dry. Too much, and it might be sticky and difficult to handle. The ideal hydration level varies depending on the flour you're using and your environment, so it takes some practice to find the perfect balance. For more detailed information on hydration, check out our to sourdough French bread.
- Use strong bread flour
- Experiment with different flours
- Find the perfect hydration level
Temperature Control: The Key to Success
Temperature plays a crucial role in both fermentation and baking. A consistently warm environment is essential for optimal yeast activity during bulk fermentation. If your kitchen is too cold, your dough might rise slowly or not at all. Conversely, a temperature that's too high can lead to over-fermentation and a sour, unpleasant taste. For best results, aim for a consistent temperature during fermentation. You can use a proofing box or even a warm oven (turned off) to maintain a stable temperature.
Oven temperature is equally critical during baking. A hot oven, around 450°F (232°C), is necessary for developing a crisp crust. However, if you bake your bread at too high a temperature, the outside might burn before the inside is fully cooked. Using a baking stone helps to distribute heat evenly and achieve a perfect crust. For more tips on temperature control, check out our for some additional insight.
Stage | Temperature |
|---|---|
Bulk Fermentation | 70-75°F (21-24°C) |
Baking | 450°F (232°C) |
Scoring Techniques: Unleashing the Crust
Scoring your bread before baking is more than just an aesthetic touch; it's crucial for controlling the expansion of the dough during baking. Proper scoring allows the dough to rise evenly and prevents it from cracking unpredictably. There are many different scoring patterns, from simple slashes to intricate designs. Experiment to find the patterns you like best. A sharp lame or razor blade is ideal for clean, precise scores.
Remember, practice makes perfect. Don't be discouraged if your first scores aren't flawless. With each loaf, your scoring skills will improve. For more inspiration and guidance on scoring techniques, check out our comprehensive guide on for additional tips.
Patience: The Baker's Virtue
Sourdough bread making is a process that demands patience. From feeding your starter to waiting for the dough to rise, there's a lot of downtime involved. Resist the urge to rush the process; it's the slow fermentation that gives sourdough its unique character and flavor. Embrace the wait; it's part of the journey. Enjoy the aroma of your rising dough and the anticipation of the delicious bread to come.
Don't be afraid to experiment. Sourdough bread making is a journey of discovery. Try different techniques, flours, and recipes to find what works best for you and your taste. Each loaf is a learning experience, and the more you bake, the better you’ll become. For extra inspiration, check out our for sourdough French bread.
- Allow ample time for fermentation
- Don't rush the process
- Experiment and have fun!
Troubleshooting Common Issues in Your Sourdough French Bread Recipe
Troubleshooting Common Issues in Your Sourdough French Bread Recipe
A Flat Loaf: Why Didn't It Rise?
A flat loaf is a baker's biggest disappointment! Several culprits could be at play. Your starter might not have been active enough—check for those tell-tale bubbles! Did you let the dough rise in a cool spot? Remember, warmth is key for fermentation. And did you knead the dough sufficiently? Insufficient kneading leads to weak gluten development, resulting in a flat loaf. For more guidance, check out our for troubleshooting tips.
Sometimes, the culprit is simply the flour. Using old or low-protein flour can also lead to a disappointing lack of rise. Always check the expiration date and consider upgrading to a stronger bread flour for better results. If you're still struggling, don't hesitate to seek advice from online sourdough communities. They're a wealth of knowledge and support!
- Check starter activity
- Ensure adequate kneading
- Use fresh, high-protein flour
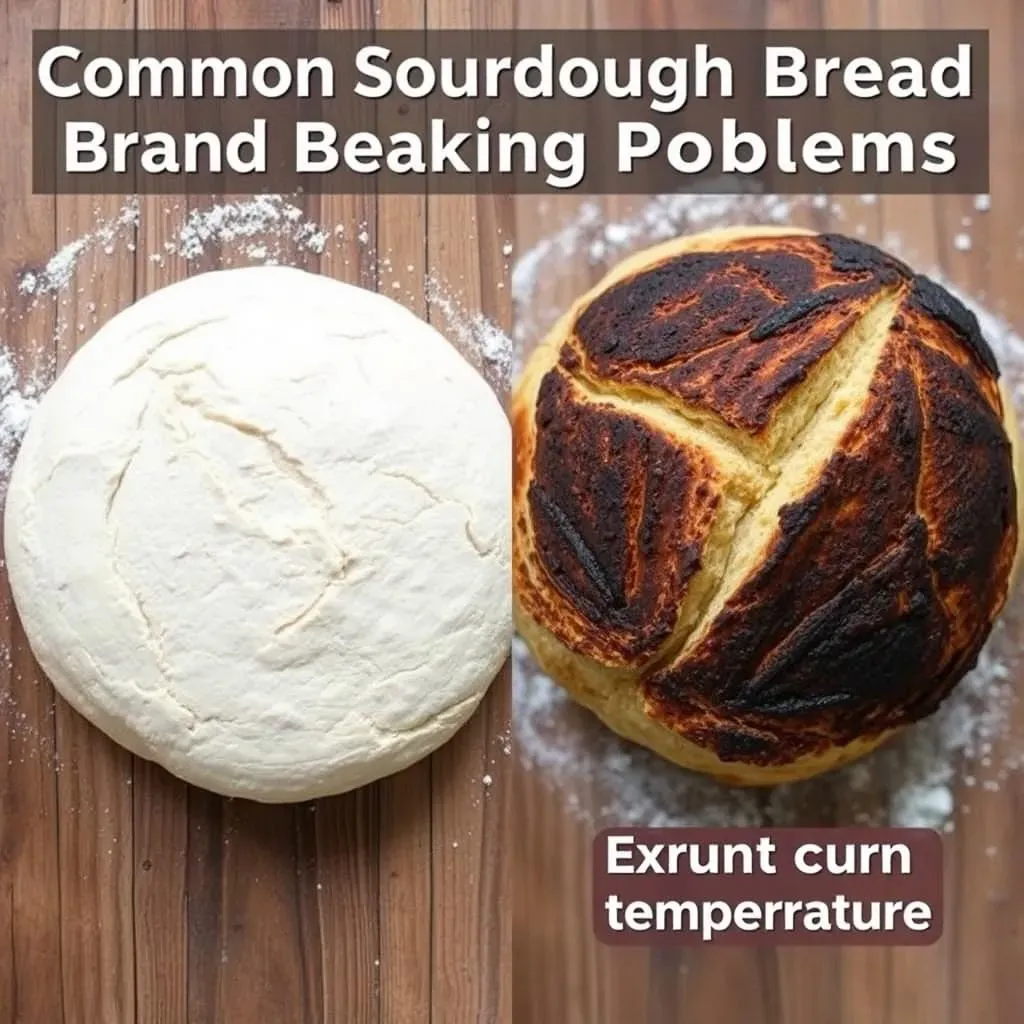
A Crust Too Dark or Too Pale: Mastering Oven Temperature
Oven temperature is a delicate dance. Too high, and you’ll have a burnt crust before the inside is cooked. Too low, and your crust might be pale and lack that signature crunch. A baking stone or steel is your best friend here; it helps to distribute heat evenly for a consistently browned crust. Remember to preheat your oven thoroughly, and use an oven thermometer to ensure your oven is at the correct temperature. For additional tips, check out our for more details.
Consider your oven's quirks. Some ovens run hotter or cooler than others. Experiment to find the ideal baking time and temperature for your specific oven. An oven thermometer is invaluable for ensuring accuracy. Don't be afraid to adjust baking times based on your oven's behavior. A perfectly baked loaf is a testament to your understanding of your oven's personality!
Problem | Solution |
|---|---|
Burnt Crust | Lower oven temperature; check frequently |
Pale Crust | Increase oven temperature; use baking stone |
A Dense Crumb: Gluten Development and Hydration
A dense crumb often indicates insufficient gluten development or improper hydration. Gluten is the protein structure that gives your bread its elasticity and airy texture. Insufficient kneading or using low-protein flour can hinder gluten development. Remember that vigorous kneading is crucial for developing a strong gluten network. For more information on kneading techniques, consult our .
Hydration also plays a vital role. Too little water results in a dry, dense crumb, while too much can make the dough sticky and difficult to handle. Finding the right balance is essential for optimal gluten development and a light, airy crumb. Experiment with different hydration levels until you achieve the perfect consistency. Remember, every flour behaves differently, and your kitchen's humidity level also plays a role.